Introduction
A drawer that sticks, sags, or refuses to close properly is usually blamed on the slide. Sometimes that is fair. But just as often, the real problem is a mismatch: the slide you can buy today is a few millimeters narrower, thicker, or drilled differently than the one the drawer was built around years ago.
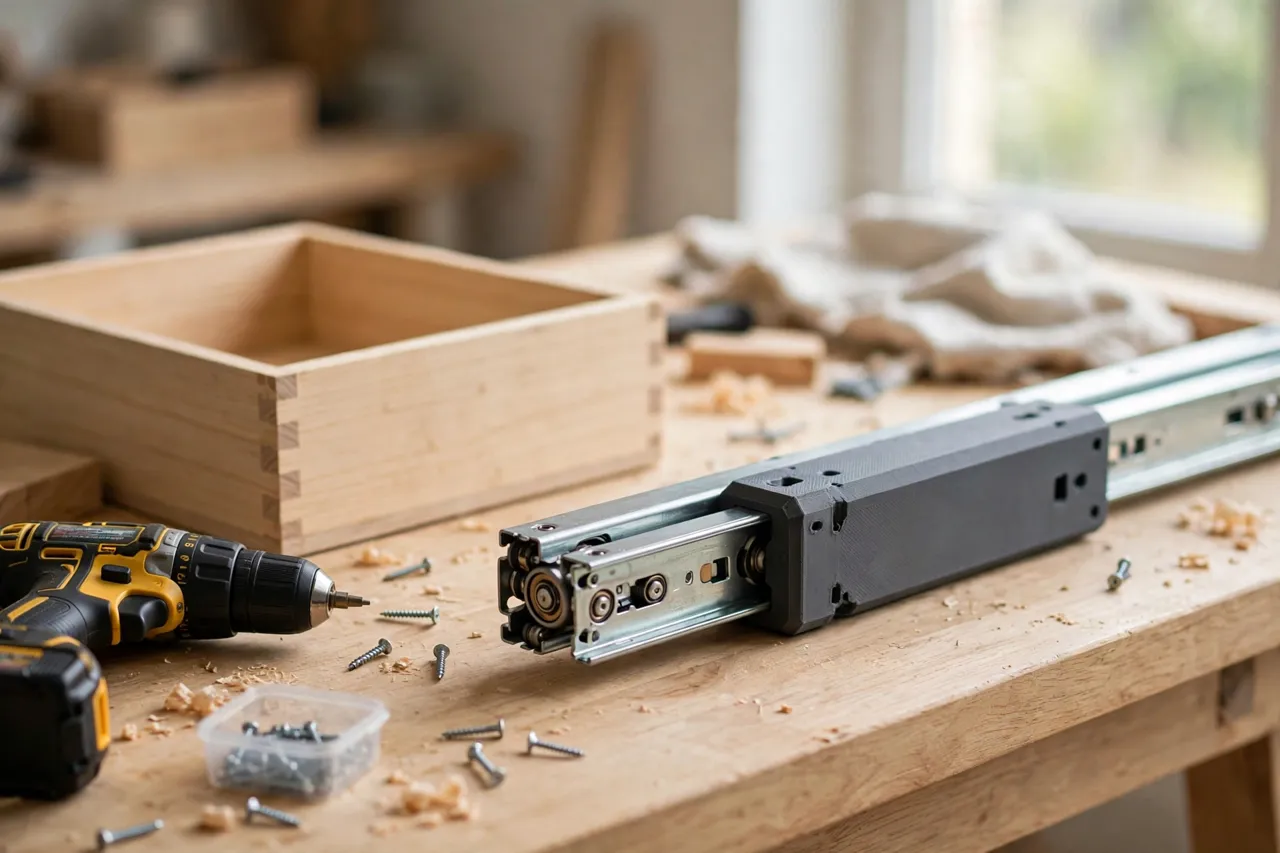
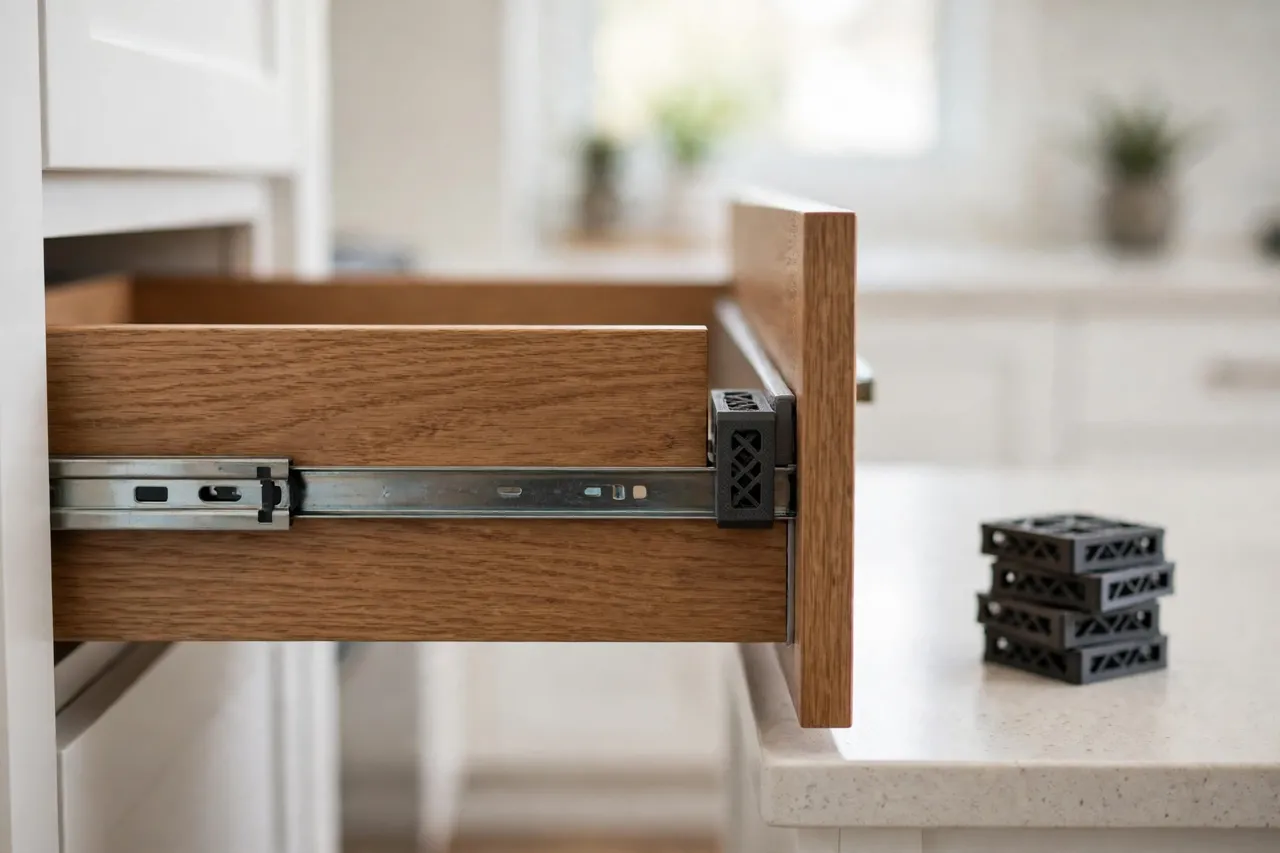
A 3D printed drawer slide adapter solves the mismatch instead of fighting it. It is a small spacer, sleeve, or shim block that bridges the gap between the slide you have and the drawer you own, lining up screw holes and keeping the slide square. Print it once, fit it carefully, and a drawer that used to grind its way shut can glide again.
This guide covers designing, printing, and fitting adapters for common side-mount ball-bearing and roller slides. These adapters are alignment and spacing aids for light household drawers — kitchen utensils, office supplies, bedroom clothes. They are not structural parts, and they do not turn a light-duty slide into a heavy-duty one. If a drawer holds a serious load, such as a deep file drawer or a tool chest drawer, buy the correct manufactured slide rated for that weight.
What You Need
The adapter is a small, chunky part that fits easily on most home printers. You will spend more time measuring than printing.
Materials and tools
- A home 3D printer with a build area of roughly 100 mm in at least one direction
- PETG filament for a tougher adapter, or PLA for a first test fit
- The drawer slide you plan to use, plus its screws
- The drawer box and the cabinet opening it fits, with a tape measure or calipers
- A cordless drill, a small pilot bit, a screwdriver, and a pencil
- Sandpaper or a small file, and a try square for checking alignment
PETG is the better keeper here because drawer sides see repeated bumps and warm kitchen air. PLA is fine for checking your measurements before the final print.
Suggested print settings
- Layer height: 0.20 mm for a good balance of speed and fit; 0.16 mm if screw holes come out rough.
- Walls: 4 perimeters minimum — the adapter’s walls carry the clamping pressure of the screws.
- Infill: 40 to 60 percent, grid or gyroid, so the part does not crush when screws are tightened.
- Top and bottom layers: 4 or more, for flat faces that sit true against wood and metal.
- Orientation: Print with the largest flat face down, so the face against the drawer side is as flat as possible.
- Supports: Usually none, unless your adapter has an overhanging lip.
Print a test piece in cheap filament first. A drawer slide adapter that is 1 mm off is worse than no adapter at all.
Design Considerations
Most drawer slide adapters fall into one of three shapes. Pick the one that matches your actual gap.
1. The spacer block
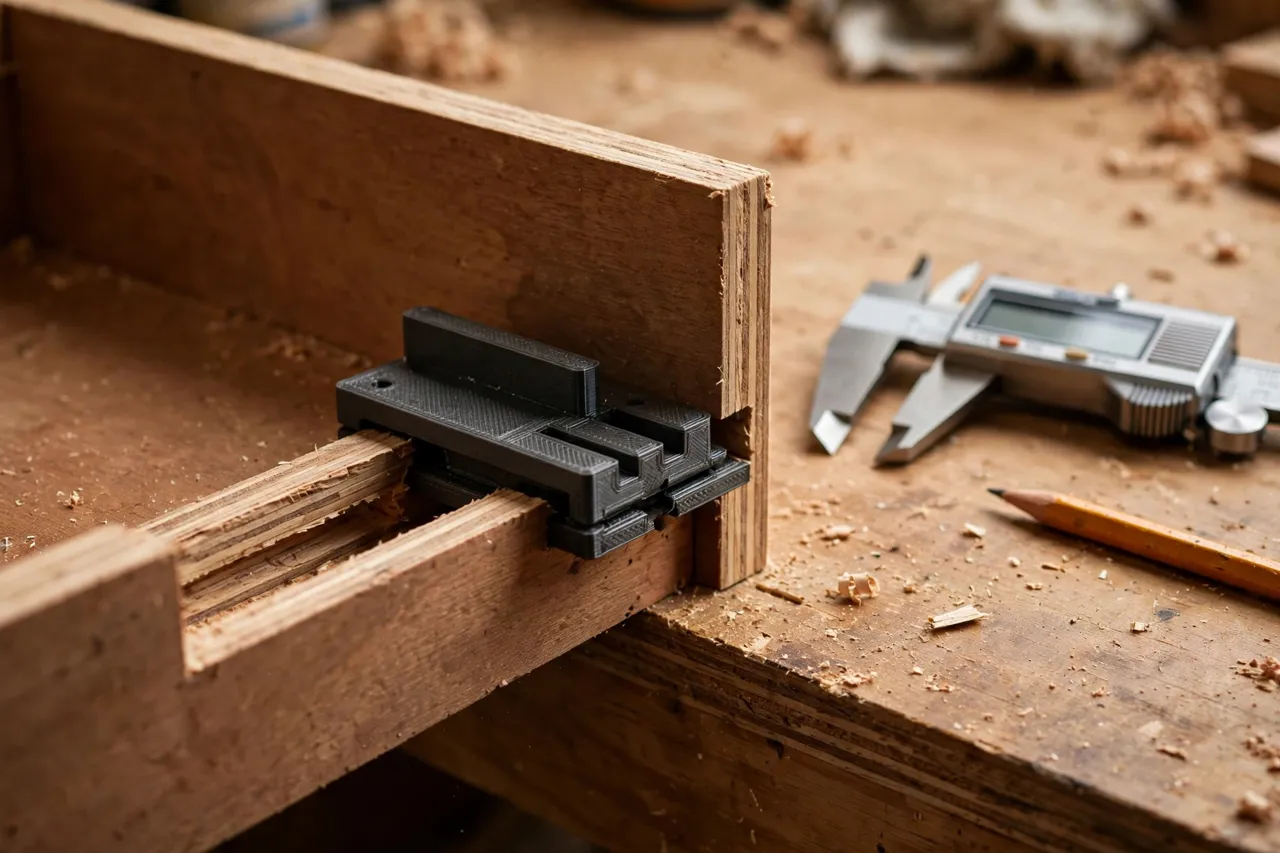
The simplest adapter is a flat block that sits between the slide and the drawer side, making up a width difference. If your new slide is 2 mm thinner than the old one on each side, a 2 mm spacer on each side restores the original fit. Model it as a rectangle slightly longer than the slide’s mounting flange, with clearance holes for the slide screws. Keep the faces parallel — a wedge-shaped spacer will tilt the slide and bind the drawer.
2. The channel sleeve
When a slide is narrower than the channel or recess it must sit in, a U-shaped sleeve wraps around the slide’s mounting flange and fills the channel. The sleeve should grip the flange snugly, with about 0.3 to 0.5 mm of clearance per side, and leave the moving part of the slide completely free. Never let the sleeve touch the ball-bearing carriage or the rolling part of the slide.
3. The hole-pattern adapter plate
Sometimes the slide fits the space but its screw holes land on old, stripped holes or on thin air. A flat plate with two sets of holes — one matching the slide, one landing on solid wood — solves that. Make the plate at least 3 mm thick, and stagger the two hole patterns so no two holes overlap and weaken the plate.
Whichever shape you need, measure three things before you model anything: the slide’s flange width and thickness, the gap between drawer side and cabinet side, and the positions of solid wood you can screw into. Guessing any of these guarantees a second print.
Step-by-Step: Printing and Assembly
- Remove the drawer and take off the old slide, keeping the old screws for reference.
- Measure the gap between the drawer side and the cabinet side at the front, middle, and back. Cabinets are rarely perfectly square, so use the smallest measurement.
- Measure the new slide, including flange width, thickness, and screw-hole positions.
- Model the adapter to fill the difference, with clearance holes for the screws and a little clearance around the moving parts of the slide.
- Print a test fit in PLA and check it against the real slide and drawer, without screws first.
- Clean it up. Sand the faces flat, clear the holes, and check that nothing rubs the slide’s moving parts.
- Adjust and reprint if the fit is tight or sloppy — 0.2 mm at a time.
- Print the keeper in PETG, using the proven file.
Step-by-Step: Fitting the Adapter to the Drawer
- Hold the adapter and slide together against the drawer side and mark the screw positions with a pencil.
- Drill pilot holes into the drawer side, slightly shallower than your screws and square to the surface.
- Attach the adapter to the slide first, using the slide’s own screws, and confirm the slide still extends and retracts freely.
- Offer the assembly up to the drawer side and check that the slide sits level, not tilted up or down.
- Screw the assembly to the drawer, starting with the middle screw so you can still adjust the ends.
- Check with a square that the slide is parallel to the drawer bottom. A tilted slide binds every time.
- Repeat on the other side, then refit the drawer and test the glide before fully tightening everything.
- Adjust in small steps. Loosen, nudge, retighten. A millimeter of adjustment at the back of the slide changes how the drawer front sits.
Test the drawer with its normal contents, not empty. An empty drawer can glide beautifully and still sag once loaded, and that tells you the slide rating — not the adapter — is the limit.
Tips for Better Results
- Test on scrap first. A plywood offcut the same thickness as your drawer side lets you check screw grip before drilling the real drawer.
- Use the smallest gap measurement. Designing to the widest point leaves the drawer rattling at the narrow end.
- Keep the moving parts clear. Any contact between the adapter and the ball carriage will show up as a gritty, uneven glide.
- Label everything. Write the drawer location and the slide model on the adapter with a paint pen.
Common Mistakes to Avoid
- Designing from the old slide’s packaging instead of the slide in your hand. Slides with the same name can change dimensions between production runs.
- Filling the whole gap with one thick adapter. Beyond about 6 mm, a single printed block flexes more than two thinner plates or a plate plus a plywood packer. Keep printed adapters modest and use wood for big gaps.
- Drilling pilot holes too large. An oversized pilot in a drawer side strips out fast. Go smaller than you think, then widen if the screw truly will not drive.
- Forgetting to check the drawer front. A slide can be perfectly level while the drawer front sits crooked. Check the front gap against its neighbors before you call the job done.
- Over-tightening screws into printed plastic. Snug is enough. Crushing the adapter changes its thickness and throws your careful measurements away.
Care, Storage, and When to Choose an Alternative
Dust the adapters when you clean the drawer runners, and check the screws once a year — household vibration slowly loosens things. If an adapter cracks, reprint it; the file is already proven. Keep PLA adapters out of hot garages and away from radiators.
Sometimes a manufactured part is the right answer. If the gap is large, the drawer is heavy, the slide is a soft-close or undermount type with tight tolerances, or the cabinet side itself is damaged, buy the slide made for that drawer rather than adapting. Printed adapters shine on light-duty repairs where the mismatch is small and the wood is sound. For a full drawer rebuild, our guide “3D Printed Drawer Box Assembly Squaring Jig: Square Boxes Before the Glue Sets” pairs well with this one, and once the drawer glides again, “3D Printed Drawer Stop Blocks: Blocks That Limit Drawer Travel” can keep it from slamming or over-travelling.
FAQ
Will an adapter fix a drawer that sags when loaded?
Only if the sag comes from misalignment. If the drawer sags because the slide is underrated for the weight, no adapter changes the slide’s rating. Lighten the drawer or fit a heavier-duty manufactured slide.
Can I use one adapter design for every drawer in the kitchen?
Only if the drawers and slides are identical. Drawer boxes vary, cabinets go out of square, and slides differ. Measure each drawer; reuse the file only where the measurements genuinely match.
Is PLA strong enough for a drawer slide adapter?
For a light drawer and a thin spacer, yes. For thicker adapters or drawers that get daily hard use, PETG holds up better and resists creep under sustained screw pressure. Either way, generous walls and infill matter more than the filament brand.
My drawer still binds after fitting the adapter. What should I check?
Check the slide is parallel to the drawer bottom, check nothing touches the moving carriage, and check the cabinet side is not bowed. Also test the slide on its own, off the drawer — a bent slide binds no matter how good the adapter is.
Conclusion
A mismatched drawer slide does not have to mean a new drawer or a new cabinet. A small printed adapter, measured carefully and printed solidly, bridges the gap and gives an old drawer a smooth second life. Measure twice, test fit once, and keep the printed part modest and honest about its light-duty role.
Print a pair, fit them patiently, and enjoy a drawer that closes the way it should — quietly and squarely.