Introduction
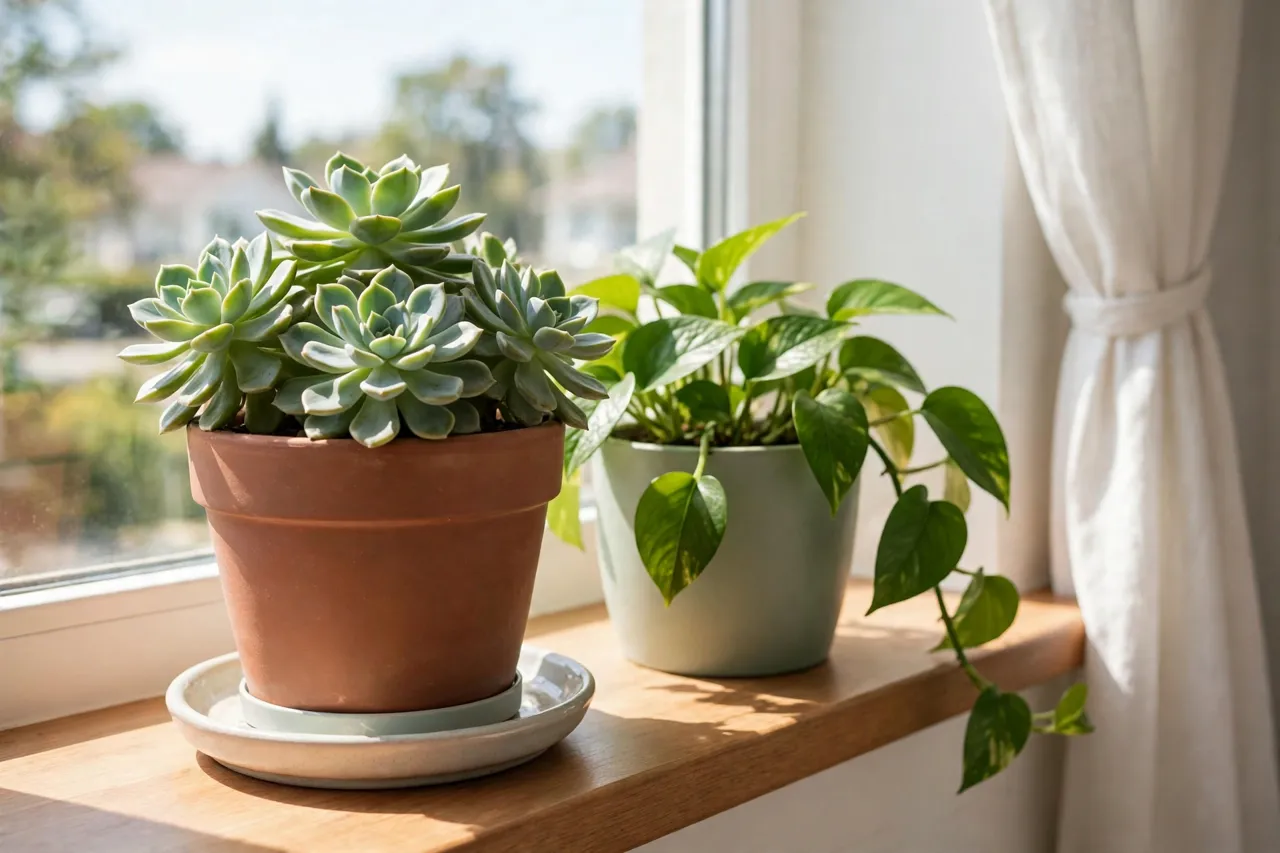
Almost every gardener owns a drawer of saucers that fit nothing. Pots and saucers are sold in nominal sizes that rarely agree with each other: a pot that is supposed to sit in a 20 cm saucer wobbles in it, slides off it, or sits so low that its drainage holes are blocked and the roots sit in water. The result is stained sills, wobbly plants, and pots that slowly drown.
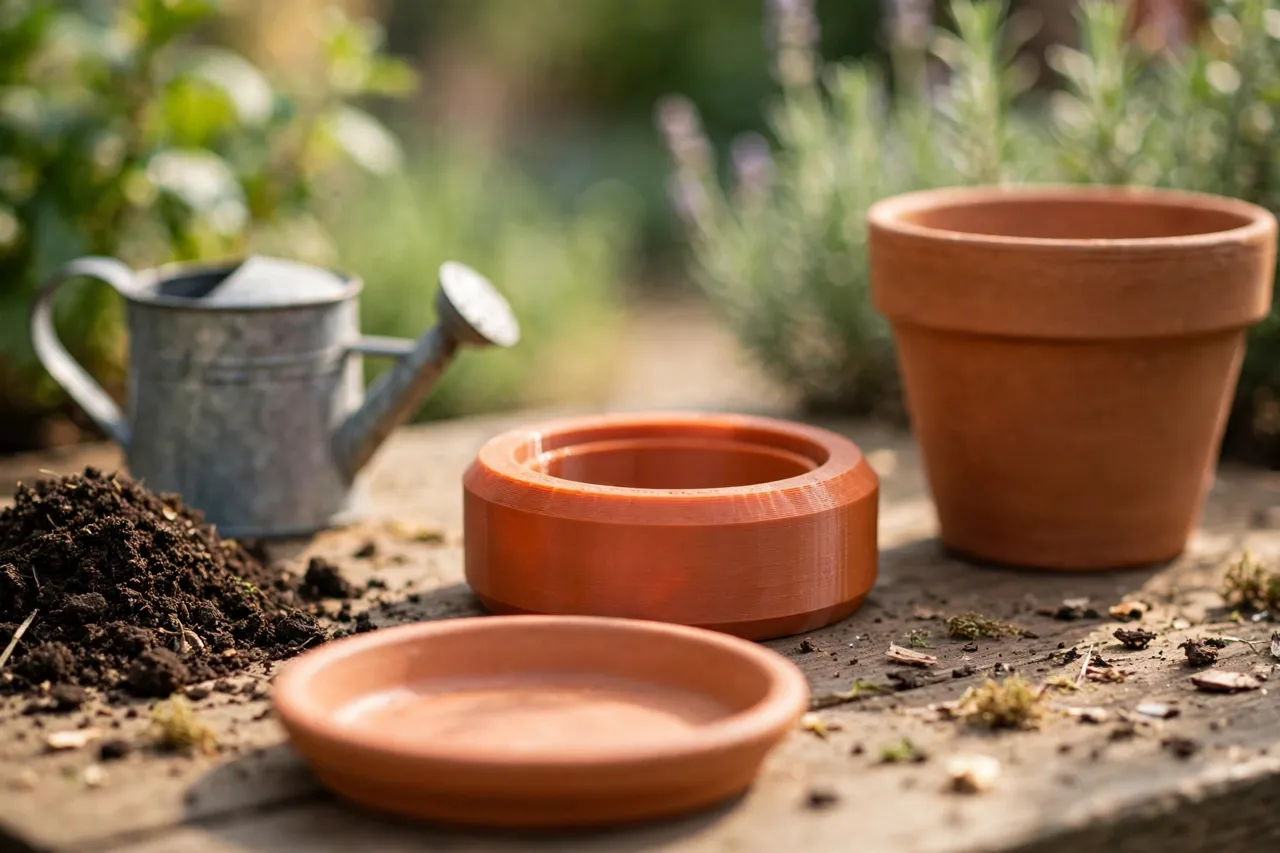
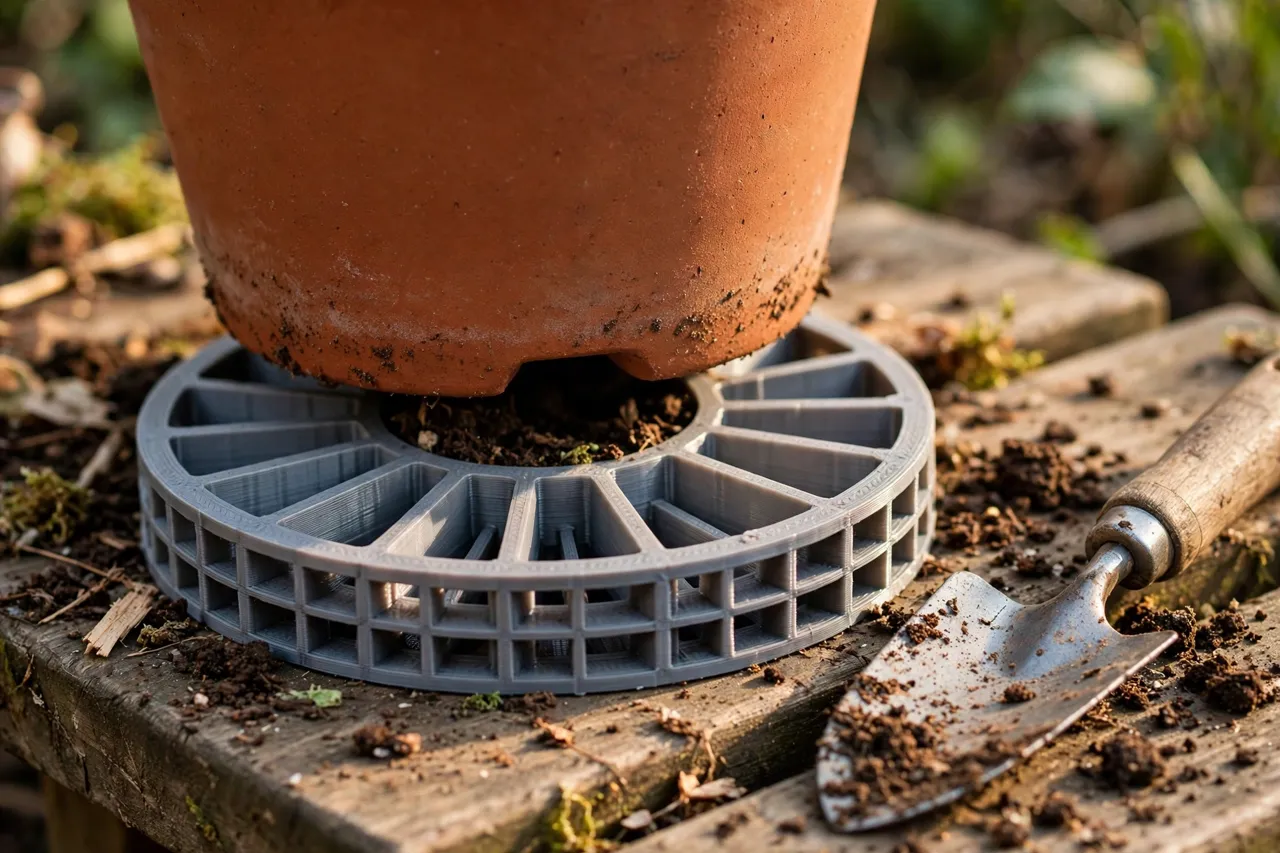
A 3D printed plant pot drainage adapter is a simple ring that fixes all three problems at once. It seats the pot securely on the saucer, lifts it just enough that drainage holes stay open, and channels excess water down into the saucer instead of across your windowsill. It is a small, practical print — no moving parts, no clever mechanism, just a well-measured ring.
These adapters are for ordinary potted houseplants and garden pots on saucers. They carry only the weight of a pot and its soil, which is light duty, and they are not structural parts. Keep them away from very heavy stone planters, and remember that no adapter replaces good watering habits — if a plant is constantly waterlogged, the watering routine needs attention, not just the hardware.
What You Need
The ring is a large, flat part, so check your printer’s build area before you start. Most houseplant pots fit comfortably; very large patio pots may need a ring printed in segments.
Materials and tools
- A home 3D printer with a build area larger than your pot’s base diameter
- PETG filament for outdoor and sunny windowsill use, or PLA for indoor pots away from heat
- The pot and the saucer you want to pair, plus a tape measure or calipers
- A pencil, sandpaper or a small file, and a watering can for testing
- A level or a flat surface for checking stability
PETG is the better default here. Saucers live in sunlight and near water, and PETG handles both far better than PLA, which softens in a hot sunny window. For a shaded indoor shelf, PLA is acceptable.
Suggested print settings
- Layer height: 0.20 to 0.28 mm — rings are forgiving, and thicker layers print faster on big parts.
- Walls: 3 to 4 perimeters, so the ring wall resists knocks when the pot is moved.
- Infill: 20 to 30 percent, grid or gyroid. The ring carries only a pot’s weight, so it does not need to be solid.
- Top and bottom layers: 4 or more, for flat seating faces.
- Orientation: Print flat, saucer side down, for the flattest base.
- Supports: None for a simple ring; a ring with deep drainage channels may need supports under steep overhangs.
For pots wider than your build plate, split the ring into two or three arc segments that join with a simple lap joint, and glue them with a waterproof adhesive.
Design Considerations
A good drainage adapter ring has three jobs: locate the pot, lift the pot, and let water through. Design each feature deliberately.
1. The locating seat
The ring’s top should cradle the pot’s base. Measure the pot’s base diameter and give the seat about 1 to 2 mm of clearance — enough to drop the pot in easily, tight enough that it cannot slide sideways. A shallow tapered inner wall guides the pot home even if you set it down slightly off-center. For pots with a pronounced foot rim, add a matching recess so the rim registers positively instead of balancing on an edge.
2. The lift height
The ring must lift the pot enough that its drainage holes clear the saucer floor, usually 8 to 15 mm. Too little lift and the holes seal against a wet saucer; too much and the pot looks perched and becomes top-heavy. Measure your pot’s drainage hole positions and set the lift so the lowest hole sits clearly above the saucer’s inner floor.
3. Drainage channels
Water must escape the ring, not pool inside it. Cut radial channels or gaps through the ring’s wall so water flows out into the saucer. Four to six channels, each 6 to 10 mm wide, work well. Also add small feet or a scalloped bottom edge so water can pass underneath the ring itself. A ring that traps water becomes a mosquito nursery and a stain source — the opposite of what you want.
4. The saucer fit
The ring’s outer diameter should sit inside the saucer with a few millimeters to spare, so the saucer still catches drips around it. If the ring is wider than the saucer, water runs straight off the edge. Measure the saucer’s inner diameter at the height where the ring will sit, since saucers taper.
Step-by-Step: Printing and Assembly
- Measure the pot base diameter, the foot rim if it has one, and the drainage hole positions.
- Measure the saucer inner diameter and depth at the ring’s seating height.
- Model the ring with a locating seat, lift height, drainage channels, and a saucer-friendly outer diameter.
- Print a test ring in cheap filament and check the pot drops in, sits level, and does not rock.
- Clean it up. Remove stringing from the channels, sand the seating faces flat, and clear any blocked channel.
- Adjust if needed. Rocking usually means the seat is too tight on one side or the base is not flat — check both before reprinting.
- Print the keeper in PETG, and print matching rings for other pots in the same run if the sizes allow.
If you split a large ring into segments, test-assemble the segments dry before gluing, and check the assembled ring is round.
Step-by-Step: Fitting the Ring to Pot and Saucer
- Place the ring in the saucer and check it sits flat, with room to spare around the edge.
- Set the pot into the ring and check it seats without forcing and does not rock when nudged.
- Water the plant lightly and watch where the water goes. It should run through the channels into the saucer, not pool inside the ring.
- Check the drainage holes are clear of the saucer floor by lifting the pot and looking underneath.
- Empty the saucer after watering, as usual — the ring improves drainage, it does not remove the need to empty standing water.
- Check stability by gently pushing the plant from different directions. A top-heavy plant may need a wider ring or a heavier saucer.
- Repeat for matching pots, keeping the same lift height across a shelf so the display looks even.
Check the ring after the first few waterings. Soil and algae can slowly clog narrow channels; a quick rinse keeps them open.
Tips for Better Results
- Test on the real pot and saucer. Nominal sizes lie. The parts in your hands are the only measurements that count.
- Keep channels generous. A channel that looks wide on screen can clog with a single lump of soil.
- Use PETG for sunny spots. A PLA ring on a south-facing sill can warp in summer heat.
- Print a small batch. Once the file is proven, printing rings for every mismatched pot in the house takes one afternoon.
- Colour-code by size. Different filament colours for different pot sizes make it easy to grab the right ring later.
Common Mistakes to Avoid
- Designing a solid disc instead of a ring. A disc blocks drainage entirely and traps water under the pot.
- Making the lift too tall. A pot perched high on a narrow ring topples easily. Keep lift modest and the footprint wide.
- Forgetting the saucer taper. Saucers narrow toward the base; a ring sized to the saucer’s rim may not fit at its seating height.
- Skipping the water test. A ring can look perfect and still pool water. Always water-test before calling it done.
- Using the ring to level a broken pot. A cracked or warped pot base will not seat properly. Replace the pot; the ring cannot fix it.
Care, Storage, and When to Choose an Alternative
Rinse rings when you repot, clear the channels with a brush, and store spares dry and out of direct sun. If a ring cracks or warps, reprint it — the file is already proven.
Sometimes a manufactured saucer is the better buy. If you need a matching set for display, if the pot is very heavy stone or concrete, or if the plant is large and top-heavy, buy a properly sized pot-and-saucer set rather than adapting. Printed rings shine on the everyday mismatch: the pot you love, the saucer you already own, and a few millimeters between them. For the wider garden, our guide “3D Printed Planter Box Brackets: Brackets for Planter Boxes” covers raised planters, and “3D Printed Garden Bed Corner Brackets: Brackets for Raised Beds” helps square up the beds themselves.
FAQ
Will the ring work with pots that have no drainage holes?
It will seat and stabilize them, but it cannot create drainage that is not there. For hole-free pots, use the ring purely as a stabilizer and water very sparingly, or drill drainage holes if the pot material allows.
Can I leave the ring outside all year?
PETG rings handle outdoor use well, but bring them in during hard frost if possible, and expect UV and weather to age them over a few seasons. Reprinting a weathered ring is quick and cheap.
My pot still wobbles in the ring. What went wrong?
Usually the seat clearance is too generous, or the pot base is not round. Measure the base in several directions — handmade pots are often slightly oval — and size the seat to the largest measurement, or add a thin foam pad inside the seat for grip.
Does the ring stop saucer overflow?
No — it only routes water cleanly into the saucer. If you overwater, the saucer will still overflow. Water slowly, let it drain, and empty the saucer after watering.
Conclusion
A pot that wobbles and a saucer that fits nothing are small frustrations, but they are the kind you meet every time you water. A printed drainage ring turns a mismatched pair into a stable, well-drained home for a plant — measured once, printed in an afternoon, and useful every single day.
Measure your pot, model the ring with real drainage channels, water-test it, and enjoy plants that sit level and drain properly.