Introduction
Garden stakes are never quite the size you need. The bamboo canes are too thin for the clips you own, the wooden stakes are too thick for the connectors, and the metal rods you bought last year are a different diameter from this year’s. The usual answer is to buy yet another set of stakes — or to lash things together with twine and hope the wind is kind.
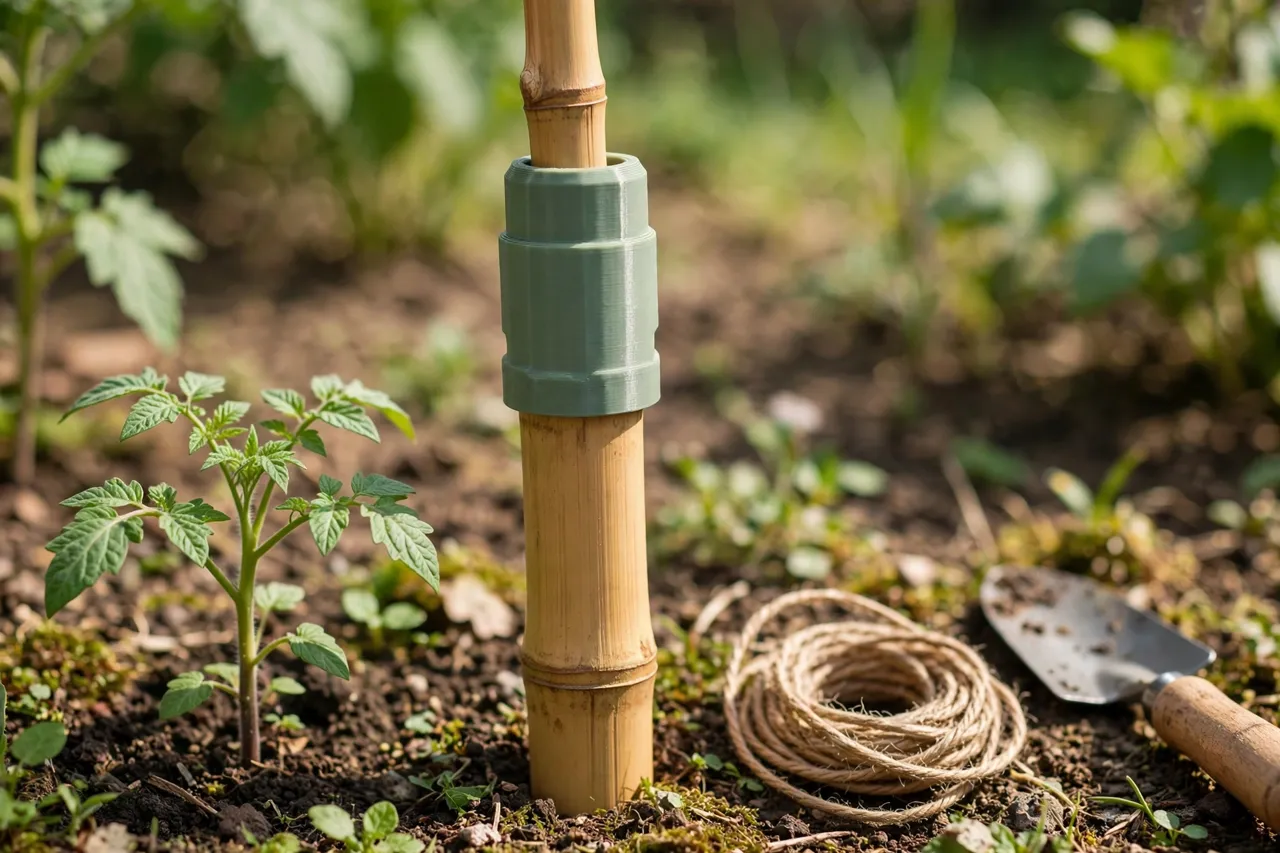
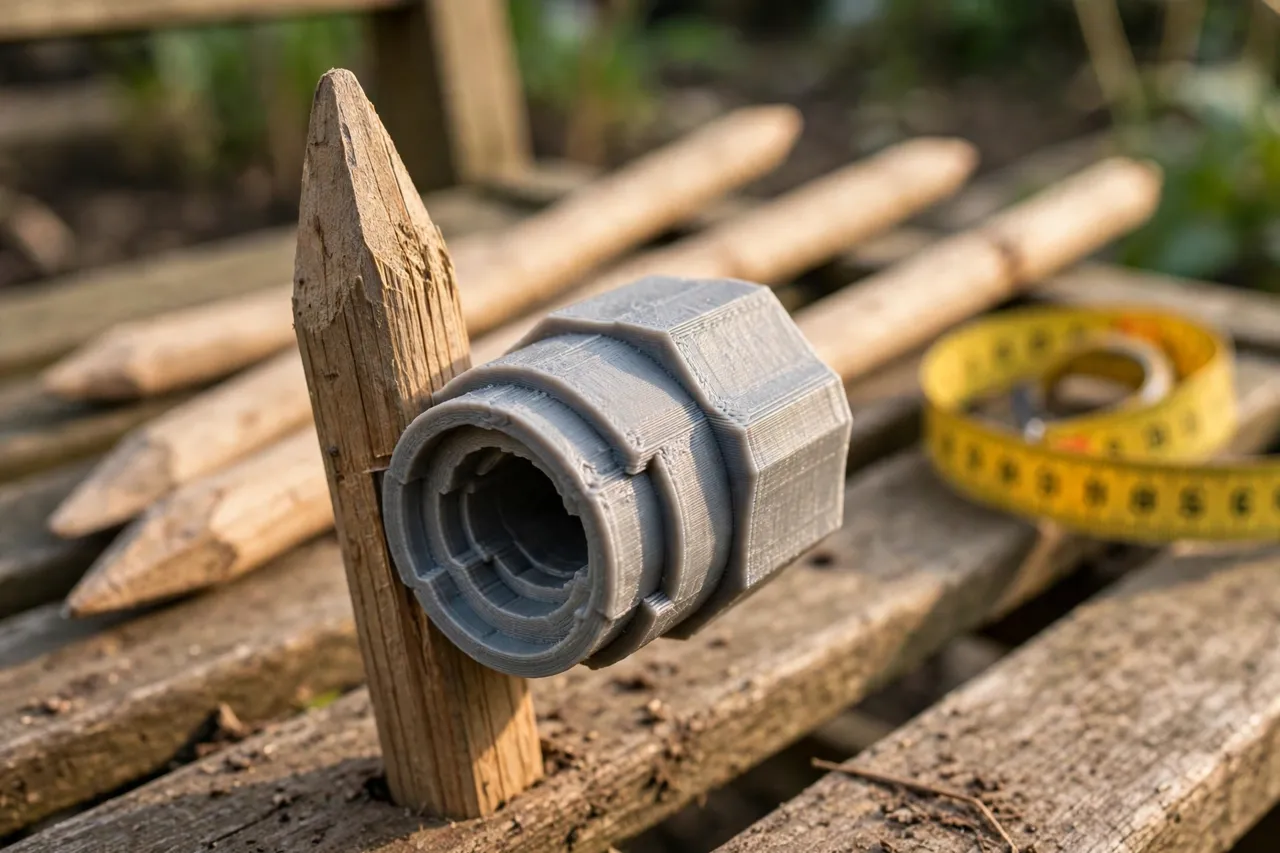
A 3D printed garden stake adapter removes the mismatch. It is a sleeve, collar, or coupler that lets one stake fit another, lets a thin stake take a standard clip, or extends a short stake to the height a plant actually needs. It turns the mixed box of stakes most gardeners already own into a working system, without buying anything new.
These adapters are light-duty garden helpers. They steady plants, hold twine, and join canes — they do not carry structural loads, hold up trees, or replace proper tree stakes and guying. A young tree in wind needs a real stake and tie system, not a printed sleeve. For tomatoes, beans, dahlias, and other garden plants, though, a printed adapter is exactly the right scale of solution.
What You Need
Stakes are cheap and varied, so measure the ones you actually own before designing anything.
Materials and tools
- A home 3D printer with a build area of roughly 120 mm in at least one direction
- PETG filament for outdoor use — it handles sun, rain, and warm weather far better than PLA
- The stakes you want to join or adapt, plus a tape measure or calipers
- Garden twine, plant clips, or ties you plan to use with the stakes
- A saw or secateurs for trimming stakes, sandpaper or a file, and a pencil
- A rubber mallet for seating stakes, used gently
Outdoors, PETG is really the only sensible choice. PLA softens in summer sun and goes brittle after a season outside.
Suggested print settings
- Layer height: 0.20 to 0.28 mm — stake adapters are chunky parts and do not need fine detail.
- Walls: 4 perimeters minimum, so the sleeve resists splitting when pushed onto a stake.
- Infill: 30 to 40 percent, grid or gyroid, for a part that survives being knocked around the garden.
- Top and bottom layers: 4 or more, for clean ends that seat squarely.
- Orientation: Print with the stake axis vertical where possible, so the bore prints roundest.
- Supports: Usually none for sleeves and couplers; a collar with an overhanging lip may need a brim for adhesion.
Print a test piece and try it on the real stakes before printing a full set for the vegetable bed.
Design Considerations
Garden stake adapters come in a few useful shapes. Match the shape to the job.
1. The coupler
A coupler joins two stakes end to end, extending a short stake or joining two offcuts into one useful length. Model it as a tube with two bores, one for each stake diameter, separated by a small internal stop so neither stake pushes through. Give each bore about 0.5 mm of clearance — bamboo is rarely perfectly round, and a coupler that is too tight will split when forced. Add a couple of small holes through the wall so you can pin the stakes with a screw or a nail if the joint needs extra grip.
2. The step-down sleeve
A step-down sleeve lets a thin stake take a clip, cap, or connector made for a thicker stake. The inner bore matches your stake, the outer diameter matches the accessory. Keep the sleeve length generous — at least 40 mm — so it cannot rock or slide off. A shallow groove around the outside gives twine or a clip something to grip.
3. The reducer collar
When a stake is slightly too thick for a holder, cap, or frame socket, a reducer collar wraps the stake and presents a smaller, standard outer size. This is essentially the step-down sleeve in reverse, and the same rules apply: generous length, a snug but not forced fit, and a groove or lip to stop it sliding.
4. The cross connector
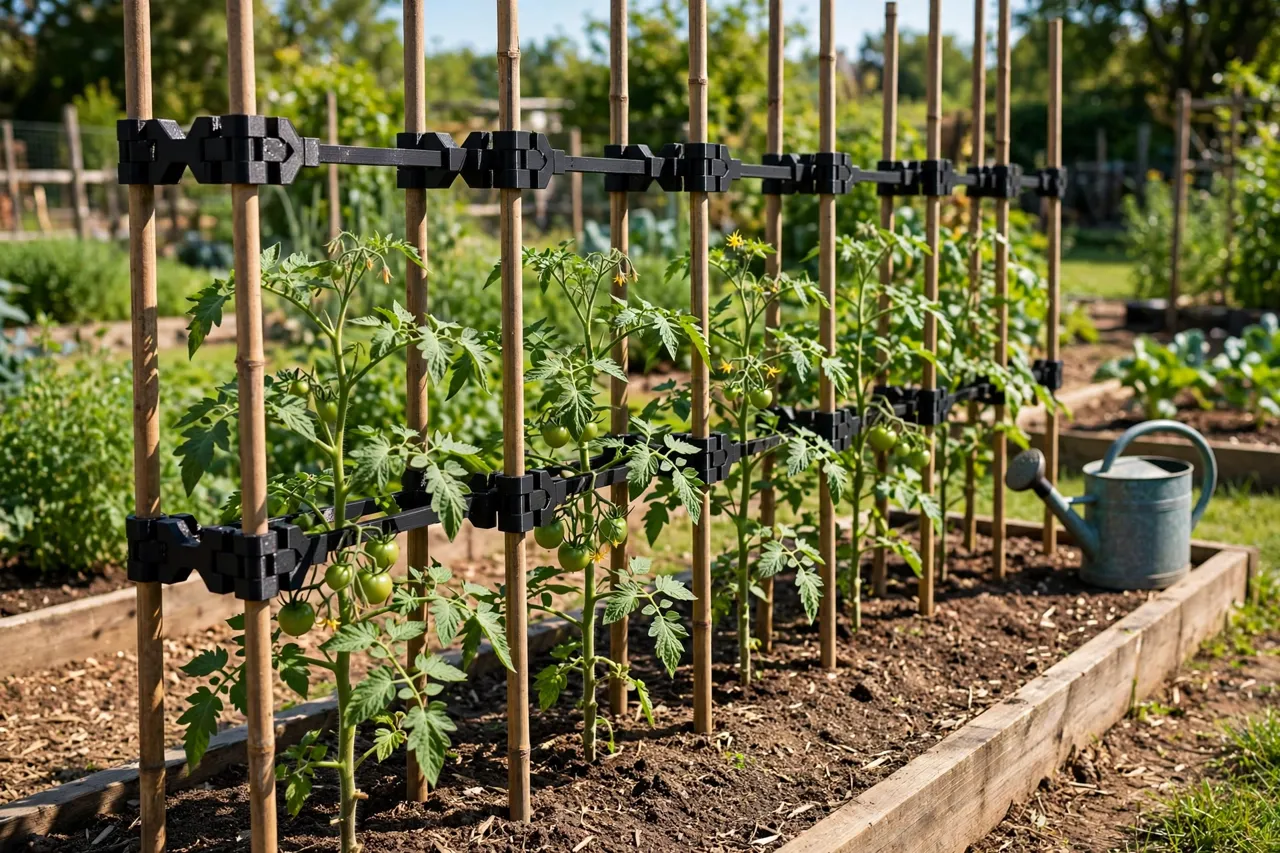
A cross connector joins two stakes at an angle, for making simple plant frames and teepees. Model it as two short intersecting tubes, each bored to its stake size. Keep wall thickness generous around the intersection, since that is where the part is weakest. Cross connectors are for light plant frames only — not for anything a person might lean on.
In every case, remember that natural stakes vary. Bamboo canes differ by a millimeter or two along their length, and wooden stakes are rarely round. Measure each stake at the point where the adapter will sit, and size the bore to the largest measurement plus clearance.
Step-by-Step: Printing and Assembly
- Gather your stakes and sort them by diameter, measuring each one where the adapter will sit.
- Decide which adapter type each pairing needs — coupler, sleeve, collar, or cross connector.
- Model the part with realistic clearance for natural materials, not the tight fit you would use for machined metal.
- Print a test fit and try it on the real stakes, dry, before printing more.
- Clean it up. Clear the bores, sand any rough edges that could snag twine or plant stems, and check for splits.
- Adjust if needed. Splitting means the bore is too tight; slipping means it is too loose. Adjust by 0.5 mm at a time.
- Print the full set in PETG, in a colour that suits the garden — green and brown blend in, bright colours are easier to find at the end of the season.
Mark adapters by size with a paint pen if you make several diameters.
Step-by-Step: Using the Adapters in the Garden
- Trim the stakes to length first, cutting cleanly so the ends seat squarely in the adapter.
- Push the adapter on by hand. If it needs a mallet, it is too tight — resize rather than forcing it, or the adapter will split.
- Pin the joint if needed. For couplers on tall plants, a small screw or nail through the adapter wall into the stake stops the joint creeping apart in wind.
- Drive the stake into the ground before attaching the plant, not after, so you do not damage roots.
- Attach the plant loosely with twine or clips, leaving room for the stem to grow and move slightly in the wind.
- Check after the first storm. Wind finds weak joints fast. Tighten, re-pin, or replace any adapter that has slipped.
- Collect adapters at season’s end, rinse off soil, and store them dry. They will last several seasons if kept out of winter frost.
Tie plants with a figure-eight loop so the stem is not pulled hard against the stake.
Tips for Better Results
- Measure at the fitting point. A cane that is 12 mm at one end can be 14 mm at the other.
- Size up, not down. A slightly loose adapter pinned in place beats a tight one that splits.
- Add drainage. A small hole at the bottom of a closed-end sleeve stops water pooling and freezing inside it.
- Use colour deliberately. Green adapters disappear among plants; orange ones are easy to spot when clearing beds.
- Print spares. Adapters are small, and a spare in the shed saves a mid-season reprint.
Common Mistakes to Avoid
- Designing for a nominal cane size. “8 mm bamboo” is a description, not a measurement. Measure your canes.
- Forcing a tight fit. Split adapters are the most common failure, and they always happen while pushing, not while printing.
- Making couplers too short. A 20 mm coupler on a tall plant will work loose. Aim for at least 40 to 50 mm of engagement per side.
- Using PLA outdoors. It will warp in summer sun and crack over winter. Use PETG or ASA for anything that lives outside.
- Overloading the adapter. A coupler joining two canes cannot hold up a heavy laden tomato plant in a gale. For heavy plants, use thicker stakes and treat the adapter as a helper, not the structure.
Care, Storage, and When to Choose an Alternative
Rinse adapters at the end of the season, check for cracks and UV damage, and store them dry and out of frost. A cracked adapter is a quick reprint from a proven file.
Sometimes a manufactured part is the better choice. For staking young trees, for heavy structures like bean frames that people lean on, or for anything where failure could hurt someone or damage property, use proper timber stakes, metal rods, and manufactured connectors rated for the job. Printed adapters are at their best on everyday garden plants, where the load is light and the mismatch is the problem. If you are building out the garden further, our guide “3D Printed Solar Light Replacement Stakes: New Stakes for Broken Lights” covers a related stake problem, and “3D Printed Garden Bed Corner Brackets: Brackets for Raised Beds” helps square the beds those plants grow in.
FAQ
Will PETG adapters really survive a summer outside?
Yes, for normal garden use. PETG handles sun and rain well for several seasons. It will eventually age and go brittle after years of UV exposure, but reprinting a set is quick and cheap.
Can I join stakes of very different diameters, like 10 mm and 20 mm?
Yes, with a stepped coupler — but keep the step gradual and the walls thick, and pin both sides. A big sudden step concentrates stress at the shoulder, so add a gentle taper if you can.
My adapter keeps sliding off the stake. What should I do?
First check the bore is not oversized. Then add a pin: a small screw through the adapter wall into the stake stops slipping without needing a tighter fit. A wrap of tape around the stake under the adapter also works as a quick fix.
Can I use these adapters on metal stakes?
Yes, if the bore matches the rod diameter and you deburr the rod end first. A sharp metal edge will shave plastic off the inside of the adapter. For heavy metal rods, pin the joint — friction alone may not hold.
Conclusion
A box of mismatched stakes is not a problem to solve by buying more stakes. It is a problem to solve with a handful of printed sleeves, couplers, and collars sized to the stakes you already own. Measure the real stakes, print in PETG, test the fit before the growing season rush, and your plants get steady, tidy support from materials that were already in the shed.
Print a set, pin the tall ones, and let the garden get on with growing.