Introduction
Replacing a mailbox should be a ten-minute job. In practice, the new box rarely matches the old post. The mounting holes are in different places, the post top is a different size, or the old post has weathered into a shape no factory bracket recognizes. The usual fixes — drilling new holes through the box floor, stacking washers, or rebuilding the whole post — are either ugly, weak, or far more work than the job deserves.
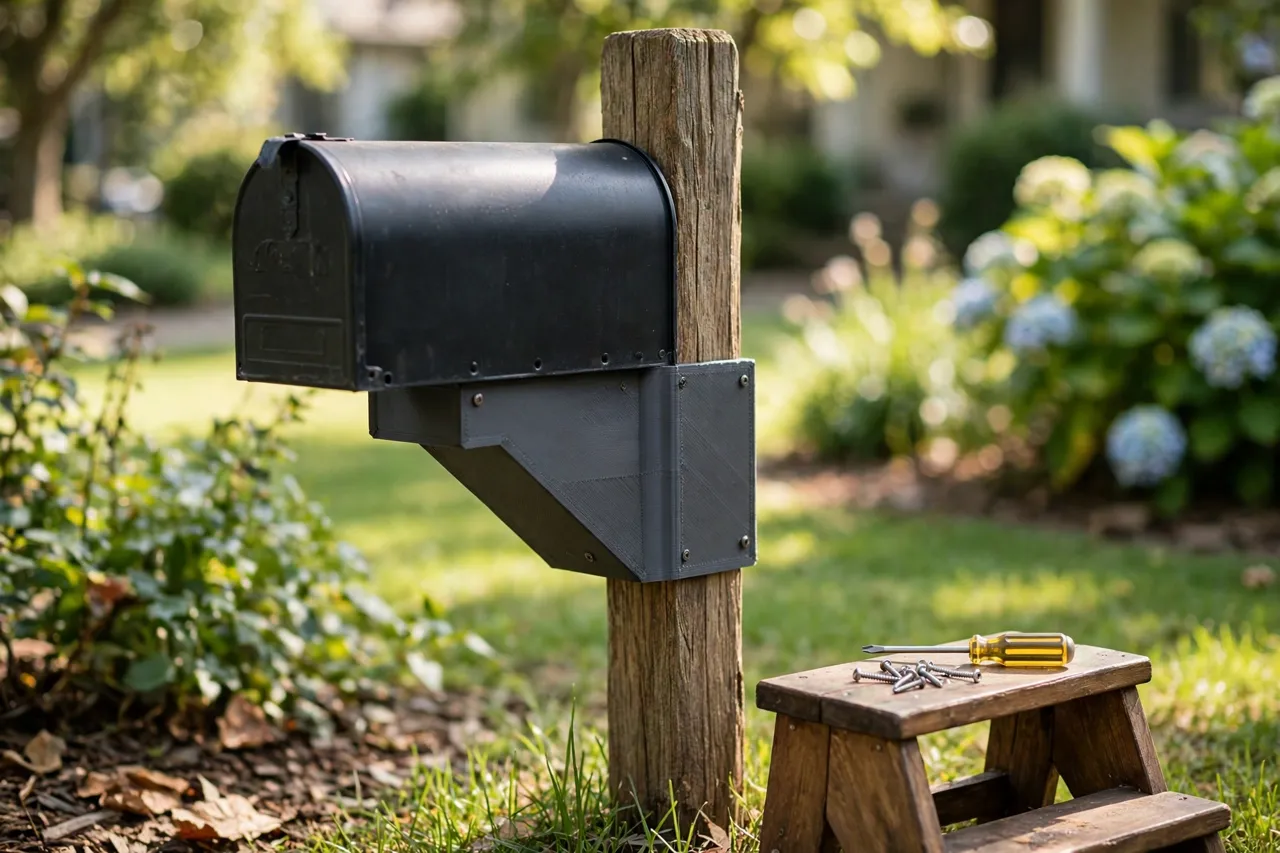
A 3D printed mailbox post adapter solves the mismatch at the joint. It is a plate, sleeve, or collar that sits between the box and the post, translating one hole pattern into another and presenting a flat, square seat for the new box. Print it to your actual measurements, bolt it on, and the mailbox sits level and solid.
A note on scope: these adapters are fitting aids for a standard residential mailbox on its post. They are not structural replacements for a damaged or rotten post, and they do not make a post meet any local postal or roadside regulation — check your local rules for mailbox height, setback, and breakaway requirements before you start. If the post itself is rotted, leaning, or loose in the ground, fix or replace the post first; no adapter compensates for a failing foundation.
What You Need
The adapter is a flat, chunky part. Measure the post and the box before you model anything.
Materials and tools
- A home 3D printer with a build area of roughly 150 mm in at least one direction
- PETG filament for outdoor use, or ASA if your printer handles it and the mailbox sits in harsh sun
- The mailbox and the post, plus a tape measure or calipers
- A spirit level, a cordless drill, exterior-rated screws or bolts, and a screwdriver
- Sandpaper or a file, a pencil, and a saw if the post top needs trimming
Outdoors, PETG is the minimum. PLA will warp in summer sun and crack over winter, and a mailbox adapter that warps lets the box tilt. ASA is the upgrade for very hot or exposed locations.
Suggested print settings
- Layer height: 0.20 to 0.28 mm — mailbox adapters are chunky, functional parts.
- Walls: 4 to 5 perimeters, since the adapter is clamped between box and post and sees vibration from passing traffic.
- Infill: 40 to 50 percent, grid or gyroid, so the plate does not crush under bolt pressure.
- Top and bottom layers: 4 or more, for flat faces that seat truly.
- Orientation: Print flat, post side down, for the flattest base.
- Supports: Usually none for plates; a collar design may need supports under an overhanging lip.
Print a test fit in cheap filament first and check it against the real post and box before the final print.
Design Considerations
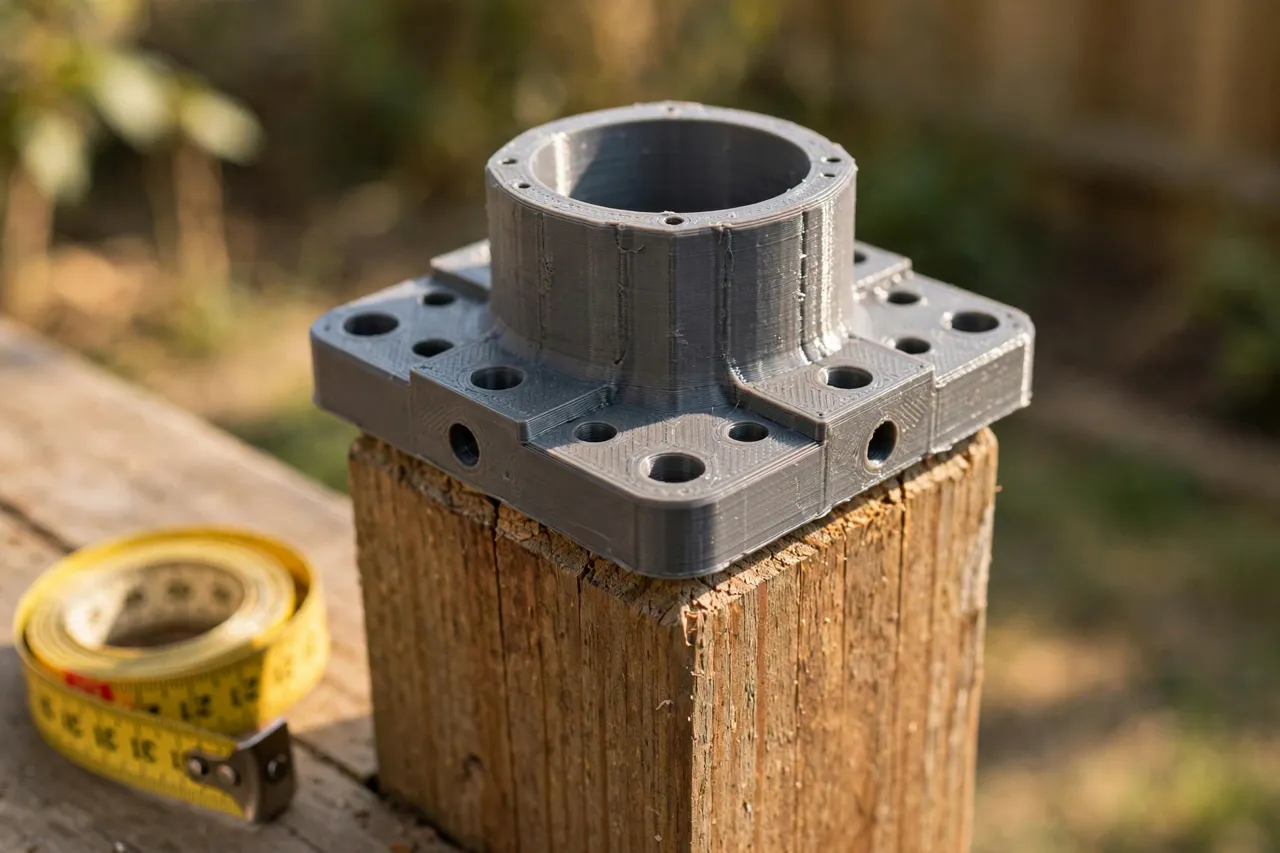
Mailbox post adapters take three common forms. Choose the one that matches your mismatch.
1. The hole-pattern plate
The most common adapter is a flat plate with two sets of holes: one matching the post top, one matching the mailbox floor. The plate is drilled — or rather, printed — with both patterns, and the box bolts to the plate while the plate bolts to the post. Make the plate at least 5 mm thick, and stagger the two hole patterns so no holes overlap and weaken the plate. Add a slight raised lip around the edge to locate the box and stop it sliding sideways.
2. The post-top sleeve
When the post is round, undersized, or an odd shape, a sleeve that slips over the post top presents a standard square or rectangular seat for the box. Model the sleeve with an inner bore matching the post — measure the post in several directions, since weathered timber is rarely round or square — and a flat top with the box’s hole pattern. Add a set screw or a through-bolt hole so the sleeve cannot lift off the post.
3. The leveling wedge
Old posts rarely stand perfectly plumb, and a box mounted on a tilted post looks wrong and can let rain pool inside. A shallow wedge adapter corrects a small tilt, usually up to a few degrees. Measure the tilt with a spirit level, model the wedge to cancel it, and check the result before final tightening. A wedge only corrects small angles; a post that leans badly needs straightening or replacing, not wedging.
In every design, think about water. Drill or model a small drainage channel or gap so rain does not pool between plate and post top, where it will rot the timber. And keep the adapter’s footprint inside the mailbox floor outline, so it stays hidden and does not catch rain on an exposed ledge.
Step-by-Step: Printing and Assembly
- Remove the old mailbox and inspect the post top for rot, splitting, or old fasteners.
- Measure the post top in several directions, and measure the mailbox floor and its hole pattern.
- Measure the tilt with a spirit level, if the post is not plumb.
- Model the adapter — plate, sleeve, or wedge — with both hole patterns, clearance for the fasteners, and a drainage gap.
- Print a test fit and check it on the real post and box, without fasteners first.
- Clean it up. Sand the seating faces flat, clear the holes, and check the box sits level on the adapter.
- Adjust and reprint if anything rocks or binds, then print the keeper in PETG or ASA.
Mark the adapter’s front edge with a paint pen so you fit it the right way round at the roadside, where it is easy to get disoriented.
Step-by-Step: Fitting the Adapter to the Post
- Clean the post top. Remove old screws, loose splinters, and debris so the adapter seats fully.
- Set the adapter on the post and check it sits flat with no rocking.
- Mark and drill pilot holes into the post top, square to the surface and slightly shallower than your screws.
- Bolt the adapter to the post with exterior-rated fasteners, tightening evenly so the plate does not tilt.
- Check level in both directions before going further. Adjust now, while only the adapter is fixed.
- Set the mailbox on the adapter, align its holes, and bolt it down, alternating sides for even pressure.
- Check the door swings freely and the box sits level. Open and close it a few times.
- Seal the joint lightly if rain pools anywhere — a small bead of exterior sealant under the adapter’s uphill edge directs water away.
Stand back and look from the road. A mailbox that looks level from the house but tilted from the street is still tilted — check both angles.
Tips for Better Results
- Measure the post in several directions. Weathered timber is oval, tapered, and split. One measurement is never enough.
- Use exterior-rated fasteners. Ordinary screws rust, stain, and seize. Stainless or coated exterior screws are worth the small extra cost.
- Keep the adapter hidden. A footprint inside the box outline looks tidy and sheds water better.
- Print a spare. Adapters are cheap, and a spare in the garage saves a reprint if the box is knocked by a passing vehicle.
- Check local rules first. Height, setback, and breakaway requirements vary, and an adapter does not exempt a mailbox from them.
Common Mistakes to Avoid
- Adapting onto a rotten post. If the post top is soft, the screws will pull out no matter how good the adapter is. Replace the post.
- Making the plate too thin. A 3 mm plate flexes under bolt pressure and lets the box rock. Go 5 mm or thicker.
- Overlapping hole patterns. Two holes that intersect leave a weak slot instead of two holes. Stagger the patterns in the design.
- Forgetting drainage. A flat plate that traps water rots the post top within a season or two.
- Using PLA outdoors. It will warp in the first hot summer and the box will tilt. Use PETG or ASA.
Care, Storage, and When to Choose an Alternative
Check the mailbox fixings once a year, especially after winter, and re-tighten anything that has worked loose. Rinse off road grime when you wash the box. If an adapter cracks after a knock, reprint it from the proven file.
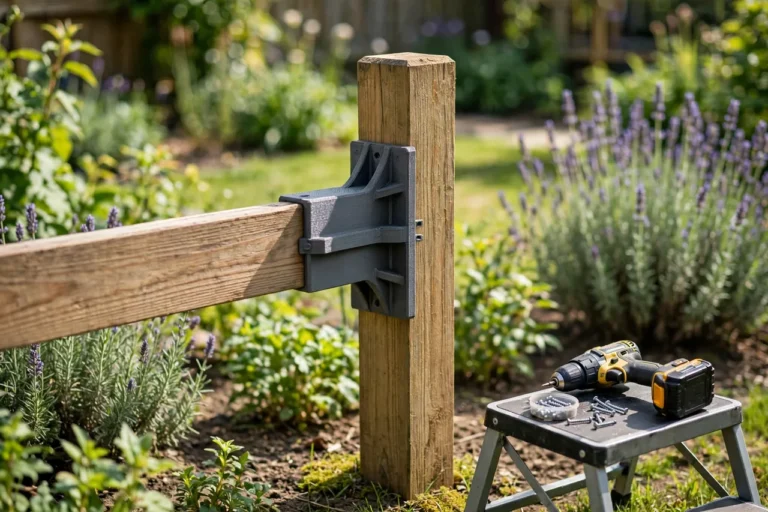
Sometimes the right answer is a new post, not an adapter. If the post is rotted, leaning, loose, or below the height your local rules require, replace it properly rather than adapting around it. Adapters are at their best when the post is sound and only the box-to-post joint mismatches. For the finishing touches, our guide “3D Printed Mailbox Number Frames: Frames for Mailbox Numbers” covers dressing up the finished box, and if your fence needs similar help, “3D Printed Fence Rail Adapters: Fit Rails to Any Post” applies the same adapter thinking to fence rails.
FAQ
Will a printed adapter hold a heavy steel mailbox?
For a standard residential steel or plastic mailbox on a sound post, yes, provided the plate is thick, the infill is generous, and the fasteners bite into solid timber. For a very heavy masonry or brick mailbox, no — that is a construction job, not an adapter job.
Can I use the adapter to raise the mailbox to the correct height?
A small raise of 10 to 20 mm is fine with a thicker plate or stacked plates. A large raise is not an adapter job — it changes the leverage on the post and looks wrong. Adjust the post height instead.
My post is round and my box is made for a square post. Does a sleeve really work?
Yes, that is exactly what the sleeve design is for. Measure the round post’s diameter carefully, bore the sleeve to match with a little clearance, and pin it with a through-bolt so it cannot rotate.
The box still rocks slightly after fitting. What should I check?
Check the adapter sits flat on the post top — a high spot or old screw stub is the usual cause. Also check the box floor itself is flat; a dented box floor rocks on any adapter.
Conclusion
A new mailbox should not demand a new post. A printed adapter, measured to the post and box you actually own, bridges the gap between them and gives you a level, solid, tidy result for the cost of a few grams of filament. Measure carefully, print in weatherproof filament, think about drainage, and check the result from the road as well as from the house.
Fit it once, and the next mailbox replacement gets easier too — the adapter stays, and only the box changes.