Introduction
Anyone who has center-punched a mark while holding the punch with bare fingers knows the feeling: one glancing hammer blow, and your knuckle reminds you about it for a week. The punch is small, the hammer is heavy, and your fingers are right next to the strike zone. It is a bad combination that every workshop repeats far too often.
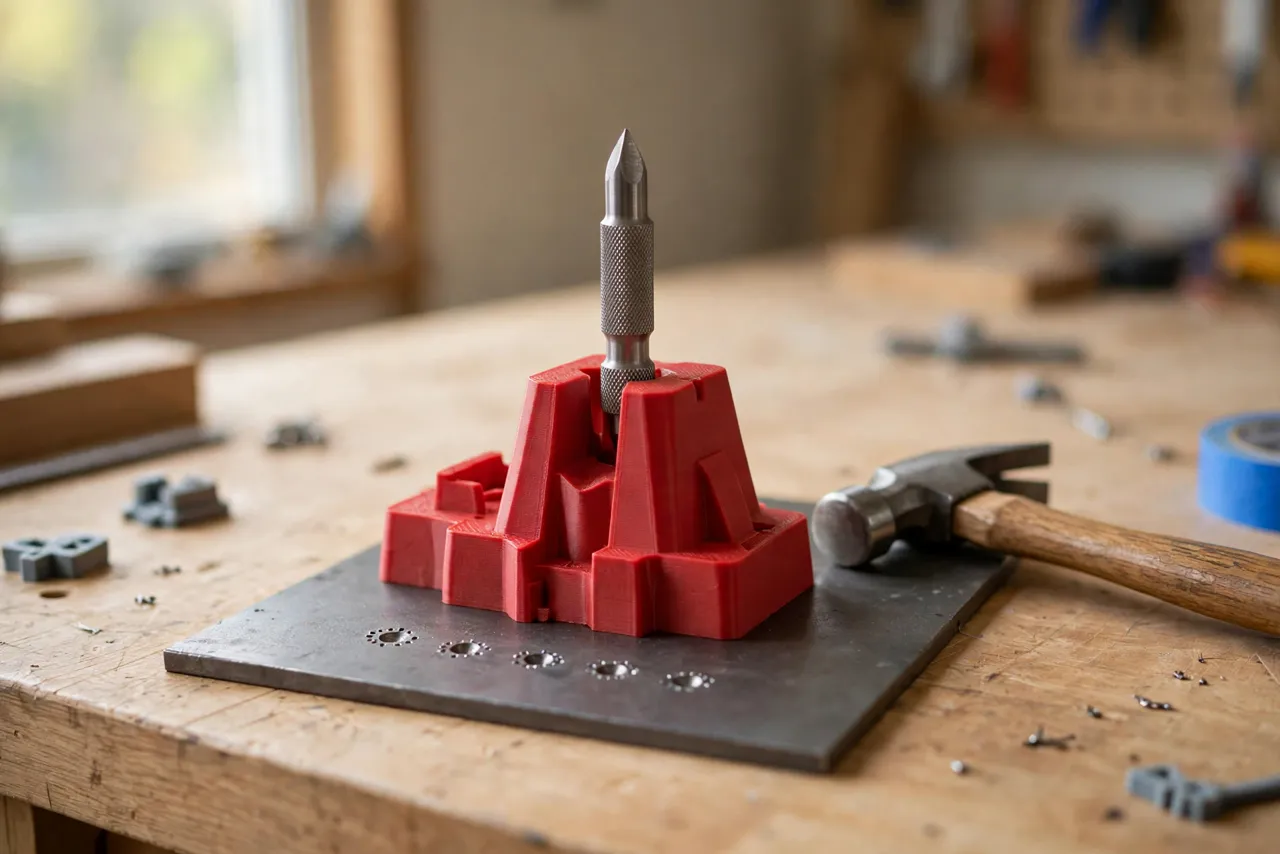
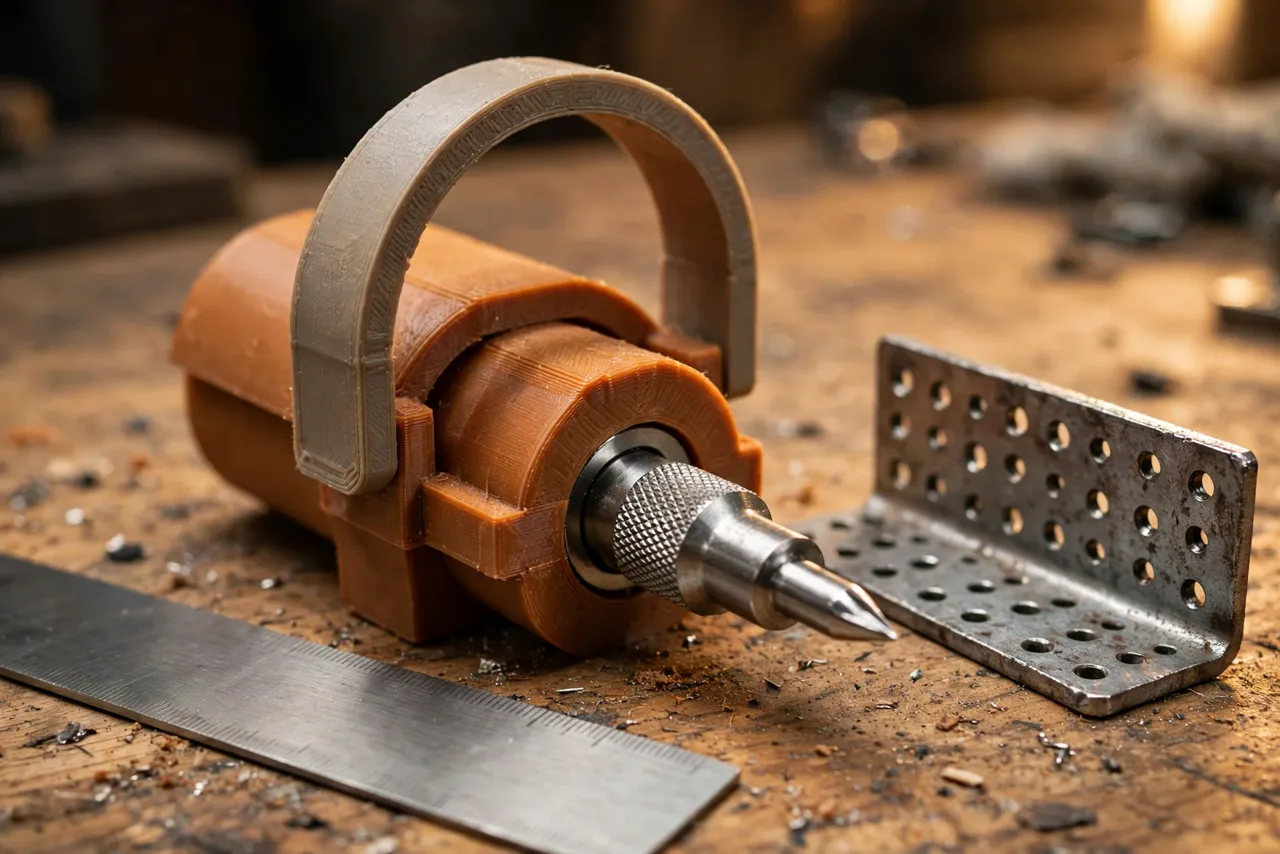
A center punch holder fixes the geometry. It is a printed sleeve that grips the punch and puts a guard — a wide shield or a long handle — between your hand and the hammer. You hold the holder, not the punch, so a missed blow hits plastic instead of skin. The punch still does the work; your fingers just stop volunteering as the backstop.
This guide covers designing, printing, and using a holder for a standard center punch. The holder is a grip and guard only — it holds a manufactured steel punch, and it does not replace the punch, the hammer, or eye protection. A holder makes punching safer, not risk-free, and the safety rules below still apply in full.
What You Need
The holder is a medium-sized print, and the punch is the one part you buy.
Materials and tools
- A home 3D printer with a modest build area
- PETG filament for a tough holder that can take a glancing blow, or PLA for a test version
- A manufactured steel center punch — measure its shank diameter and length
- A small hammer suitable for punch work, plus safety glasses
- Calipers for measuring the punch shank
- Sandpaper for smoothing the socket and guard edges
- Optional: a rubber grip sleeve or O-ring for the handle section
Buy or choose the punch first and design around it. Automatic center punches and manual punches have different shank shapes, so a holder modeled for one will not fit the other.
Suggested print settings
- Layer height: 0.20 mm is fine; 0.16 mm gives a cleaner socket.
- Walls: At least 4 to 5 perimeters — the socket wall and guard take impact.
- Infill: 50 to 70 percent, gyroid, so the holder feels solid and absorbs a glancing blow without shattering.
- Top and bottom layers: 4 or more.
- Orientation: Print upright, socket end down, so the guard prints as a solid disc and the socket stays round.
- Supports: Minimal, only if the guard overhangs sharply; a chamfered guard underside usually avoids supports.
Print a test holder first and check the punch fit before printing a final version.
Design Considerations
A punch holder has three jobs: grip the punch, keep the punch vertical, and keep your hand out of the way.
1. The socket
Measure the punch shank with calipers and model the socket 0.1 to 0.2 mm larger for a sliding fit, or slightly smaller with a split and clamp screw for a locking fit. The socket should grip at least 30 to 40 mm of the punch so the punch cannot tilt. A punch that tilts in its holder makes off-center marks, which defeats the purpose of punching at all.
For an automatic center punch, model the socket to clear the spring mechanism and leave the striking cap exposed — the holder grips the body, not the cap. For a manual punch, the socket grips the shank and leaves the striking end proud of the holder’s top.
2. The guard
The guard is a wide disc or shield partway up the holder, sized to cover your gripping hand — roughly 80 to 100 mm across. It should sit below the striking end so the hammer never has to pass it, and above the grip so your hand stays behind it. Chamfer or round the guard’s edge so it is comfortable against the back of your hand, and print it thick — at least 4 to 5 mm — so a glancing blow dents it rather than cracking through it.
The guard is a deflector, not armor. A direct, full-force hammer blow on a printed guard can still crack it. The guard’s real job is catching the glancing blows and slips that actually cause most injuries.
3. The grip
Below the guard, the grip should be long enough for a full hand — 90 to 110 mm — with a diameter of 30 to 36 mm and shallow texture for traction. A slight flare at the bottom stops the hand sliding off toward the workpiece. If the holder will be used with gloves, size the grip a little larger.
4. Visibility
The punch tip must stay visible so you can place it exactly on your mark. Keep the holder’s bottom short and open around the tip, or add a small sight window near the base. A holder that hides the tip forces you to guess, and guessing ruins the accuracy that center punching is for.
Step-by-Step: Printing and Assembly
- Measure your punch: shank diameter, length, and where the striking end sits.
- Model the holder with socket, guard, and grip, keeping the tip visible at the bottom.
- Print a test holder and check the punch fit. It should slide in firmly and sit vertical without wobble.
- Adjust the socket by 0.1 mm at a time until the fit is snug but removable.
- Clean up the print. Sand the guard edges smooth and clear any stringing from the socket.
- Test the assembly on scrap: place the punch on a mark, hold the holder, and tap the punch. Check that the holder stays steady and the mark lands where intended.
- Inspect after testing. If the guard cracked or the socket deformed, thicken those sections and reprint — a holder that fails under test has done you a favor.
Step-by-Step: Using the Punch Holder
- Put on safety glasses. Punching throws tiny chips, holder or not.
- Mark your hole positions with a pencil or scribe first.
- Seat the punch in the holder and confirm it sits straight and the tip is visible.
- Place the tip exactly on the mark, holding the holder vertical with the guard between your hand and the striking end.
- Check vertical by eye from two directions before striking — a tilted punch makes a mark that pulls the drill off-center.
- Strike firmly and squarely with the hammer, hitting the punch’s striking end, not the holder.
- Lift and check the mark. It should be a clean dimple centered on your layout mark. Re-punch lightly if it is too shallow, from the same position.
- Move to the next mark without rushing. Speed is what causes the glancing blows the holder is there to catch.
For drilling, a good punch mark is what keeps the bit from wandering on metal or hard surfaces. Pair this holder with a drilling template for repeated hole patterns — “3D Printed Drawer Pull Drilling Template: Center Handles Perfectly on Any Drawer” shows the same repeatability thinking applied to hole layout.
Tips for Better Results
- Print holders for each punch you own. A holder sized to one punch is far better than a universal holder that fits none well.
- Color-code by punch size. Bright colors make the right holder easy to grab.
- Add a hanging hole through the guard or grip so the holder lives on a pegboard hook.
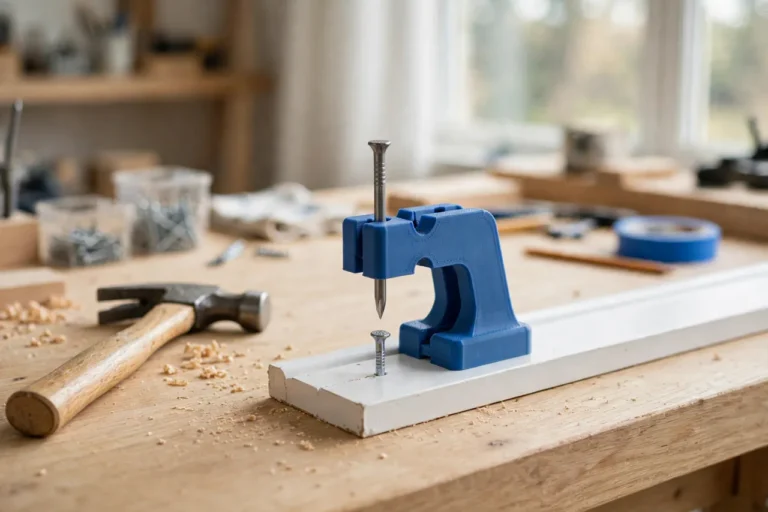
- Combine with a nail holder for small work. Our guide “3D Printed Nail Holder: Hammer Small Nails Without Hammering Your Fingers” solves the same finger-safety problem for nails, and the two holders make a natural bench pair.
- Keep the tip sharp. A dull punch needs harder blows, which cause more misses. Dress the tip on a grinder or stone, keeping its original cone angle.
Common Mistakes to Avoid
- Holding the punch directly “just for one mark.” One mark is all it takes. Use the holder every time.
- Striking the holder instead of the punch. Aim for the punch’s striking end; hitting the guard repeatedly will crack it.
- Skipping safety glasses. The holder protects fingers, not eyes.
- Using a tilted holder. A tilted punch makes a mark that misleads the drill. Check vertical before every strike.
- Using the holder on hardened steel or masonry without the right punch. Match the punch to the material; a holder does not make a wrong punch right.
- Ignoring a cracked guard. Retire and reprint a holder the moment it cracks. A cracked guard is a false sense of security.
Care, Storage, and When to Choose an Alternative
Brush metal chips out of the socket, hang the holder on its hook, and inspect the guard before each use. If the socket wears loose, reprint — the punch transfers to the new holder.
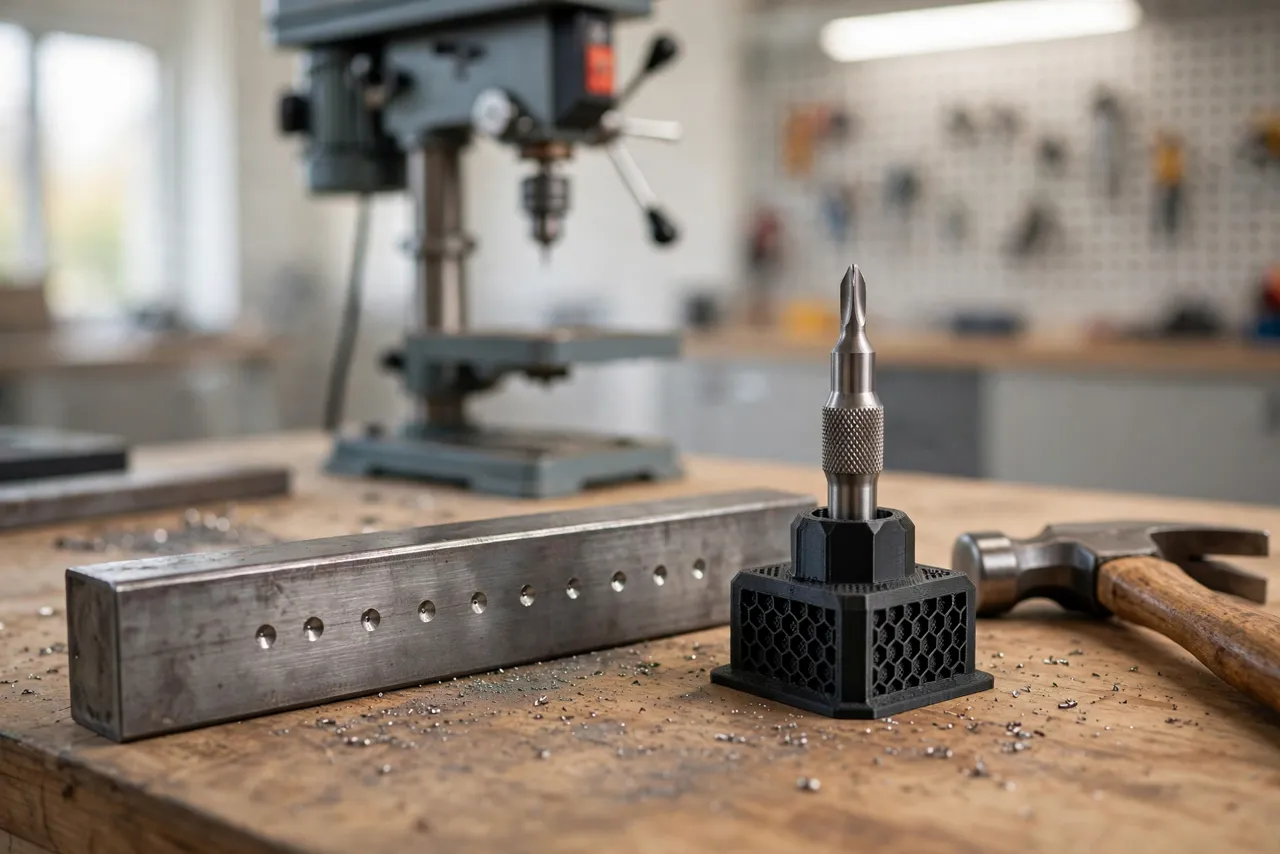
A printed holder is ideal for home workshops and occasional metalwork. For daily professional use, a manufactured punch holder with a steel guard will outlast plastic. For everyone else, a printed holder sized to your punch is cheaper, customizable, and a genuine safety upgrade over bare fingers.
FAQ
Will the holder work with an automatic center punch?
Yes, if you model the socket to grip the body while leaving the spring cap free to press. Measure the body diameter, not the cap, and test that the mechanism still fires with the holder fitted.
Can the guard stop a direct hammer blow?
Not reliably — it is designed to catch glancing blows and slips, which cause most injuries. Aim carefully, strike squarely, and replace any guard that cracks. The guard reduces risk; it does not remove it.
My punch wobbles in the holder. What is wrong?
The socket is too loose or too short. Tighten the bore by 0.1 to 0.2 mm, lengthen the socket’s grip to at least 30 mm, or add a split-and-screw clamp for a locking fit.
Can I use the holder with a prick punch or a nail set?
A prick punch of similar shank size will fit a matching socket, but size a holder to each tool rather than sharing one loosely. For nail sets, see our companion guide on nail set kits — the same finger-clearance idea applies.
Conclusion
Center punching should be a calm, accurate step before drilling, not a gamble with your knuckles. A printed holder moves your hand behind a guard, keeps the punch vertical, and leaves the tip visible so your marks land exactly where you intended.
Print one for the punch you use most, keep your safety glasses on, and retire any holder the moment it cracks. Your fingers will not miss the old way at all.