Introduction
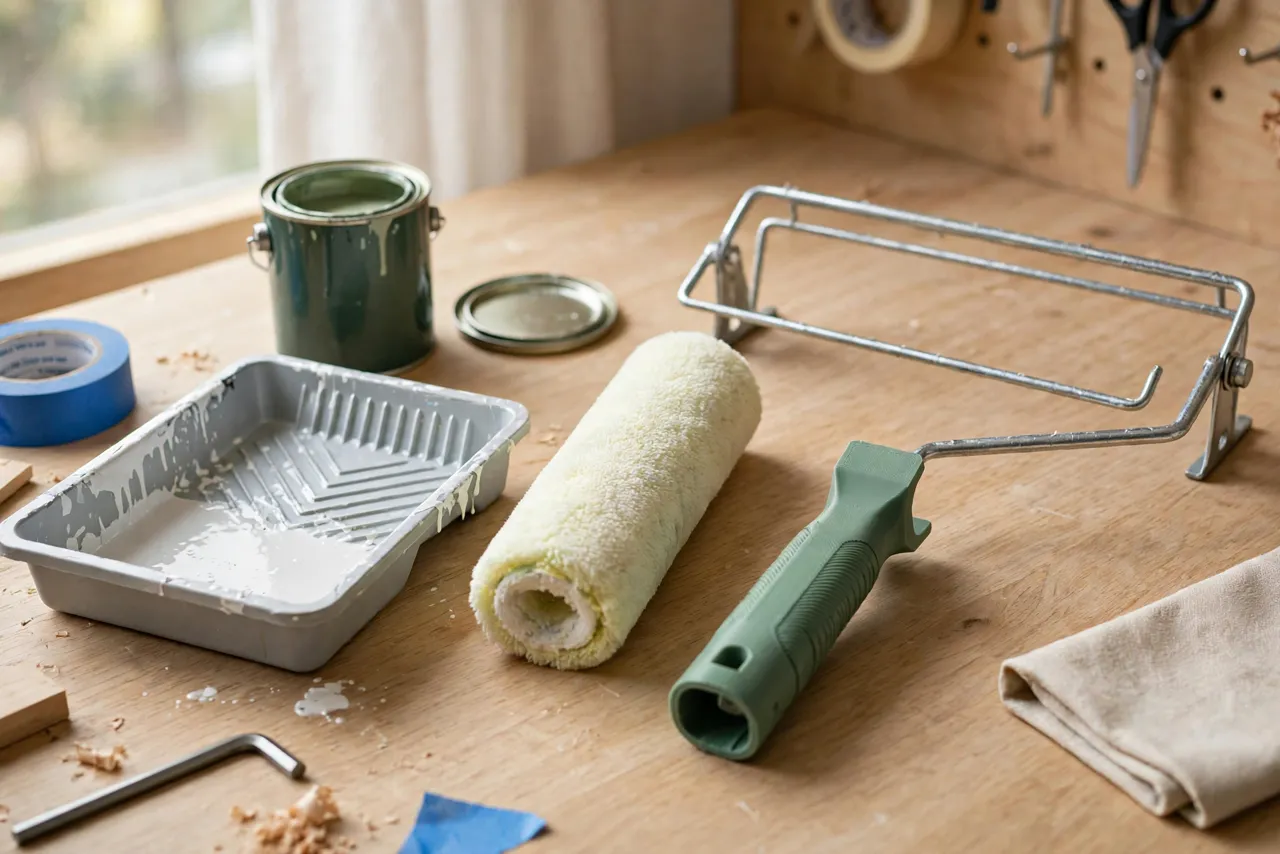
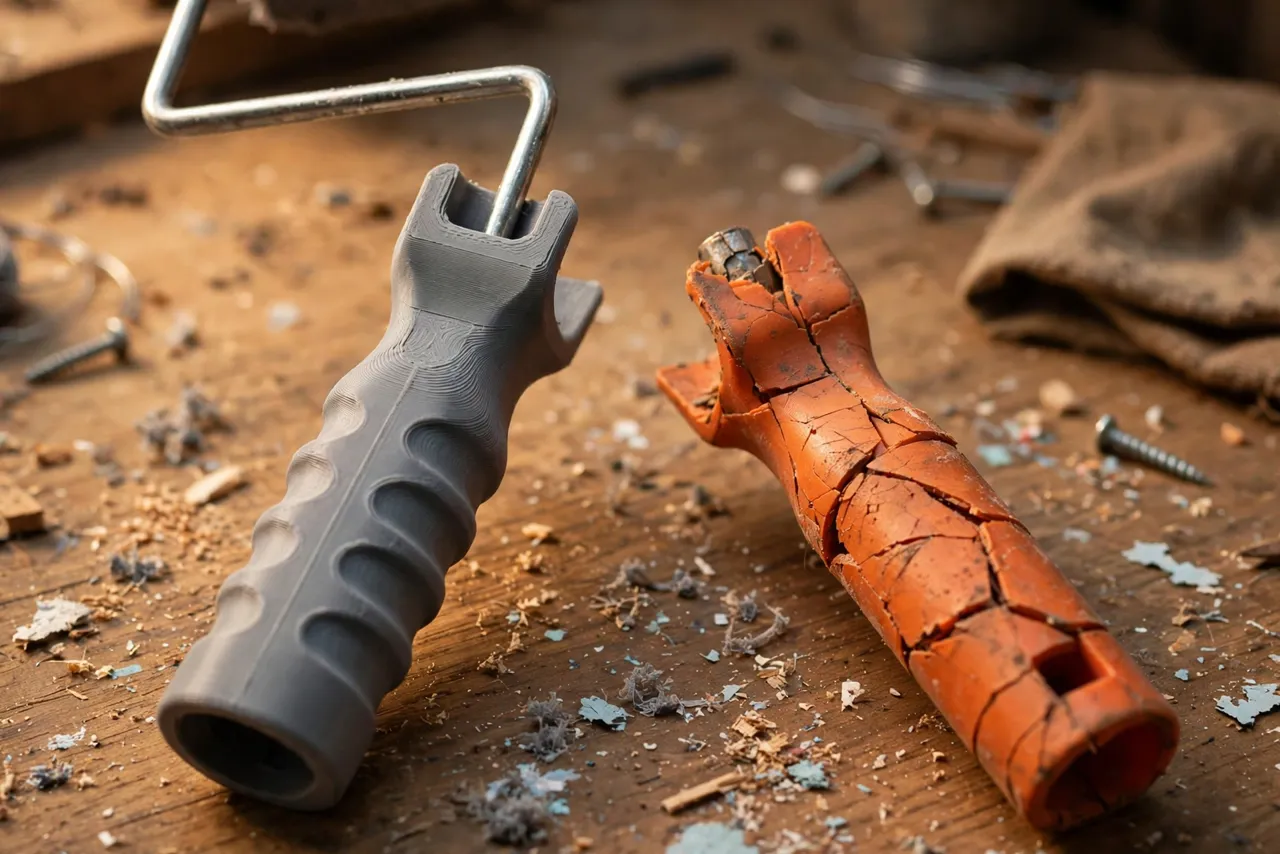
Paint roller frames are simple tools, and their handles are the part that fails. The frame wire lasts for years, but the plastic grip cracks, spins loose, or splits where it meets the wire — usually halfway through a room. Throwing away a good frame for a broken grip is wasteful, and buying a whole new frame for a handle problem feels wrong.
Printing a replacement handle fixes the economics. You measure the frame wire, print a grip shaped for your hand, and press or screw it onto the wire you already own. The frame is back in service the same evening, with a handle that fits you better than the original did.
This guide covers a replacement handle for standard wire roller frames. The printed part is a grip only — it holds a manufactured metal frame and a standard roller sleeve, and it never replaces the frame wire or the sleeve itself. Paint, solvents, and water all affect printed plastic, so the material and care notes below matter as much as the design.
What You Need
The handle is a medium print, and the frame wire is the part you reuse.
Materials and tools
- A home 3D printer with a modest build area
- PETG filament for a handle that resists paint, water, and cleaning solvents better than PLA, or ASA if you have an enclosed printer and want the toughest option
- Your existing roller frame, with its old handle removed — measure the wire diameter and shape
- Calipers for measuring the wire and the old handle’s grip size
- Sandpaper for smoothing the grip and fitting the socket
- Optional: a set screw or epoxy for fixing the handle to the wire, and grip tape for extra traction
Remove the old handle carefully and keep it for reference. Its grip diameter and length are a useful starting point, even if you plan to improve on them.
Suggested print settings
- Layer height: 0.20 mm is fine; 0.16 mm gives a smoother grip.
- Walls: At least 4 to 5 perimeters — the handle wall carries the rolling force.
- Infill: 50 to 70 percent, gyroid, so the handle feels solid and does not flex under pressure.
- Top and bottom layers: 4 or more.
- Orientation: Print upright, socket end down, so the wire socket prints cleanly and the grip layers run around the handle.
- Supports: None for a simple tapered grip; a flared end cap may need a little support.
Print a test handle first and check the wire fit before printing a final version.
Design Considerations
A roller handle has to survive paint, water, pressure, and repeated cleaning — a harder life than most printed grips.
1. The wire socket
Measure the frame wire diameter with calipers — common roller frames use wire around 6 to 8 mm, but shapes vary, including flattened or bent ends. Model the socket 0.1 to 0.2 mm larger than the wire for a sliding fit, and deep enough to grip at least 40 to 50 mm of wire so the handle cannot rock. If the wire end is bent or flattened, model the socket to match that shape, or drill the socket straight and bed the wire in epoxy. Add a cross-hole for a set screw if you want the handle removable for cleaning.
A handle that spins on the wire is useless. Glue it, screw it, or both — friction alone will fail the first time the roller is loaded with paint and pushed hard.
2. Grip shape and size
Roller handles get gripped for hours, so shape matters. A diameter of 30 to 36 mm suits most hands, with a gentle barrel profile and a flared end cap that stops the hand sliding off. Length of 110 to 130 mm gives control without crowding the frame. Keep the grip texture shallow — deep knurling collects paint and is miserable to clean. A smooth or lightly fluted grip wipes clean easily and still holds well, especially with a slightly tacky material like PETG.
3. Paint and solvent resistance
PETG handles water-based paints and routine washing well. PLA softens in warm water and can deform if left soaking, so avoid PLA for a keeper handle. Neither plastic loves strong solvents: do not soak a printed handle in paint thinner or stripper. Wash promptly with water for latex paint, and wipe off oil-based paint with a rag rather than soaking the handle.
4. Balance and weight
A printed handle is lighter than many factory grips, which can make the frame feel tip-heavy with a loaded roller sleeve. If the balance feels wrong, print the handle with higher infill or add a small internal cavity for a steel washer as ballast. A well-balanced roller is less tiring over a whole room.
Step-by-Step: Printing and Assembly
- Remove the old handle and measure the frame wire: diameter, shape, and how far it extends into the old handle.
- Model the new handle with a matching socket, a comfortable grip, and a flared end cap.
- Print a test handle and check the wire fit dry, before any glue.
- Adjust the socket by 0.1 mm at a time until the wire seats fully with light pressure.
- Sand the grip lightly and round any sharp edges.
- Fix the handle to the wire. Epoxy the wire into the socket, add a set screw if your design allows, and let glue cure overnight.
- Test the assembly on a dry roller sleeve: roll it on a wall or board and check that the handle does not spin, rock, or flex excessively.
- Wash and dry the handle before first paint use, to remove any loose filament dust.
Step-by-Step: Using Your Repaired Roller Frame
- Fit a clean roller sleeve and check that it spins freely on the frame.
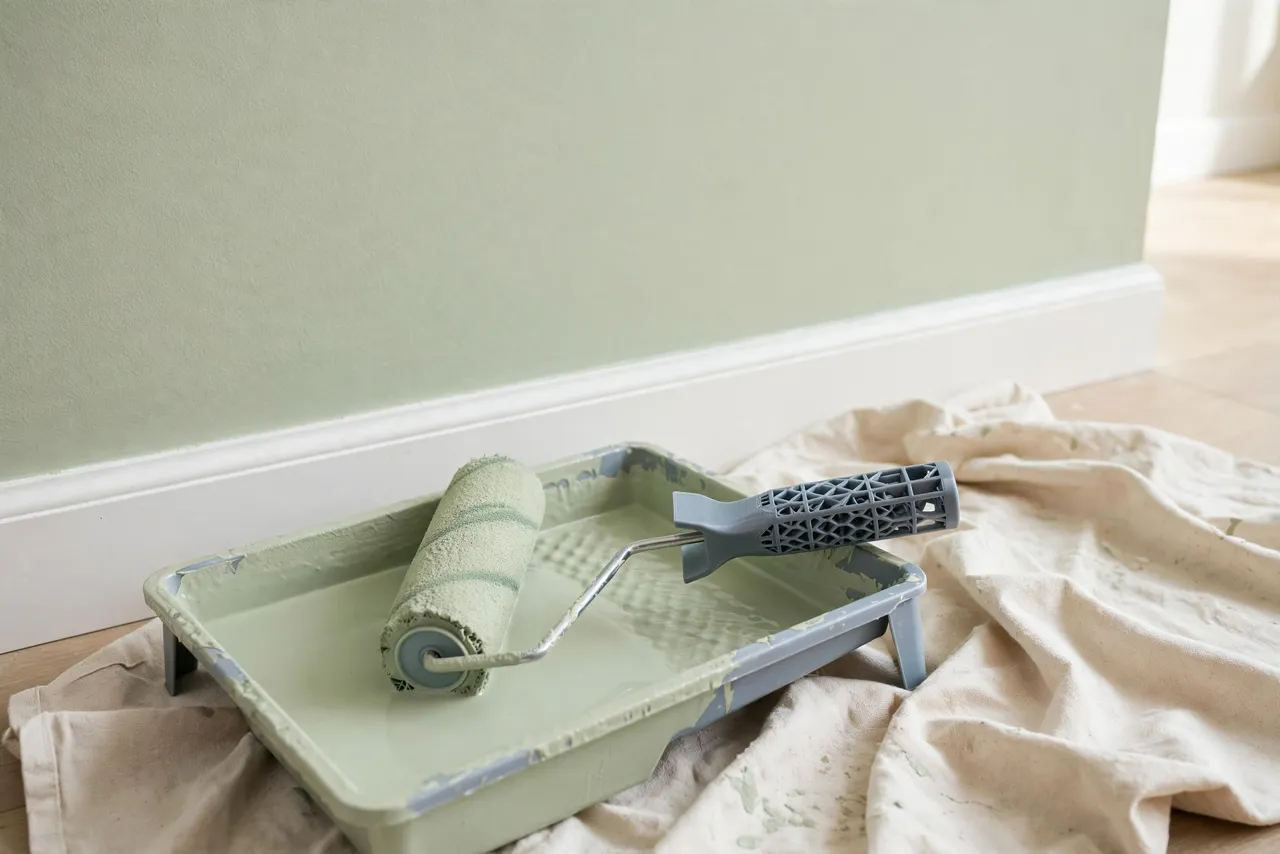
- Load the roller evenly in the tray, rolling it back and forth until the sleeve is uniformly coated, not dripping.
- Roll in a W pattern on the wall, then roll back over it to even out the coat — the handle’s job is to let you keep steady, even pressure.
- Keep pressure moderate. Pressing hard squeezes paint out unevenly and flexes the frame; let the sleeve do the work.
- Clean promptly after painting. For latex paint, wash the sleeve and wipe the handle with water before paint dries on it.
- Dry the frame fully before storing, and hang it by the handle hole or frame hook so the sleeve does not flatten.
A repaired frame should feel like a new one. If the handle spins, rocks, or flexes noticeably, stop and refit it — a loose handle mid-room leads to uneven coats and drips.
Tips for Better Results
- Print a spare handle while you are at it. Roller handles fail at the worst moment, and a spare in the paint box costs almost nothing.
- Color-code by roller size. A green handle for 9-inch frames and a blue one for 4-inch frames, for example, makes grabbing the right frame instant.
- Add a hanging hole through the end cap so the frame hangs neatly in the paint store or garage.
- Pair the repair with good painting prep. Our guide “3D Printed Paint Stirring Paddles: Mix Paint and Finishes Without the Splatter” covers another printed painting helper, and the two together make a tidy painting kit.
- Keep the grip clean. Dried paint on the grip makes it slippery and uncomfortable; a quick wipe after each session keeps it pleasant.
Common Mistakes to Avoid
- Printing the handle in PLA for a keeper. PLA softens in warm wash water and deforms. Use PETG or better for any handle that will be washed.
- Relying on friction alone to hold the wire. Glue it, screw it, or both — a spinning handle ruins a paint job.
- Soaking the handle in solvent. Strong thinners attack printed plastic. Wash promptly with water for latex paint; wipe, do not soak, for oil-based paint.
- Making the grip too thin. A slim handle looks neat and feels awful after an hour of rolling. Size it for a full, relaxed grip.
- Ignoring balance. A very light handle with a heavy loaded sleeve is tiring. Add infill or ballast if the frame feels tip-heavy.
- Using the printed handle as a hammer or pry tool. It is a paint grip, not a striking tool. Keep a proper hammer for hammering.
Care, Storage, and When to Choose an Alternative
Wipe the handle clean after each use, dry it fully, and hang the frame so the sleeve stays round. Inspect the socket joint occasionally — if the handle starts to rock on the wire, re-glue it or reprint. If the grip cracks, reprint it and transfer the frame.
A printed handle is ideal for saving a good frame at home. For a professional painter rolling all day, a manufactured frame with a factory grip may last longer under constant washing and heavy use. For the homeowner painting a room or two, a printed handle sized to your frame and hand is cheaper, more comfortable, and keeps a good frame out of the bin.
FAQ
Will a printed handle fit any roller frame?
Only one sized to its wire. Measure your frame’s wire diameter and shape, and model the socket to match. Different brands use different wire sizes, so a handle printed for one frame may not fit another.
Can I wash a PETG handle with water?
Yes — PETG handles routine water washing for latex paint well. Avoid hot soaking and strong solvents, and dry the handle fully before storing.
My handle spins on the wire. How do I fix it?
Remove it, clean the socket and wire, and refit with epoxy plus a set screw if your design allows. A spinning handle means the fit was friction-only or the socket wore loose — glue and a screw solve both.
The handle feels too light and the roller feels tip-heavy. What helps?
Increase infill to 70 percent or more, or add a small ballast cavity for a steel washer near the end cap. A little extra weight at the grip end restores balance.
Conclusion
A cracked roller handle should not mean a new frame. Measure the wire, print a grip shaped for your hand in PETG, fix it firmly with glue or a screw, and the frame is back to work the same evening — more comfortable than the original, and a spare handle away from the next failure.
Save the frame, skip the bin, and roll the next room with a handle that actually fits you. And when the job is done, 3D Printed Paint Can Lid Remover and Resealer Tool: Open and Seal Cans Without the Mess closes the can cleanly for next time.