Introduction
Finish nails are supposed to disappear. You drive them, set them just below the surface, fill the tiny hole, and the trim looks untouched. In practice, the last few millimeters are where things go wrong: the hammer slips off the nail head, dents the trim, or the nail set skates across the paint and leaves a crescent scar that no amount of filler quite hides.
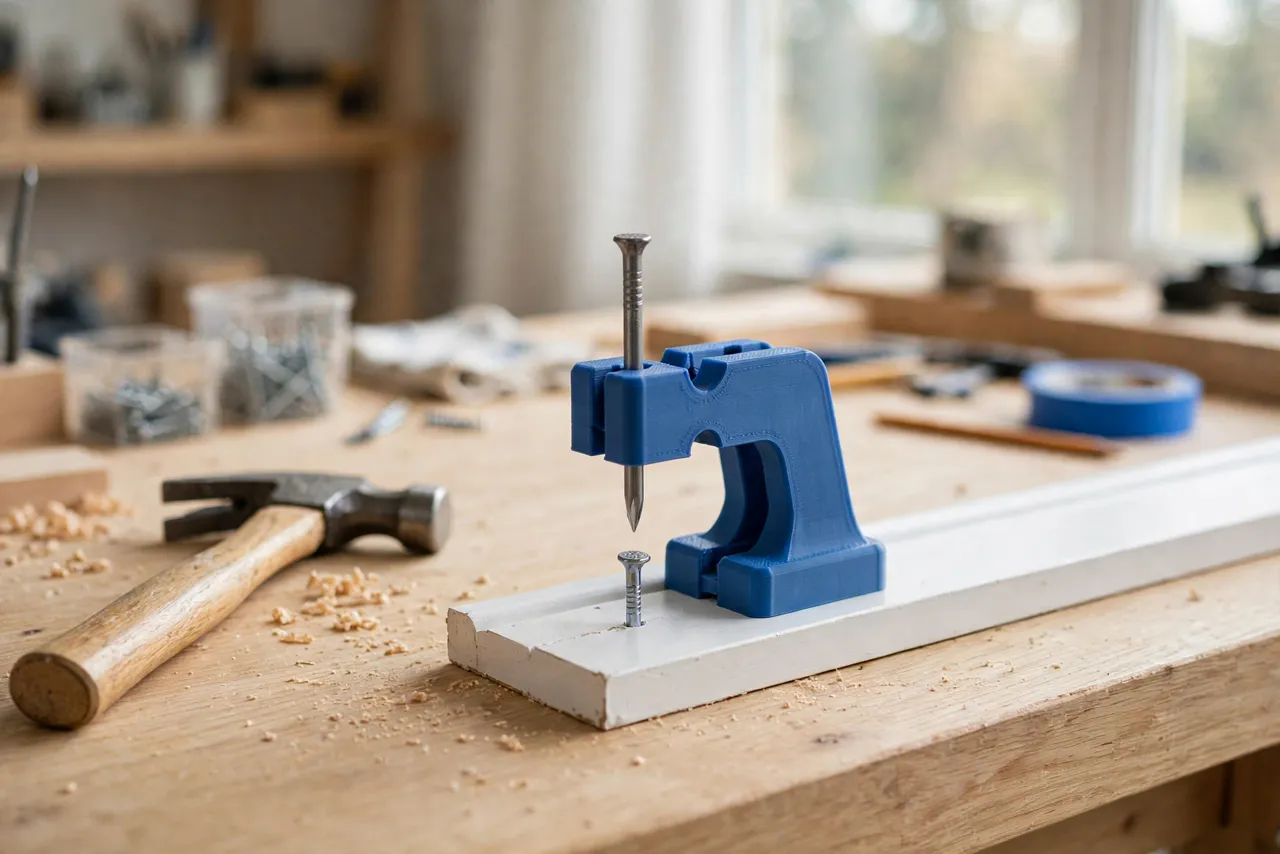
A nail set kit built around printed holders and guides changes that last step from a nervous tap into a controlled one. A holder keeps your fingers clear of the hammer, a guide keeps the set vertical and centered on the nail, and a depth stop keeps you from driving the nail too deep. None of these parts drive the nail — manufactured steel nail sets do that — but they make the steel set far easier to control.
This guide covers a small kit: a nail set holder, a surface guide, and a depth stop, sized for common finish nails. Think of the printed parts as guides and guards only. They do not carry hammer force, and they never replace the steel set itself.
What You Need
The kit is a handful of small prints, plus steel nail sets.
Materials and tools
- A home 3D printer with a modest build area
- PETG filament for holders that can take glancing blows, or PLA for test versions
- Manufactured steel nail sets in the sizes you use — commonly 1/32, 1/16, and 3/32 inch tips
- Finish nails in the sizes you install, for testing
- A small hammer, safety glasses, and scrap trim for practice
- Calipers for measuring nail set shanks
- Sandpaper for smoothing guides and holders
Buy the nail sets first and design around them. Nail set shanks vary between brands, and a holder modeled from a guess will fit nothing.
Suggested print settings
- Layer height: 0.20 mm is fine throughout.
- Walls: At least 4 perimeters — holder walls and guide edges take knocks.
- Infill: 40 to 60 percent, gyroid.
- Top and bottom layers: 4 or more, for flat guide faces.
- Orientation: Print holders upright like the punch holder; print guides flat so their contact face is true.
- Supports: None for simple holders and guides; a flared guide base may need a little support.
Print one holder first, test it with its nail set, then print the rest of the kit.
Design Considerations
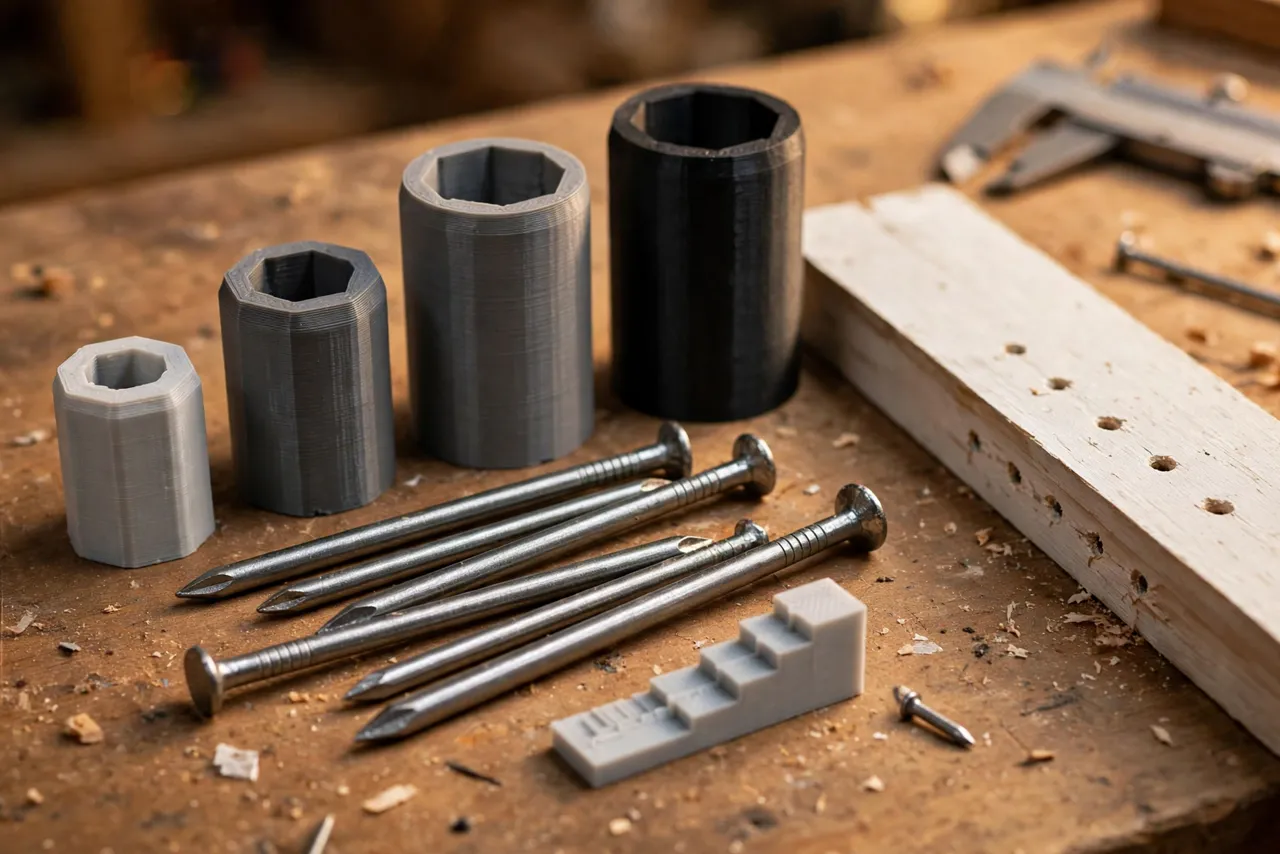
The kit has three parts, and each one solves a different failure mode.
1. The nail set holder
This is the same idea as a punch holder: a sleeve that grips the nail set’s shank, with a guard disc between your hand and the hammer. Size the socket to your measured set shank with 0.1 to 0.2 mm of clearance, gripping at least 30 mm of shank so the set stays vertical. The guard should be 70 to 90 mm across — wide enough to cover your grip, small enough to see the work around it. The set’s tip must stay visible below the holder so you can center it on the nail head.
2. The surface guide
The guide is a flat disc or square that sits on the trim surface with a centered hole for the nail set tip. It does two things: it keeps the set vertical, and its broad face spreads any slip so a skating set cannot gouge the trim. Size the hole to your set tip plus about 0.3 mm of clearance, and make the guide 3 to 4 mm thick with a felt or rubber pad on its underside to protect paint. Cut a small sight notch in one edge so you can see the nail head as you center the guide.
3. The depth stop
The simplest depth stop is a collar on the nail set, like a drill depth collar, set so the set cannot drive the nail deeper than about 1 to 2 mm below the surface. Alternatively, print a stepped gauge: a small block you hold beside the nail head to judge depth by eye. The collar version is more reliable, but it must be sized to your set shank and checked on scrap — a mis-set collar drives nails too deep just as reliably as it stops them at the right depth.
Step-by-Step: Printing and Assembly
- Measure your nail sets: shank diameter, tip size, and length.
- Model the holder for your most-used set first, with socket, guard, and grip.
- Print and test the holder. The set should sit vertical without wobble, and the tip must stay visible.
- Model the surface guide for the same set, with a centered hole, sight notch, and padded underside.
- Print the guide flat and check that the set slides through it smoothly and stands vertical.
- Model and print the depth collar if you want one, and set it on scrap.
- Repeat for your other set sizes, labeling each holder and guide by tip size.
- Test the whole kit on scrap trim before using it on a real room.
Label everything. Three holders and three guides that all look alike will slow you down exactly when you want to work fast.
Step-by-Step: Using the Nail Set Kit
- Drive the finish nail with the hammer until the head is just proud of the surface — about 1 to 2 mm.
- Put on safety glasses if you are setting many nails; chips and slipped sets happen.
- Place the surface guide over the nail, centering its hole on the nail head using the sight notch.
- Seat the nail set in its holder, and place the set tip through the guide onto the nail head.
- Hold the holder vertical with the guard between your hand and the hammer.
- Tap lightly and check. One or two light taps should sink the head just below the surface. Check depth after each tap — it is easy to add a tap, and hard to undo an over-driven nail.
- Remove the guide and check the surface. The nail head should sit about 1 mm below the surface with no dent or crescent mark around it.
- Fill the hole with wood filler, let it cure, sand it flush, and touch up the paint.
The rhythm is: tap, check, tap, check. Rushing the last millimeter is how trim gets dented.
Tips for Better Results
- Practice on scrap trim first, especially if the trim is painted hardwood or MDF, which dent differently.
- Match the set tip to the nail head. A tip much smaller than the head can slip off; a tip much larger can bruise the surrounding surface through the guide.
- Keep a filler and putty knife with the kit. Setting, filling, and sanding in one session keeps the workflow tidy.
- Pair the kit with a nail holder for starting nails. Our guide “3D Printed Nail Holder: Hammer Small Nails Without Hammering Your Fingers” covers holding tiny finish nails while you start them, and this kit covers finishing them — together they handle the whole nailing job.
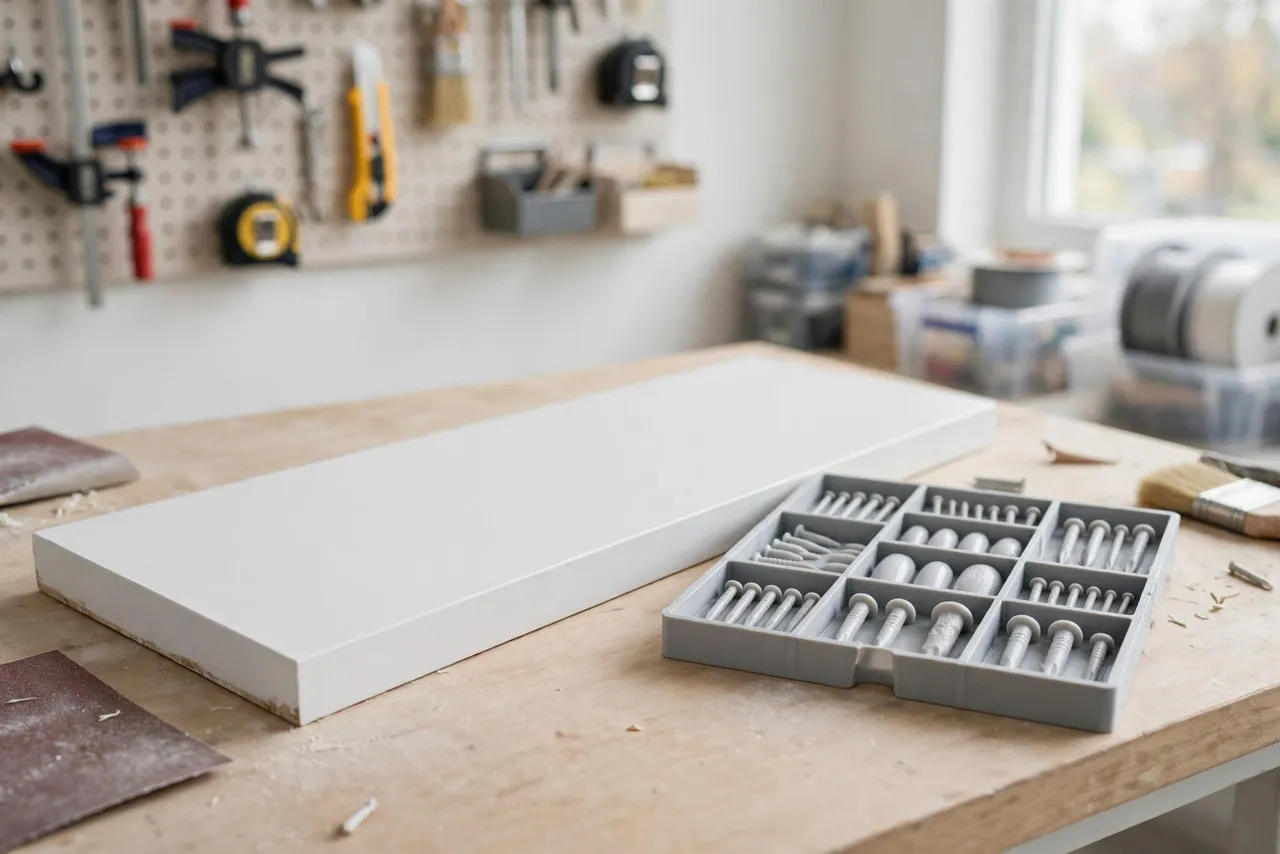
- Store the kit together in a small printed tray or a zip bag so holders, guides, and sets stay matched by size.
Common Mistakes to Avoid
- Setting nails with the hammer directly. The hammer face is far wider than the nail head and will dent trim. Always finish with a set.
- Driving the nail too deep in one blow. Deep holes need more filler and can split thin trim. Tap and check.
- Using a set tip that is too small for the nail head. It slips off and scars the surface.
- Skipping the guide on painted trim. Paint shows every slip. The guide is cheap insurance.
- Hammering the holder instead of the set. Aim for the set’s striking end, as with any punch holder.
- Filling before checking depth. A nail head still proud of the surface will show through filler. Check depth first, then fill.
Care, Storage, and When to Choose an Alternative
Brush filler dust and chips out of the guides, keep holders and guides labeled by size, and retire any holder with a cracked guard. If a guide’s hole wears wide, reprint it — a loose guide no longer keeps the set vertical.
A printed kit is ideal for home trim work and occasional finish nailing. For daily professional trim carpentry, manufactured nail sets with knurled grips and steel guides will outlast plastic. For the homeowner fitting a room of trim on a weekend, a printed kit sized to your sets is cheaper, easier to keep together, and genuinely reduces dented trim.
FAQ
What depth should a finish nail be set to?
About 1 mm below the surface — just deep enough for filler to cover the head without a bump, and shallow enough that the filler has something to grip. Deeper than 2 mm makes filling harder and can split thin trim.
Can I use the holder with any nail set?
Only one sized to its shank. Measure each set and print a matching holder, or use a split-and-screw clamp design that adjusts to a small range of shanks. A loose holder lets the set tilt, which causes the slips the holder is meant to prevent.
The guide slides on glossy paint. What helps?
Add a thin rubber or felt pad to the guide’s underside, or hold the guide lightly with a fingertip while tapping. A pad also protects the paint from the guide itself.
My nail heads still show after filling. Why?
Usually the head is still slightly proud, the filler shrank as it cured, or the filler was sanded too aggressively. Check depth before filling, apply filler slightly proud, let it cure fully, and sand lightly.
Conclusion
Clean trim work comes down to the last millimeter, and a small printed kit — holder, guide, and depth stop — makes that millimeter repeatable instead of nerve-wracking. Size the parts to your steel sets, practice on scrap, and tap and check your way to nail heads that vanish under filler.
For the other end of the job, starting tiny nails without hammered fingers, see “3D Printed Nail Holder: Hammer Small Nails Without Hammering Your Fingers” — the two guides together cover nailing from first tap to final fill. Pair it with 3D Printed Center Punch Holder: Hold Punches Without Hammering Fingers for the same finger-saving idea on punch work.