Introduction
Loose utility knives are a drawer hazard. They slide around, their blades catch on other tools, and reaching into a drawer or toolbox for something else becomes a careful, slow exercise. The usual answer — retract the blade and hope — helps, but a retracted knife can still extend if its slider is knocked, and a knife without a cap still has a metal body that scratches and snags.
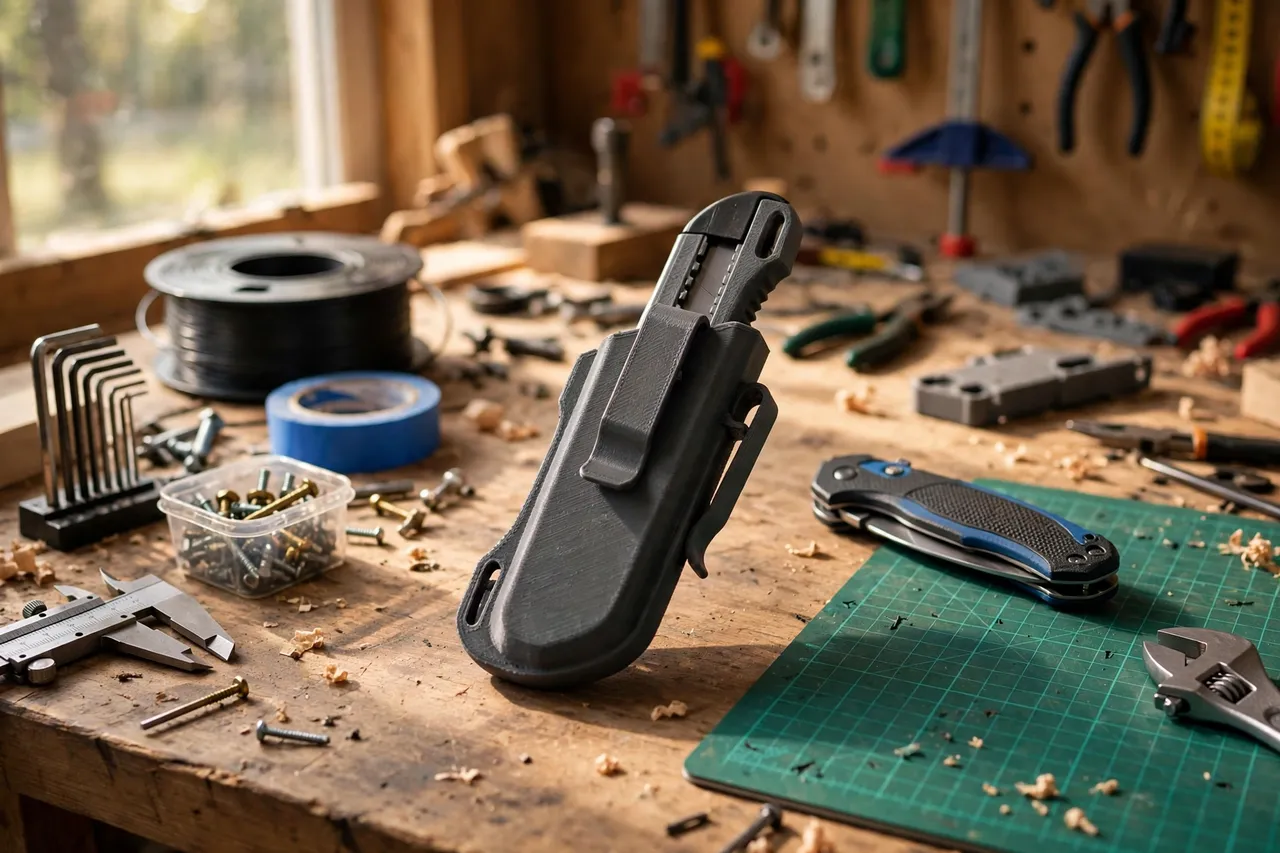
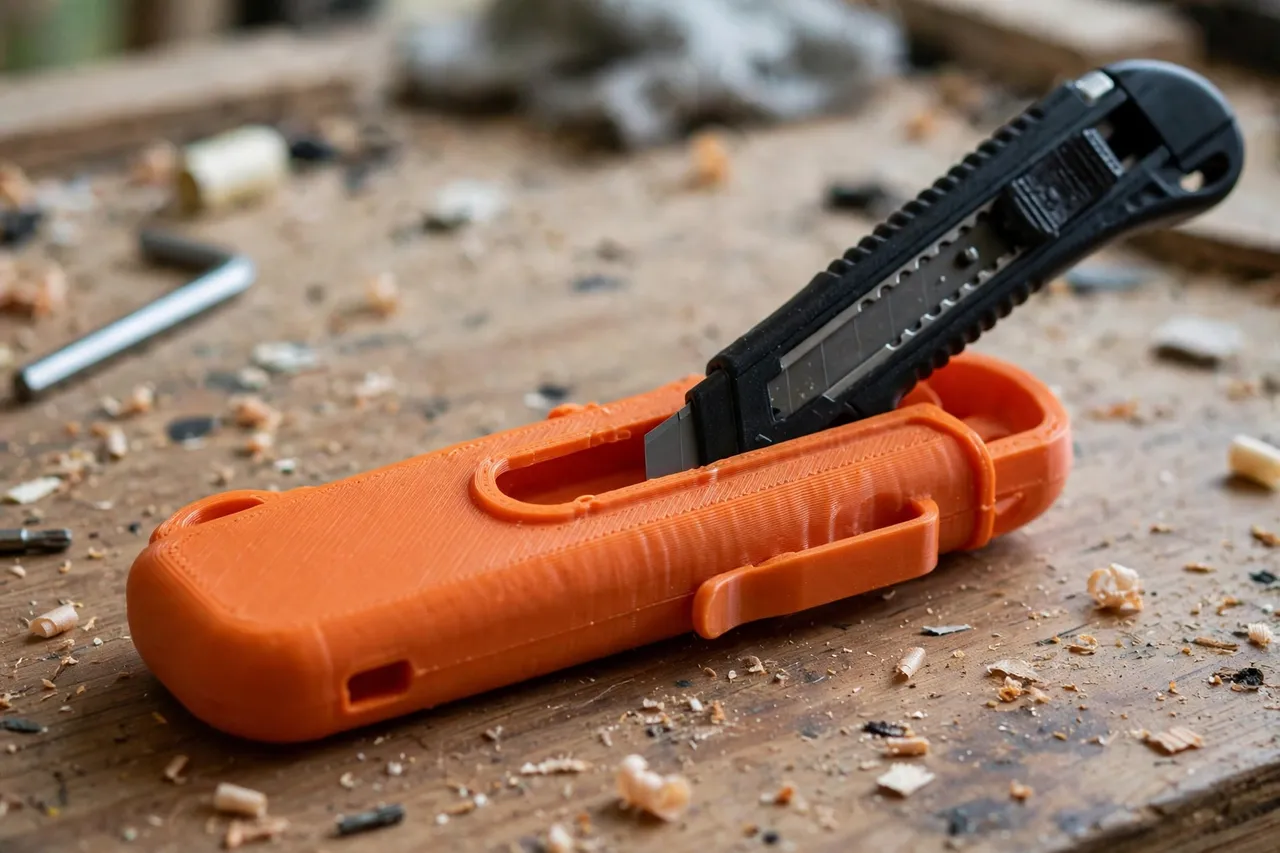
A 3D printed sheath gives a loose utility knife a proper home. It is a fitted sleeve that covers the knife body and blade end for storage in a drawer, on a bench tray, or in a toolbox, keeping the knife contained, visible, and separated from other tools. That is a genuinely useful storage improvement — and it is important to be clear about what it is not.
A sheath does not make a loose blade safe to carry in a pocket, a bag, or loose in a vehicle. It does not replace retracting the blade, it does not make a damaged knife safe, and it does not turn a utility knife into a pocket tool. This guide covers storage sheaths for retracted knives kept at the bench or in a drawer, with the limits stated plainly. If you need to transport a knife, use a proper manufactured case or carrier designed for that purpose, and follow local rules for carrying bladed tools.
What You Need
Sheaths are slim, flat prints that suit almost any home printer. The critical work is measuring your knife, not mastering new techniques.
Materials and tools
- A home 3D printer with a build area of roughly 150 mm in at least one direction
- PETG filament for a tougher sheath, or PLA for a first test version
- The utility knife you plan to sheath, with its blade fully retracted
- A tape measure or calipers, plus sandpaper or a small file
- Optional: a small magnet, a belt clip, or a lanyard hole in the design for bench and drawer organisation — not for pocket carry
PETG is the better keeper material because it resists cracking if the sheath is dropped or knocked in a drawer. PLA is fine for checking fit, but a PLA sheath that cracks can leave sharp printed edges, so inspect it regularly.
Suggested print settings
- Layer height: 0.20 mm, or 0.16 mm for a smoother interior.
- Walls: 4 perimeters, so the thin sheath walls stay rigid.
- Infill: 30 to 40 percent, gyroid or grid; the walls do most of the work here.
- Top and bottom layers: 4 or more.
- Orientation: Print the sheath flat or on its side, with the open slot facing up, so the interior prints cleanly.
- Supports: Light supports inside a deep slot may be needed; design the slot open at one end where possible to avoid them.
Print one test sheath and check the fit before printing a set for every knife in the shop.
Design Considerations
A sheath that is too tight is annoying; one that is too loose is pointless. Fit is everything.
1. Measure the knife, not a photo of it
Utility knives vary more than they appear to: body length, width, thickness, slider position, and blade-end shape all differ between models. Measure your actual knife with the blade fully retracted. Add about 0.5 mm of clearance per side so the knife slides in and out smoothly, and make the sheath 5 to 10 mm longer than the knife so the blade end is fully covered with a little room to spare.
2. Retracted blade first, sheath second
The sheath is a second layer of storage protection, not a replacement for retracting the blade. Always retract the blade fully before sheathing, and check that the slider cannot easily be knocked forward while the knife is in the sheath. A small detent or rib inside the sheath that sits behind the slider can help, but it is not a lock — treat the knife as a bladed tool at all times, even sheathed.
3. Retention without a fight
The sheath should grip the knife firmly enough that it does not slide out when the drawer opens, but loosely enough that you can draw it with one hand. A gentle taper, a small internal rib near the mouth, or a slight narrowing at the opening all work. Avoid a sheath so tight that you have to yank the knife free — that is when hands slip.
4. A mouth that guides, not catches
Flare the mouth of the sheath slightly so the knife finds its way in without catching on a sharp printed edge. Round all exterior edges, and sand the mouth smooth. A sheath that snags the knife on entry will be left unused, and an unused sheath protects nobody.
Step-by-Step: Printing and Fitting
- Retract the blade fully and confirm the slider is in its locked or fully retracted position.
- Measure the knife. Length, maximum width, and thickness, plus the position of the slider and any belt clip or lanyard hole.
- Model the sheath. A slim sleeve with an open or closed end, a flared mouth, and a small retention rib, sized with 0.5 mm clearance per side.
- Print a test sheath. Slide the retracted knife in and out several times. It should move smoothly, stay put when inverted gently, and come free with a steady pull.
- Clean up. Sand the mouth and any rough interior ridges, and clear the slot of stringing.
- Adjust if needed. Too tight? Open the interior by 0.2 mm and reprint. Too loose? Add a rib or reduce clearance slightly.
- Print the keeper in PETG if your test was PLA, and mark the sheath for its knife model if you own several types.
- Place sheathed knives consistently. A drawer tray, a bench slot, or a toolbox compartment where sheathed knives always live beats a sheath that itself wanders.
Store sheathed knives out of reach of children, as with any bladed tool, regardless of the sheath.
Tips for Better Results
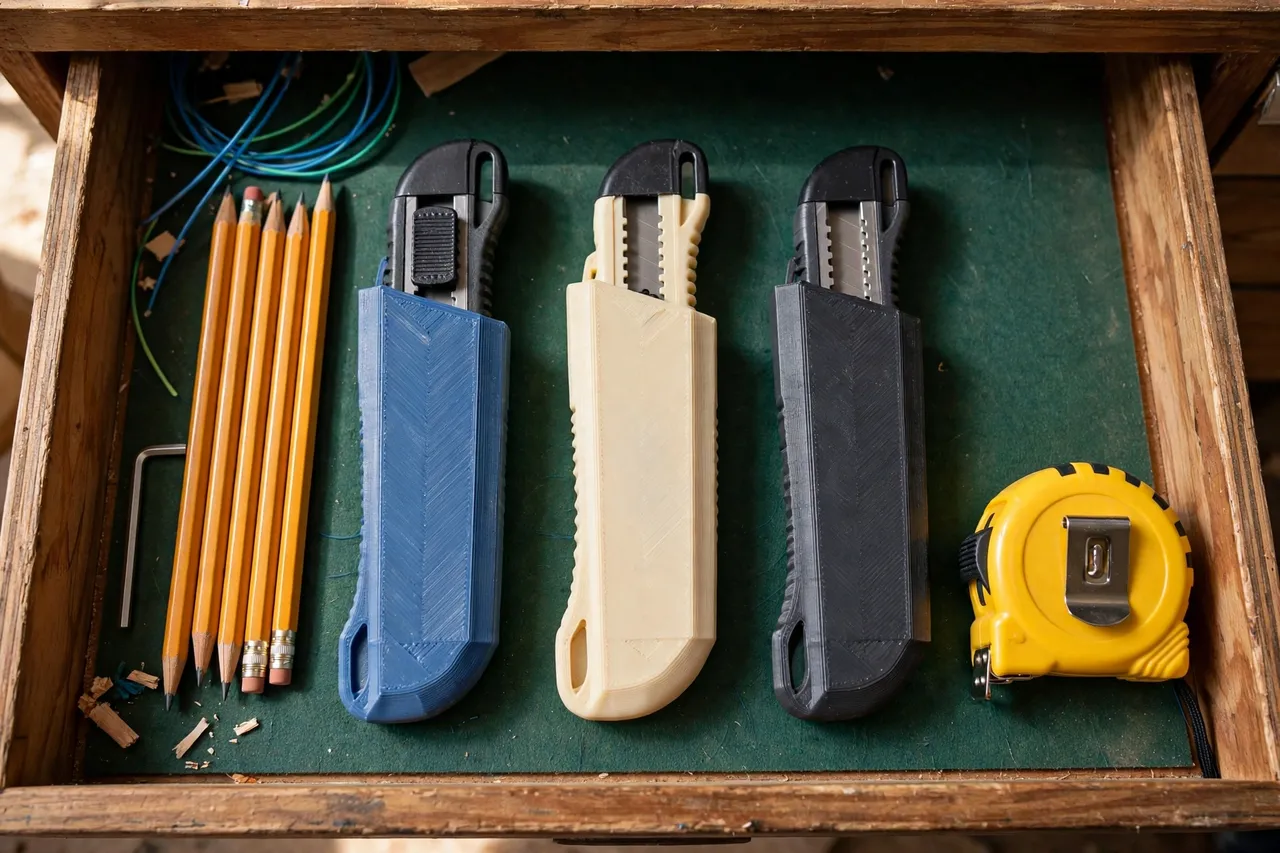
- Print sheaths in bright colours. A bright sheath is visible in a drawer and signals “knife inside” at a glance, which is exactly the warning you want.
- Make one sheath per knife model. A universal sheath fits nothing well. Model each knife you own, or at least each distinct body shape.
- Add a hanging hole for bench storage. A sheath hung on a peg by the bench stays visible and off the drawer floor, without ever being a pocket-carry solution.
- Keep a spare blade dispenser separate. Fresh blades belong in their manufactured dispenser, not loose in a sheath or drawer. If you need blade storage ideas, see “3D Printed Utility Blade Organizer: Blades Stored Safely” in the Workshop Organizers range.
- Inspect sheaths regularly. Replace any sheath that cracks, warps, or loses retention. A damaged sheath is worse than no sheath if it gives false confidence.
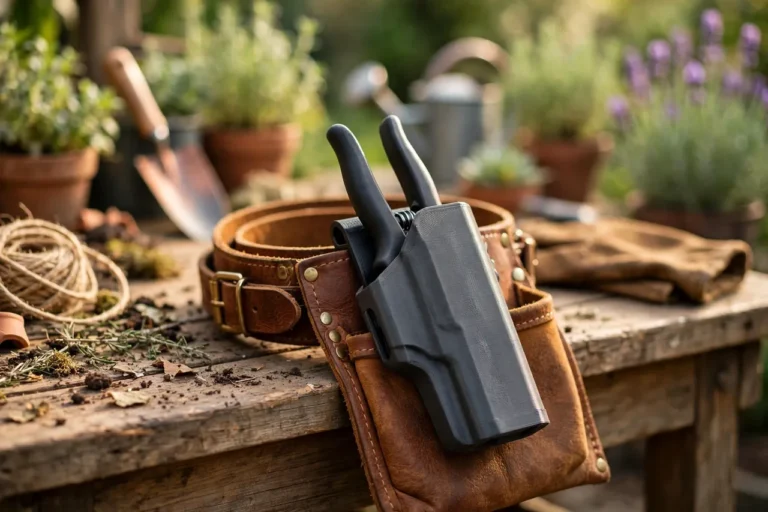
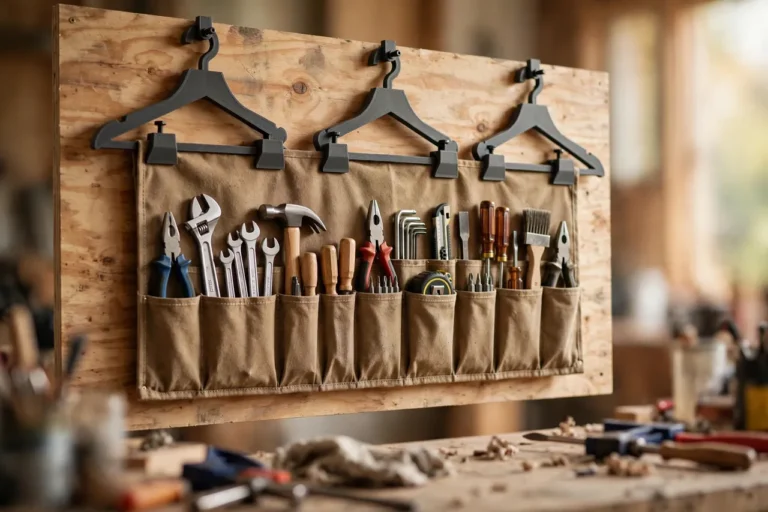
Related bench storage follows the same principle of giving every tool a visible home. You may also enjoy “3D Printed Pliers Holster: Park Pliers on Your Belt,” for another tool that benefits from a dedicated parking spot, and “3D Printed Tool Roll Hangers: Hang Tool Rolls Flat on the Wall,” for keeping rolled kits tidy and visible.
Common Mistakes to Avoid
- Sheathing an extended blade. Never do this. Retract first, every time, without exception. A sheath is not a blade guard for an open knife.
- Treating a sheath as pocket-safe. It is not. A printed sheath is for bench, drawer, and toolbox storage. Do not carry a sheathed knife loose in a pocket or bag.
- Designing from a generic knife outline. Measure your knife. A sheath modelled on a different brand will either jam or fall off.
- Printing walls too thin. A flimsy sheath cracks in a drawer and leaves sharp edges. Keep walls thick and infill adequate.
- Forgetting the slider. If the sheath presses the slider forward as the knife enters, redesign the interior. The slider must stay retracted inside the sheath.
Care, Storage, and When to Choose an Alternative
Brush dust out of sheaths, wipe them clean, and check for cracks or warping every few months. Store sheathed knives in a consistent drawer or tray, out of children’s reach, and never loose in a pocket, bag, or vehicle footwell.
Choose a manufactured sheath or case when you need to transport a knife, carry it on a job site, or store it where it could be knocked hard. Manufactured cases are tested for retention and impact in ways a home print is not. A printed sheath is an excellent bench and drawer organiser for retracted knives — within that role, and only that role, it earns its place.
FAQ
Does a sheath mean I can leave the blade extended?
No. Always retract the blade fully before sheathing. The sheath covers the knife for storage; it does not make an extended blade safe.
Can I carry a sheathed utility knife in my pocket?
No. A printed sheath is for bench, drawer, and toolbox storage, not for pocket or bag carry. Use a proper manufactured carrier for transport, and follow local rules for bladed tools.
Will one sheath fit all my utility knives?
Probably not. Body shapes differ enough that a good fit needs a model per knife type. Print a test for each distinct knife and label the sheath.
What if my knife has a quick-change blade mechanism?
Measure around it and keep clearance for the release button, so the sheath does not press it. If the mechanism is easily triggered, that knife may be better stored in its manufactured case rather than a printed sheath.
Conclusion
A loose utility knife in a drawer is an accident waiting for a careless reach. A fitted printed sheath, used correctly — blade retracted, knife stored in a consistent spot, sheath inspected and replaced when damaged — turns that hazard into a tidy, visible, contained tool. It is a small print with a clear benefit, as long as its limits are respected.
Print one sheath for your most-used knife, test the fit, and put it in the drawer tray today. Then print the rest of the set. Tidy storage is not just about looks; for bladed tools, it is about hands staying safe.