Introduction
Fence repairs have a way of expanding. One rail rots or breaks, and suddenly you discover the replacement rail is a different size from the original, the post has weathered out of square, or the old brackets have rusted away entirely. Replacing a whole fence run over one mismatched joint is expensive and wasteful, but bodging the joint with loose screws and hope leaves a rail that sags and a fence that looks patched.
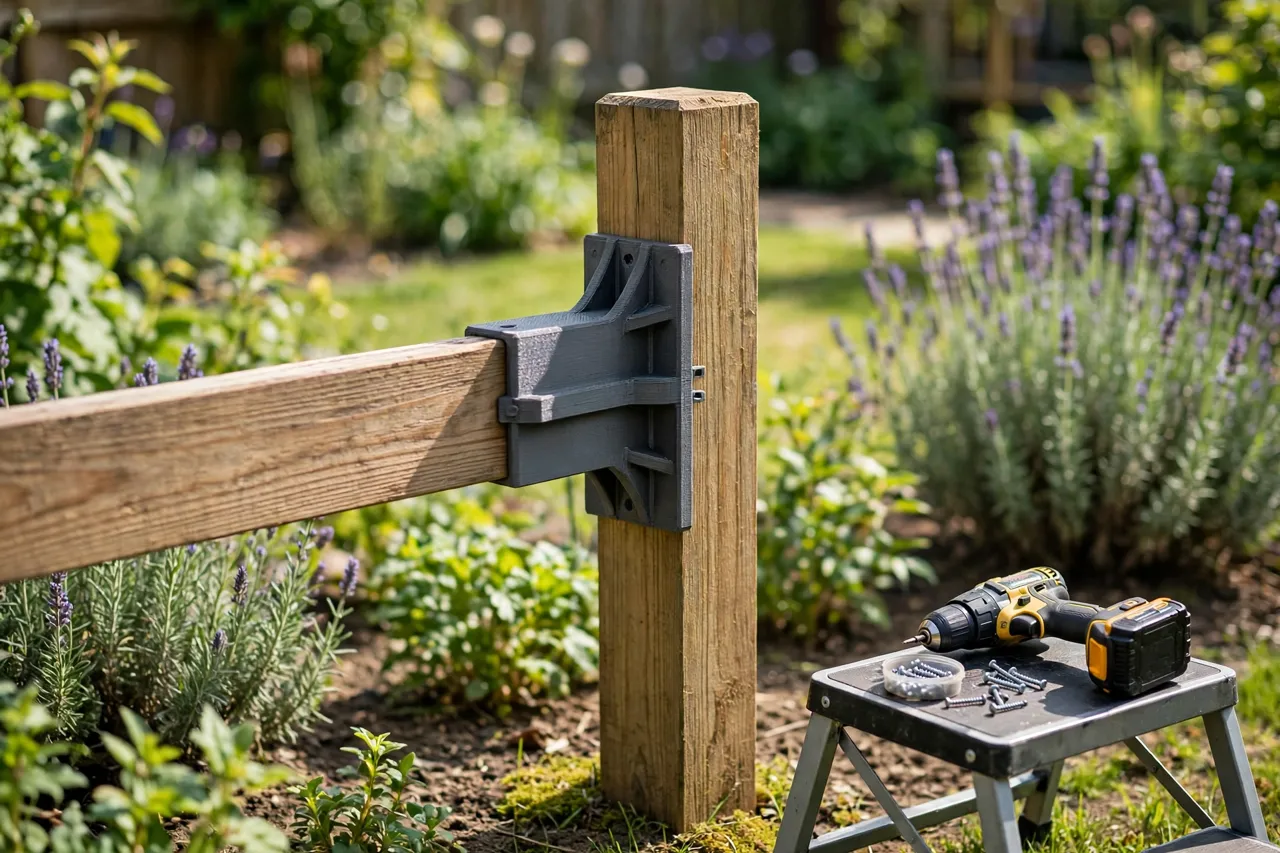
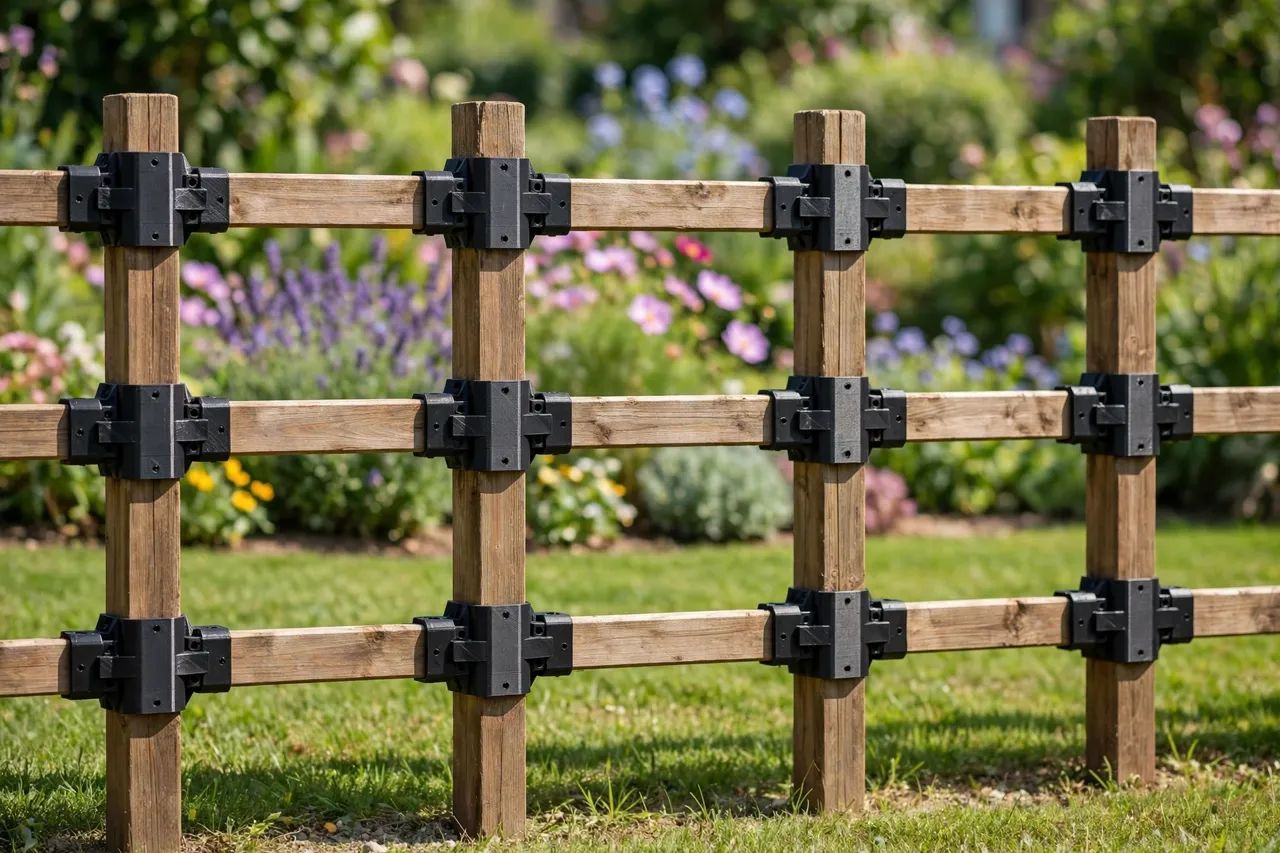
A 3D printed fence rail adapter bridges the joint properly. It is a socket, bracket, or collar that connects a rail to a post regardless of their sizes, letting a new rail meet an old post — or an old rail meet a new post — squarely and securely. It is a small, practical print that keeps a repair small.
These adapters are light-duty repair aids for garden and yard fences: they align rails, fill gaps, and translate hole patterns. They are not structural replacements for fence posts, and they do not turn a garden fence into a security fence, a livestock fence, or a retaining structure. If a fence must hold animals, hold back soil, or keep people safe, build it with proper timber, metal brackets, and concrete footings. For a garden boundary fence, a printed adapter is the right scale of fix.
What You Need
Fence timber varies enormously, so measure the rail and post you actually have before designing.
Materials and tools
- A home 3D printer with a build area of roughly 150 mm in at least one direction
- PETG filament for outdoor use, or ASA for harsh sun and exposed locations
- The rail and post you are joining, plus a tape measure or calipers
- A spirit level, a cordless drill, exterior-rated screws or bolts, and a screwdriver
- A saw for trimming rails, sandpaper or a file, and a pencil
Outdoors, PETG is the minimum. PLA warps in summer sun and goes brittle over winter, and a fence adapter that warps lets the rail sag.
Suggested print settings
- Layer height: 0.20 to 0.28 mm — fence adapters are chunky, functional parts.
- Walls: 5 perimeters minimum, since the adapter sees wind load and knocks from garden equipment.
- Infill: 40 to 60 percent, grid or gyroid, so the socket does not crush when screws are tightened.
- Top and bottom layers: 4 or more, for flat faces that seat truly against timber.
- Orientation: Print with the largest flat face down, or with the socket axis vertical for the roundest bore.
- Supports: A socket with an overhanging lip may need supports; a simple bracket usually does not.
Print a test fit in cheap filament and check it against the real rail and post before the final print.
Design Considerations
Fence rail adapters take a few common forms. Match the form to your joint.
1. The rail-end socket
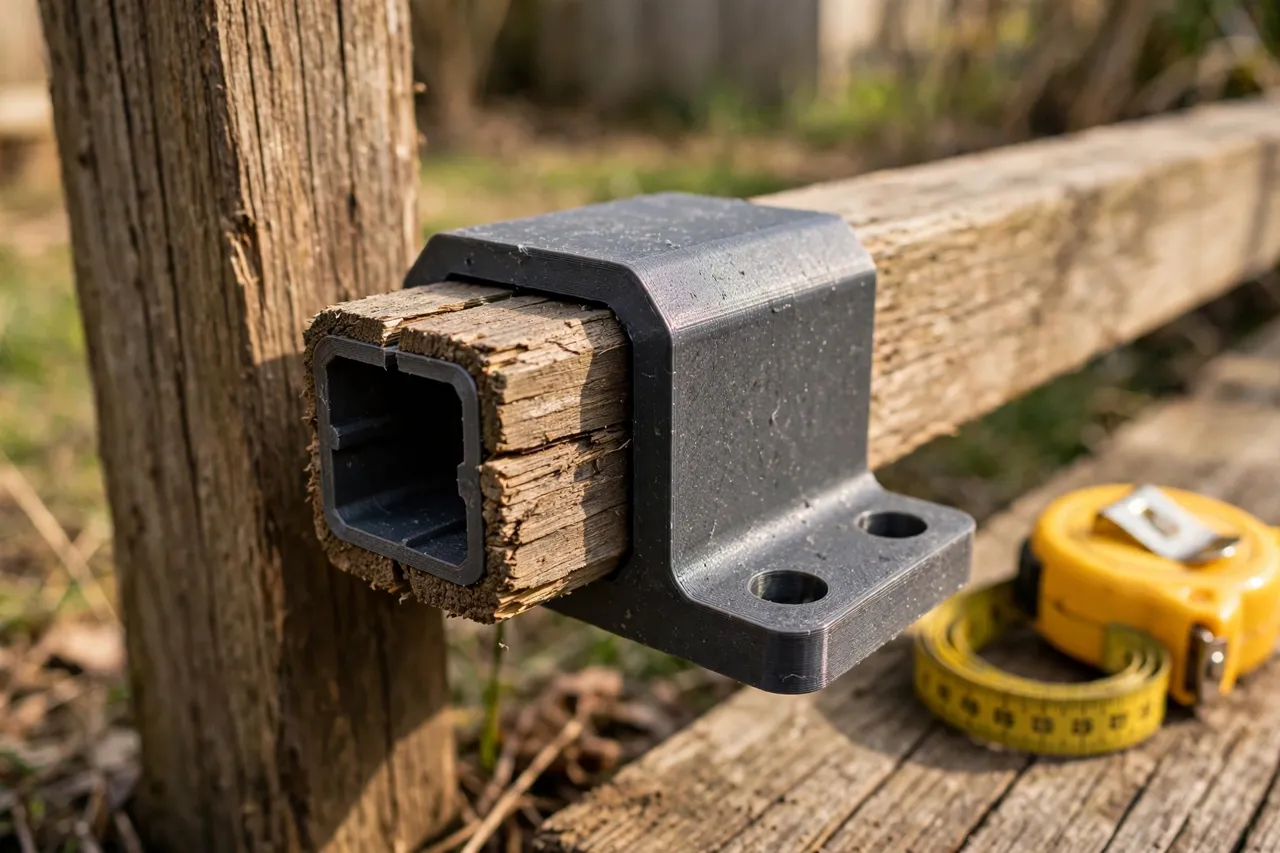
A socket slips over the end of the rail and presents a flat mounting face to the post. Model the socket bore to the rail’s actual cross-section — measure in several places, since sawn timber varies — with about 1 mm of clearance so the rail slides in without forcing. Add screw holes through the socket walls so the rail can be pinned, and a mounting flange with holes for the post screws. The socket should grip at least 60 to 80 mm of rail length; a short socket works loose under wind load.
2. The post collar
When the post is round, undersized, or an odd shape, a collar wraps the post and gives the rail a flat face to meet. Model the collar as two halves that bolt together around the post, or as a single sleeve if it can slide on from the top. Include a flat mounting face with the rail’s hole pattern, and a lip or stop so the rail cannot slide down the post over time.
3. The gap-filling spacer block
Sometimes rail and post are the right shapes but the wrong distance apart — a post that has shifted, or a rail cut slightly short. A spacer block fills the gap and carries the screw pattern from one face to the other. Keep spacer thickness modest: beyond about 30 mm, a printed block flexes more than a timber packer, so use wood for big gaps and the printed part for the fine fitting.
4. The angle adapter
Fence runs change direction, and a rail meeting a post at an angle needs an adapter that is not square. Model the adapter with one face matching the post and the other angled to the rail, using your measured angle. Keep walls thick around the angled face, since that is where stress concentrates. Check the angle with a bevel gauge or a simple cardboard template before printing.
In every design, think about water. A socket that traps rain against a rail end rots the timber fast. Add a drainage gap or hole at the bottom of any socket, and keep the adapter’s top edge sloped or covered so water runs off rather than pooling.
Step-by-Step: Printing and Assembly
- Remove the damaged rail or bracket and inspect the post for rot, splitting, or looseness.
- Measure the rail cross-section in several places, and measure the post where the adapter will sit.
- Measure the angle if the rail does not meet the post squarely.
- Model the adapter — socket, collar, spacer, or angle piece — with realistic clearance for sawn timber.
- Print a test fit and check it on the real rail and post, dry, before committing.
- Clean it up. Sand the seating faces, clear the holes, and check the rail slides in without forcing.
- Adjust and reprint if the fit is tight or sloppy, then print the keeper in PETG or ASA.
If you are repairing several bays, print one proven adapter first and test it on the worst joint before printing the whole set.
Step-by-Step: Fitting the Adapter to the Fence
- Trim the rail to length with a clean square cut, so it seats fully in the socket.
- Offer the adapter up to the post and check it sits flat, with no rocking on rough timber.
- Mark and drill pilot holes into the post, square to the surface and slightly shallower than your screws.
- Fix the adapter to the post with exterior-rated fasteners, tightening evenly.
- Slide the rail into the socket and check it with a spirit level — a rail that slopes looks wrong and drains badly.
- Pin the rail through the socket walls with screws, so it cannot creep out in wind.
- Repeat at the other end, then sight along the fence run to check the rail line is straight.
- Check after the first storm. Wind finds weak joints quickly; re-tighten anything that has moved.
Work along the fence run from one fixed point, not from both ends toward the middle.
Tips for Better Results
- Measure timber in several places. Sawn rails vary along their length, and a socket sized to one end may not fit the other.
- Use exterior-rated fasteners. Ordinary screws rust and stain, and rusted screws seize when you next need to repair the fence.
- Add drainage everywhere. A socket without a drain hole is a rot trap, however good the rest of the design is.
- Print spares. Fence adapters are cheap, and a spare in the shed saves a reprint after storm damage.
- Keep the adapter’s footprint tidy. A bracket that sticks out beyond the rail catches garden tools and looks patched.
Common Mistakes to Avoid
- Adapting onto a rotten post. If the post is soft or loose in the ground, no adapter will hold the rail. Fix the post first.
- Forcing a tight socket. A rail forced into an undersized socket splits the adapter, often weeks later when the timber swells with rain.
- Making sockets too short. Short engagement works loose under wind load. Aim for 60 to 80 mm of rail inside the socket.
- Ignoring water. Flat-topped adapters that pool rain rot rails and posts alike.
- Using PLA outdoors. It warps in summer and cracks in winter. Use PETG or ASA for fence work.
Care, Storage, and When to Choose an Alternative
Check fence fixings once a year, especially after winter storms, and re-tighten anything loose. If an adapter cracks, reprint it from the proven file.
Sometimes the right answer is a proper repair, not an adapter. If several posts are rotten, the fence is leaning as a whole, the fence must contain animals, or local rules require a particular construction, rebuild the section properly with timber, metal brackets, and concrete. Adapters are at their best for single-bay repairs where the fence is otherwise sound. For related outdoor work, our guide “3D Printed Solar Fence Light Clamps: Clamp Lights to Fences” covers lighting the finished fence, and “3D Printed Deck Board Screw Spacing Jig: Even Screw Lines Across the Whole Deck” helps with the decking that often sits beside it.
FAQ
Will a printed adapter hold up in strong wind?
For a normal garden fence with sound posts and rails, yes, provided the socket engagement is generous, the walls are thick, and the rail is pinned. In very exposed or coastal locations, use metal brackets for the most windward bays and printed adapters elsewhere.
Can I join a new rail to an old concrete post?
Yes, with a collar or bracket design and masonry fixings into the concrete, rather than wood screws. Drill the concrete with a masonry bit, use proper wall plugs, and keep the adapter’s mounting face flat against the post.
My rail is a different thickness from the socket I printed. Can I shim it?
A thin timber or plastic shim inside the socket works fine for a millimeter or two. For a bigger difference, reprint the socket to the measured size — shimming a large gap leaves a loose, rattling joint.
The rail sags even with the adapter. What is wrong?
Usually the post has moved or the rail itself is bowed. Check the post is plumb and firm, check the rail is straight, and check the socket is not flexing. A sagging rail on a sound post and straight timber usually means the socket walls are too thin — reprint with more perimeters and infill.
Conclusion
A broken fence rail does not have to mean a new fence run. A printed adapter, sized to the rail and post you actually have, makes a single-bay repair square, solid, and tidy — and it keeps the rest of a sound fence in service for years longer. Measure the real timber, print in weatherproof filament, give water somewhere to go, and check the run after the first storm.
Fix the joint, not the whole fence, and the garden boundary stays straight and honest.