Introduction
Stand back from a finished deck and the first thing you notice — after the boards themselves — is the screw pattern. Even, straight lines of screws look professional. Wandering screws, uneven spacing, and screws at different distances from the board edge look amateur, even when the structure underneath is perfectly sound.
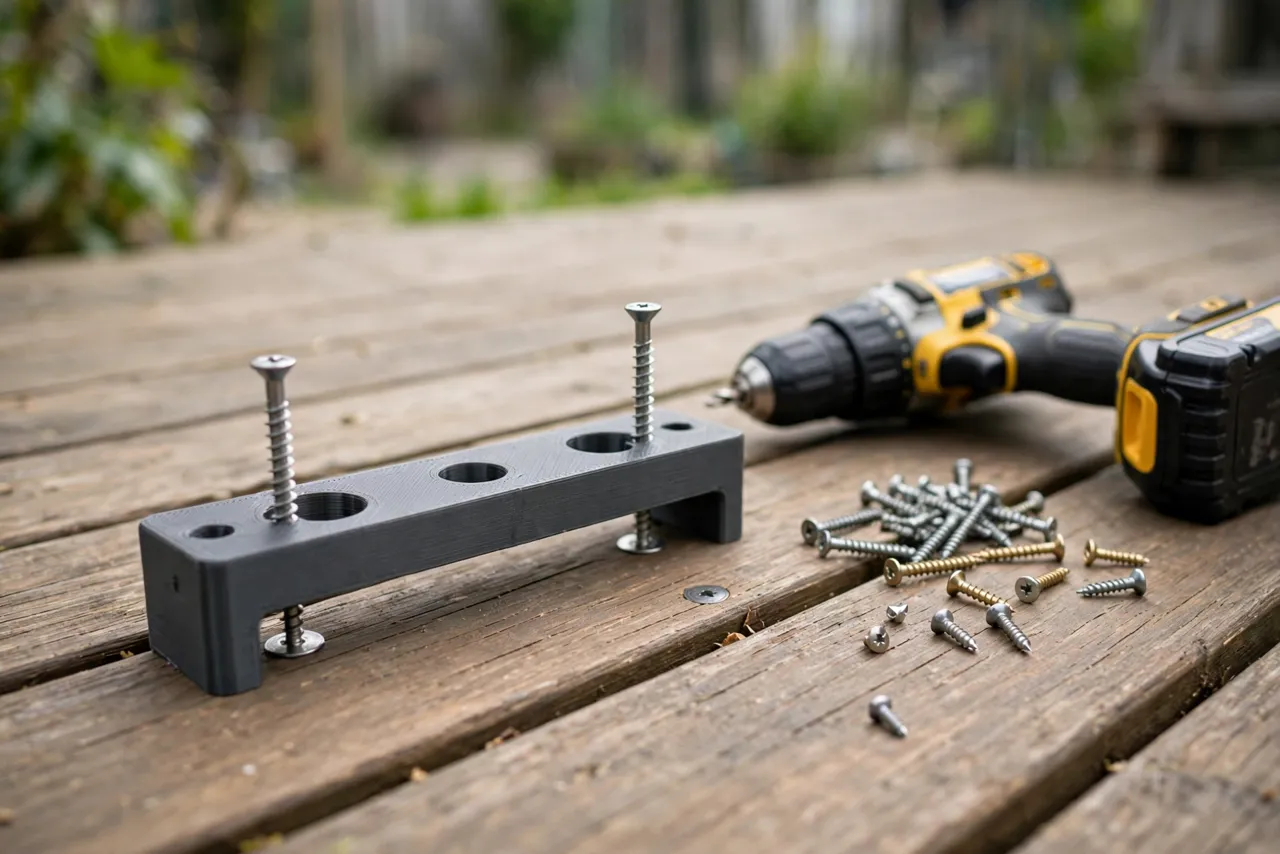
Getting that pattern right by measuring every screw is slow, and slow work gets skipped halfway down the deck. A 3D printed deck board screw spacing jig is a flat bar that sits across a deck board and marks — or guides — two screw positions at a fixed spacing and a fixed distance from the edge. Move it from board to board, and the whole deck inherits the same pattern.
This guide covers designing, printing, and using your own jig. It is a layout aid only — it does not carry load, it does not replace your decking manufacturer’s fastening specifications, and it does not change joist spacing, screw type, or structural requirements. Follow the decking and fastener manufacturer’s guidance for those decisions.
What You Need
The jig is a flat bar, roughly 200 to 300 mm long depending on your board width, so most printers can make it. You need your actual deck boards and screws to size it correctly.
Materials and tools
- A home 3D printer and PETG filament for a jig that survives outdoor use, sun, and being stepped on
- Deck boards in the width you are installing, plus the deck screws you plan to use
- A cordless drill or driver, a drill bit for pilot holes if your decking requires them, and a driver bit
- A tape measure, a pencil, and a speed square or combination square
- A spacer tool or offcuts for board gaps (the jig sets screw position, not board spacing)
- Safety glasses and work gloves
PETG is strongly preferred here. A PLA jig left in the sun on a deck can soften and warp by afternoon, and a warped jig marks a warped pattern.
Suggested print settings
- Layer height: 0.20 mm for clean guide holes.
- Walls: 4 or more perimeters — the bar gets handled roughly on site.
- Infill: 40 to 60 percent, grid or gyroid.
- Top and bottom layers: 5 or more.
- Orientation: Print flat for the flattest board-facing surface.
- Supports: None for a flat bar design.
Print a short test section first to check guide-hole size against your screws and driver bit.
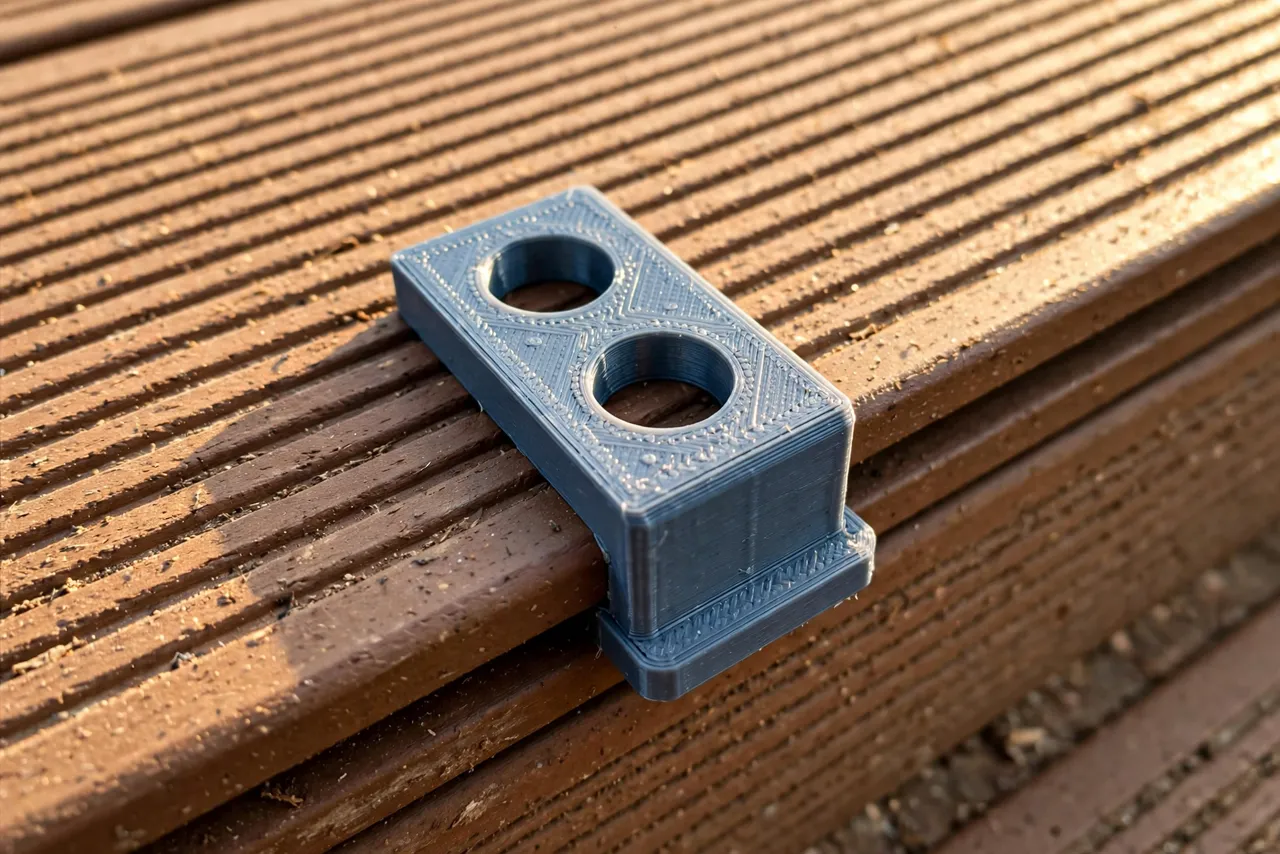
Design Considerations
A deck spacing jig has three measurements to get right: screw-to-screw spacing across the board, edge distance, and joist alignment. Each is simple; together they make the pattern.
1. Screw spacing across the board
Most deck boards take two screws per joist crossing, spaced evenly across the board width. For a 140 mm board, screws roughly 35 mm from each edge (about 70 mm apart) are typical, but follow your decking manufacturer’s specification — some boards require specific edge distances to prevent splitting and to keep warranties valid.
Design the jig with two guide holes at your chosen spacing. If you install more than one board width, print one jig per width and label each clearly. A jig for the wrong width marks the wrong pattern confidently.
2. Edge distance and registration
The jig needs a reference edge that sits flush against the board edge, so every mark lands the same distance from that edge. Add a lip or fence along one long side of the jig that hooks over the board edge. Without that fence, the jig can drift sideways and the pattern wanders board by board.
For grooved deck boards installed with hidden fasteners, this jig does not apply — it is for face-screwed boards. Do not try to adapt it to a hidden-fastener system.
3. Guide holes versus marking holes
Two styles work. Marking holes are sized for a pencil or awl: you mark the positions, remove the jig, and drill. Guide holes are larger and accept the drill or driver bit directly, so you drill through the jig. Marking holes keep the jig cleaner and last longer; guide holes are faster but wear over time and can melt slightly under a spinning bit. Many makers print the marking version and accept the extra step, since a deck’s worth of marking is still far faster than measuring every screw.
4. Joist alignment
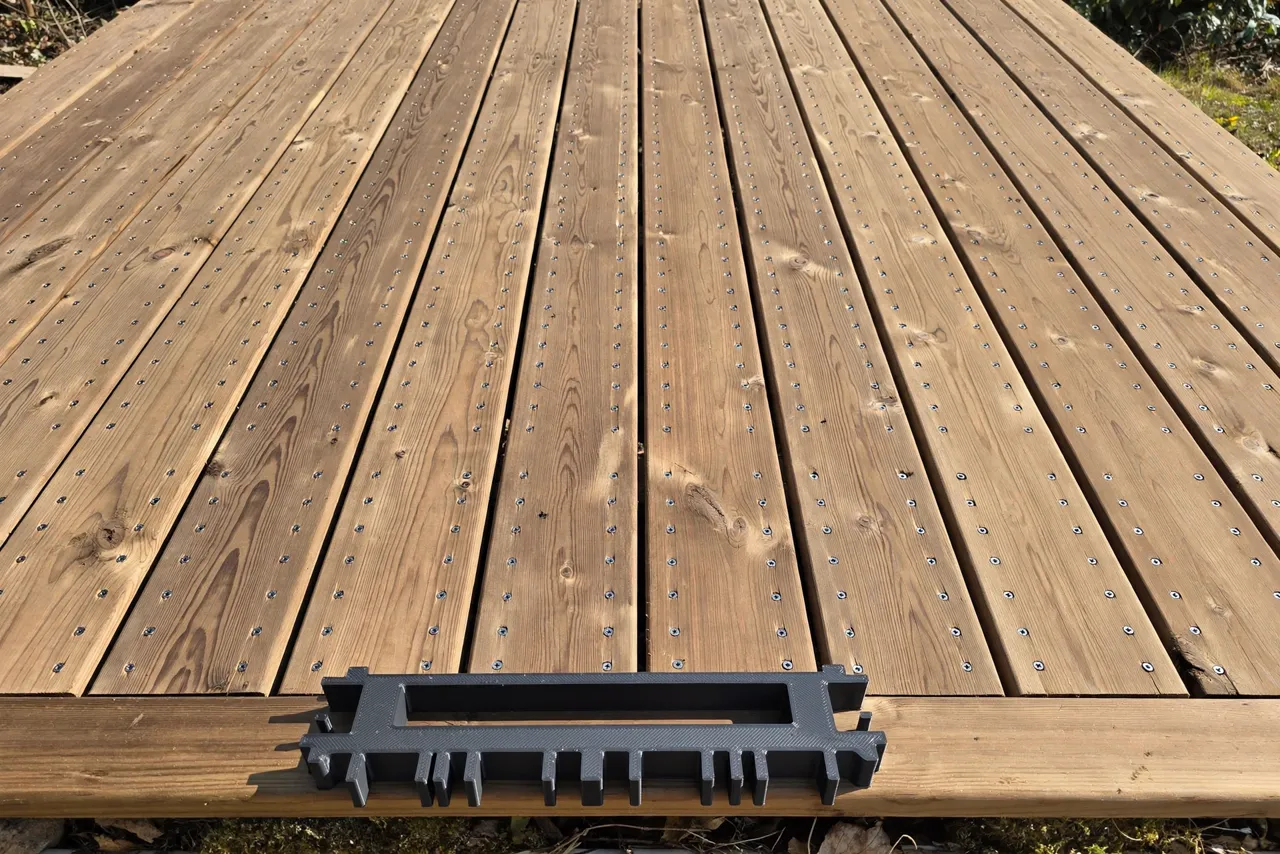
The jig sets positions across the board, not along it. Along the board, screws must land in joists, so mark joist centers on the board edge or use a chalk line across the deck before you start. The jig then guarantees the across-board pattern at every joist crossing.
Step-by-Step: Printing and Assembly
- Measure your deck boards — width and thickness — and note your decking manufacturer’s screw edge-distance specification.
- Measure your screws — length, diameter, and head style.
- Model the bar with an edge fence and two guide or marking holes at your spacing.
- Print a test section and check hole size and fence fit on a real board.
- Print the full jig, clean up the holes, and test-mark a scrap board.
- Verify the pattern by marking several positions and measuring them against your specification.
- Label the jig with the board width it belongs to.
If the fence does not sit flush against the board edge, sand or reprint it. A fence that rocks marks a drifting pattern.
Step-by-Step: Using the Jig
- Lay the first board in position with correct gaps to its neighbor, using spacers or offcuts.
- Mark joist centers along the board edge, or snap a chalk line across the boards at each joist.
- Set the jig on the board at the first joist crossing, fence flush against the board edge.
- Mark or drill the two screw positions through the jig holes.
- Move the jig to the next joist crossing and repeat, keeping the same fence edge against the same board edge every time.
- Drive the screws after marking a board, or drive as you go — whichever rhythm keeps the pattern consistent. Drive screws flush or to the manufacturer’s specified depth; our related guide, “3D Printed Countersink Depth Setter: Screws That Sit Flush, Every Time,” covers depth control if your decking uses countersunk screws.
- Check the pattern after the first few boards by standing back. Straight lines should be obvious; if they wander, find the cause — a shifted fence, a wrong board width, or a mis-marked joist — before continuing.
- Repeat across the deck, board by board, with the same jig and the same edge.
Consistency is the whole job. Same jig, same edge, same spacing, every board.
Tips for Better Results
- Use the same board edge as reference throughout. Flipping reference edges mid-deck creates a visible step in the pattern.
- Pre-drill when the decking requires it. Some hardwoods and composites split without pilots, especially near board ends. Follow the manufacturer’s guidance.
- Keep screws consistent. One batch, one length, one head style. Mixed screws make a mixed pattern.
- Work in dry conditions where possible. Wet boards swell and change gap and edge measurements slightly.
- Protect the jig from sun when not in use. Even PETG lasts longer kept in shade between sessions.
Common Mistakes to Avoid
- Measuring from the wrong edge. Pick one edge per board and stick to it for the whole deck.
- Ignoring joist centers. A perfectly spaced screw that misses the joist holds nothing and looks fine until it does not.
- Drilling too close to board ends. End distances matter for splitting; follow the manufacturer’s minimums and pre-drill ends.
- Mixing jigs between board widths. Label jigs clearly and check the label before each board.
- Overtightening screws. Crushed board faces, stripped holes, and mushroomed composite around the screw head all come from too much torque. Drive to the specified depth and stop.
- Skipping the stand-back check. Errors compound across a deck. Catching a drift after three boards is a fix; catching it after thirty is a rebuild.
Care, Storage, and When to Choose an Alternative
Brush off sawdust and dirt, store the jig flat and out of direct sun, and reprint if the fence wears or a guide hole enlarges. A worn jig marks a worn pattern, so inspect it at the start of each work session.
Sometimes a commercial deck jig is the better buy. If you build decks professionally, install hidden-fastener systems, or need a jig that also sets board gaps and joist alignment in one tool, a purpose-built metal or composite jig will be faster and more durable. For a home deck with face screws, a printed jig is accurate enough and can be sized to your exact board width.
FAQ
How far from the board edge should deck screws sit?
Follow your decking manufacturer’s specification, which varies by board material and width. A common starting point for 140 mm boards is roughly 30 to 35 mm from each edge, but the manufacturer’s number governs — it affects both splitting resistance and warranty.
Do I need to pre-drill deck screws?
It depends on the decking. Many softwood decks accept screws directly, while hardwoods and many composites require pre-drilling, especially near ends. Check your decking and screw manufacturer’s guidance and test on scrap.
Can one jig handle boards of different widths?
No, not accurately. Screw spacing across the board depends on board width, so print one jig per width you install and label each one clearly.
My screw lines look straight up close but wavy from a distance. What went wrong?
Usually the reference edge changed somewhere, or joist marks drifted. Check that you used the same fence edge on every board and that joist centers were marked accurately before screwing.
Conclusion
A deck’s screw pattern is the difference between a job that looks built and a job that looks measured. A printed spacing jig makes the measuring automatic, so the pattern stays even from the first board to the last without slowing you down.
Print one for your board width, mark your joist centers before you start, and check the pattern early and often. For the boards themselves, if you are also squaring up framing or supports, our related guide, “3D Printed Miter Cutting Guide for Trim, Molding and Small Stock,” may help with the trim side of the project — and for keeping the whole outdoor build tidy, the spacing habit here transfers directly to fences and planters.