Introduction
A cabinet door that will not stay shut is a small problem with an outsized ability to annoy. You close it, walk away, and later find it gaping open again — usually because the magnetic catch and its strike plate no longer meet squarely, the old plate has bent, or a previous repair left the catch sitting at the wrong depth. The magnet itself is often fine; it is the plate it meets that has failed.
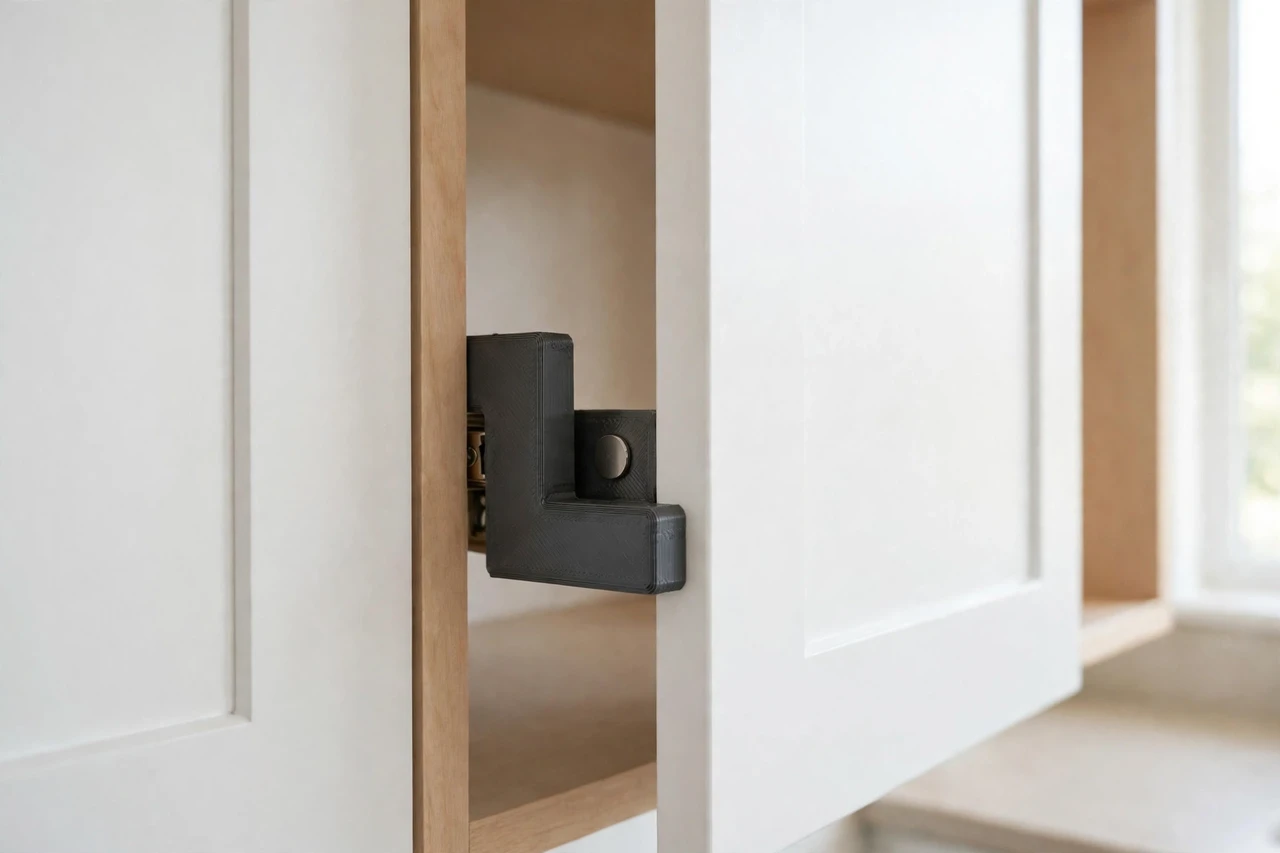
A 3D printed catch plate is a light-duty mounting and spacing plate that gives a magnetic catch a fresh, flat, correctly positioned strike surface. It does not replace the magnet, and it is not a lock or a safety device — it simply holds a door closed against its own weight and a gentle nudge. If the door is heavy, warped, or needs to stay shut for a functional reason, use proper manufactured hardware and fix the underlying alignment first. For a standard kitchen or bathroom cabinet door that drifts open, a printed plate is a tidy, cheap fix.
The advantage of printing your own is fit. Cabinet frames vary, old screw holes wander, and a printed plate can be shaped to the exact space available, with the magnet recess and screw holes exactly where you need them.
What You Need
This is a small print and a straightforward fitting job. The key measurement is the gap between the catch and the door when closed — get that right and the magnet can do its job.
Materials and tools
- A home 3D printer with a build area of roughly 120 mm in at least one direction
- PLA for a dry kitchen cabinet, or PETG for a bathroom cabinet or a warm room
- The existing magnetic catch and strike plate, plus a ruler or calipers
- A screwdriver set, short wood screws, and a drill with a small pilot bit
- A pencil, painter’s tape, fine sandpaper, and a small spirit level or straightedge
- A thin steel washer or the original steel strike plate, if your magnet needs a metal surface to attract
A note on magnets: most cabinet magnetic catches attract a steel strike plate, not another magnet. Your printed plate is a mount and spacer — it holds the steel strike plate in the right position. If your catch uses two magnets, the printed plate holds one magnet in place instead. Either way, do not expect plastic itself to attract anything.
Suggested print settings
- Layer height: 0.20 mm, which gives a flat plate face for the strike plate to sit on.
- Walls: 3 to 4 perimeters, so the screw holes and magnet recess stay strong.
- Infill: 30 to 40 percent, grid or gyroid, is plenty for a plate that is screwed flat to a frame.
- Top and bottom layers: 4 or more, for a flat, true mounting face.
- Orientation: Print flat, mounting face down, so the face against the frame is as flat as possible.
- Supports: Usually none for a flat plate with a shallow recess.
Print one plate first and test the door’s closing action before printing a set for a whole cabinet run. Cabinets that look identical often have slightly different gaps.
Design Considerations
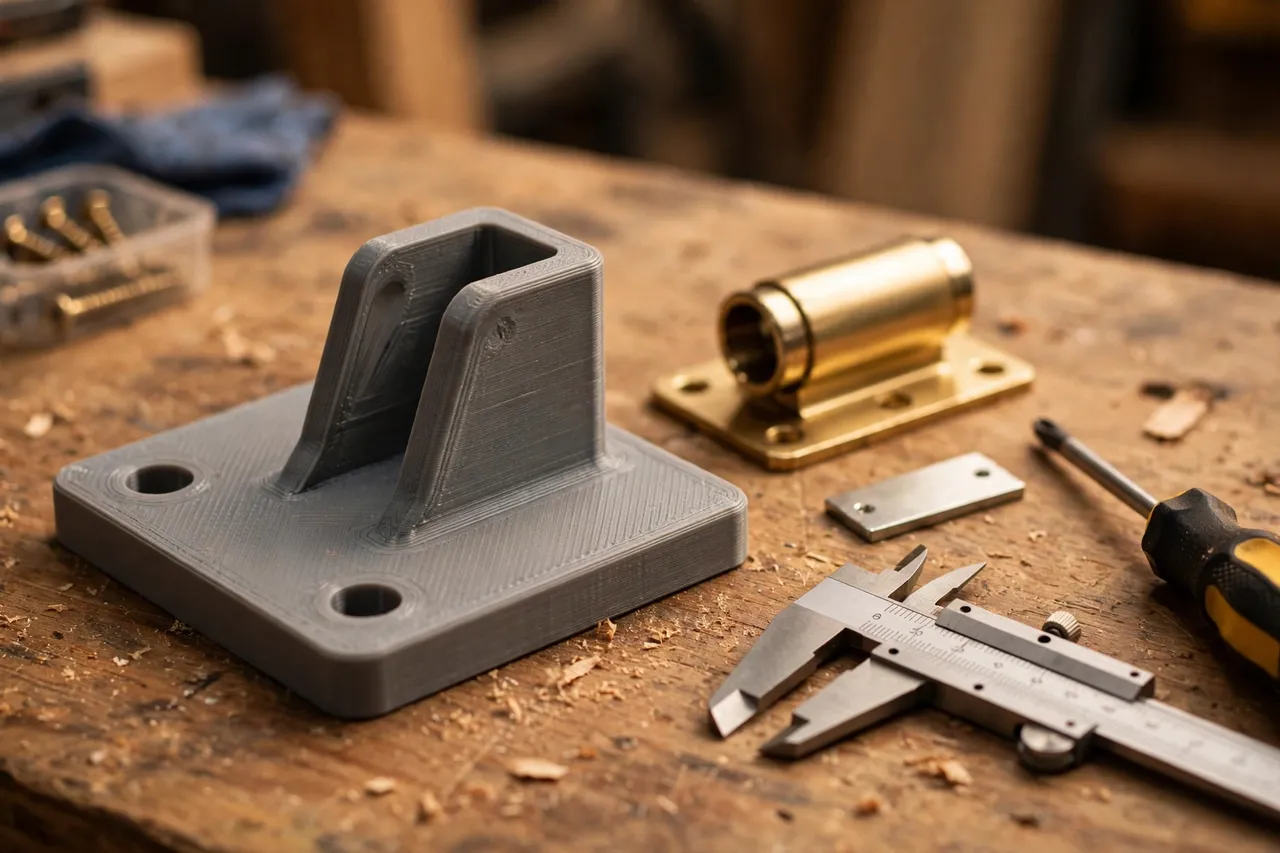
A catch plate is a flat plate, typically rectangular, with a recess or flat area for the strike plate or magnet, and screw holes for fixing. The details matter more than the shape.
1. Get the closing gap right
Magnetic catches work over a very small gap — usually a millimetre or two. Too far apart and the magnet barely holds; too close and the door may not close fully or may push the plate out of position. Close the door slowly and measure the gap between the catch and the door’s inner face at the catch position. Design the plate thickness to bring the strike surface into that working range. If you need to fine-tune, print a couple of plates in different thicknesses — 1 mm steps are easy and cheap — and test each one.
2. Recess the strike plate flush
If the strike plate sits proud of the printed plate, it can catch the door edge or push the door out of line. A shallow recess, about the thickness of the steel plate, lets the strike sit flush with the printed plate’s face. Add a small notch at one edge of the recess so you can lift the steel plate out with a fingernail or screwdriver tip when it needs replacing.
3. Place the screws in solid timber
The plate is only as good as its fixing. Position screw holes over solid frame timber, away from old stripped holes, and use screws long enough to bite properly without poking through the frame. If an old hole is stripped, fill it, let it cure fully, and drill a fresh pilot hole. A plate that rocks will let the door drift open just as before.
4. Match the catch position, not the old plate
Old plates are sometimes fitted in the wrong place after a hinge adjustment moved the door. Do not copy the old plate’s position blindly. Instead, close the door, mark where the catch actually meets the door, and design the plate around that real position. A plate in the right place beats a perfect copy of a plate in the wrong place.
Step-by-Step: Printing the Plates
- Remove the old strike plate and inspect the catch. Check the magnet still attracts steel firmly; if it is weak, replace the catch itself.
- Measure the closing gap with the door closed, plus the catch and strike plate dimensions.
- Model the plate: a flat plate with a shallow recess for the strike plate and screw holes in solid positions.
- Print a test plate in your chosen thickness and offer it up with the strike plate fitted.
- Test the closing action by holding the plate in place and closing the door. Adjust thickness by 1 mm if the hold is too weak or the door will not close fully.
- Print the final plates once the thickness is right, plus a spare or two.
- Clean up stringing and lightly sand the face flat, checking the recess is clear of debris.
If a cabinet run has several doors with different gaps, label each plate with its door position — a paint pen dot on the back keeps them straight.
Step-by-Step: Fitting the Plates
- Mark the position. Close the door, mark the catch centre on the frame, and transfer that mark to the plate position.
- Offer up the plate with the strike plate fitted, and check it sits flat against the frame.
- Drill pilot holes through the plate’s screw holes into the frame, keeping the drill square.
- Screw the plate in place, snug but not crushed, and confirm it does not rock.
- Close the door slowly and check it meets the catch squarely, with an even gap to its neighbours.
- Test the hold. The door should stay shut against a gentle pull and open with a light tug — not a yank, and not a breath.
- Adjust if needed. If the hold is weak, try a plate 1 mm thicker; if the door will not close, try 1 mm thinner.
Tips for Better Results
- Print thickness variants. A set of plates in 1 mm steps is the fastest way to dial in the perfect magnetic gap.
- Keep the strike plate steel. Do not try to print a magnetic strike surface; plastic will not attract a magnet, however well printed.
- Check all the doors in a run. One drifting door often means its neighbours are close behind, and printing a set in one session is efficient.
- Use the right screws. Short, stout screws hold better in a cabinet frame than long, thin ones that bend.
- Re-check after a week. Timber and hinges settle slightly after a repair; a quick screw check keeps the hold reliable.
Common Mistakes to Avoid
- Copying the old plate position without checking. Hinge adjustments move doors, and the old position may no longer be where the catch meets.
- Expecting plastic to act as a magnet. The printed plate is a mount and spacer; the steel strike plate does the magnetic work.
- Making the plate too thick. A plate that pushes the door out of line trades one problem for a worse-looking one.
- Screwing into stripped holes. A plate fixed to mush will rock and fail, however good the print is.
- Treating a catch as a lock. Magnetic catches hold light doors closed; they are not security or safety devices, and they should never be relied on to keep a door shut for safety reasons.
Care, Storage, and When to Choose an Alternative
Wipe the plates when you clean the cabinets and check the screws occasionally. If a plate cracks or the strike recess wears, print a replacement — it takes minutes and costs almost nothing.
Choose manufactured hardware when the door is heavy or warped, when the catch must hold against a real load, or when the cabinet needs a proper latch or lock rather than a magnet. Metal strike plates and heavy-duty catches also suit doors that are slammed daily, where a printed plate may fatigue faster. For a standard cabinet door that simply drifts open, a printed plate is a sensible, honest fix.
FAQ
Why does my cabinet door still open after fitting a new plate?
Usually the gap is still too large, the hinges have sagged, or the magnet itself is weak. Check the gap first, then the hinge alignment, then test the magnet against a steel plate in your hand.
Can I print the strike plate itself?
No — a printed plastic plate will not attract a magnet. Print the mounting plate and fit a steel strike plate into its recess; that combination works well.
Will one plate thickness suit all my cabinets?
Not always. Gaps vary from door to door, even in the same run. Measure each door and print the thickness it needs, rather than assuming one size fits all.
Is a magnetic catch enough for a bathroom cabinet?
For a light bathroom cabinet door, yes, provided the hinges are sound. For anything heavier, or a door that must stay shut reliably, use a proper latch or heavy-duty catch instead.
Conclusion
A cabinet door that stays shut is one of those quiet household wins — no more doors gaping open in the kitchen, no more catching a door edge as you pass. A printed catch plate, thickness-matched to the real closing gap and screwed into solid timber, gives a tired magnetic catch a fresh chance to do its job.
For the rest of the cabinet, you may also enjoy 3D Printed Hinge Jig for Cabinet Doors: Get Perfect Alignment on Every Repair and Cabinet Bumper Pads: 3D Print Soft TPU Bumpers to Quiet Slamming Doors and Drawers, which cover the hinges and soft-close details that complete the job. Print a spare plate or two, keep the screws snug, and the cabinets will stay closed.