Introduction
Old chisels often outlive their handles. The steel stays sharp, but the wooden handle splits, shrinks loose, or simply disappears from a second-hand set. A chisel without a handle is not just awkward — it is unsafe to strike, since there is nothing to absorb the mallet blow or keep your hand clear of the tang.
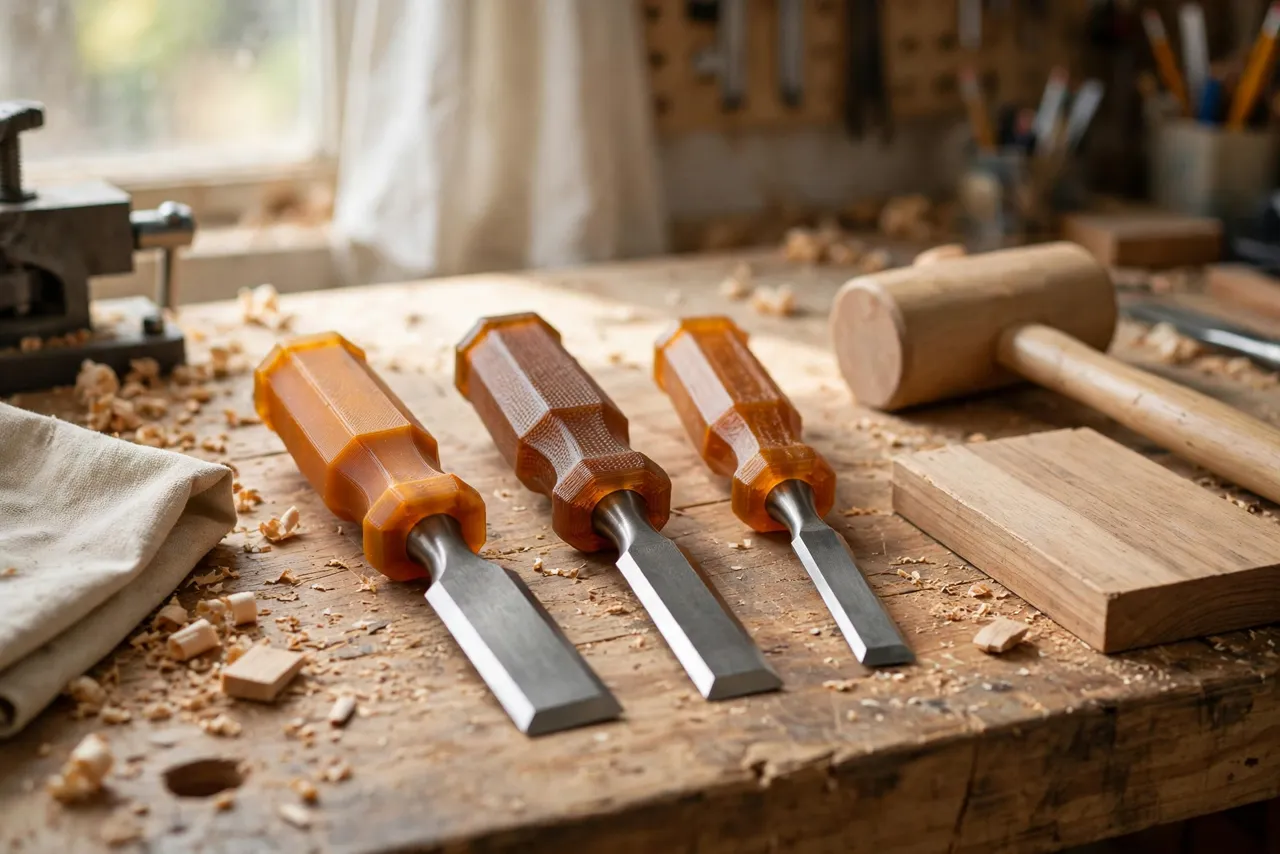
A 3D printed chisel handle replacement brings those chisels back into service. You measure the tang, print a handle with a matching socket, fit a ferrule if the design calls for one, and seat the tang firmly. The result is a chisel you can actually use again, shaped to your hand, for the cost of a little filament.
This guide covers measuring, designing, printing, and fitting replacement handles for common tang chisels. Treat printed handles as light- to medium-duty workshop grips: they suit paring and light mallet work with care, but they are not a substitute for a manufactured hardwood handle on a chisel that takes heavy mallet blows all day. Test on scrap, strike gently at first, and choose a manufactured handle when the job demands heavy striking. Never use a printed handle on a chisel with a damaged, cracked, or mushroomed blade.
What You Need
Chisel handles are small prints, so a set can be printed in one session. The critical measurement is the tang, which varies more than most people expect.
Materials and tools
- A home 3D printer with a modest build area
- PETG filament for toughness, or PLA for a test fit
- Your tang chisels, with old handles removed, plus ferrules if you plan to use them
- Calipers or a ruler, a pencil, and fine sandpaper or a small file
- A wooden or soft-faced mallet for seating and testing, and epoxy if your design uses it
- A sharpening stone or strop, since a restored chisel deserves a sharp edge
PETG is the better keeper because it flexes slightly under mallet taps instead of cracking. PLA is fine for checking the socket fit, but do not trust it for repeated mallet work. Either way, the socket fit matters more than the filament: a loose tang will work free, however strong the plastic.
Suggested print settings
- Layer height: 0.20 mm, or 0.16 mm for a smoother grip.
- Walls: 5 perimeters, since the handle takes striking force.
- Infill: 50 to 60 percent, grid or gyroid, for a solid handle.
- Top and bottom layers: 5 or more.
- Orientation: Print upright, socket opening up, or on its side with supports, whichever keeps the socket true. Avoid printing with layer lines across the striking face if you can.
- Supports: Only for overhanging socket features; a simple handle needs little or none.
Print one test handle first and check the tang fit before printing a whole set.
Design Considerations
A chisel handle must hold the tang immovably, feel comfortable under a mallet, and protect the end grain from splitting. Design for all three, and the handle will last.
1. The tang socket
Measure the tang carefully: its length, width, and thickness at the shoulder and at the tip, since most tangs taper. Model a socket slightly undersized — about 0.2 to 0.3 mm smaller in each dimension — so the tang seats with a firm push fit. Add a small relief hole at the bottom of the socket so trapped air does not stop the tang seating fully. If the tang is flat and wide, a rectangular socket suits it; if it is round or square, match that shape. Never force a tang into a socket that is far too small: you risk splitting the print and damaging the tang.
2. Ferrules and striking caps
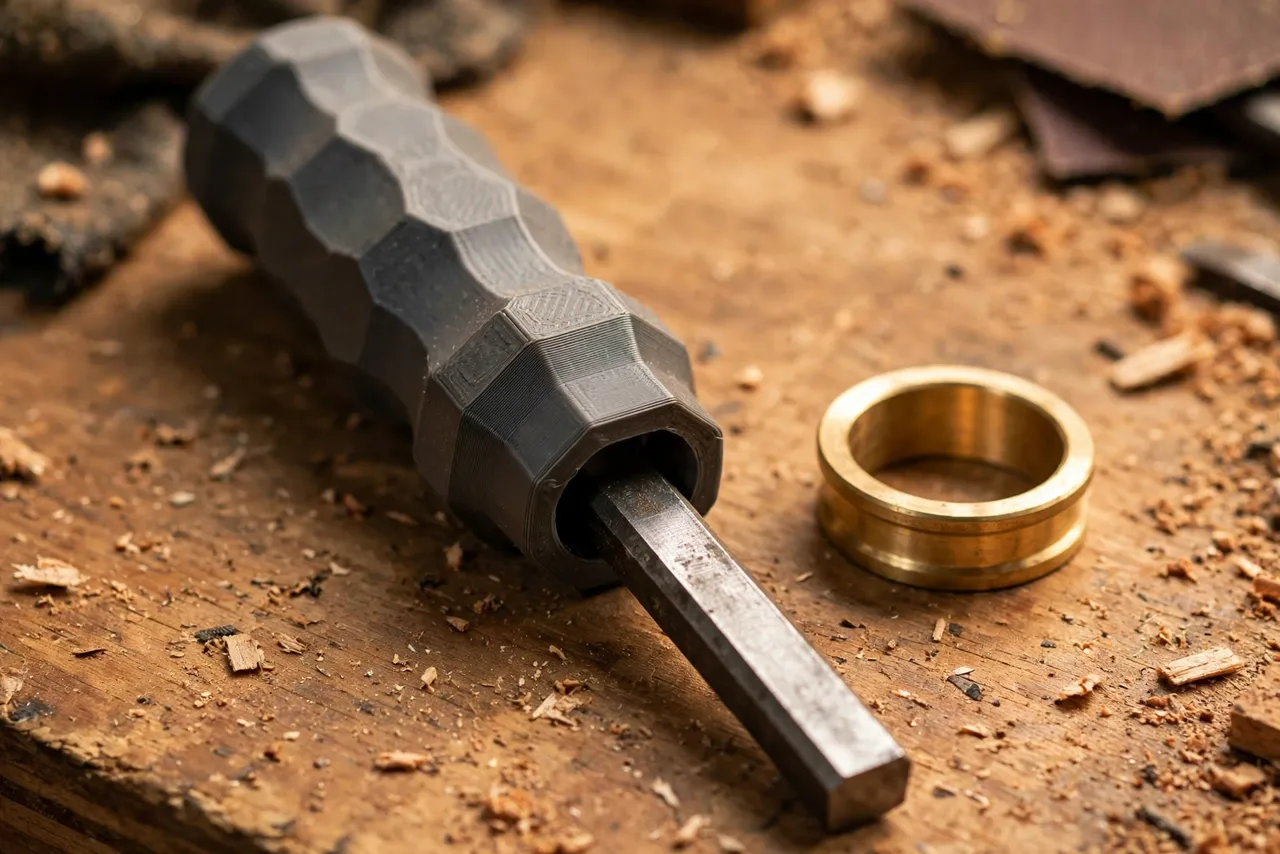
A ferrule — a metal ring at the neck of the handle — stops the socket splitting under mallet blows. If you have the original ferrule, measure it and design a recess for it. If not, a short length of metal tube, a large washer, or a printed collar can serve, though a metal ferrule is stronger. Add a flat striking cap at the end of the handle, slightly domed, so mallet blows land evenly. A cap that is too small concentrates force and splits the handle; a cap about the full handle width spreads it.
3. Grip shape
Classic chisel handles are oval in cross-section, wider than they are thick, so you can feel the blade orientation without looking. Copy that: about 28 to 32 mm wide, 22 to 26 mm thick, and 120 to 140 mm long, with a gentle swell toward the striking end. Round every edge, add shallow palm swells rather than deep finger grooves, and keep the handle balanced — a handle that is too long makes a small chisel feel clumsy, and one that is too short gives no control.
4. Sizing a set
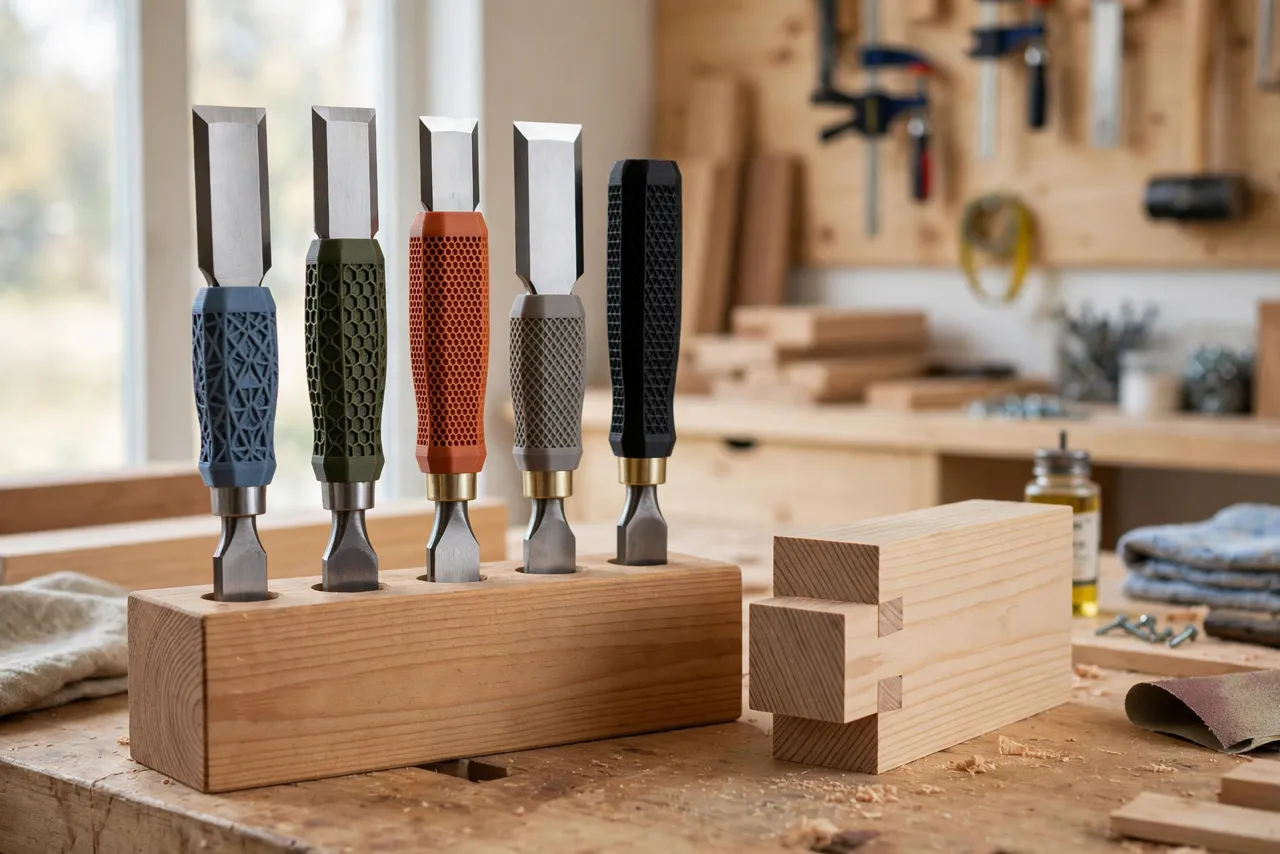
If you are restoring a set, print handles in graduated sizes: smaller for narrow chisels, larger for wide ones. Colour-code them if you like — one colour per size — so the right chisel is easy to grab. Mark the chisel width on the handle end with a paint pen, since printed handles all look alike once they are in a roll or rack.
Step-by-Step: Printing and Assembly
- Remove old handles and clean the tangs, checking each for cracks or bending.
- Measure every tang individually. Do not assume two chisels from one set share a tang size.
- Model each handle with a matching socket, ferrule recess, and oval grip.
- Print a test handle for one chisel and check the tang seats firmly without forcing.
- Clean it up. Sand the grip smooth, clear the socket, and check the striking cap is flat.
- Fit the ferrule if using one, then seat the tang with firm hand pressure and light mallet taps.
- Fix if needed. A drop of epoxy in the socket, used as the maker directs, can secure a slightly loose fit — but a very loose fit needs a reprint, not glue.
- Print the remaining handles in PETG once the first one proves itself.
Let any epoxy cure fully before striking the chisel hard, and check the fit again after the first session.
Step-by-Step: Using a Restored Chisel
- Sharpen first. A restored chisel with a dull edge is still a poor tool. Hone the edge before use.
- Test on scrap. Pare a softwood offcut and tap lightly with a mallet, checking the handle stays firm and comfortable.
- Work with the grain where possible, and keep both hands behind the cutting edge.
- Strike gently at first. Use a wooden or soft-faced mallet, and let the sharp edge do the cutting rather than heavy blows.
- Check the handle regularly. If it loosens, works free, or cracks, stop and refit or reprint it. Do not continue with a loose handle.
A restored chisel should feel like a proper tool: balanced, firm, and comfortable. If it rattles, twists, or flexes, the socket fit is wrong and needs fixing.
Tips for Better Results
- Measure each tang separately. Tangs vary even within a set, and a shared socket fits none of them well.
- Use a ferrule. It is the single best upgrade for a printed chisel handle under mallet work.
- Print a test before a set. One proven handle saves a whole set of misfits.
- Keep handles colour-coded. It speeds up grabbing the right chisel and looks tidy in a rack.
- Store chisels protected. A rack or roll keeps edges sharp and handles undamaged.
Common Mistakes to Avoid
- Forcing a tang into a tight socket. It splits the print. Size the socket for a firm push fit, not a hammer fit.
- Skipping the ferrule. Without one, the socket end splits under repeated mallet taps.
- Using a printed handle for heavy mortising. Heavy mallet work needs a manufactured hardwood handle. Know the limit and respect it.
- Ignoring a loose handle. A handle that works free mid-cut is dangerous. Stop, refit, or reprint.
- Restoring a damaged blade. A cracked or mushroomed blade is not saved by a new handle. Retire it.
Care, Storage, and When to Choose an Alternative
Wipe handles clean, store chisels in a rack or roll with edges protected, and keep them dry. If a handle cracks or loosens, reprint it from the proven file. For chisels that take heavy daily mallet work, manufactured hardwood handles with proper ferrules are the right choice and will outlast plastic. For paring, light mallet work, and bringing a second-hand set back to life, printed handles are practical, customisable, and satisfying.
FAQ
Will one handle design fit every chisel?
No. Tangs vary in size and shape, so each handle must be sized to its chisel. The design approach is the same, but socket dimensions must come from the tang in your hand.
Is PLA strong enough, or do I need PETG?
PLA is fine for a test fit and very light paring. PETG is the keeper material for any mallet work, because it flexes instead of cracking. Either way, a correct socket fit and a ferrule matter most.
Can I use epoxy to secure a loose tang?
A small amount can help a slightly loose fit, used as the maker directs and fully cured before use. A very loose fit should be reprinted to the correct size, not glued over.
My restored chisel handle keeps loosening. What went wrong?
Usually the socket is too large, there is no ferrule, or mallet blows are too heavy for a printed handle. Resize the socket, add a ferrule, use lighter taps, and check whether a manufactured handle suits that chisel better.
Conclusion
A chisel without a handle is a tool waiting to be used again. Measure the tang, print a firm-fitting handle with a ferrule, seat it carefully, and test it gently on scrap. A set of rescued chisels, shaped to your hand, is one of the most satisfying workshop revivals there is.
Print handles for the chisels you actually own, store them protected, and keep the sharp edges honed.
For storing your restored set, you may also enjoy our related guide, “Chisel Storage Rack with Blade Guards: 3D Print a Rack That Protects Edges and Hands,” and for keeping edges sharp, see “3D Printed Honing Guide Blocks: Set Exact Chisel and Plane Iron Angles Without Expensive Jigs.”