Introduction
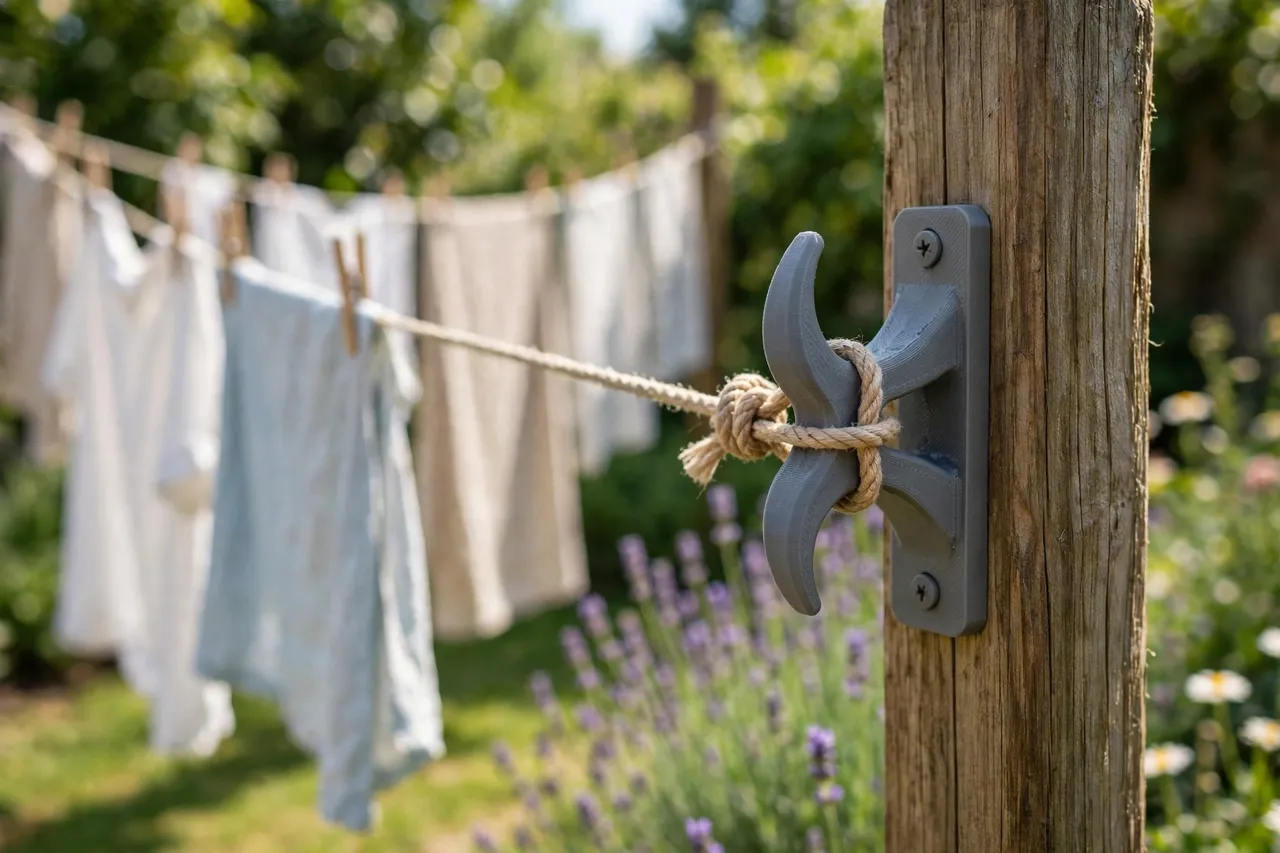
A clothesline cleat is a small, humble fitting with one job: give you somewhere to tie off the line, keep it taut, and let you release it easily when you take the line down. Without a cleat, lines get tied to posts, hooks, and whatever else is handy — and they slip, sag, and tangle. With a cleat, the line winds on in a neat figure-eight, stays put under the weight of wet laundry, and comes off in seconds.
Printing your own cleats means you can size them to your line, your post or wall, and the number of lines you run. They are quick prints, they cost almost nothing, and a pair of them transforms a sagging line into a proper setup.
One clear limit applies from the start: a clothesline cleat is for tying off a washing line. It is not for climbing, not for load-bearing, and not for holding anything heavy or anything whose fall could hurt someone. Keep it to laundry lines, mounted sensibly, and it is a safe, useful little project.
What You Need
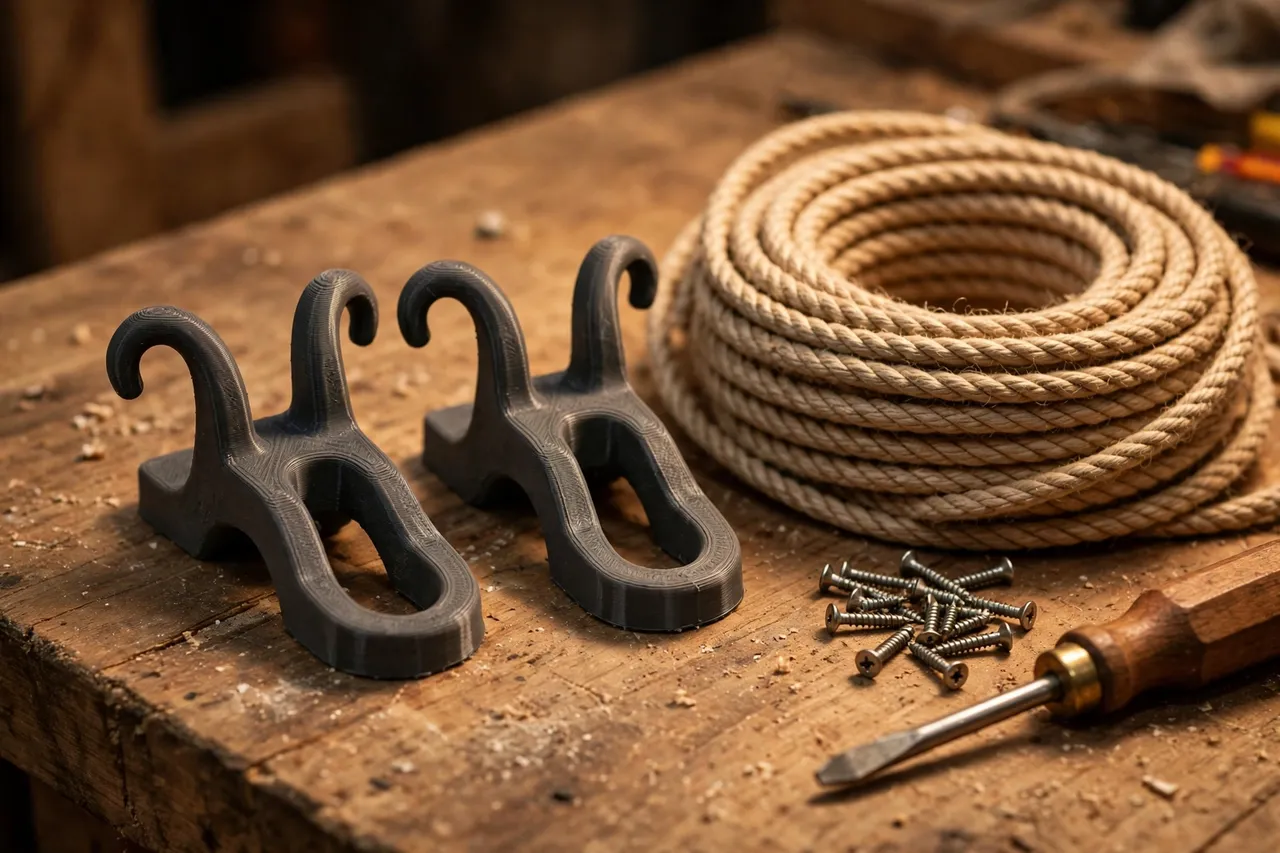
Cleats are small prints with a simple shape — two horns and a base — so this is a good beginner project that still rewards careful measuring.
Materials and tools
- A home 3D printer with a build area of roughly 120 mm in at least one direction
- PETG filament for outdoor toughness, or ASA if your printer handles it and the cleat will live in full sun
- Washing line rope or cord, plus a tape measure or calipers
- Wall screws and wall anchors, or wood screws for a post, matched to your mounting surface
- A cordless drill, drill bits, a screwdriver, and a spirit level
- A pencil and sandpaper or a small file for cleanup
PETG is the right default: it handles sun, rain, and the repeated tension of a loaded line far better than PLA, which softens in heat and degrades outdoors. If the cleat will live in harsh sun year-round, ASA is even better, but PETG covers most gardens fine.
Suggested print settings
- Layer height: 0.20 mm for a good balance of speed and finish.
- Walls: 4 to 5 perimeters — the horns take the line’s tension.
- Infill: 50 percent or more, grid or gyroid.
- Top and bottom layers: 4 or more.
- Orientation: Print flat, base down, so the mounting face is flat and the horns print cleanly.
- Supports: None for a standard two-horn cleat.
Print one test cleat first and check the line winds around it comfortably before printing the rest.
Design Considerations
A cleat’s shape has barely changed in a century because it works: a base that screws down, and two horns that stick out at an angle so the line wraps between them and grips itself.
1. Sizing the horns to your line
The gap between the horns and the base should suit your line’s diameter — common washing lines run 3 to 5 mm. The horns need to be long enough to hold several wraps of line, usually 40 to 60 mm of winding length, and shaped so the line sits in the V between horn and base without slipping off. Round the horn tips so the line does not snag or fray, and keep the inner corners slightly filleted to avoid stress cracks where the horns meet the base.
2. The base and screw holes
The base should be at least 80 mm long and 25 mm wide, with two screw holes spaced well apart so the cleat cannot rotate under tension. Counterbore the holes so screw heads sit flush and do not catch the line. On a round post, a flat base still works if the post is wide enough; on a narrow post, add a curved or V-shaped back to the base so it seats properly.
3. Angle and orientation
Mount the cleat with its horns pointing slightly upward or outward, so gravity helps the wraps stay on rather than sliding off. The classic orientation is vertical on a post or wall, with the line coming in from the side and winding in a figure-eight around the horns. Test the winding direction before final mounting — a cleat mounted upside down still works, but it looks wrong and winds awkwardly.
4. Weather resistance
An outdoor cleat faces sun, rain, and frost. PETG handles this well; a coat of outdoor spray paint rated for plastic adds UV protection and a finished color. Keep the design free of pockets where water can pool, and check the cleat each spring for cracks or fading — reprinting takes under an hour.
Step-by-Step: Printing the Cleats
- Measure your line. Diameter, and how many lines you will tie off at each cleat.
- Check your mounting surface. Post, wall, or bracket — and its material.
- Model the cleat, with base, two horns, and two counterbored screw holes.
- Print a test cleat and wind the line around it. It should grip after two or three wraps.
- Clean up the print. Sand the horns smooth so the line slides without fraying.
- Adjust if needed. Line slipping? Deepen the V between horn and base. Horns flexing? Add a perimeter or thicken them.
- Print the full set — usually two cleats, one at each end of the line.
Step-by-Step: Mounting and Tying Off
- Choose the position. At a comfortable reaching height, usually chest to shoulder height, where the line runs straight.
- Mark and drill. Level the cleat, mark both screw holes, drill pilot holes, and fit anchors if mounting on masonry.
- Screw the cleat in place, snug but not so tight that you crack the base.
- Run the line. Thread it through the far end’s fixing, pull it taut by hand, and bring the end to the cleat.
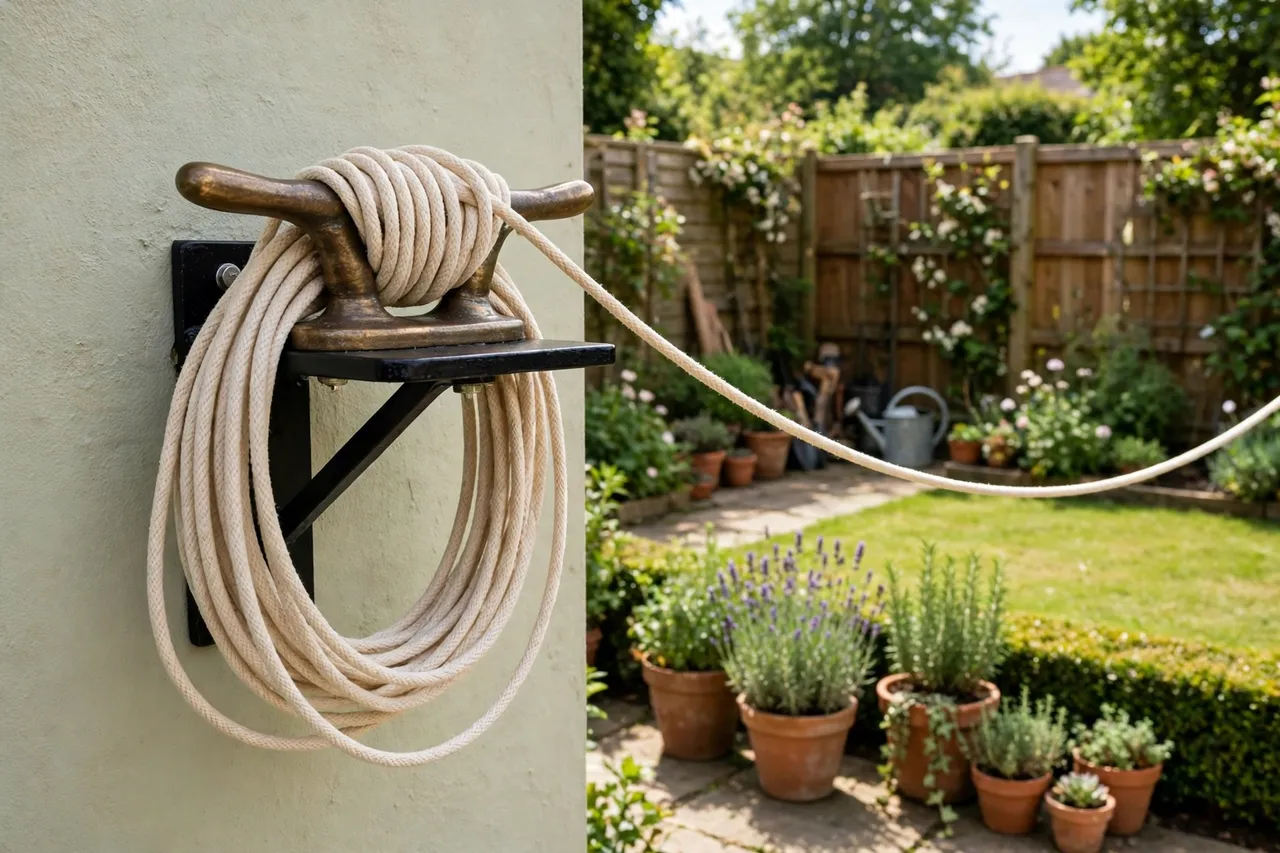
- Wind a figure-eight. Loop the line around one horn, cross to the other, and repeat two or three times. The wraps grip each other and hold the tension.
- Test the tension. Hang a wet towel. The line should stay taut and the cleat should not flex or shift.
- To release, simply unwrap the figure-eight — no knots to pick at.
Tips for Better Results
- Use two cleats for long lines. One at each end lets you tension from either side.
- Keep a spare cleat. They are tiny; printing an extra now saves a reprint later.
- Wax the line ends. A quick melt or a wrap of tape stops fraying where the line meets the cleat.
- Check tension seasonally. Lines stretch over time; re-tensioning at a cleat takes a minute.
- Match the color to the post. A cleat that blends in looks like proper hardware, not an afterthought.
Common Mistakes to Avoid
- Using a cleat for anything but a clothesline. Cleats are for tying off a line, not for climbing, lifting, or load-bearing. Never use one to hold weight that could hurt someone if it failed.
- Printing in PLA for outdoor use. PLA softens in sun and degrades outdoors. Use PETG or ASA for garden cleats.
- Mounting with a single screw. A single screw lets the cleat rotate under tension. Two screws, spaced apart, are essential.
- Screwing into a rotten post. Check the post’s condition first — a cleat is only as strong as what it screws into.
- Winding too few wraps. One wrap slips. Two or three figure-eight wraps grip properly.
Care, Storage, and When to Choose an Alternative
Check cleats each spring for cracks, fading, or loose screws, and reprint any that look tired. Keep the print file so replacements take minutes. If a cleat ever cracks under a normal laundry load, it was printed too light or in the wrong material — reprint in PETG with heavier walls.
Printed cleats are right for household washing lines on sound posts and walls. For commercial lines, very long spans, or lines carrying heavy items, manufactured metal cleats are the better choice. And if the post or wall itself is unsound, fix that first — no cleat compensates for a failing mount.
FAQ
How do I tie a line off on a cleat?
Wind it in a figure-eight: around one horn, across to the other, and repeat two or three times. The wraps grip each other and hold the line taut, and they unwrap in seconds when you want to take the line down.
Will a printed cleat hold a line full of wet laundry?
Yes, for a normal household line, if printed in PETG with solid walls and screwed to a sound post or wall with two screws. Wet laundry is heavy, so do not overload a single line beyond what it was designed for.
Can I use a printed cleat outdoors year-round?
In PETG or ASA, yes, with a yearly check for UV fading or cracking. A coat of outdoor plastic paint adds protection. PLA is not suitable for permanent outdoor use.
My line keeps slipping off the cleat. What went wrong?
Usually too few wraps, horns that are too short, or the cleat mounted at the wrong angle. Add another figure-eight wrap, check the horns are long enough to hold the wraps, and make sure the horns point slightly upward so gravity helps.
Conclusion
A clothesline cleat is a tiny print that makes a daily chore noticeably better: the line stays taut, ties off in seconds, and releases just as fast. Print in PETG, screw to a sound surface with two screws, wind a proper figure-eight, and the washing line finally behaves.
If the laundry area is your current project, you may also enjoy our related guide, “3D Printed Drying Rack Connectors: Connectors for Drying Racks,” which repairs the indoor drying side of the same chore. And for another small outdoor fitting with the same weather-proofing logic, “3D Printed Brackets for Solar Garden Lights: Repair Broken Stakes and Mounts the DIY Way” shows how printed parts survive the garden.