Introduction
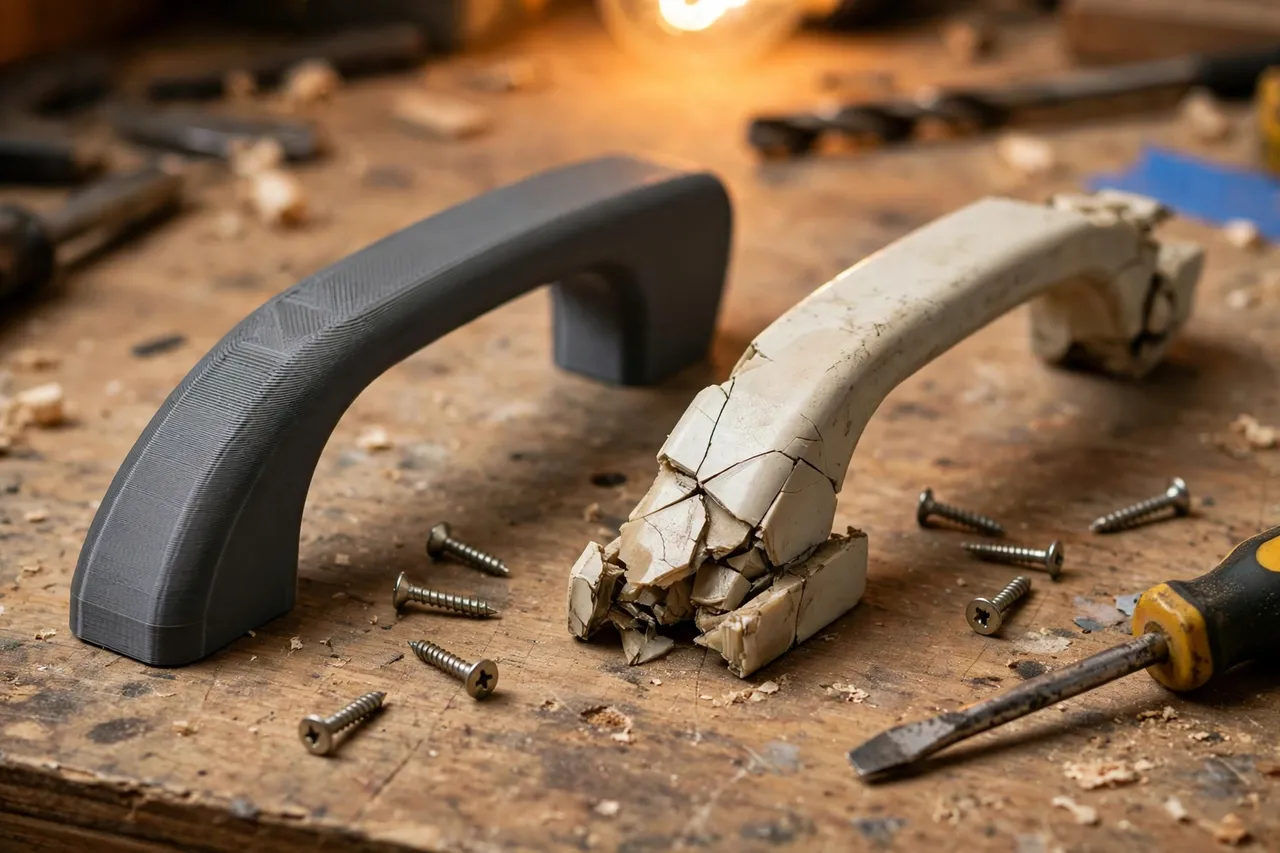
Garage door handles lead a hard life. They get pulled in cold weather, yanked with wet hands, and baked in summer sun, and eventually the grip cracks, the mounting lugs snap, or the handle just feels awful to grab. The door itself is fine — it is a small part that failed — but finding an exact replacement handle for an older door can take weeks of searching, if one exists at all.
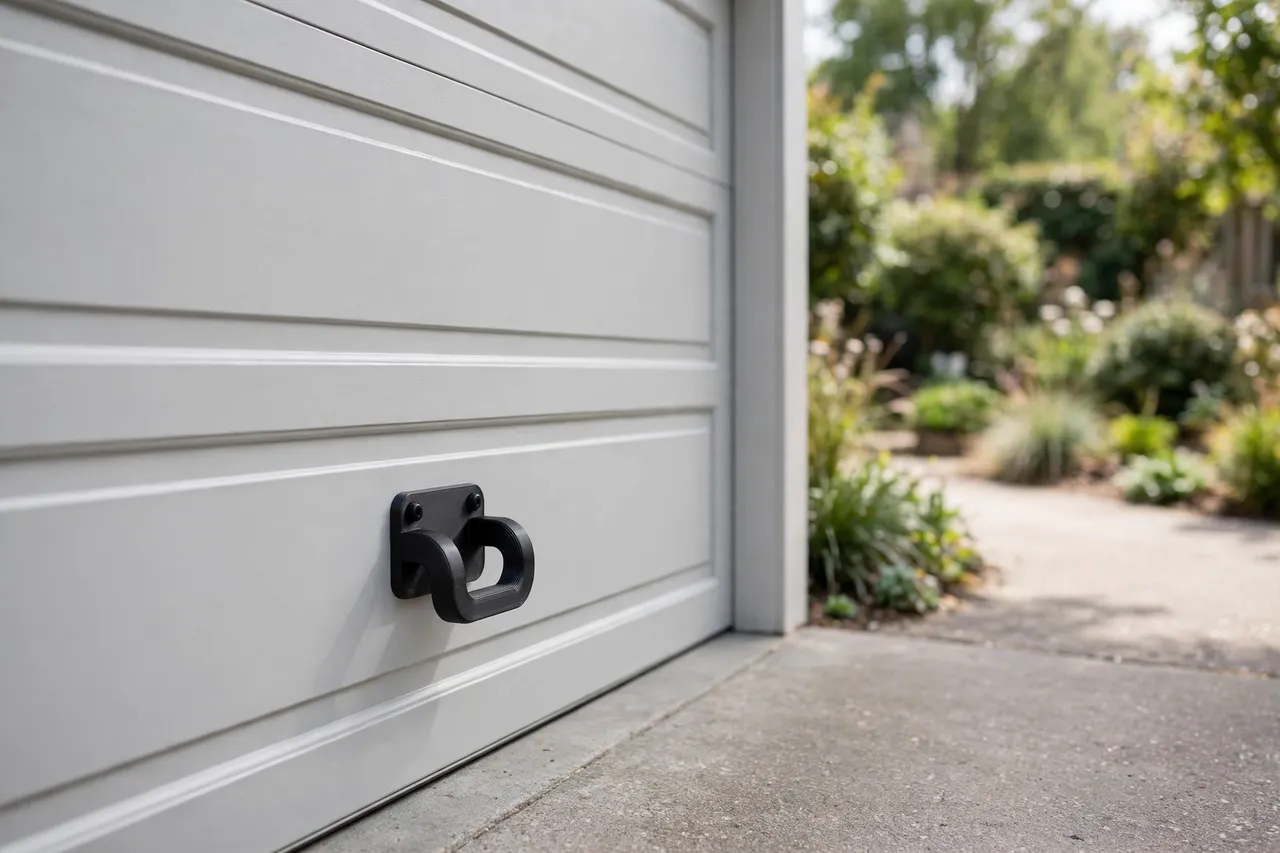
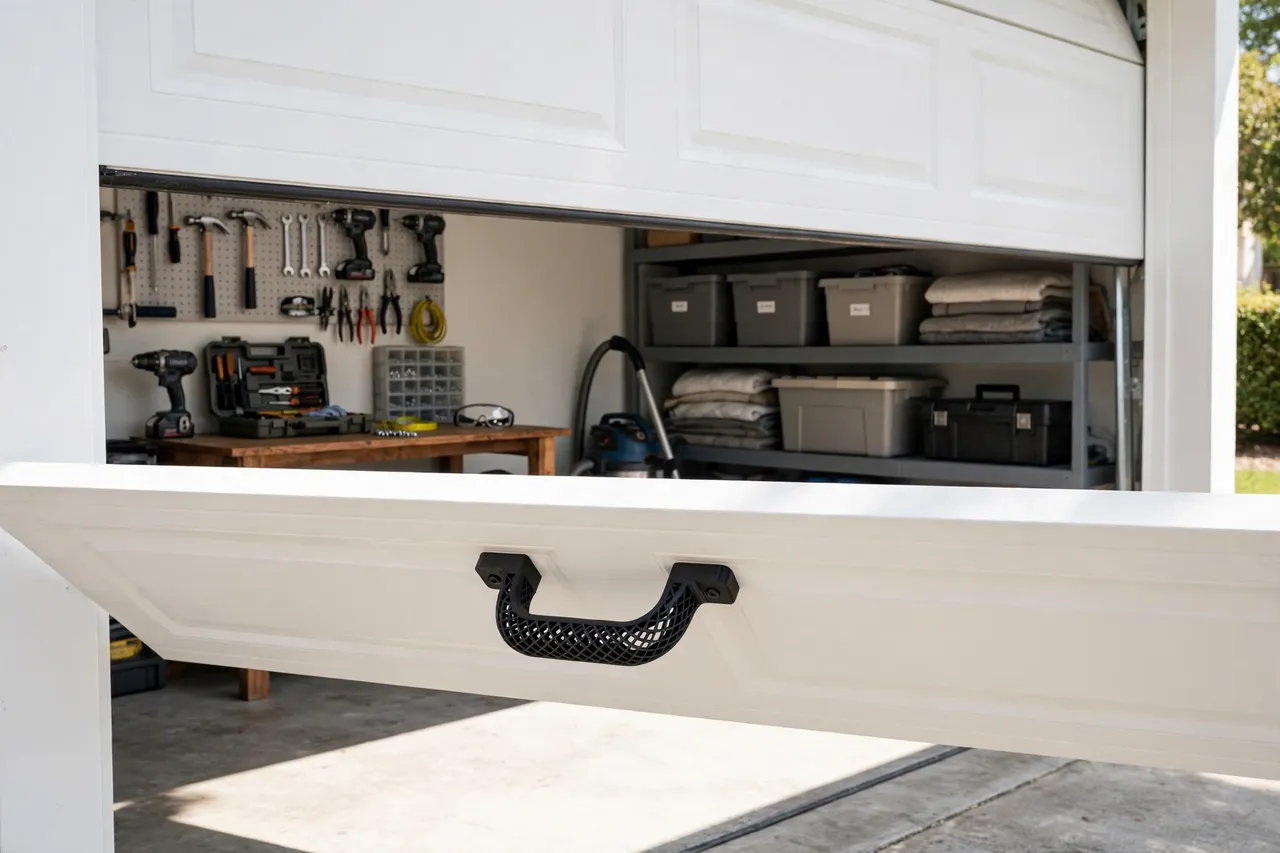
Printing a replacement pull handle solves the matching problem. You measure the door’s existing mounting holes, print a handle that fits them, and screw it on. It is a straightforward afternoon project, and a well-printed handle feels better than the cracked original it replaces.
One thing to be completely clear about: this is a pull handle only. It is a grip for pulling the door down or lifting it, and nothing more. It is not a lock, not a security part, and not a substitute for the door’s locking hardware. If your door’s lock is broken, that is a job for proper manufactured locking hardware, not a printed part. Keep this project to the handle, and it is a safe, useful repair.
What You Need
A garage door handle is a medium-sized print that needs to be comfortable to grip and strong at its mounting points. Measure the door before you model anything.
Materials and tools
- A home 3D printer with a build area of roughly 180 mm in at least one direction
- PETG filament for outdoor toughness, or ASA for full-sun exposure
- The old handle or the door’s mounting holes, plus a tape measure or calipers
- Mounting bolts or screws matched to the door, plus a screwdriver and drill
- Sandpaper or a small file for cleanup, and a pencil for marking
PETG is the right default: it handles outdoor temperature swings and the repeated pulling force better than PLA, which softens in summer heat and can crack in cold weather. If the door faces harsh sun all day, ASA is the upgrade, but PETG covers most garages.
Suggested print settings
- Layer height: 0.20 mm for a good balance of strength and finish.
- Walls: 5 perimeters minimum — the mounting lugs and grip carry the load.
- Infill: 50 to 60 percent, grid or gyroid.
- Top and bottom layers: 5 or more.
- Orientation: Print with the mounting face down, so the face that meets the door is flat.
- Supports: Only if your handle design includes an enclosed grip loop; an open pull handle usually needs none.
Print one test handle first and check the mounting holes line up before printing a final version.
Design Considerations
A pull handle has three parts: two mounting feet that bolt to the door, a grip bar between them, and clearance behind the grip so fingers fit. Getting all three right makes a handle that feels made, not improvised.
1. Matching the mounting holes
Measure the distance between the door’s existing mounting holes, center to center, and their diameter. This measurement is the whole project: if the handle’s feet do not match the holes, nothing else matters. Model the feet around those holes, with enough material around each hole — at least 8 mm in every direction — so the bolt does not tear out under a pull. If the old holes are damaged or enlarged, repair them first or choose a handle design whose feet cover a wider area.
2. The grip
A comfortable grip is 25 to 30 mm in diameter and 100 to 130 mm long, with slightly rounded ends. An oval or flattened-oval cross-section feels better in the hand than a round bar and resists twisting. Keep the grip’s surface smooth — sand it well — since a rough grip is unpleasant every single time you use the door. A subtle texture from a fine layer height is fine; visible layer ridges are not.
3. Finger clearance
Leave 30 to 40 mm of clear space behind the grip so gloved fingers fit comfortably. Too little clearance and the handle is awkward in winter; too much and the handle sticks out and catches passing things. The feet should stand the grip off the door by this amount, with a slight taper or gusset for strength.
4. Weather and appearance
An outdoor handle faces sun, rain, and frost. Print in PETG or ASA, and consider a coat of outdoor spray paint rated for plastic for UV protection and a finished color that matches the door. Rounded edges and a smooth finish shed water and look like proper hardware rather than a prototype.
Step-by-Step: Printing the Handle
- Measure the mounting holes. Center-to-center distance and hole diameter, measured on the door itself.
- Measure the old handle, if you have it, for grip length and finger clearance.
- Model the handle, with two feet, mounting holes, and a comfortable grip bar.
- Print a test handle and check the holes line up with the door’s holes exactly.
- Clean up the print. Sand the grip smooth and clear the mounting holes.
- Adjust if needed. Holes off? Re-measure and reprint. Grip uncomfortable? Adjust the diameter or clearance.
- Print the final handle in PETG or ASA, with full walls and infill.
Step-by-Step: Fitting the Handle
- Remove the old handle. Keep its bolts if they are sound; replace them if they are rusted.
- Clean the mounting area. Remove rust, old sealant, or debris from around the holes.
- Offer up the new handle and check the holes line up before tightening anything.
- Bolt it on. Use bolts or screws suited to the door material, with washers to spread the load across the printed feet.
- Tighten evenly. Alternate between the two feet so the handle seats flat without twisting.
- Test the pull. Open and close the door several times, with a normal grip and with gloves. The handle should feel solid, with no flex at the feet.
- Seal if needed. A thin bead of outdoor sealant behind the feet keeps water out of the door panel.
Tips for Better Results
- Print a spare. Handles are cheap to print; a spare in the garage saves a reprint later.
- Use washers. A washer under each bolt head spreads the load and stops the bolt pulling through the print.
- Test with gloves. A handle that feels fine bare-handed can be awkward in winter gloves. Check before final fitting.
- Match the door color. A color-matched handle looks like original equipment.
- Check the door balance. If the door is heavy or unbalanced, fix the springs and mechanism — no handle compensates for a door that fights you.
Common Mistakes to Avoid
- Guessing the hole spacing. Measure the door. A handle that is a few millimeters out is useless, and drilling new holes in a garage door weakens it.
- Printing too light. Thin walls and low infill make a handle that flexes and cracks at the feet. Go heavy.
- Using PLA outdoors. PLA softens in summer sun and goes brittle in cold. Use PETG or ASA for a garage door.
- Treating the handle as a lock. A printed handle is a pull grip only. It provides no security, and it must never be presented or used as a lock or security part.
- Ignoring a damaged door. If the door panel is rusted, bent, or its mechanism is failing, fix the door properly — a new handle will not save it.
Care, Storage, and When to Choose an Alternative
Wipe the handle when you clean the door, and check its bolts once a year — outdoor fixings work loose over time. If the handle cracks or the feet show stress marks, reprint it before it fails completely.
A printed handle is right for a standard sectional or up-and-over garage door with sound mounting holes and a working mechanism. If the door’s lock is broken, the panel is damaged, or the door needs security hardware, use manufactured parts rated for the job. A printed pull handle is a grip, and it should stay in that lane.
FAQ
Will a printed handle survive outdoors?
In PETG or ASA, yes, for normal garage-door use. Add outdoor paint for UV protection, check the bolts yearly, and reprint if the handle ever shows cracks or fading.
Can I print a handle for any garage door?
Any door with sound mounting holes and a standard pull-handle position, yes — because you measure the door’s own holes. If the holes are damaged or the door has a proprietary handle system, measure carefully and consider a manufactured replacement instead.
Is a printed handle secure?
No — and it is not meant to be. It is a pull grip only, not a lock or security part. Your door’s security comes from its proper locking hardware, which should always be manufactured and rated.
My handle flexes when I pull. What went wrong?
The walls or infill are too light, or the feet are too thin. Reprint with 5 perimeters and 50 to 60 percent infill in PETG, thicken the feet, and use washers to spread the bolt load.
Conclusion
A broken garage door handle does not need to mean weeks hunting for a matching replacement. Measure the door’s holes, print a comfortable grip in PETG, bolt it on with washers, and the door is pleasant to use again the same afternoon — with the clear understanding that it is a pull handle, not a lock.
If the garage is your current project, you may also enjoy our related guide, “3D Printed Garage Storage Hooks: Heavy Hooks for Garage Walls,” which organizes the inside of the garage while the new handle fixes the door. And for another replacement-part project with the same measure-first approach, “3D Printed Replacement Window Crank Handle: Fix a Broken Crank in an Afternoon” shows how printed handles rescue other household hardware.