Introduction
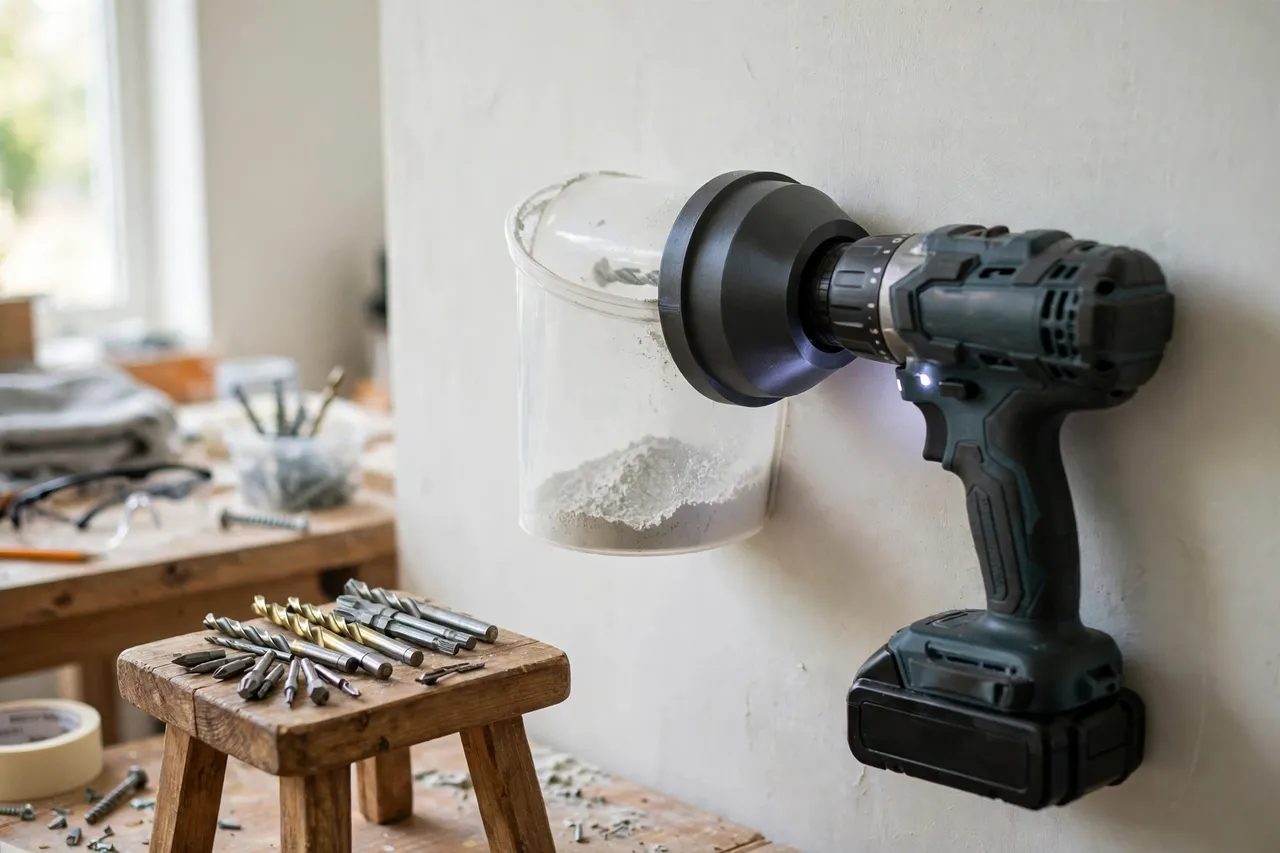
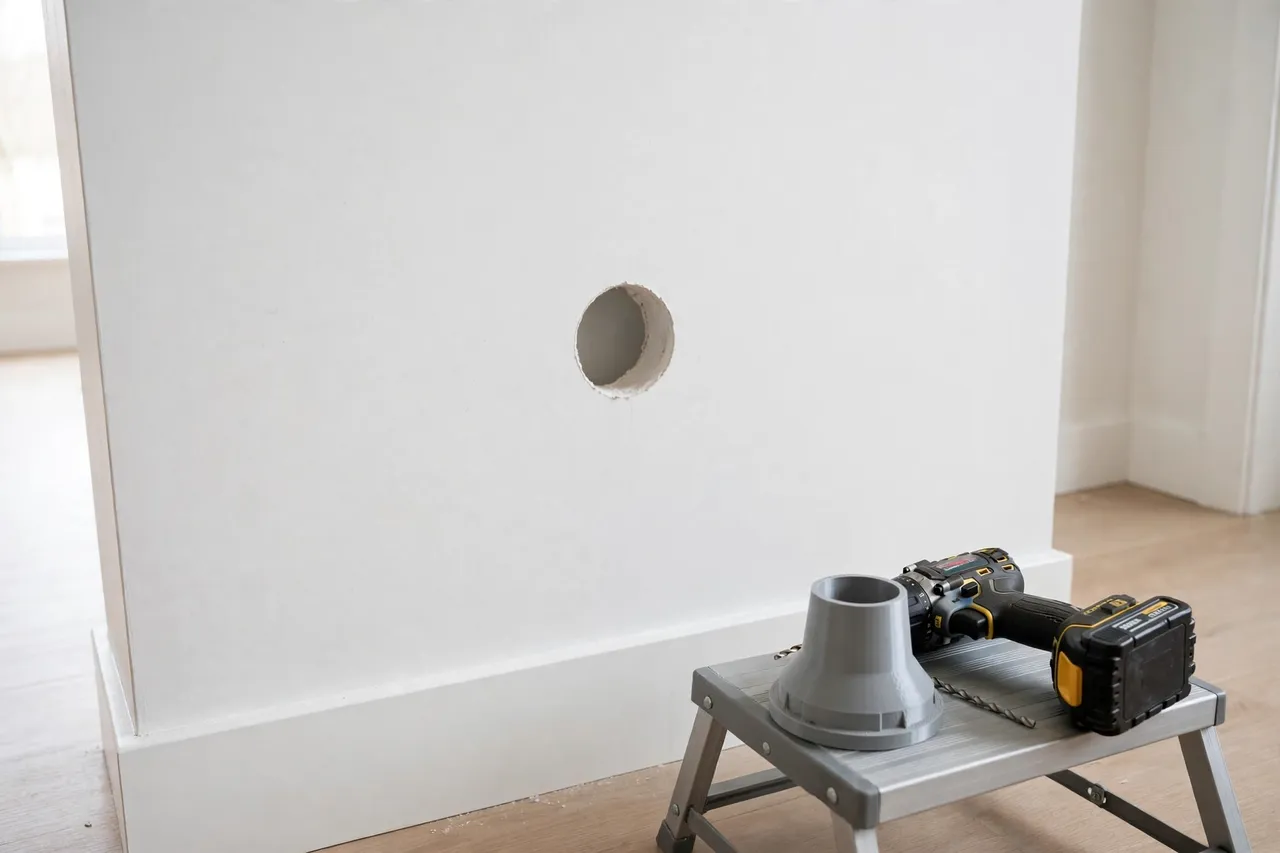
Drilling a single hole in a finished wall can leave dust across the floor, the skirting, and anything nearby. The usual fixes, a helper holding a dustpan or a vacuum nozzle in one hand while you drill with the other, are awkward and rarely catch everything. A dust shroud solves the problem at the source: a cup or ring that sits against the wall around the bit and traps dust as it is made.
The trouble is that shrouds and drills do not share a standard fitting. A shroud bought for one drill may not mount on another, and a vacuum nozzle may be the wrong diameter for the shroud’s outlet. A small printed adapter bridges that gap, connecting the shroud to your drill or to a vacuum hose so the whole assembly works as one tool.
This guide covers measuring, designing, and testing such an adapter. As with every adapter in this series, the part is a fitment piece only. It mounts to the outside of the drill’s existing fittings or to the shroud itself, and it never modifies the drill’s guard, chuck, motor housing, or safety features. If a fit requires forcing or altering the tool, stop and reprint at the correct size.
What You Need
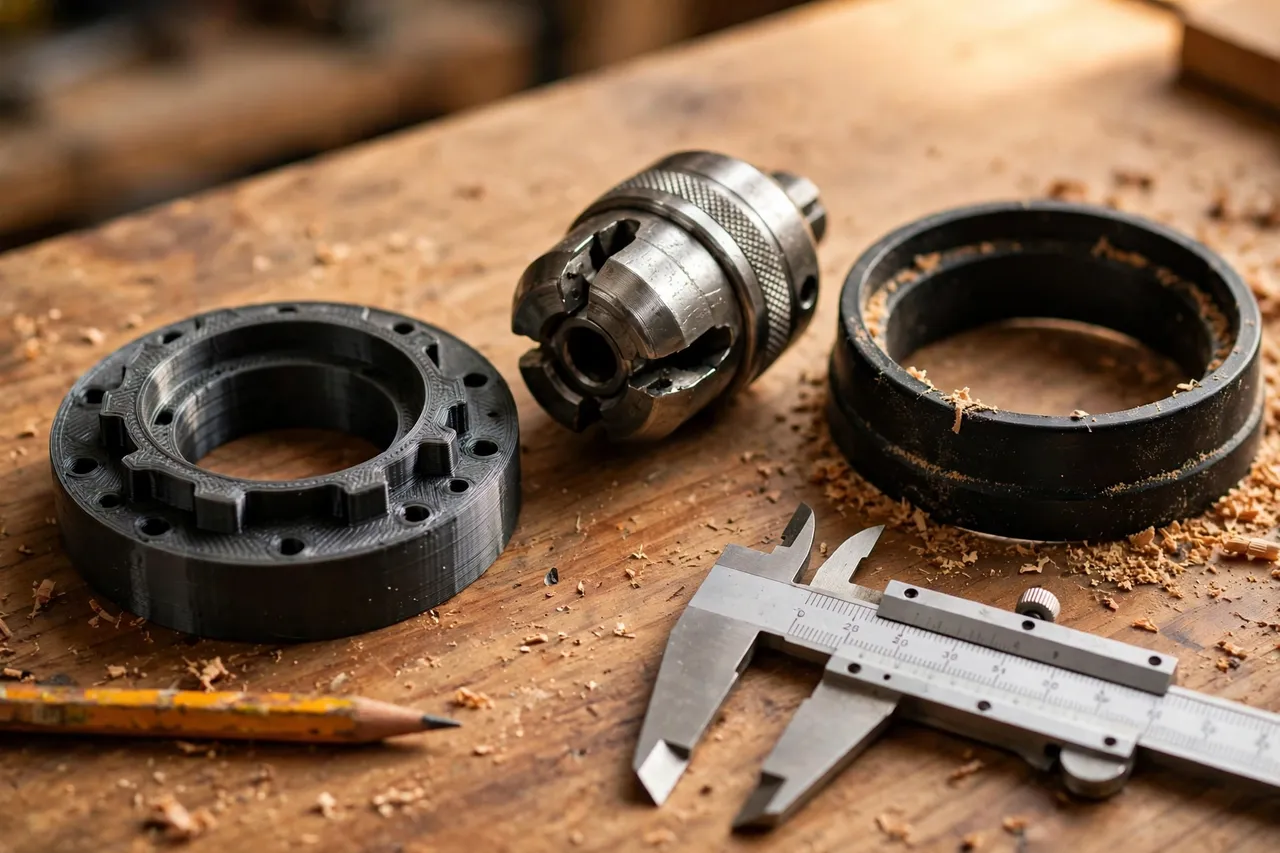
The adapter itself is small, but accurate measuring is what makes it useful.
Materials and tools
- A home 3D printer with a build area of roughly 100 mm in at least one direction
- PETG filament for the keeper, or PLA for a test fit
- Your drill, the dust shroud or dust cup, and the vacuum hose or nozzle you want to use
- Calipers, a ruler, and a pencil
- Sandpaper or a small file for cleanup
- Eye protection and a dust mask for drilling and test runs
PETG is preferred for the final part because it flexes slightly rather than cracking when the shroud presses against a wall. PLA is fine for checking diameters before committing to the final print.
Suggested print settings
- Layer height: 0.20 mm, or 0.16 mm if sealing faces look rough.
- Walls: 4 perimeters, so the rings hold their shape under pressure against the wall.
- Infill: 40 to 50 percent, grid or gyroid.
- Top and bottom layers: 4 or more.
- Orientation: Print with the axis vertical for the roundest rings.
- Supports: Usually none for a simple ring adapter; add them only for a side outlet.
A test print in PLA is worth the short wait. Diameter errors of half a millimetre are the difference between a shroud that stays put and one that slides off mid-hole.
Design Considerations
A drill dust shroud adapter usually has two jobs: hold the shroud steady relative to the bit, and provide an outlet for a vacuum hose or a closed cup that collects dust.
1. Measure the drill end
If the adapter clamps around the drill’s collar or chuck housing, measure that diameter in three places and note any ribs, seams, or vents it must clear. Never cover a ventilation slot or a chuck release. If the adapter instead mounts to the shroud, measure the shroud’s neck or outlet diameter the same way. Write down whether each connection is a slip-over fit or a plug-in fit, because that decides which diameter you model.
2. Measure the shroud and hose
Measure the shroud’s outlet and the vacuum hose or nozzle diameter. Many hoses are tapered, so measure at the point where the adapter will actually grip. If you plan to use the shroud without a vacuum, as a simple catch cup, the adapter only needs to join shroud to drill; the outlet can be capped or left as a short closed cup. Keep the design simple and match it to how you will really use it.
3. Keep the bit centred and the wall contact even
The shroud must sit flat against the wall with the bit passing through its centre. An off-centre adapter tilts the shroud, leaving a gap where dust escapes. Model a locating rim that registers the shroud squarely, and keep the adapter’s wall thickness even so it does not flex more on one side. A soft foam or felt ring glued to the shroud’s wall face improves the seal on textured walls, and it is cheap to replace when worn.
4. Size for the dust you make
Masonry dust is heavy and falls quickly, so a cup-style shroud with a closed bottom works well for overhead-free wall drilling. Fine wood dust stays airborne longer and benefits from a vacuum connection. Either way, keep the internal passage wide and smooth, without sharp steps that trap dust. A bore of at least 20 mm suits most household drilling; narrower passages clog and defeat the purpose.
Step-by-Step: Printing and Fitting the Adapter
- Measure the drill collar or shroud neck in three places and record the average.
- Measure the hose or outlet diameter at the actual grip point.
- Model the adapter as a short ring or stepped tube with a locating rim for the shroud.
- Add a grip rib on the outside so the shroud and hose stay attached during drilling.
- Print a test version in PLA.
- Clean up the print by removing stringing and lightly sanding the mating faces.
- Test the fit dry. The shroud should sit square, and the hose should push on firmly.
- Check drill clearance. Fit the adapter, insert a bit, and confirm the bit runs true and nothing rubs.
- Adjust diameters by 0.3 mm at a time and reprint if the fit is loose or tight.
- Print the keeper in PETG, fit a foam sealing ring to the shroud if needed, and test on scrap or a hidden wall area first.
During the test, drill slowly and watch where dust goes. If dust escapes on one side, the shroud is tilting, which usually means the adapter is not seating squarely or the wall face is uneven.
Tips for Better Results
- Start the hole slowly. A slow start keeps the bit from wandering before the shroud seals.
- Empty the cup often. A full cup spills dust the moment you pull the drill away.
- Keep a second shroud size. Small shrouds suit picture hooks; larger ones suit masonry fixings.
- Label adapters by drill. A paint pen note prevents mix-ups in a shared toolbox.
- Pair with a vacuum for dusty walls. Even a short vacuum burst after drilling clears what the cup missed.
Readers setting up a wider dust-control routine often look next at 3D Printed Sander Dust Bag Adapters: Fit Dust Bags to Any Sander, which uses the same measure-first approach for sanders, and at 3D Printed Shop Vac Accessory Hooks: Hooks for Nozzles and Wands for keeping the vacuum nozzle ready at the bench.
Common Mistakes to Avoid
- Covering vents or moving parts. Check the drill’s vents, chuck, and depth stop with the adapter fitted before drilling.
- Modelling from a photo. Shroud necks vary by a millimetre or more between batches; measure your own.
- Making the adapter too long. Extra length levers the shroud off the wall and makes the drill harder to hold square.
- Using a cup that is too small for the bit. The bit must pass freely through the shroud’s centre without rubbing the adapter.
- Skipping the test hole. Always test on scrap or a hidden spot before drilling a finished wall.
Care, Storage, and When to Choose an Alternative
Brush dust out of the adapter and shroud after use, and store them together so the set stays matched. Replace foam sealing rings when they compress flat, and retire any adapter that has cracked or warped. Keep PLA versions out of hot vehicles and direct sun.
A printed adapter is right when both the drill fitting and the shroud are sound and simply do not share a size. If the shroud itself is cracked, the drill collar is damaged, or you need a sealed industrial extraction setup, choose a manufactured shroud made for your drill instead. The printed part is a household fitment aid, not a substitute for proper extraction on heavy masonry work.
FAQ
Will this adapter fit any drill and any shroud?
No single adapter fits all combinations, which is exactly why printing your own makes sense. Measure your drill fitting and your shroud, print that combination, and label it. A second combination is just another short print.
Do I need a vacuum, or does the cup alone work?
A cup alone catches most falling dust for small wall holes, which covers many household jobs. A vacuum connection catches finer airborne dust and suits larger holes or dusty masonry. Build the version that matches your real use.
Is PLA strong enough for this part?
PLA is fine for a test fit and for light occasional use. PETG is the better keeper because it handles repeated pressing against walls and warm workshops without cracking. Use generous walls either way.
Why does dust still escape on one side?
Usually the shroud is not sitting flat. Check that the adapter seats squarely, that no rib or seam is holding it off, and that the wall face is reasonably even. A fresh foam sealing ring often fixes a small persistent gap.
Conclusion
Drilling does not have to mean dust everywhere. A short printed adapter that joins your drill, a shroud, and optionally a vacuum hose turns a messy job into a tidy one. Measure carefully, keep the bit centred, test on scrap, and the next hole you drill in a finished room will leave almost nothing to clean up.