Introduction
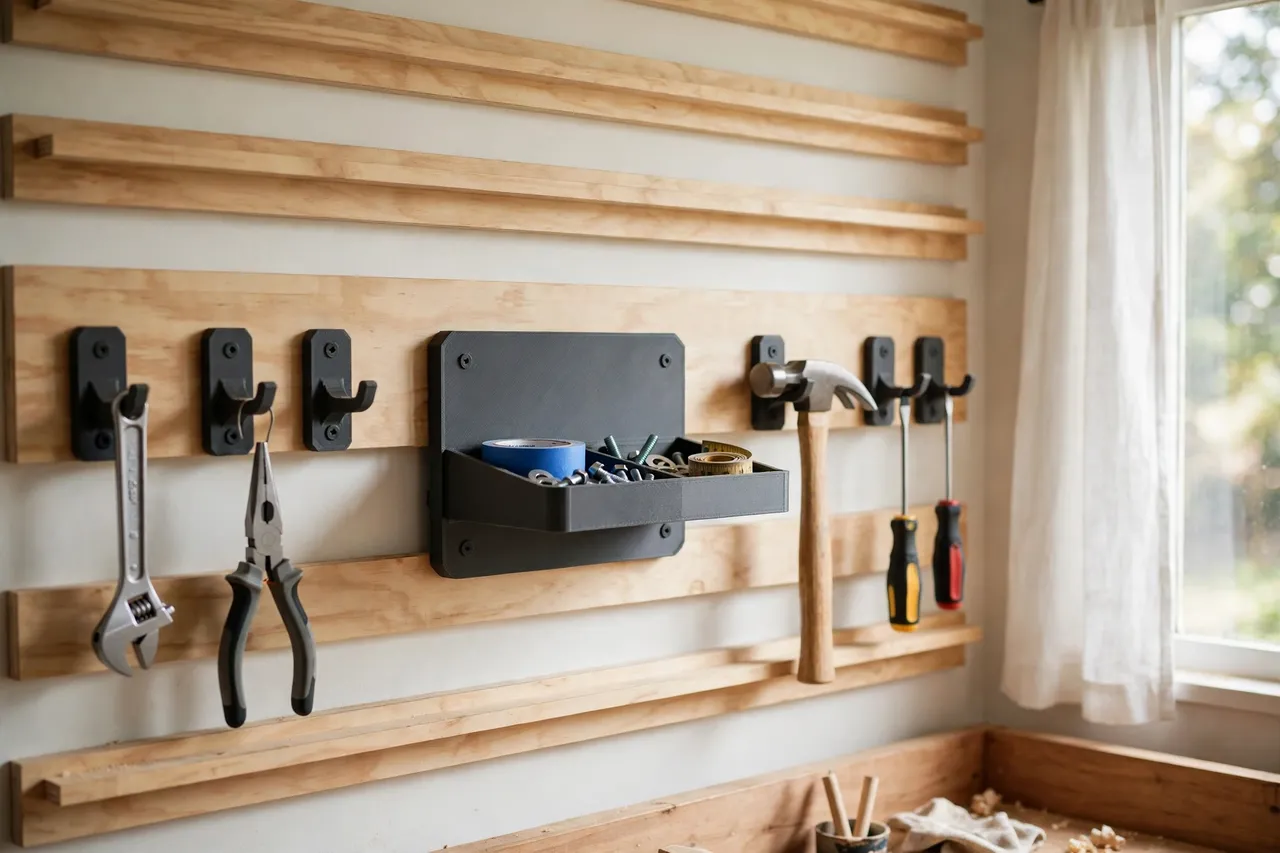
The French cleat is one of the best workshop wall ideas ever invented: a wall rail with a beveled edge, and holders with a matching bevel that hook on, lift off, and rearrange in seconds. The trouble starts when cleats from different makers meet. One rail is cut at 45 degrees, another at a slightly different angle. One holder’s cleat is thicker than your rail’s gap. A shelf you bought for one system simply will not seat on another.
The result is familiar: a wall that should be flexible turns rigid, because every holder only fits the rail it came with. You either rebuild the wall to one system or leave good holders unused.
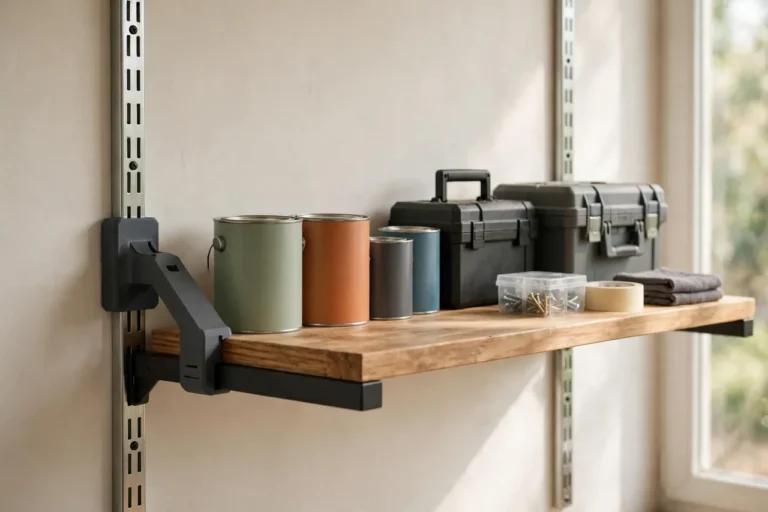
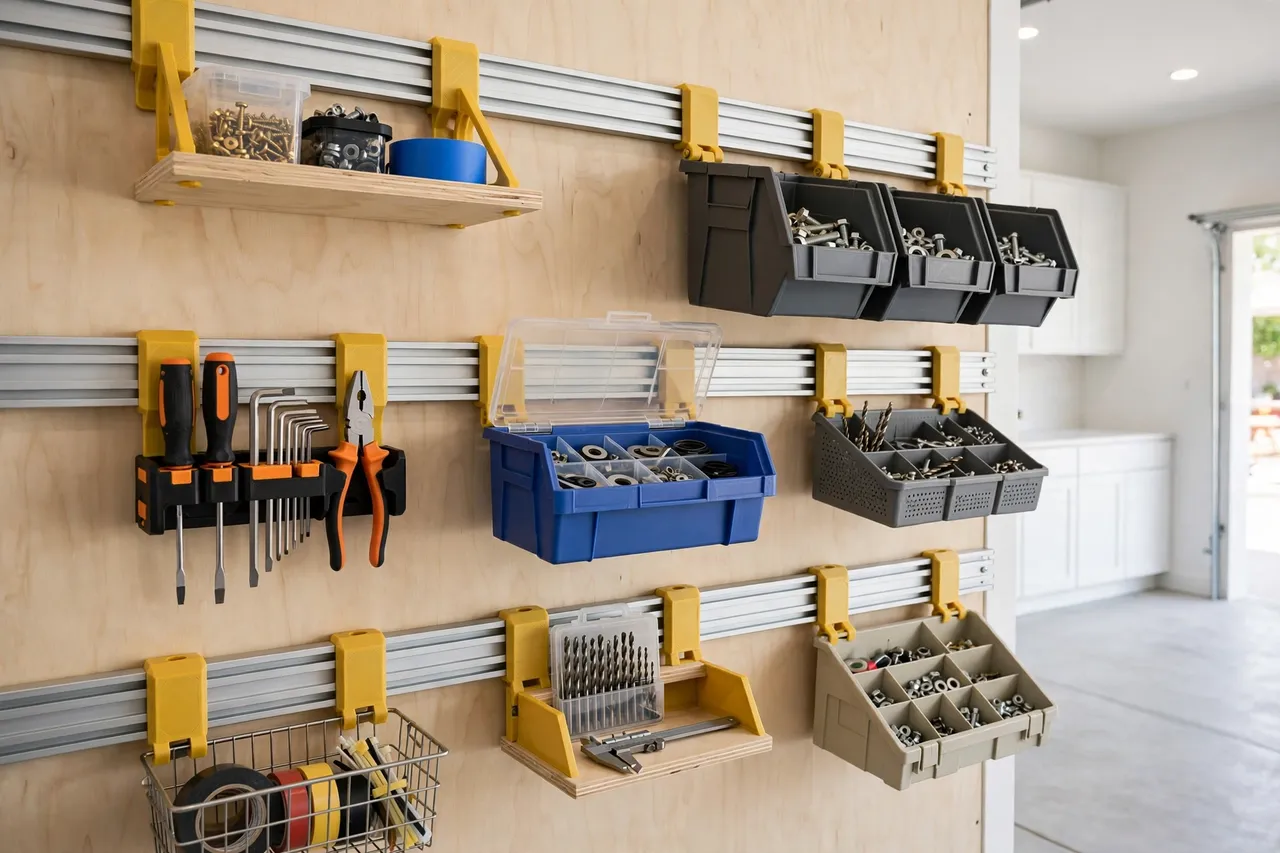
A 3D printed French cleat adapter bridges that gap. It is a small beveled block that hooks onto your wall rail on one side and presents a different cleat profile on the other — a different angle, thickness, or spacing — so a holder from any system hangs on the rail you already have. Print a few, and your wall becomes genuinely modular again.
This guide covers designing, printing, and using cleat adapters for light-duty workshop storage: shelves, bins, and hand-tool holders. These are layout aids and light-duty helpers. They are not structural parts, and heavy, valuable, or overhead items belong on manufactured hardware, not printed adapters.
What You Need
Cleat adapters are chunky little blocks, easy to print and forgiving to model. The critical measurement is your rail’s bevel.
Materials and tools
- A home 3D printer with a build area of roughly 120 mm in at least one direction
- PETG filament for garage walls, or PLA for indoor, climate-controlled rooms
- The cleat holder you want to adapt, plus a rail offcut if you have one
- Calipers or a protractor, a tape measure, a pencil, and a spirit level
- A cordless drill, screws, and wall fixings suited to your wall type
- Sandpaper or a small file for cleanup
PETG is the better long-term choice for a workshop: it resists warm garages and the odd knock better than PLA. PLA is fine for a first test adapter and for light indoor use. Print adapters solid enough that the beveled lip feels rigid, not springy.
Suggested print settings
- Layer height: 0.20 mm balances speed and accuracy; 0.16 mm if bevel faces look stepped.
- Walls: At least 4 perimeters — the beveled lip carries the load.
- Infill: 40 to 60 percent, grid or gyroid, so the lip resists bending.
- Top and bottom layers: 4 or more, so contact faces stay flat.
- Orientation: Print with the bevel facing up or on its side so layer lines do not split along the lip; test both and keep the stronger one.
- Supports: A good adapter design needs none, or only minimal support under an overhanging lip.
Print one test adapter first and try it on the real rail before printing a set.
Design Considerations
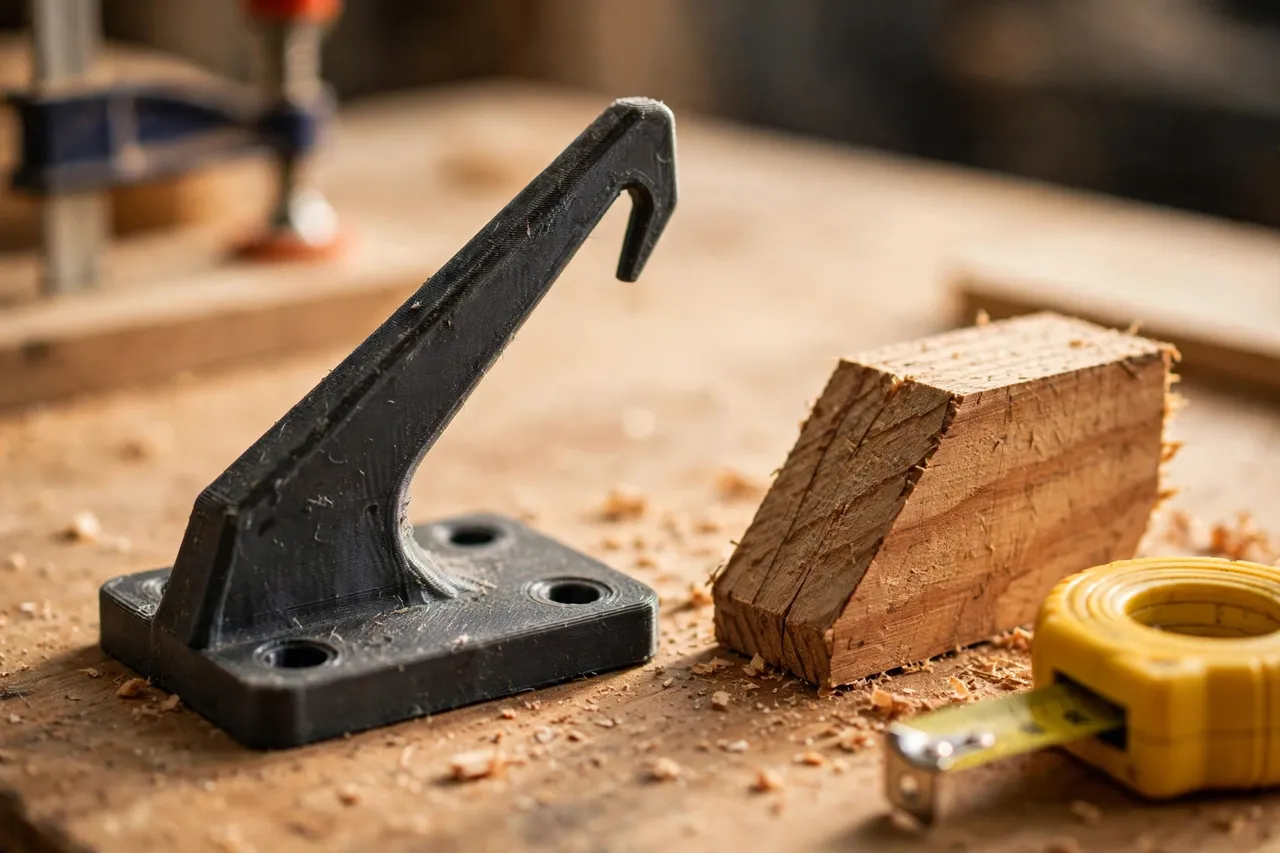
A cleat adapter is two bevels back to back. Getting the angles and thicknesses right is the whole job.
1. Measure your wall rail
Measure the rail’s bevel angle — usually 45 degrees, but some systems use other angles — and the thickness of the rail at the bevel. Also measure the gap between the rail face and the wall, since the adapter’s hook must fit into that space without binding. If you have a rail offcut, use it as a physical gauge: offer the printed adapter up to it and check the fit by hand.
2. Measure the holder’s cleat
Measure the holder side the same way: its bevel angle, its thickness, and how deep its hook reaches. The adapter’s front face must present exactly the profile the holder expects. Measure the actual holder, not a product listing, because lookalike holders often differ by a few millimeters.
3. The adapter body
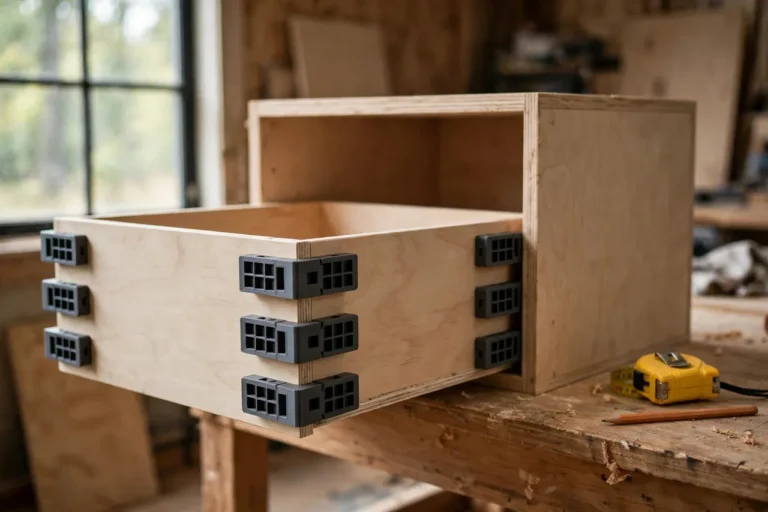
Join the two profiles with a solid body 15 to 25 mm deep. That depth gives the adapter stiffness and room for screw holes if the holder screws on rather than hooks on. Keep at least 5 mm of material around every screw hole, and keep the adapter’s overall width a little wider than the holder’s cleat so the load spreads. Round the outer corners slightly so adapters are pleasant to handle and less likely to chip.
4. Locking and safety
A plain cleat hook can lift off if bumped from below, so add a small retention feature: a shallow bump on the hook, a slot for a retaining screw, or a friction pad of thin rubber on the contact face. This matters most for holders near walkways or at head height. Never rely on a printed adapter alone for anything hung above a workbench where a fall could hurt someone — keep adapted holders at or below shoulder height.
Step-by-Step: Printing and Assembly
- Measure the wall rail — bevel angle, thickness, and wall gap.
- Measure the holder’s cleat — bevel angle, thickness, and hook depth.
- Model the adapter, with the rail profile on the back and the holder profile on the front.
- Print a test adapter and offer it to the real rail and the real holder.
- Check the seat. Both bevels should contact along their full faces, with no rocking.
- Clean it up. Sand the bevel faces lightly and clear any screw holes.
- Adjust if needed. An angle off by even a few degrees shows up as rocking; correct it in the model and reprint.
- Print the set in PETG, in matching or color-coded colors.
Test-fitting on the real rail is what separates an adapter that works from one that almost works.
Step-by-Step: Using French Cleat Adapters on Your Wall
- Plan the layout. Hold each holder where you want it and mark positions with painter’s tape, keeping daily tools at comfortable reach height.
- Start with a level rail check. Use a spirit level on the existing rail; if the rail itself is off, every adapter inherits the tilt.
- Hook adapters onto the rail at the marked spots, pressing each one down until its bevel seats fully.
- Attach or hang the holders on the adapters, using screws where the design calls for them.
- Load gradually. Hang the holder empty first, then add tools one at a time, watching for flex or creep.
- Test removal. Lift each holder off and replace it a few times; it should come off easily but never fall off on its own.
- Check after a week. Daily-use holders can settle; reseat anything loose and inspect bevels for cracks or whitening.
Work through one holder at a time. The first adapter teaches you what to adjust on the rest.
Tips for Better Results
- Keep a blank adapter file. Save a model with your rail’s profile already drawn, then add each new holder profile as a copy.
- Print spares. Adapters are small and cheap; spares in a drawer mean a damaged bevel never leaves a holder homeless.
- Color-code by system. One color per holder system makes it obvious which adapter belongs to which holder.
- Add a small end stop. A short lip at the end of a rail run stops holders sliding sideways off the rail.
- Pair adapters with plates. For mounts that do not use cleats at all, our guide “3D Printed Tool Mount Adapters: Plates for Any Wall Mount” covers flat adapter plates for the same wall.
Common Mistakes to Avoid
- Designing from a nominal 45 degrees. Measure your actual rail; some systems differ, and a wrong angle rocks.
- Making the lip too thin. A thin bevel lip flexes and eventually cracks; keep it chunky and well-supported by infill.
- Ignoring the wall gap. If the adapter’s hook is deeper than the rail’s gap, it will not seat at all.
- Overloading a light-duty adapter. Heavy shelves and power tools belong on manufactured cleats, not printed adapters.
- Skipping the retention feature. A holder that lifts off with a bump is a holder that will fall eventually.
- Hanging adapted holders overhead. Keep them at or below shoulder height, never above a workbench.
Care, Storage, and When to Choose an Alternative
Brush off dust, inspect bevels every few months for cracks or whitening, and reprint any adapter that shows wear. PLA adapters in a hot garage can soften in summer; switch those to PETG. Spare adapters stack neatly in a box, sorted by holder system if you color-coded them.
Sometimes manufactured hardware is the right call. If a shelf is heavy, holds valuable tools, or must stay put in a mobile setup, buy cleats made for that system. For the everyday mismatch — a good holder, the wrong rail — a printed adapter is faster and cheaper than rebuilding the wall. The same bridging idea works for other wall systems too, as in “3D Printed Pegboard Hook Adapters: Hooks That Fit Any Pegboard“, which adapts hooks rather than cleats to a mismatched panel.
FAQ
Will one adapter fit every cleat holder I own?
No. The rail side can stay identical across all your adapters, but the holder side matches one holder profile. That is the strength of the approach: one rail, many holders, each with its own small adapter.
Is PLA strong enough, or do I need PETG?
For light indoor holders, PLA is strong enough with generous walls and infill. PETG is the better keeper for garages because it handles heat and knocks better. Bevel thickness and infill matter more than the filament brand.
My adapter rocks on the rail. What is wrong?
Usually the bevel angle is slightly off or the hook is too deep for the rail’s wall gap. Measure both again, correct the model by a degree or a millimeter, and reprint. A rocking adapter will only get worse under load, so do not live with it.
Can I adapt a holder that screws on instead of hooking on?
Yes. Design the adapter’s front face as a flat plate with screw holes positioned for the holder, and the back as the rail hook. The adapter then works exactly like a small mounting plate that happens to hang on a cleat.
Conclusion
A French cleat wall promises flexibility, and mismatched cleat profiles break that promise. A 3D printed adapter restores it: one side matched to your rail, the other matched to the holder, and suddenly every holder you own hangs on the wall you already have.
Start with the holder that has been sitting unused the longest, print a test adapter, and seat it properly. Once that first holder hangs straight and secure, the rest of the wall will follow — and your cleat system will finally work the way it was supposed to.