Introduction
A hammer without a loop ends up in one of three places: balanced on a ladder rung, buried in a toolbox, or on the ground where you just stepped. A good hammer loop keeps it at your hip, handle down, head ready — and a printed loop does that job for the price of a few grams of filament, shaped to your belt and your hammer.
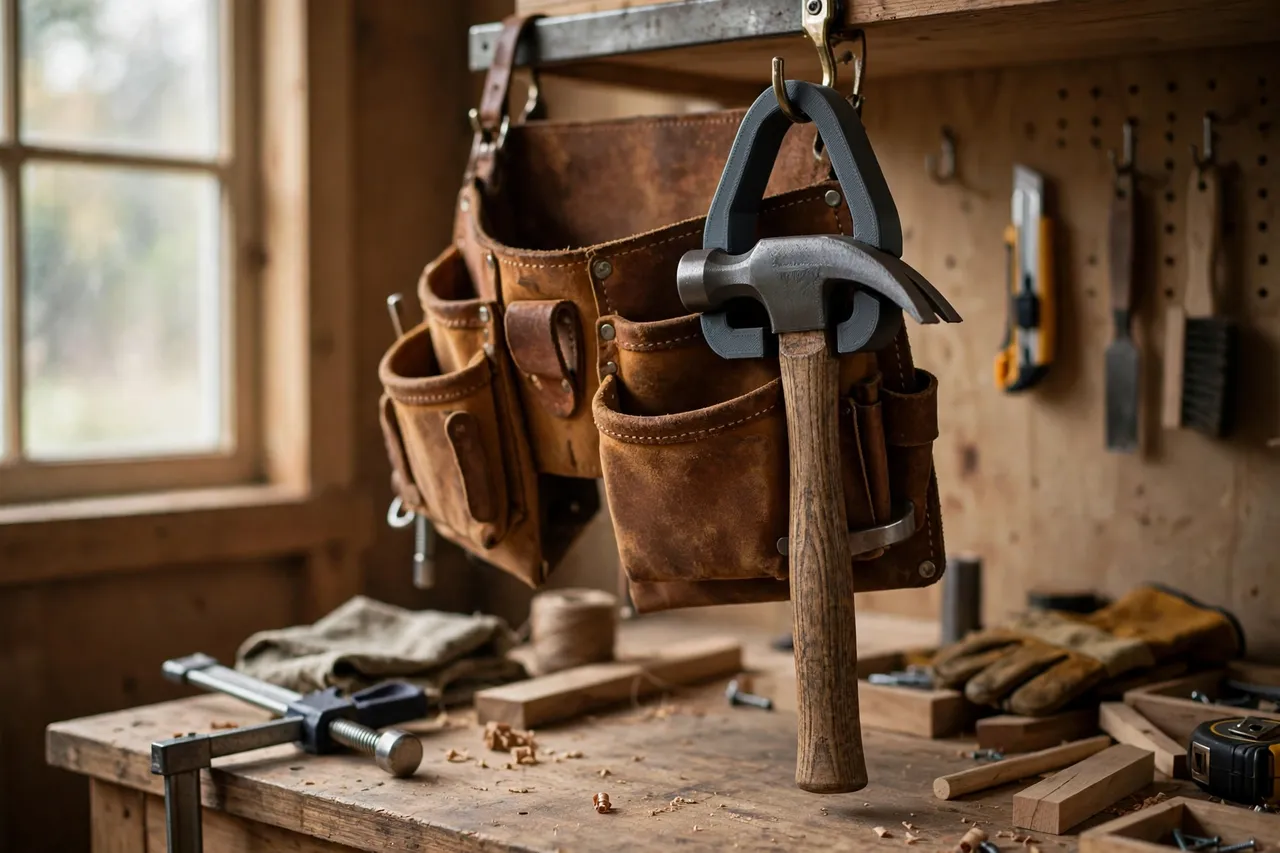
The loop is simple: a belt attachment, an open ring the hammer handle slides through, and a shape that lets the hammer hang without swinging wildly or slipping out when you bend. Print it once, and the hammer stops wandering.
A plain limit applies, as with every belt holder here. A printed loop is for carrying and parking a hammer at the bench, around the workshop, or on a light job — nothing more. It is not a safety restraint, not a climbing or fall-protection device, and not something to trust with a hammer over people or above a work area where a dropped tool could hurt someone. For heavy trade use or work at height, use a manufactured leather or steel loop rated for the job.
What You Need
Hammer loops are small, flat-ish prints that suit batch printing.
Materials and tools
- A home 3D printer with a build area of roughly 120 mm in at least one direction
- PETG filament for toughness, or TPU for a loop with a little give
- Your tool belt and your hammer, for measuring belt width and handle size
- Calipers or a ruler, a pencil, and sandpaper or a small file
PETG is the default: stiff enough to hold its shape, tough enough to survive daily belt wear. TPU adds grip on the handle but can stretch over time, so check fit periodically if you choose it.
Suggested print settings
- Layer height: 0.20 mm.
- Walls: 4 to 5 perimeters — the loop walls take repeated sliding and tugging.
- Infill: 40 to 50 percent, gyroid.
- Top and bottom layers: 4 or more.
- Orientation: Print flat, loop face down, for the strongest layer orientation across the loop.
- Supports: None for an open-loop design.
Print one loop first, fit it to your belt and hammer, and then print spares.
Design Considerations
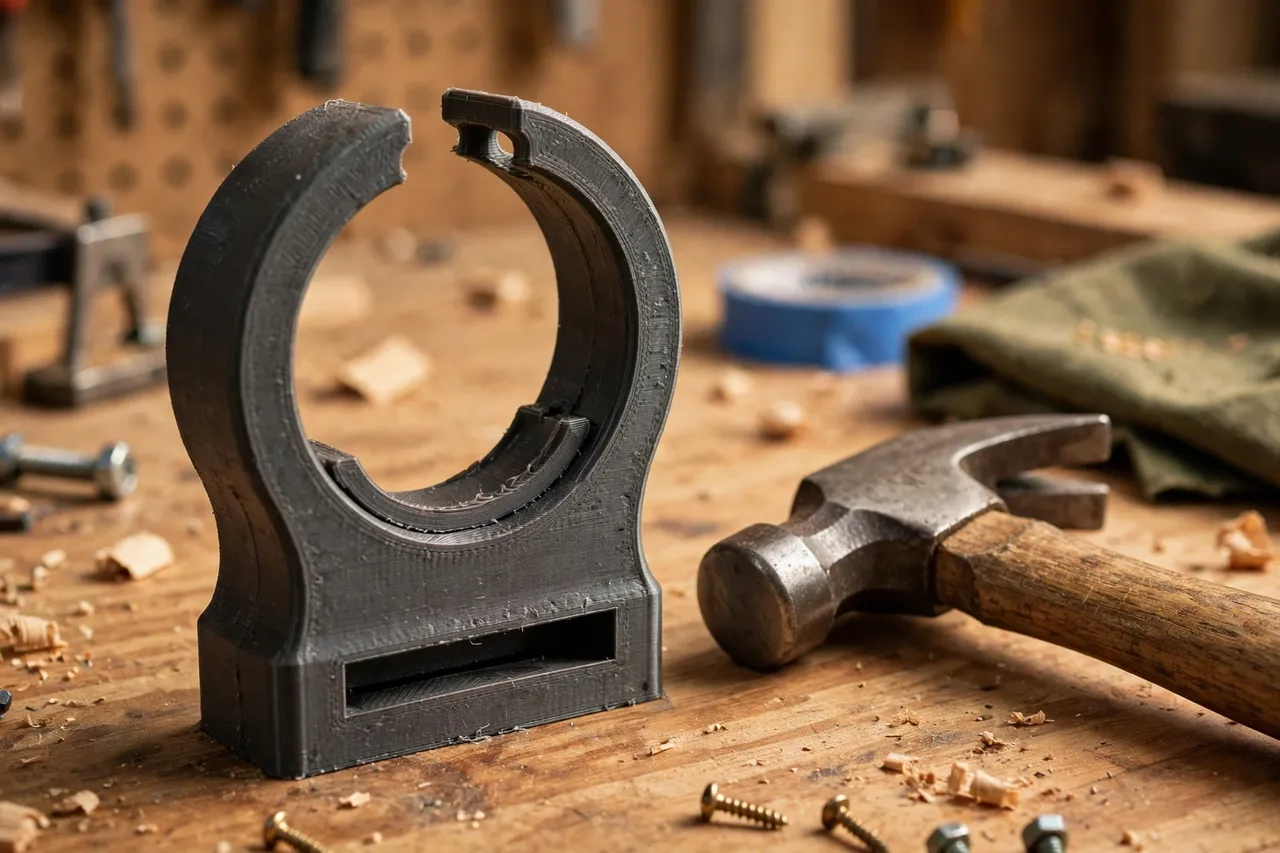
A hammer loop has three features, and each one is simple — but each one matters.
1. The belt attachment
Measure your belt’s width and thickness. The attachment can be a closed slot the belt threads through, a clip that snaps over the belt, or a pair of screw holes for a permanent mount. A clip is the most convenient for moving the loop between belts; a threaded slot is the most secure for a belt you always use. Size the slot about 2 mm wider than the belt so it slides without binding.
2. The loop itself
The loop is an open ring, sized so the hammer handle passes through easily but the head cannot. Measure your hammer’s handle at its widest point and size the loop opening about 5 to 10 mm larger. An oval loop suits most claw hammers better than a round one, and a small inward lip at the bottom stops the handle sliding out when you bend over.
3. Swing and clearance
A loop that holds the hammer rigidly against your leg gets in the way; one that swings freely bangs your knee. The sweet spot is a loop that hangs the hammer slightly away from the body, with enough freedom to swing a little but not flop. A short standoff between the belt slot and the loop — about 15 to 25 mm — gives that clearance.
Step-by-Step
- Measure your belt — width and thickness — and your hammer handle at its widest point.
- Model the loop: belt attachment, standoff, and oval loop with a retaining lip.
- Print one test loop and fit it to your belt.
- Hang the hammer and walk, bend, and crouch. The hammer should stay put but swing clear of your leg.
- Check draw speed. You should be able to pull the hammer out one-handed without fumbling.
- Adjust if needed. Too tight? Open the loop by a few millimeters. Slipping out? Deepen the retaining lip.
- Print spares — loops are small, and a spare in the toolbox saves a job interrupted by a cracked loop.
- Wear it on a real job and notice how much less time you spend hunting for your hammer.
Tips for Better Results
- Position the loop on your dominant side, slightly behind the hip, where the hammer clears your leg but stays in easy reach.
- Round all edges in the design or with sandpaper — sharp printed edges wear belts and snag clothing.
- Print in a bright color if you work outdoors; a loop is easier to find when it contrasts with the belt.
- Check the loop for cracks monthly if you wear it daily; PETG gives warning by whitening at stress points before it fails.
- Keep a spare loop with your belt, not in a drawer at home.
- Try the loop with gloves on. A loop that works bare-handed but snags a gloved hand will slow you down on cold days, so test the draw wearing the gloves you actually work in.
For the matching belt companion, “3D Printed Pliers Holster: Park Pliers on Your Belt” parks your pliers the same way the loop parks your hammer — the two together cover the tools you reach for most.
Common Mistakes to Avoid
- Sizing the loop to the handle’s narrow end. Size to the widest point, or the hammer jams halfway in.
- Making the belt slot too tight. A slot that binds makes the loop hard to move and wears the belt.
- Forgetting the retaining lip. Without it, the hammer slides out the first time you bend over.
- Printing with low infill. A loop that flexes under a hammer’s weight feels insecure and cracks sooner.
- Trusting a printed loop at height or over people. For work at height, use manufactured, rated tool tethering — a printed loop is a workshop convenience, not safety gear.
Care, Storage, and Alternatives
Brush off dust, check for cracks or whitening at stress points, and retire any loop that shows them — reprinting takes minutes. Store spare loops with your belt so they are there when needed.
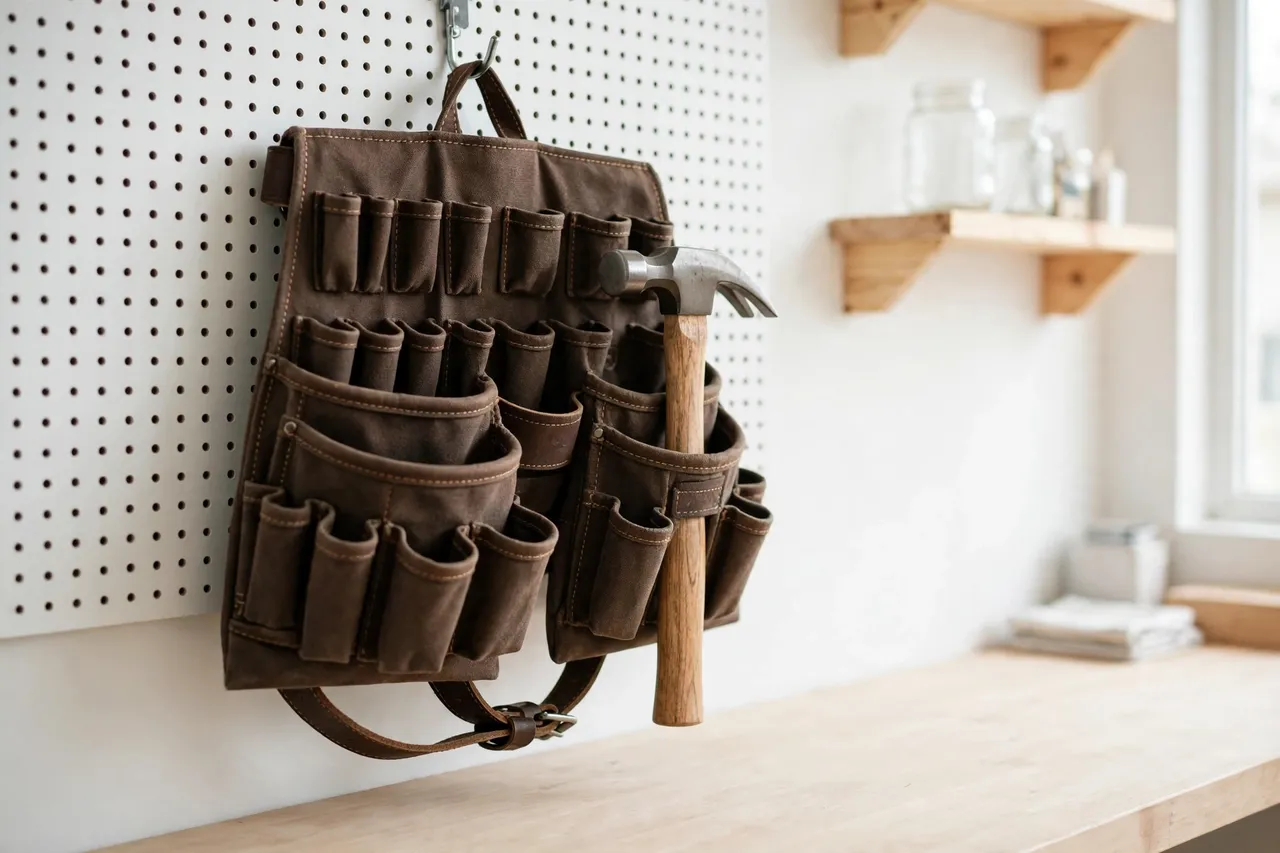
Manufactured leather hammer loops are the classic choice and last for years of hard use; steel loops suit heavy trade work. For the home workshop, a printed loop matched to your belt and hammer is cheaper, faster to replace, and easy to customize for an unusual belt or hammer shape.
FAQ
Will a printed loop hold a heavy framing hammer?
For carrying around the workshop and light jobs, a well-printed PETG loop with thick walls handles a standard claw or framing hammer. For all-day trade use or heavy framing hammers, a leather or steel loop is the better long-term choice.
Can I move the loop between belts?
Yes, if you choose a clip-style attachment. Threaded-slot loops are more secure but slower to move; pick the style that matches how often you switch belts.
My hammer keeps swinging into my leg. What helps?
Increase the standoff slightly so the hammer hangs further from your body, and check the loop is positioned behind the hip rather than directly at the side.
The loop cracked after a few months. Is that normal?
PETG loops wear with daily use, especially at the belt slot. Treat them as consumables: print a spare, check monthly, and replace at the first sign of whitening or cracking.
Conclusion
A hammer loop is a small thing that removes a constant small annoyance: the hammer that is never where you left it. Printed to your belt and your hammer, it keeps the tool at your hip, ready to draw, and out of the way the rest of the time.
Measure your belt, print one loop, test it on a real job, and then make a spare. Your hammer will stop wandering, and you will stop looking for it. And once the hammer has its parking spot, “3D Printed Tool Belt Hooks: Hang Belts Ready for the Next Job” gives the whole belt a home between jobs.