Introduction
Marking tools are the smallest things in the workshop and the ones you lose most often. A pencil rolls off the bench, a marker hides under an offcut, and a carpenter’s pencil migrates to a pocket never to return. Every search costs a minute, breaks concentration, and — on a glue-up with open time ticking — can cost a joint.
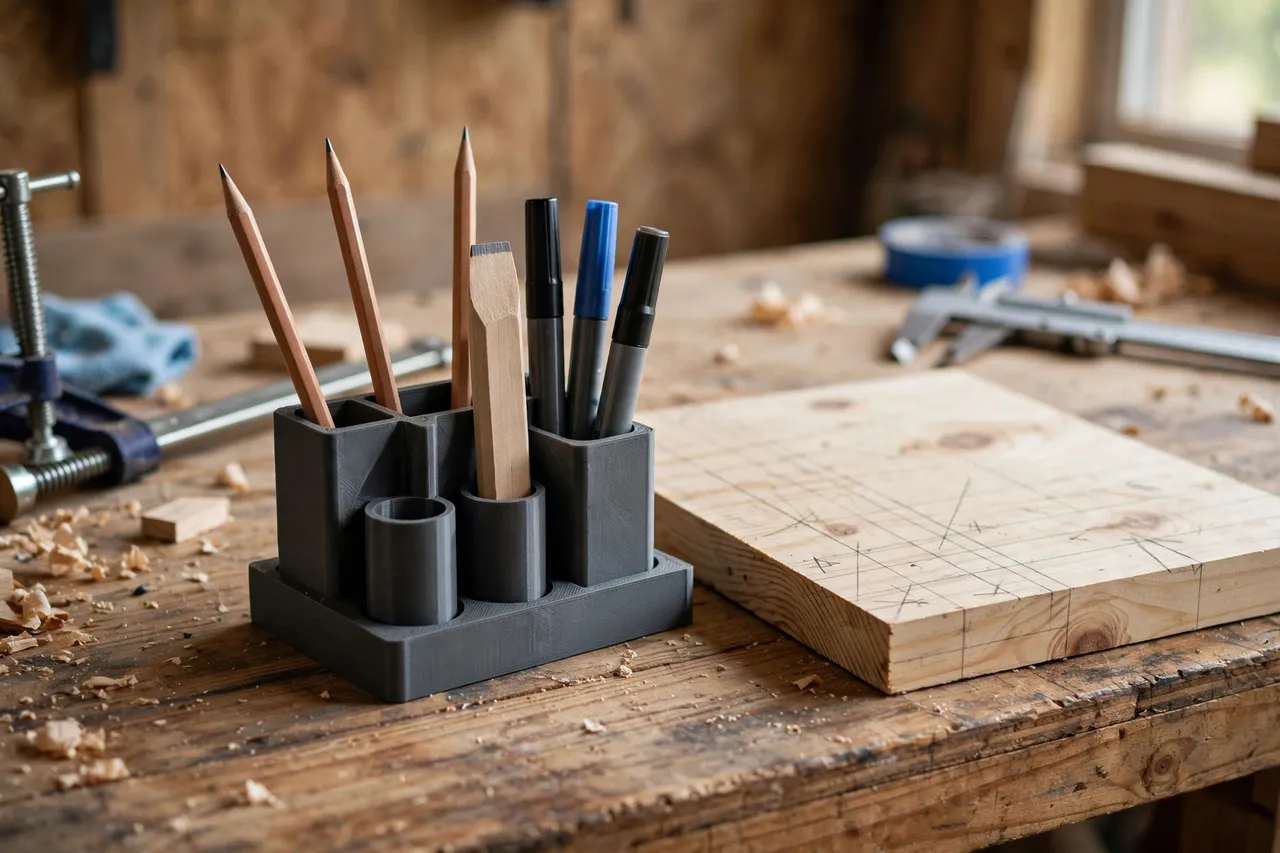
A bench holder ends the hunt. It keeps pencils and markers upright, visible, and in one fixed spot at the bench, so your hand finds them without your eyes leaving the work. Printed holders do this better than a mug or a tin because they can be sized to your actual tools, clamped to the bench edge, or shaped to the space you have.
These are simple bench organizers — nothing structural, nothing safety-critical, just a place for marking tools to live. That simplicity is the point: the best holder is the one that is always there, always in reach, and never in the way.
What You Need
Pencil and marker holders are small, forgiving prints — a good first project for a new printer.
Materials and tools
- A home 3D printer with even a small build area
- PLA filament for desk and bench holders, or PETG for a workshop that gets warm
- Your pencils and markers, for measuring diameters
- A ruler or calipers, a pencil, and sandpaper or a small file
- A bench edge or bench surface to place or clamp the holder
PLA is fine for bench holders that live indoors; PETG suits a garage workshop that heats up in summer. Either works — this is a low-stress print.
Suggested print settings
- Layer height: 0.20 mm, or 0.24 mm for faster printing.
- Walls: 3 perimeters.
- Infill: 20 to 30 percent — holders do not carry weight, so infill can stay light.
- Top and bottom layers: 3 to 4.
- Orientation: Print base-down, holes vertical.
- Supports: None for vertical holes.
Print one holder first, check your tools fit, and then print variants for different bench spots.
Design Considerations
A good holder is a block with holes. Four details make it a good one.
1. Hole sizes for real tools
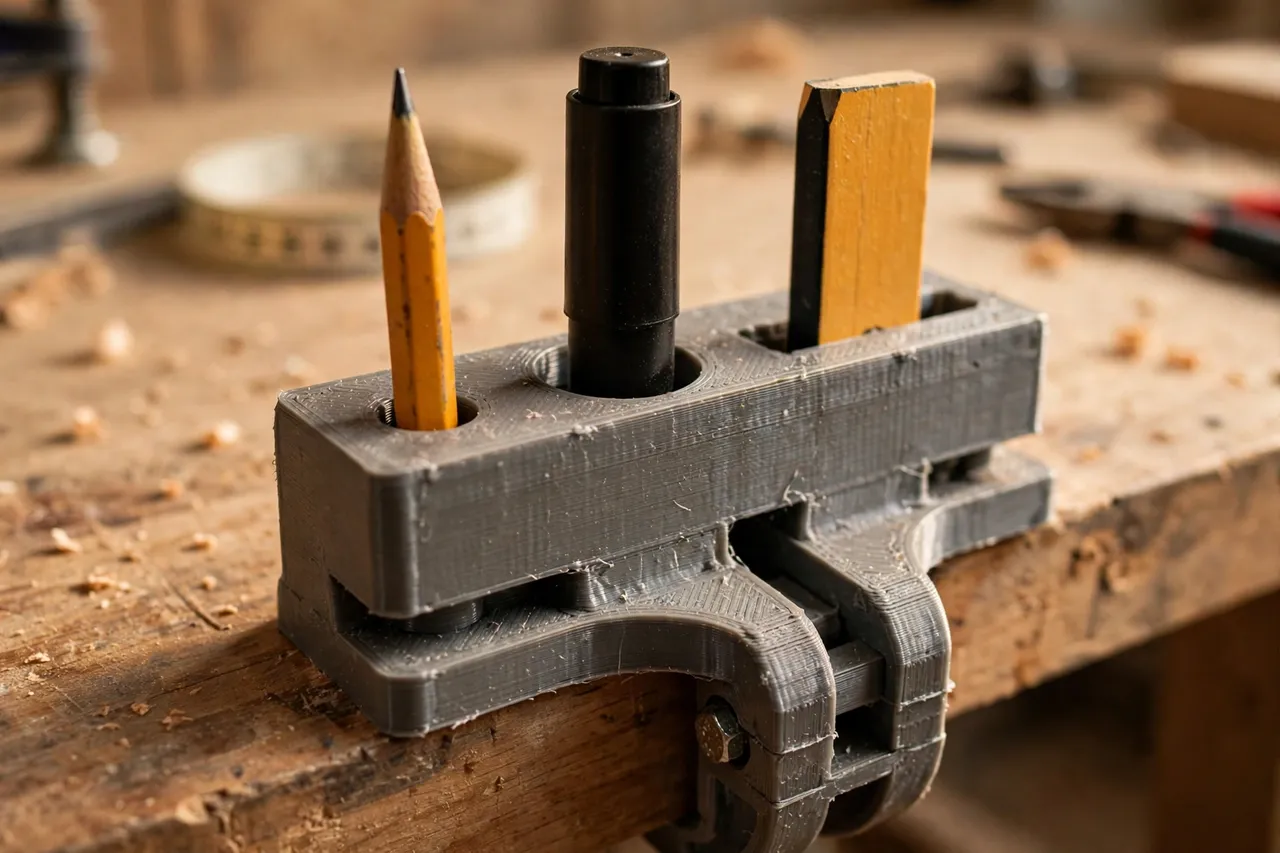
Round pencils are about 7 to 8 mm across; carpenter’s pencils are flat, roughly 17 mm wide and 8 mm thick; thick markers run 12 to 15 mm. Measure your actual tools and size each hole about 1 mm larger than the tool, so tools slide in and out easily but stand upright without wobbling. A mix of hole sizes in one holder covers the whole marking kit.
2. Depth and stability
Holes about 40 to 60 mm deep hold tools upright without tipping the holder. The base should be wide and heavy enough — or clamped — so pulling one pencil out does not drag the holder with it. A low, wide base beats a tall, narrow one for stability.
3. Mounting options
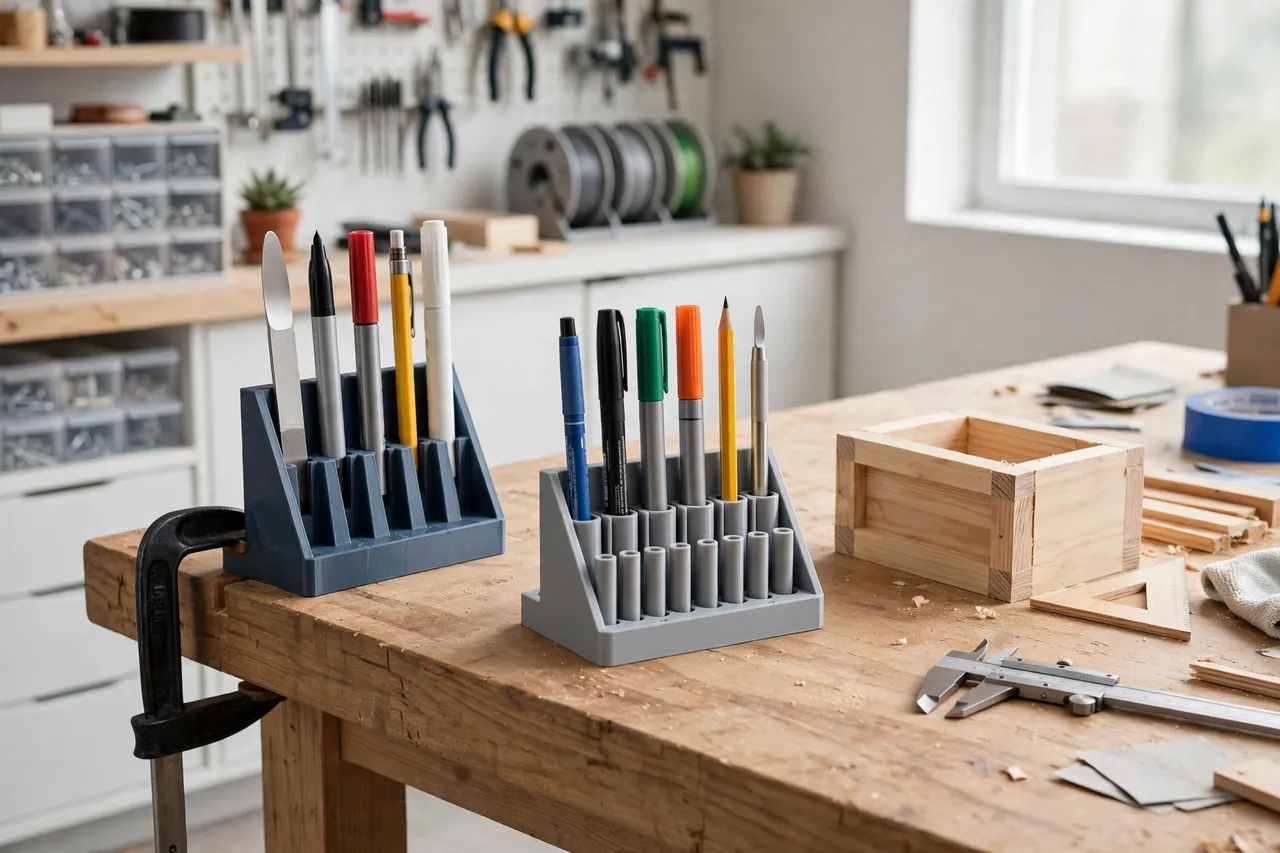
Three mounting styles suit different benches: a freestanding block that sits anywhere, a bench-edge clamp that grips the bench top, and a wall-mounted strip for the wall above the bench. Print one of each and place them where you actually mark: one at the main bench, one at the saw, one at the assembly area.
4. Extras that earn their place
A shallow tray section holds a sharpener, eraser, or spare leads. A small angled slot parks a carpenter’s pencil flat so it does not roll. A magnet recess holds a spare marking knife — but keep magnets away from anything they could damage. Keep extras modest; a holder cluttered with features becomes a junk tray.
Step-by-Step
- Gather your marking tools — pencils, carpenter’s pencils, markers, and anything else you mark with.
- Measure each tool’s diameter or cross-section.
- Model the holder: a stable base, holes sized to your tools, and your chosen mounting style.
- Print one test holder and try every tool in it. Each should slide in easily and stand upright.
- Place it at the bench where you mark most often, and use it for a real project.
- Adjust if needed. Wobbling tools? Shrink the holes slightly. Holder sliding? Add a rubber base pad or switch to a clamp mount.
- Print holders for other spots — the saw bench, the assembly table, the wall above the main bench.
- Make it a habit. Tools go back in the holder, not on the bench, and the hunt stops.
Tips for Better Results
- Put a holder wherever you mark, not just at the main bench — one holder per work zone beats one holder you walk to.
- Color-code by zone if you print several holders, so each stays where it belongs.
- Keep a spare pencil in the holder, not just the one you are using — a broken lead mid-marking should not stop the job.
- Clean the holes occasionally. Sawdust packed into a hole stops tools seating properly.
- Print a travel version — a small capped holder that keeps a pencil and marker together in a toolbox.
- Label the holes if the holder serves a shared shop. A quick paint-pen mark beside each hole — pencil, marker, carpenter’s pencil — means anyone borrowing the bench puts tools back in the right spot.
For the wider bench organization picture, “3D Printed Pencil Cup Rack: Cups for Pencils and Markers” scales this same idea to a rack of cups, while a single bench holder covers the spot where you mark most.
Common Mistakes to Avoid
- Sizing holes from memory. Measure your tools — marker diameters vary more than you expect.
- Making holes too deep. Overly deep holes make short pencils hard to grab.
- Building a tall, narrow holder. It tips the first time you pull a pencil out one-handed.
- Putting the holder where work happens. A holder in the middle of the bench gets buried under projects — park it at the bench edge or end.
- Printing one holder for the whole shop. Marking happens everywhere; holders should too.
Care, Storage, and Alternatives
Tip out dust, wipe off glue drips, and replace any holder that cracks — reprinting is minutes of work. If a holder’s holes wear loose over years, print a fresh one rather than shimming old holes.
A mug, tin, or shop-bought pencil cup works fine and costs nothing if you already own one. Printed holders win when you want exact hole sizes, a bench-edge clamp, or a holder shaped to an awkward space — and when you want one at every work zone without buying several.
FAQ
What hole sizes should I use for common marking tools?
Round pencils suit 8 to 9 mm holes; thick markers suit 13 to 16 mm; carpenter’s pencils need a flat slot about 18 mm wide and 9 mm thick. Measure your own tools first — brands vary.
Will a freestanding holder slide around the bench?
It can on a smooth bench. Add a rubber pad or felt base, widen the footprint, or switch to a bench-edge clamp mount for a holder that never moves.
Can I mount a holder on the wall above the bench?
Yes — a wall strip with angled holes keeps tools visible and off the bench entirely. Use screws into a stud or wall plugs, and angle the holes slightly upward so tools do not slide out.
My pencils keep falling out when I bump the bench. What helps?
Deeper holes, a slightly snugger fit, or a holder with a lower center of gravity. Also check the holder is not perched on an uneven bench spot that amplifies every bump.
Conclusion
A pencil holder will never be the most exciting thing in your workshop, but it may be the most used. Sized to your tools, placed where you mark, and repeated at every work zone, printed holders end the daily hunt for a pencil and keep your marking tools exactly where your hand expects them.
Print one this evening, try it on your next project, and then make one for every bench you mark at. Small habit, big difference. And for the tools that mark alongside the pencils, “3D Printed Marker Holders: Holders for Shop Markers” offers a dedicated home for markers alone.