Introduction
Hammers are heavy, awkward, and everywhere. They roll off benches, sink to the bottom of toolboxes, and wedge sideways in drawers where their heads dent everything around them. A claw hammer in a drawer is also a handle that catches on every other tool you try to pull out.
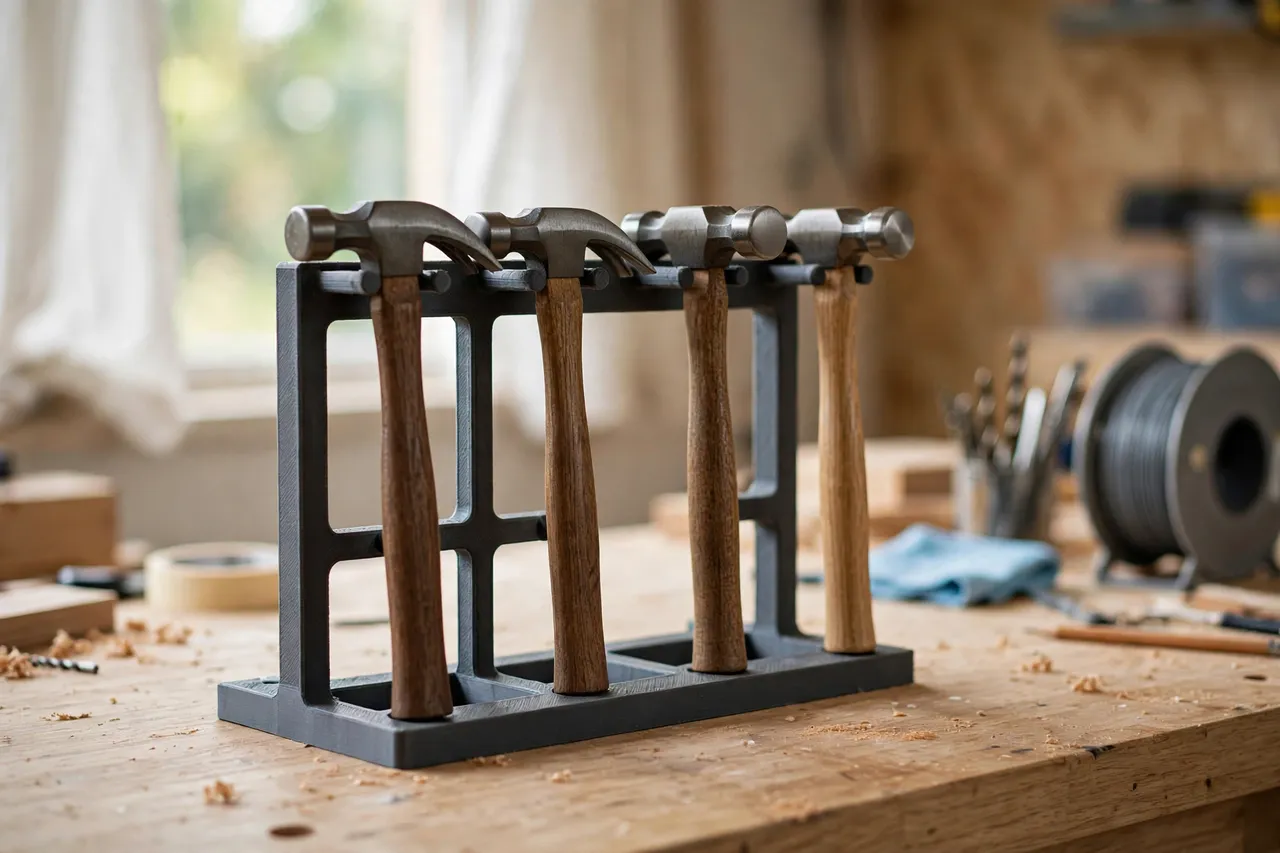
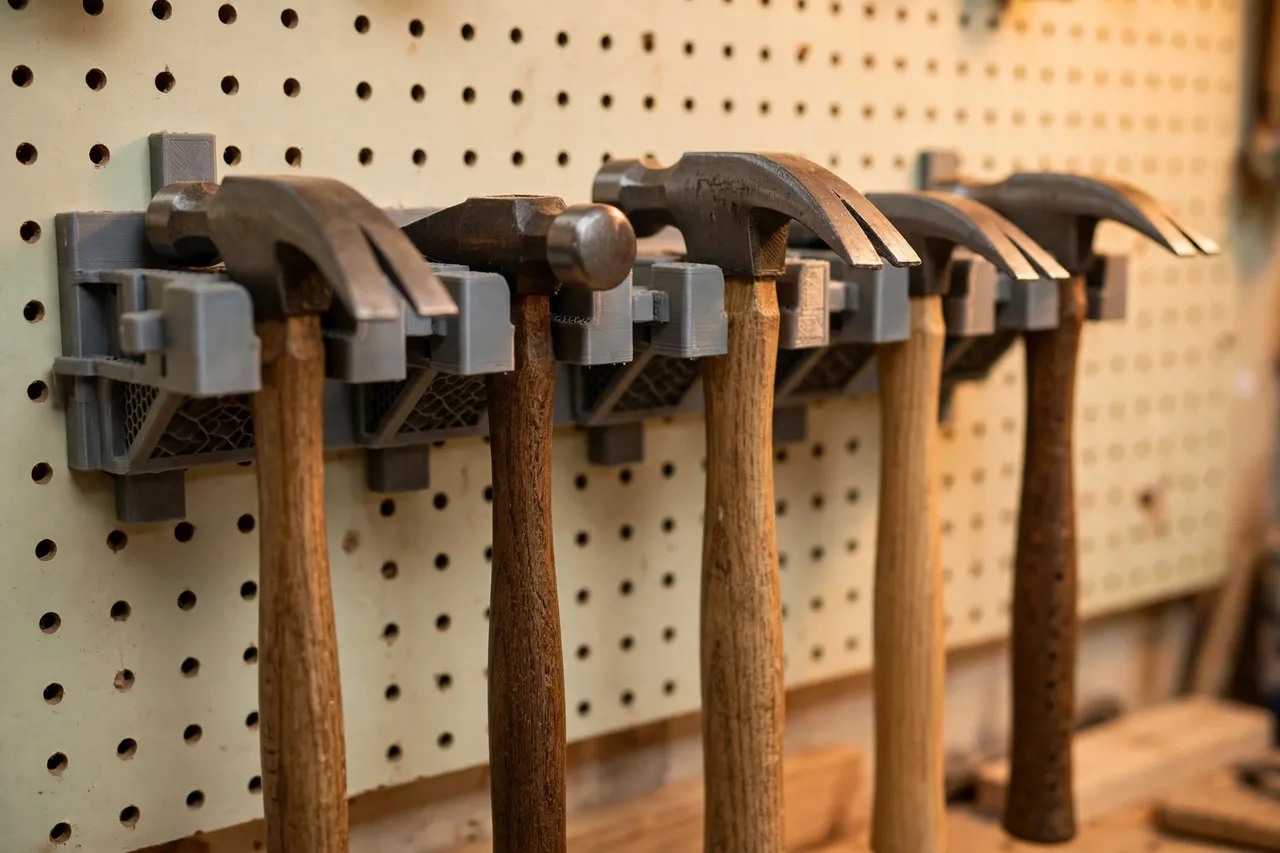
A 3D printed hammer rack hangs each hammer by its head, handle pointing down and easy to grip, heads separated and secure. You see every hammer at once, grab the right one first time, and hang it back in the same cradle without a second thought. Because you print it, you can size the cradles for your actual hammers — claw, ball-peen, cross-peen, and a lighter mallet — instead of forcing them into identical slots.
This guide covers a light-duty wall rack for ordinary hand hammers. An honest limit applies here: printed plastic is not a substitute for a heavy steel rack if you store very heavy sledgehammers or framing hammers that get yanked off the wall daily. For a normal home set of claw and peen hammers, a well-printed, solidly mounted rack works well — and for anything heavier, a manufactured steel rack is the right call. The same hung-by-the-working-end logic appears in “3D Printed Pliers Rack: Pliers Hung in a Row” and “3D Printed Hand Saw Wall Hooks: Hang Hand Saws by Their Handles.”
What You Need
Hammers are the heaviest tools in this organizer series, so sturdier printing and stronger mounting matter more here than for tape or scissors.
Materials and tools
- A home 3D printer with a build area of roughly 200 mm in at least one direction, or a design that prints in sections
- PETG filament strongly preferred for a hammer rack, for toughness under load
- Every hammer you want to store, for measuring head size, handle length, and weight
- A tape measure or calipers and a pencil
- Wall screws and wall plugs rated for the load, ideally into a stud
- Sandpaper or a small file for cleanup, and a spirit level for mounting
PETG is the right choice here, not just a preference: a rack holding several steel hammer heads needs the extra toughness and heat resistance, especially in a garage. PLA can work for a single light hammer on a bench, but for a wall rack, choose PETG.
Suggested print settings
- Layer height: 0.20 mm, or 0.24 mm for a faster print on chunky cradles.
- Walls: 4 to 5 perimeters on cradles and the back plate — this is the load-bearing part of the print.
- Infill: 40 to 50 percent, grid or gyroid, for a rack that does not flex under hammer heads.
- Top and bottom layers: 5 or more.
- Orientation: Print the back plate flat, with cradles oriented so layer lines do not create a weak shear plane under the head.
- Supports: Keep cradle shapes open and gently curved so the rack prints support-free where possible.
Print one test cradle and load it with your heaviest hammer, checking for flex, before printing the whole rack.
Design Considerations
Hammer rack design is mostly about the cradle: it must hold the head securely, let the handle hang free, and release the hammer with a simple lift.
1. Cradles that grip the head, not the handle
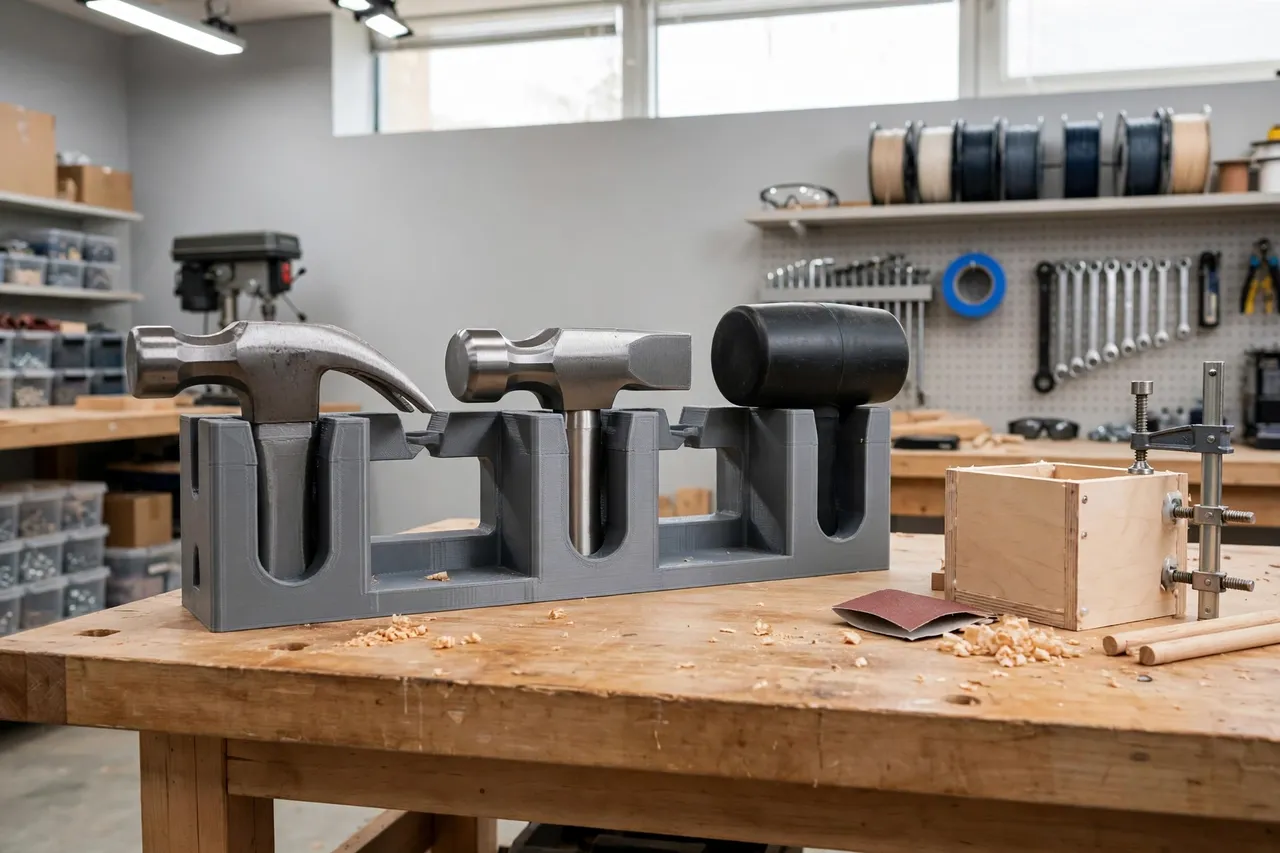
Each hammer hangs by its head resting in a cradle — a U-shaped or forked support that cups the head just below its widest point, with the handle hanging down through a slot or in front of the rack. The cradle should support the head’s weight from below and prevent it rolling sideways, without gripping so tightly that you have to wrestle the hammer out. A slight taper, wider at the top, guides the head in and holds it steady. For claw hammers, make sure the claw has clearance and does not catch on the cradle when you lift the hammer out.
2. Spacing for handles and heads
Hammers need more room than pliers or scissors. Space cradles at least 70 to 90 mm apart so handles hang free without knocking, and heads do not strike each other when you remove a neighbor. If you own a long-handled hammer, give it an end position with clearance below, so its handle does not hit a shelf. Group by type — claw hammers together, peen hammers together — so the right hammer is the obvious one to grab.
3. Mounting that matches the load
This is the part that cannot be skimped. A rack of four steel hammers weighs several kilograms, and it hangs on a wall that will also feel the sideways pull when you lift a hammer off. Screw into a stud wherever possible; if no stud is available, use wall plugs rated for the total load with a safety margin, and use at least four fixings spread across the back plate. Test the empty rack by pulling firmly on each cradle before loading it. If the rack flexes on the wall, the fixings — not the print — are usually the problem.
4. Honest limits
A printed rack is a light-to-medium-duty organizer. It suits a home set of claw, ball-peen, and similar hand hammers. It does not suit sledgehammers, heavy framing hammers used all day on site, or any hammer that will be yanked off the rack with force dozens of times a day. For those, a manufactured steel rack bolted to a stud is the right tool. Knowing that limit, and designing within it, is what makes a printed rack last instead of failing embarrassingly.
Step-by-Step: Printing and Assembly
- Gather every hammer you want to store. Weigh the heaviest one — it sets your mounting and infill decisions.
- Measure each hammer: head length and width, handle diameter and length, and the shape of the claw or peen.
- Sketch the layout with generous spacing, heaviest hammers nearest the strongest fixings if possible.
- Model the rack: a back plate with at least four mounting holes, cradles sized to your heads, and a spare cradle if space allows.
- Print a test cradle and load it with your heaviest hammer. Check for flex, cracking, and easy release.
- Adjust if needed. A cradle that is too tight traps the head; one that is too loose lets it roll. Adjust by a millimeter or two and retest.
- Print the full rack, or sections bolted together, and clean up cradle edges so they do not mark handles.
- Mount the rack level, into a stud or rated plugs, test it empty with firm pulls, then load hammers head-first into their cradles.
Step-by-Step: Using It
- Seat each hammer head-first into its own cradle, handle hanging down. The head should rest securely with the handle free.
- Check that no head touches its neighbor. Heads that knock dull each other and make removal noisy and awkward.
- Grab by the handle, lift up and out. Do not drag a head sideways across the cradle or pull at an angle that levers the rack off the wall.
- Return hammers right after use. Hammers left on the bench roll, fall, and dent things. Immediate returns keep the rack working.
- Keep types grouped. Claw hammers in their section, peen hammers in theirs, so the right hammer is always the obvious grab.
- Check fixings every few months. A rack that has loosened slightly should be re-tightened before it becomes a rack that falls.
Used this way, the rack does more than tidy the wall: it protects hammer faces from each other and keeps handles where your hand expects them.
Tips for Better Results
- Add a rubber or foam pad inside each cradle. It quiets the rack, grips the head gently, and protects hammer faces from the plastic.
- Keep a nail set and a small parts tray near the rack. Hammer work produces nails and small bits that deserve a home beside the hammers, not scattered on the bench.
- Do not hang anything else from hammer cradles. A cradle sized for a hammer head holds a hammer head. Hanging bags or tools from it overloads the print.
- Test on scrap first. When driving a fastener into a new material, test on an offcut — the right hammer still splits a workpiece if used carelessly in the wrong spot.
Common Mistakes to Avoid
- Under-mounting a heavy rack. This is the number one hammer-rack failure. Stud or rated plugs, four fixings minimum, tested before loading.
- Sizing every cradle the same. A ball-peen head and a claw head are different shapes. Size cradles by hammer type.
- Printing too thin for the load. Three walls and light infill are fine for tape; they are not fine for hammers. Use 4 to 5 walls and 40 to 50 percent infill.
- Letting heads touch. Heads that knock together chip and dull. Space generously.
- Storing sledgehammers on a printed rack. Honest limits matter. Heavy hammers belong on steel, not plastic.
Care, Storage, and When to Choose an Alternative
Check cradles for cracks, pads for wear, and fixings for tightness every few months, and reprint a section if it shows stress whitening or flexing. Keep the rack dry and out of direct heat. If your hammer collection grows to include heavy framing or sledgehammers, move those to a manufactured steel rack and keep the printed rack for the hand-hammer set it was designed for.
For a home workshop with a normal set of hand hammers, a printed, solidly mounted rack is a tidy, visible, and satisfying upgrade — and it completes a wall of hung tools alongside “3D Printed Tape Measure Rack: Measures Hung in a Row.”
FAQ
Will one rack fit claw and ball-peen hammers together?
Yes, if you size cradles by head shape. Wider, claw-clearanced cradles for claw hammers and rounder cradles for ball-peen hammers in the same rack work well together.
Should hammers hang head-up or head-down?
By the head, with the head in the cradle and the handle hanging down. That is the most secure and most grabbable arrangement, and it keeps heads separated.
Is PETG really necessary, or will PLA do?
For a wall rack of steel hammers, PETG is strongly recommended for toughness. PLA may suit a single light hammer on a bench, but it is not the right choice for a loaded wall rack.
What about sledgehammers?
Do not store them on a printed rack. Use a manufactured steel rack bolted to a stud for anything in that weight class.
Conclusion
Hammers deserve a wall, not a drawer. A printed rack with one solid cradle per hammer, mounted properly into a stud or rated plugs, keeps heads separated, handles ready, and the bench free of rolling steel. Measure your heads, print a test cradle, and test the mount before loading.
Within its honest limits, it is one of the most satisfying organizer prints you can make — every hammer in sight, every handle within reach.