Introduction
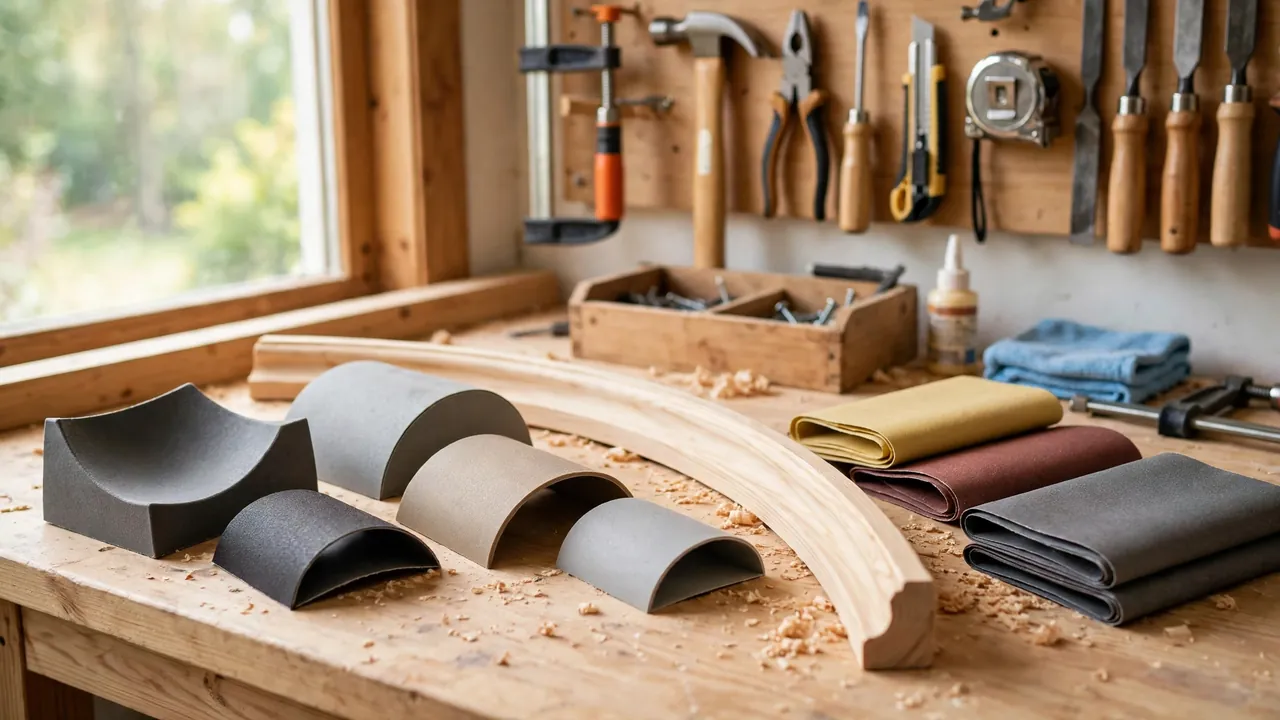
Curved trim looks great until you have to repair it. A chipped chair leg, a scuffed table edge, or a section of molding that needs refinishing will quickly show you the limits of ordinary sanding tools. That is where 3D printed contour sanding blocks earn their place in the workshop.
Instead of forcing a flat block to do a curved job, you print a block whose face already matches the shape you are working on. Wrap it with sandpaper, and the paper follows the curve evenly from edge to edge. The result is smoother sanding, fewer flat spots, and far less risk of ruining a profile you were trying to save.
You do not need an advanced printer or complicated design skills. A basic block, a careful copy of the curve, and a sensible grit sequence are enough for most repairs.
Why Flat Blocks Fail on Curves
Flat blocks are perfect for flat work — tabletops, cabinet sides, and drawer fronts. On a curve, that same flat face becomes the problem.
They flatten the profile
A rigid flat block bridges across a cove or round-over and only contacts the high points. Those points get sanded aggressively, while low areas are barely touched. Keep going, and a crisp round-over becomes a vague, flattened slope — and once the original shape is sanded away, you cannot easily put it back.
They dig in at the edges
To reach the low part of a curve, most people tilt the block or press harder with one corner. That corner then cuts a groove into the workpiece, often seen as a scratch pattern crossing a smooth molding, or one furniture edge that looks thinner than the rest.
A contoured face avoids both problems. Pressure spreads across the whole curve, so material comes off evenly and the original profile stays intact.
Matching a Profile From the Real Piece
The secret to a useful block is not guessing the curve — it is copying it from the actual piece you are repairing. Even standard-looking trim often varies slightly, especially on older furniture.
Copy the curve with cardboard
Cut a strip of stiff cardboard a little wider than the profile. If a piece of trim is loose, stand it on end, trace its end outline onto the cardboard, and cut along that line. If the part cannot be removed, hold the cardboard against an undamaged section and draw along the contact line from the side. Test the template in several places — it should sit flush, with no rocking and no visible gaps.
Use a profile gauge as a helper
A generic pin-style profile gauge can also capture a curve. Press it into an undamaged section, hold it steady, then transfer the outline to cardboard. Check the transferred shape against the real piece afterward, because the pins can shift.
Refine with test fits
Plan on one or two test iterations. Print a short, thin test slice first, rather than a full block. Hold it against the trim, mark any high spots with a pencil, and adjust the curve before printing the finished version.
What You Need
Most of this is already in a typical home workshop.
Printer and material
- A standard desktop 3D printer with room for a block about four to five inches long
- Rigid filament — PLA is fine here because it is stiff, easy to print, and holds its shape well
- Your usual slicing software
For settings, aim for strength and a smooth face. A moderate layer height, around 0.20 mm, balances speed and detail. Use several outer walls so the face does not flex, and firm fill behind the curved face. Avoid a coarse layer height on the contact surface, because layer steps can show through thin sandpaper.
Print orientation matters too. Lay the block flat, with layers running along its length, so sanding pressure pushes across the layers rather than peeling them apart. Avoid printing a tall, narrow block upright, where it could wobble or snap.
Sandpaper and basics
Keep a few grits in a simple progression: coarser for shaping and removing old finish, medium for blending and removing the previous scratches, finer for smoothing before paint or stain, and very fine for a final pass on visible furniture, if needed. You will also want scissors, a pencil, your template, and your usual dust control for sanding.

Design Considerations for Your Own Block
Design the block around the job. A good contour block is comfortable, holds paper securely, and matches one profile really well.
Match common curve families
Think in terms of simple curve families:
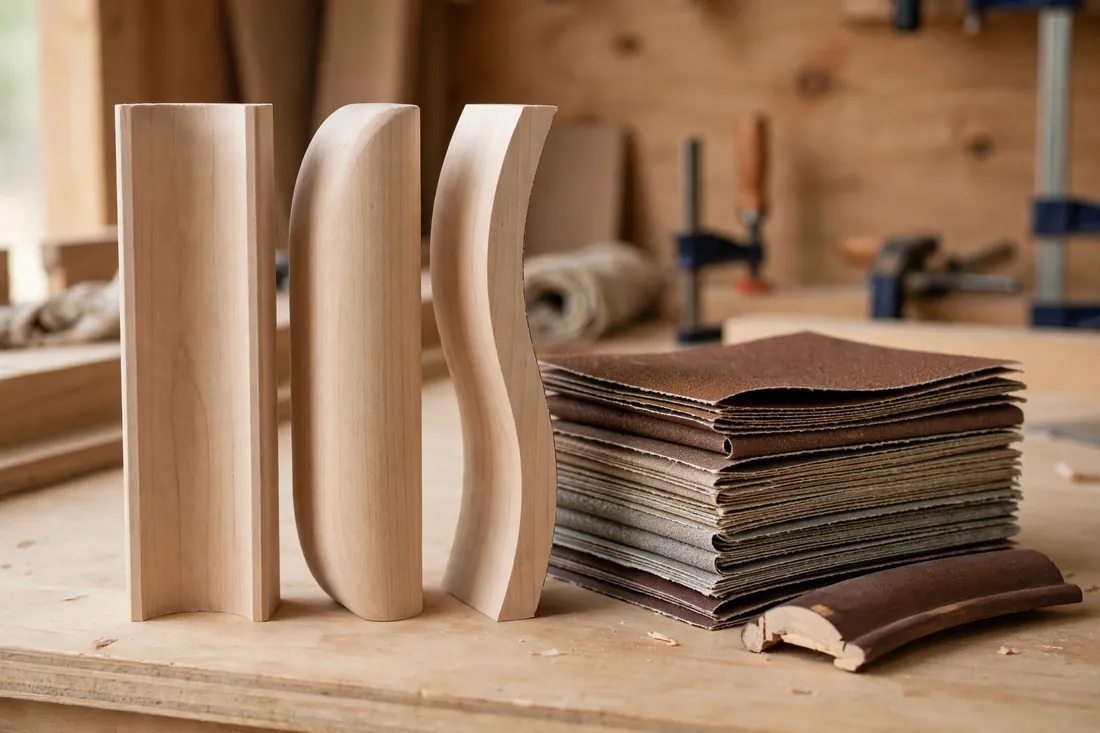
- Cove: a concave, scooped face for inside curves and the hollow part of many moldings
- Round-over: a convex, rounded face for outside edges on chair legs, table rims, and similar trim
- Ogee-style: a gentle S-curve combining a cove and a round-over, common on decorative furniture trim
Start with the single curve you need most. Combining too many profiles makes each section too short to sand comfortably.
Add a comfortable hand grip
The top, opposite the sanding face, should fit your palm. A slightly domed, softly rounded top gives control without squeezing hard. Keep the block long enough that fingertips stay clear of the workpiece, but short enough for corners and stopped trim details.
Give the paper a way to stay put
Sandpaper that slips ruins the benefit of a matched profile. Two simple approaches work well:
- Wedge slot: a narrow slot along the top or ends. Paper wraps around the face, its ends tuck into the slot, and a thin printed wedge strip presses in to lock them.
- Wrap-around tabs: raised tabs or shallow recesses at each end, where paper folds over and is held by your fingers or a simple clip.
Keep the holding feature away from the sanding face so it never contacts the wood.
Step-by-Step: Printing the Block
- Finalize your profile. Transfer your checked template into your design as the sanding face. Mirror it correctly — the block face must be the opposite of the surface it will sit on.
- Build the body. Extrude the profile to your chosen length, then add the grip shape and your paper-holding slot or tabs.
- Slice for strength. Set several walls, a moderate layer height, and firm fill behind the curved face. Position the block flat and lengthwise.
- Print a test slice first if you have not already, and check the fit against the real trim.
- Print the full block and let it cool completely before removing it, so the profile does not warp.
- Clean up the face. Lightly smooth any rough spots by hand, checking against your template so you do not change the shape.
Step-by-Step: Using the Block
On curved trim
- Cut sandpaper to wrap the face with enough extra to reach your slot or tabs, and secure it firmly.
- Start with the coarsest grit your repair actually needs — not coarser. Sand with long, even strokes following the length of the trim, keeping the block fully seated.
- Let the block do the work. Use light, consistent pressure and keep it moving.
- Check the profile often, comparing the sanded section to an untouched section or your template.
- Move to the next finer grit, sanding long enough to remove the previous scratch pattern before moving on.
On a furniture repair
For a filled chip or scuffed curved leg, the process is similar but gentler. Start one grit finer than you think you need, because furniture surfaces and veneers can be thin. Sand the repair first, then feather outward into the surrounding surface so there is no hard line. Check the shape from the side under good light — a curve that feels smooth but looks wavy needs a few more even passes.
Finish with your finest grit, wipe away dust, and inspect the profile against a matching undamaged part, such as the opposite leg.
Practical Tips for Better Results
- Mark your blocks. Write the profile name on top with a permanent marker, so you can find the right one months later.
- Keep one block per profile. A block fitted to one molding will rarely fit another perfectly.
- Change paper early. Worn paper makes you press harder, and extra pressure distorts profiles. Fresh paper cuts faster with a lighter touch.
- Sand in good light. Low side light reveals flat spots that overhead light hides.
- Store blocks face up so the profile edge does not get dinged in a drawer.
Common Mistakes to Avoid
Sanding through the profile edges
The thin, raised edges of a molding are the easiest places to over-sand, and a slightly mismatched block puts the most pressure there. Watch them closely, ease off near them, and recheck the fit if one edge wears faster than the rest.
Using one grit for everything
A single medium grit will either work too slowly on a rough repair or leave scratches too deep for a good finish. Work through your sequence in order — each grit only removes the marks left by the one before it.
Rocking the block
If you rock or twist the block, you are effectively sanding with its edges. Keep the face fully seated and shorten your stroke if you tip at the ends.
Care, Storage, and Alternatives
Brush dust out of slots and tabs after each job, and store your 3D printed contour sanding blocks dry and away from prolonged heat, which can soften some plastics. If a face gets damaged, reprint the same saved design.
Printed blocks are not the only option. Foam pads conform well to gentle, broad curves where an exact profile does not matter. Wrapping sandpaper around a wooden dowel of similar diameter is a classic trick for spindles and inside curves. Save custom blocks for repeated profiles, detailed molding, and furniture parts where the exact shape matters most.
FAQ
How accurate does the profile really need to be?
Close enough that the block sits without rocking and contacts the workpiece across the whole face. The sandpaper itself softens small imperfections, but a visible gap or single contact point means you should adjust the design and print another test slice.
Can one block handle both inside and outside curves?
Not well. Inside curves need a convex face and outside curves need a concave face. Separate blocks are usually easier to control than one block with a different profile on each face.
What if my trim profile is very detailed?
Break it into sections. Print one block for the cove and another for the round-over, and sand each part separately. It protects fine detail far better than a single block that only partly fits.
How long does a printed block last?
With normal hand sanding, a rigid block should last through many projects — the sandpaper wears out, not the block. Replace it if the face gets nicked or warped.
Conclusion
Custom contour blocks turn one of the fiddliest parts of trim and furniture repair into a calm, controlled job. Copy the curve from the real piece, print a rigid block that holds its paper securely, and work through your grits with light, even strokes. Profiles stay crisp, finishes look smoother, and repairs blend in instead of standing out.
If you also struggle with flat sandpaper in narrow spots, our related guide, “3D Printed Sanding Stick Set for Tight Corners, Grooves and Detail Work,” is a natural next read — together, contour blocks and sanding sticks cover most of the awkward shapes a home workshop throws at you.