Introduction
Table corners live a hard life. They catch the vacuum cleaner on every pass, knock the wall every time a table is nudged back into place, and take the worst of it during a house move, when one tight doorway can chip a corner that survived years of daily use. At the end of a tenancy, dinged corners and scuffed walls can also turn into an argument about a rental deposit.
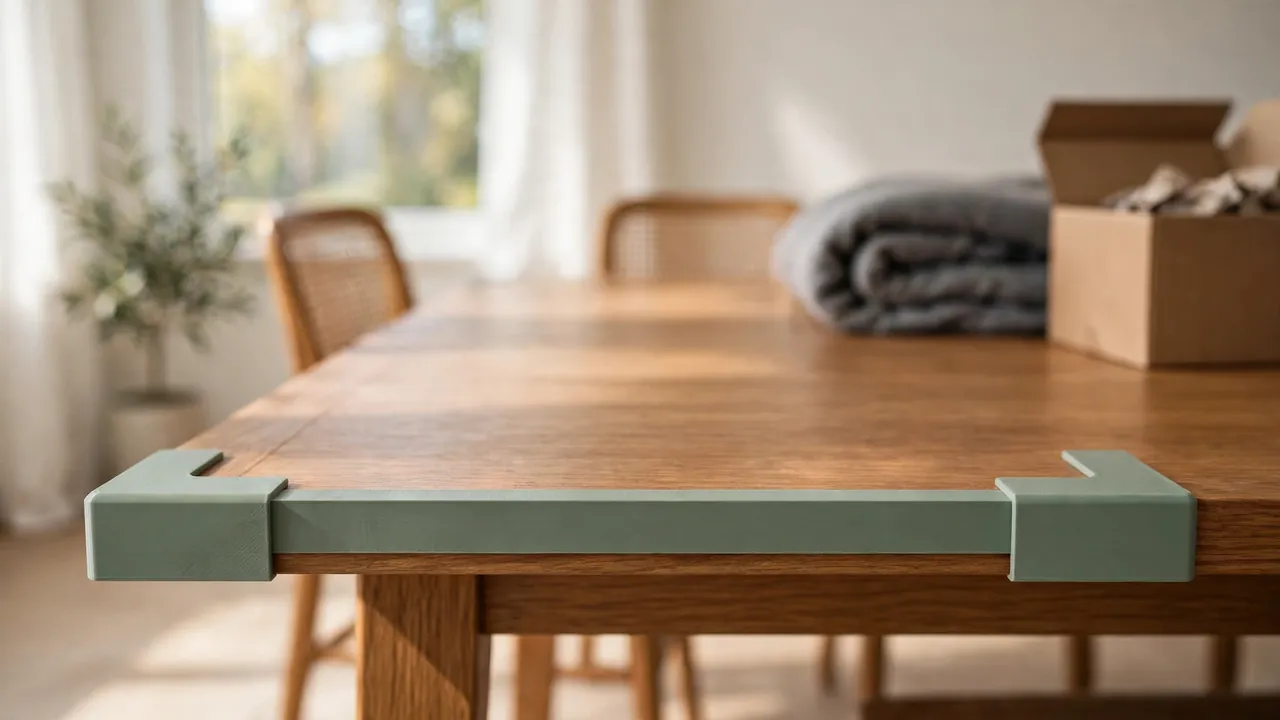
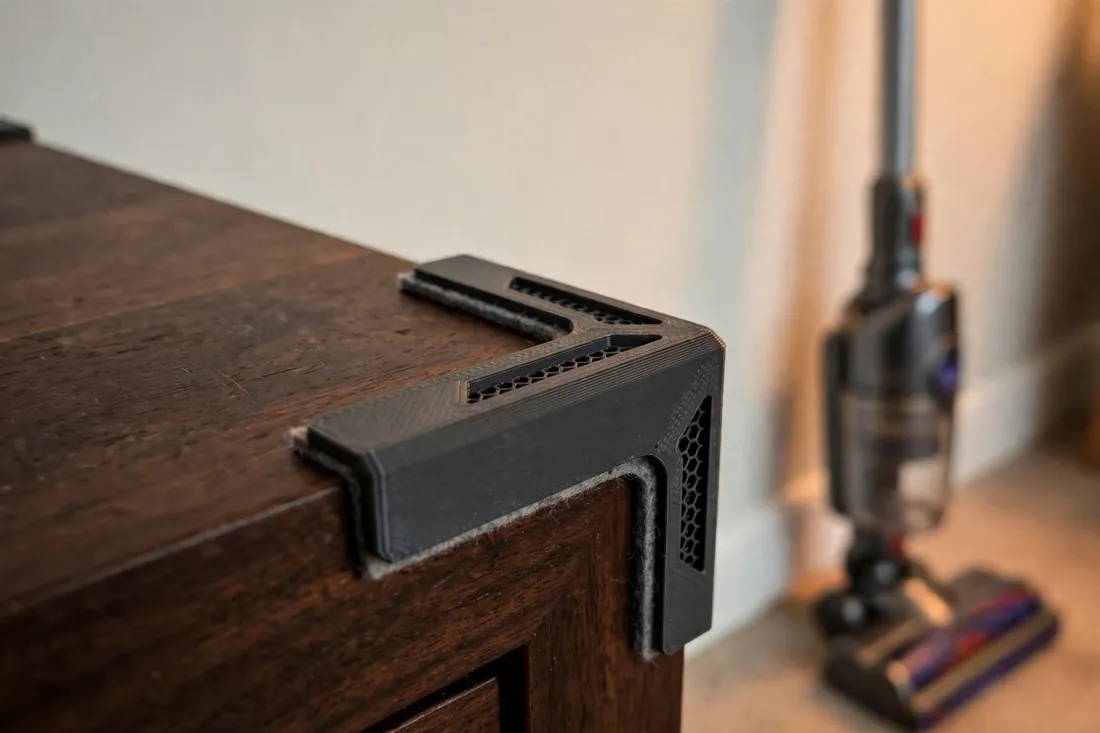
Store-bought corner covers rarely help much. They come in one or two generic sizes, fit rounded corners badly, and seldom match your tabletop’s thickness. A 3D printed furniture corner protector solves the fit problem: measure your actual corner, print a shell matching its angle, radius, and thickness, and line it so it grips without marking the finish underneath.
One plain note before anything else: these protectors are furniture protection only. They exist to protect tabletops, corners, edges, and the walls beside them from dings and scuffs. They are not safety products, and they should not be used or relied on as safety products of any kind.
What You Need
A set of four corner protectors and a couple of straight edge guards is a small, forgiving print project.
Materials and tools
- A home 3D printer with a build area of roughly 120 mm in at least one direction
- TPU filament for a flexible, grippy protector, or PETG for a firmer shell
- Thin self-adhesive felt or cork sheet for lining the inside faces
- The table or furniture piece you are protecting, measured in place
- Calipers or a steel ruler, plus a tape measure for longer edges
- Scissors for cutting felt, and a pencil for marking protector positions
- Painter’s tape, useful for test fitting and for marking matching sets
TPU is the friendlier material for this job. It flexes over a corner, grips lightly, and absorbs the sort of knock that would crack a rigid shell. PETG works well where you want a stiffer cover, such as on a stored table.
Suggested print settings
- Layer height: 0.20 to 0.28 mm — these are chunky parts and fine detail is not the point.
- Walls: At least 3 to 4 perimeters, so the outer face can take repeated knocks.
- Infill: 20 to 40 percent for PETG; for TPU, use enough infill to keep the shape without making it rock hard.
- Top and bottom layers: 4 or more on the faces that sit against the tabletop.
- Orientation: Print with the open side up, like a small cup, so the outer corner prints cleanly.
- Supports: A simple L-shaped shell needs none if the overhangs stay modest.
Print one protector first and test it on the real corner before printing the full set.
Design Considerations
You can model these parts in any basic CAD program. A corner protector is essentially a shaped shell — two or three faces meeting at an angle, with a pocket inside that matches your tabletop. The fit comes from measuring, not from clever shapes.
1. Measure the corner properly
Record four things: the tabletop thickness, the corner angle, the corner radius, and how far along each edge you want the protector to reach.
Most table corners are 90 degrees, but plenty are not — older furniture, handmade pieces, and angled modern designs all vary. A cheap protractor or a phone angle app settles it. For rounded corners, wrap paper around the curve, mark where the straight edges begin, and measure from those marks to estimate the radius. A reach of 50 to 80 mm along each edge gives good coverage without looking bulky.
2. Build in clearance for the lining
The felt or cork lining is what stops the protector itself from scuffing the finish it is meant to protect. Make the inside pocket about 1.5 to 2 mm larger than the tabletop thickness and corner profile, all around, to leave room for that lining plus a small fitting gap.
Skip the lining and the clearance can shrink to about 0.5 mm, but bare printed plastic sliding on and off a varnished corner will eventually leave rub marks. The lining also adds friction, which is what keeps a protector in place without glue or screws.
3. Choose a corner shell or a straight edge guard
Corner protectors wrap the point where two edges meet. Straight edge guards are a different, simpler shape: a long U-channel that slips over one edge of the tabletop. Use edge guards along the side of a table that stands close to a wall, along the edge a desk chair repeatedly knocks, or along the long edges of a table going into storage or a moving van.
Model edge guards in one standard length, such as 150 mm, and print several to sit in a row. A small chamfer on each end stops neighbouring guards from catching on each other.
4. Add a gentle outer radius
Make the outside of the protector more rounded than the corner inside it. A soft, generous outer radius spreads the force of a knock against a wall over a wider area, which is better for both the wall paint and the protector. It also sheds glancing blows — from a vacuum head, a chair back, or a door frame during a move — instead of catching them on a squared edge. Keep the profile low and tidy: a protector that looks like part of the furniture is one you will leave on.
Step-by-Step: Printing and Assembly
- Measure the corner — thickness, angle, radius, and the reach you want along each edge.
- Model the shell with the lining clearance built into the inside pocket.
- Print one test protector and slide it onto the corner without lining. It should feel close, not forced.
- Adjust if needed. Tight shells usually need only 0.3 to 0.5 mm more clearance; reprint once rather than sanding a bad fit into shape.
- Cut the felt lining to fit the inside faces, peel, and stick it in place, trimming any overhang flush.
- Fit the test protector again. It should push on with light hand pressure and stay put when the table is nudged.
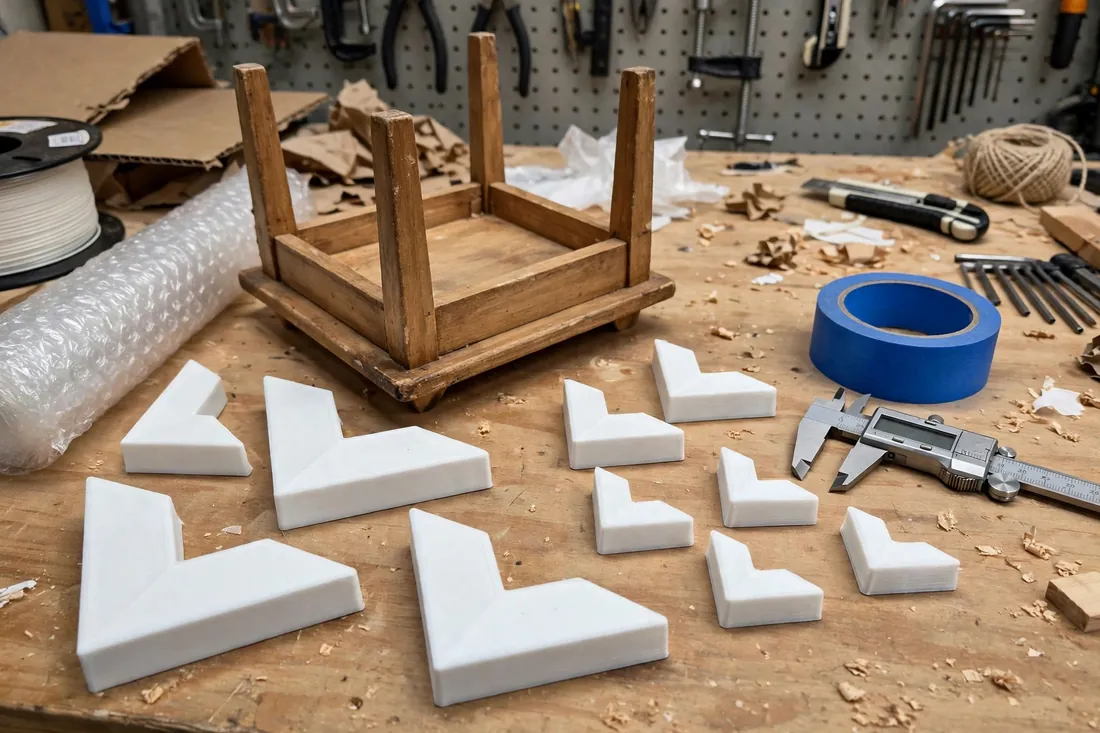
- Print the full set — four corners, plus edge guards for any wall-side or high-knock edges.
- Mark the set on the inside with a paint pen if different tables need different sizes, so sets stay together in storage.
Step-by-Step: Fitting Protectors for Everyday Use and Moving
- Clean the corners first. Dust and grit trapped under a protector will rub the finish every time it moves.
- Push each protector on squarely, working it onto the corner evenly rather than forcing one side first.
- Check the grip by nudging the table the way it normally gets nudged — a gentle sideways push should not shift or pop a protector off.
- Add edge guards along the wall side and any edge that regularly meets chair backs or passing traffic in a hallway.
- Before a house move, fit protectors to every table and cabinet corner, then wrap or blanket the piece as usual. The protectors guard the corners where blankets slip and door frames catch.
- In storage, leave the set on. Corners are what stacked and leaning furniture damages first.
- After the move, inspect each corner as you remove its protector. Any knock the journey delivered is now a mark on a replaceable print, not a chip in the tabletop.
- Store the set together in a labelled bag, ready for the next move, redecoration, or furniture reshuffle.
Tips for Better Results
- Print a test corner first, always. Angles and radii are easy to misjudge by eye, and one test print settles both.
- Use colour with intent. Match the table finish for an everyday set you barely notice, or print a bright set for moving day that is easy to spot and count off.
- Line every inside face, including the underside lip. The face you skip is the one that leaves a rub mark.
- Keep protectors on wall-side corners permanently. The slow scrape of a table settling against a wall does quiet, steady damage to both surfaces.
Common Mistakes to Avoid
- Printing to a guessed corner angle. A 90-degree shell forced onto an 88-degree corner rocks, loosens, and eventually falls off in a moving van.
- Skipping the lining. Bare plastic on varnish protects against chips but adds scuffs of its own. The felt is not decoration.
- Making the shell too tight. A protector you have to hammer on will mark the corner going on and coming off. Light hand pressure is the target.
- Protecting only the corners on moving day. Long edges catch door frames too. A row of edge guards along each side takes minutes to fit.
- Treating these as safety products. They protect furniture and walls from dings and scuffs. That is their whole job, and they should never be relied on for anything beyond it.
Care, Storage, and When to Choose an Alternative
Brush dust out of the linings now and then, and replace felt that has compressed flat or started to peel — fresh lining restores both grip and finish protection. Keep PETG shells out of prolonged heat so they hold their shape.
Sometimes another answer suits better. A table going into long-term commercial storage may be better served by thick cardboard corner packaging made for the removals trade, and a badly damaged corner needs a furniture repair first, not a cover over the damage. For everyday knocks, wall-side scuffs, rented homes, and house moves, a printed set fitted to your exact corners does the job neatly and can be reprinted in an afternoon.
FAQ
Will one protector design fit all my tables?
Unlikely. Tabletop thickness and corner radius vary a lot between pieces, even in the same room. Measure each table, save a separate file per design, and mark it inside with a paint pen.
Is TPU or PETG better for corner protectors?
TPU suits most furniture. Its flex helps it grip, absorb knocks, and come off without fuss. PETG makes a firmer shell for stored furniture. Either way, the felt lining matters more to the finish underneath than the choice between the two.
How do the protectors stay on without glue or screws?
Fit and friction. A shell modelled to your corner, lined with felt or cork, grips closely enough to stay put through everyday knocks and a careful house move. For a rough journey, a loop of painter’s tape adds security and removes without residue.
Can edge guards cover a whole long edge?
Yes, printed in sections. A row of 150 mm guards with chamfered ends covers a long edge neatly and lets you replace a single damaged section instead of a whole strip. Leave a hair of gap between sections so they never push each other off.
Conclusion
Dinged table corners and scuffed walls are small damage with outsized annoyance — they make a cared-for room look tired, and they get expensive when a rental deposit is involved. A set of 3D printed furniture corner protectors and edge guards, measured from your own furniture and lined to protect its finish, stops that damage at the exact spots where it happens.
Print one test corner, get the fit right, and then make a set for every table you own. Moving day, and your walls, will both go more smoothly.
If corner protection has you looking at the rest of the furniture, you may also enjoy our related guide, “Chair Leg Glides and Floor Protectors: 3D Print Custom Feet to Stop Scratches on Wood Floors,” which covers the matching job at floor level for a complete furniture-protection setup.