Introduction
Toggle clamps are brilliant for repeatable work: flip the handle and the work is held, exactly the same way, every time. The catch is mounting them. A toggle clamp needs a flat, solid base with holes in exactly the right places, and drilling those holes into every jig, bench, and board gets old fast — especially when you want to move the clamp to the next job.
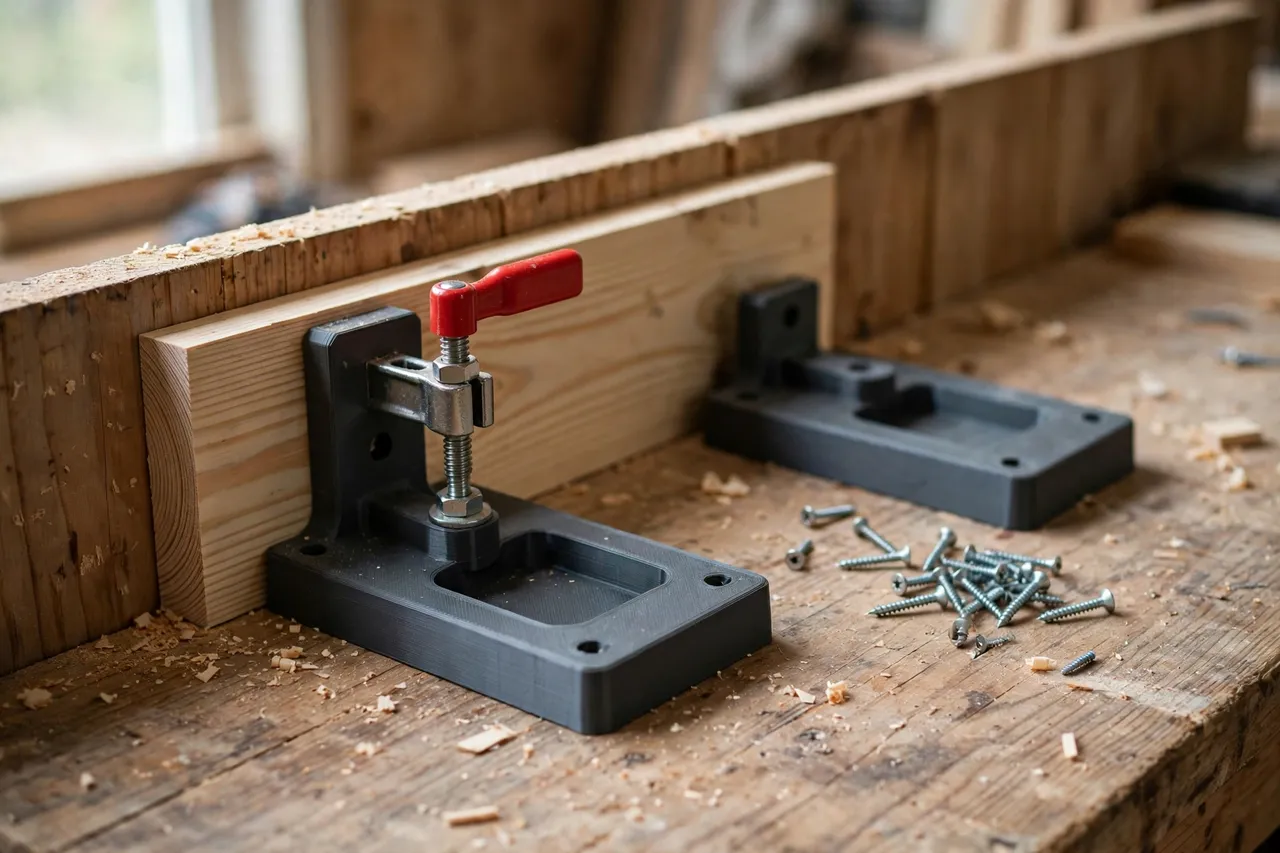
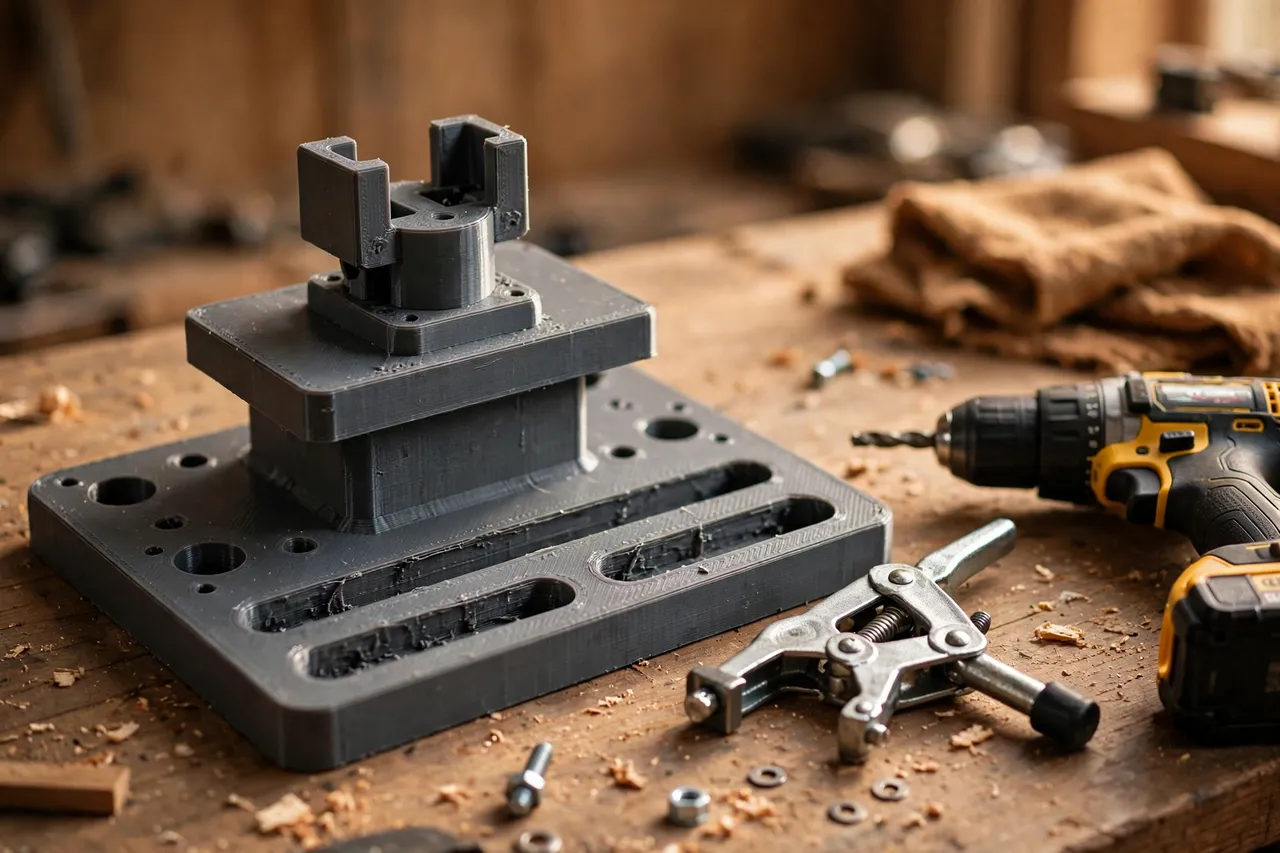
A printed mounting base solves the mounting problem once. It is a sturdy plate that bolts to the bench or jig on one side and carries the toggle clamp on the other, with slots that let you fine-tune the clamp’s position before you lock it down. Move the whole assembly, base and all, and the clamp setup moves with it.
Keep the role of these bases clear. They position and support light-duty toggle clamps for bench work, jigs, and holding tasks. They are not structural machine mounts, and for heavy clamping forces, overhead holding, or anything where failure could hurt someone, a metal base and a manufactured clamp setup are the right choice.
What You Need
Mounting bases are flat, chunky prints — simple, but they must be printed solid.
Materials and tools
- A home 3D printer with a build area of roughly 120 mm in at least one direction
- PETG filament for strength and heat resistance
- Your toggle clamp, plus the bolts and screws you plan to use
- Calipers or a ruler, a pencil, a drill, and sandpaper or a small file
- A scrap board or jig panel to test-mount the base
PETG is the right default: it holds threads and bolt tension better than PLA and survives a warm workshop. For the most heavily used bases, consider ASA if your printer handles it, but PETG covers most home jig work.
Suggested print settings
- Layer height: 0.20 mm for a balance of strength and speed.
- Walls: 5 perimeters or more — the walls carry the bolt loads.
- Infill: 50 to 60 percent, gyroid, for a base that does not flex under clamping force.
- Top and bottom layers: 5 or more.
- Orientation: Print base-down for the flattest mounting face.
- Supports: None for a flat plate design.
Print one base first and test-fit your clamp before printing a set.
Design Considerations
A base is a plate with two hole patterns. Getting both right is the whole job.
1. The clamp pattern
Measure your toggle clamp’s mounting holes: their spacing, diameter, and distance from the clamp’s front edge. Model matching holes or, better, short slots that let you shift the clamp a few millimeters forward or back. Slots forgive small measuring errors and let one base serve clamps with slightly different hole patterns. Add recesses for bolt heads so they sit flush and never interfere with the work.
2. The mounting pattern
The underside needs holes or slots for fixing the base to a bench, jig, or board. Include both: a pair of counterbored holes for screws into wood, and a central slot for a bench bolt or T-track bolt. That combination lets one base mount almost anywhere in the shop.
3. Height and clearance
Some toggle clamps need raising so their pad clears a fence or a jig feature. Build a raised platform into the base — 10 to 20 mm is typical — with ribs underneath for stiffness. A hollow platform saves filament but flexes; a ribbed solid platform holds its height under load.
4. Repeatability features
Add a reference edge or a small fence lip on the base so the workpiece registers in the same place every time. A base with a built-in stop turns a clamp into a genuine jig: drop the work against the stop, flip the handle, and every piece is clamped identically.
Step-by-Step
- Measure your clamp — mounting hole spacing, hole diameter, and overall footprint.
- Decide the mounting method — screws into a jig, bolts into T-track, or both.
- Model the base: clamp slots on top, mounting holes below, raised platform and reference edge if needed.
- Print one test base and bolt the clamp to it. Check that the handle moves freely and the pad lands where you expect.
- Mount the base to a scrap board and clamp a test piece. Check for flex or rocking.
- Adjust if needed. Flexing? Increase infill or add ribs. Pad missing the work? Shift the clamp in its slots.
- Print the set — one base per clamp you use in jigs.
- Build a jig around it. With the base fixed and the stop set, your repeatable setup is ready for real work.
Tips for Better Results
- Use washers under bolt heads on printed bases to spread the load and prevent pull-through.
- Do not over-torque bolts into plastic. Snug is enough; crushed plastic loses grip over time.
- Label bases by clamp model if you own several toggle clamp styles.
- Keep a blank base on hand — a base with only the mounting pattern, ready to be drilled for the next clamp that comes along.
- Test with the real workpiece, not just a scrap, before committing to a production run of parts.
- Keep the base’s reference edge clean. Sawdust or a glue drip on the edge throws off every piece that registers against it, so a quick brush before each run keeps the jig honest.
If your jigs also need steady support for long pieces, “3D Printed Board Jacks for Workbenches: Support Long Boards While You Work” complements clamp bases nicely — the jack holds the far end while the toggle clamp holds the working end.
Common Mistakes to Avoid
- Designing from the clamp’s datasheet alone. Measure the clamp in your hand; hole patterns vary between lookalike models.
- Printing with low infill. A base that flexes under clamping force gives inconsistent holds and eventually cracks.
- Forgetting handle clearance. A base that blocks the handle’s swing makes the clamp unusable — check the full handle travel before finalizing.
- Using one bolt where two are needed. A single mounting bolt lets the base rotate under load.
- Treating printed bases as heavy-duty mounts. For high-force clamping or safety-critical holding, use metal bases and manufactured hardware.
Care, Storage, and Alternatives
Brush off dust and chips, check bolt tightness occasionally, and store bases with their clamps so matched pairs stay together. Retire any base with cracked walls or elongated holes — reprinting is cheap, and a failed base mid-job is not worth it.
Manufactured steel and aluminum mounting plates are the right choice for production jigs and high-force work. For home jigs, prototypes, and clamps that move between setups, printed bases are faster to make, easy to customize, and simple to replace when the jig changes.
FAQ
Will a printed base hold a toggle clamp firmly enough for routing jigs?
For light routing, drilling, and sanding jigs in the home workshop, yes — provided the base is printed solid in PETG and bolted at two or more points. For heavy routing forces, use a metal base.
Can one base fit different toggle clamp models?
Often, if their hole patterns are close. Slots instead of fixed holes give a few millimeters of forgiveness, but very different clamps deserve their own bases.
Do I need threaded inserts in the base?
For clamps you bolt on and off frequently, brass threaded inserts are a worthwhile upgrade — they resist wear far better than plastic threads. For a clamp that stays mounted, direct bolts with washers work fine.
My base rocks on the bench. What went wrong?
Usually the bottom face is not flat — check for warping, elephant’s foot, or debris. Print base-down, keep the first layer clean, and lightly sand the bottom face if needed.
Conclusion
A toggle clamp without a good base is a clamp waiting for a project to justify drilling holes. Printed mounting bases remove that friction: bolt the clamp to the base, bolt the base wherever the work is, and move the whole setup when the job changes.
Measure one clamp, print one test base, and then outfit your jig collection. Repeatable clamping gets a lot easier when the mounting is already solved. For the other half of bench holding — protecting the work itself — “3D Printed Holdfast Pads for Workbenches: Protect Work Under Holdfasts” guards surfaces under a different kind of bench clamp.