Introduction
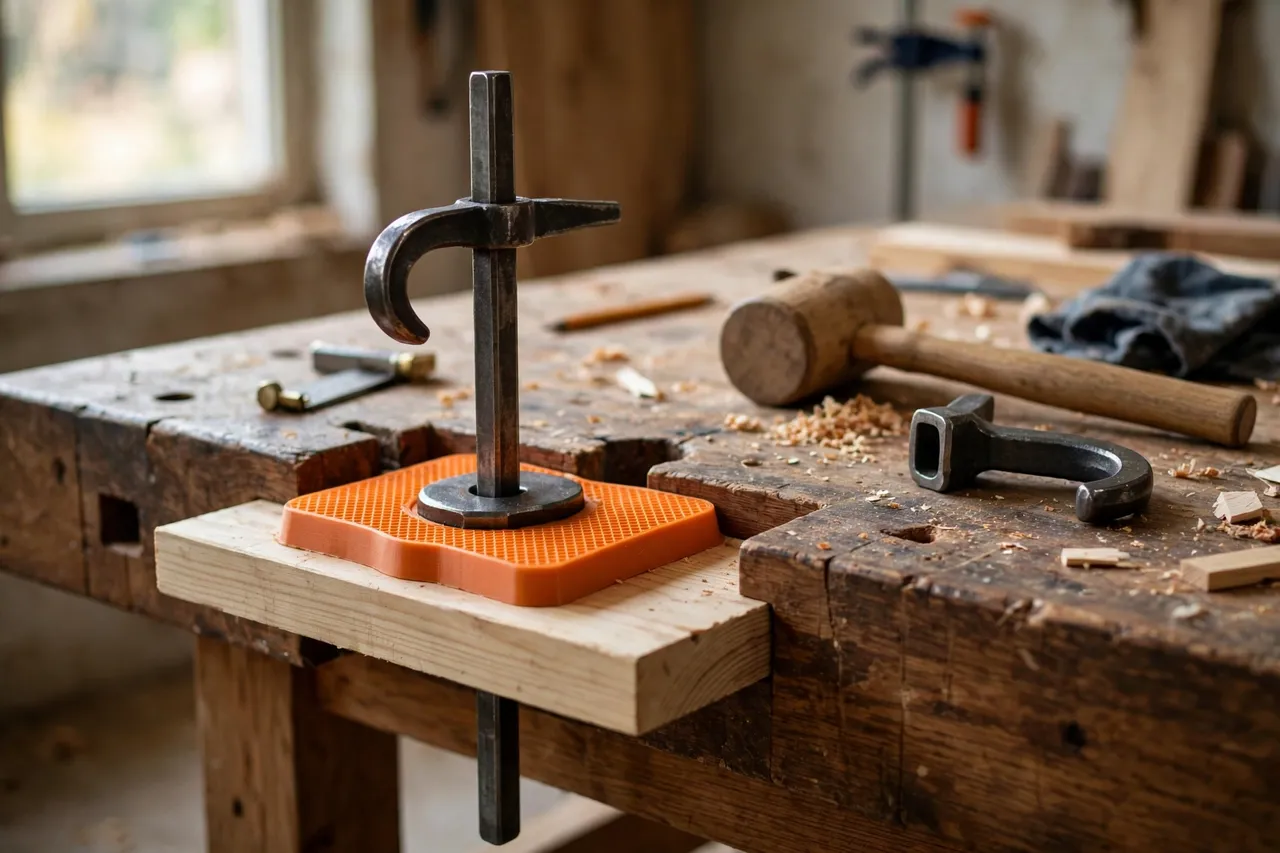
Holdfasts are one of the oldest and simplest bench clamps: a steel arm through a dog hole, a tap with a mallet, and the work is pinned solid. They are also merciless to surfaces. The small foot of a holdfast concentrates a lot of force on a tiny area, and it leaves dents, dark marks, and crushed fibers on anything soft — including your benchtop, if the holdfast bears directly on it.
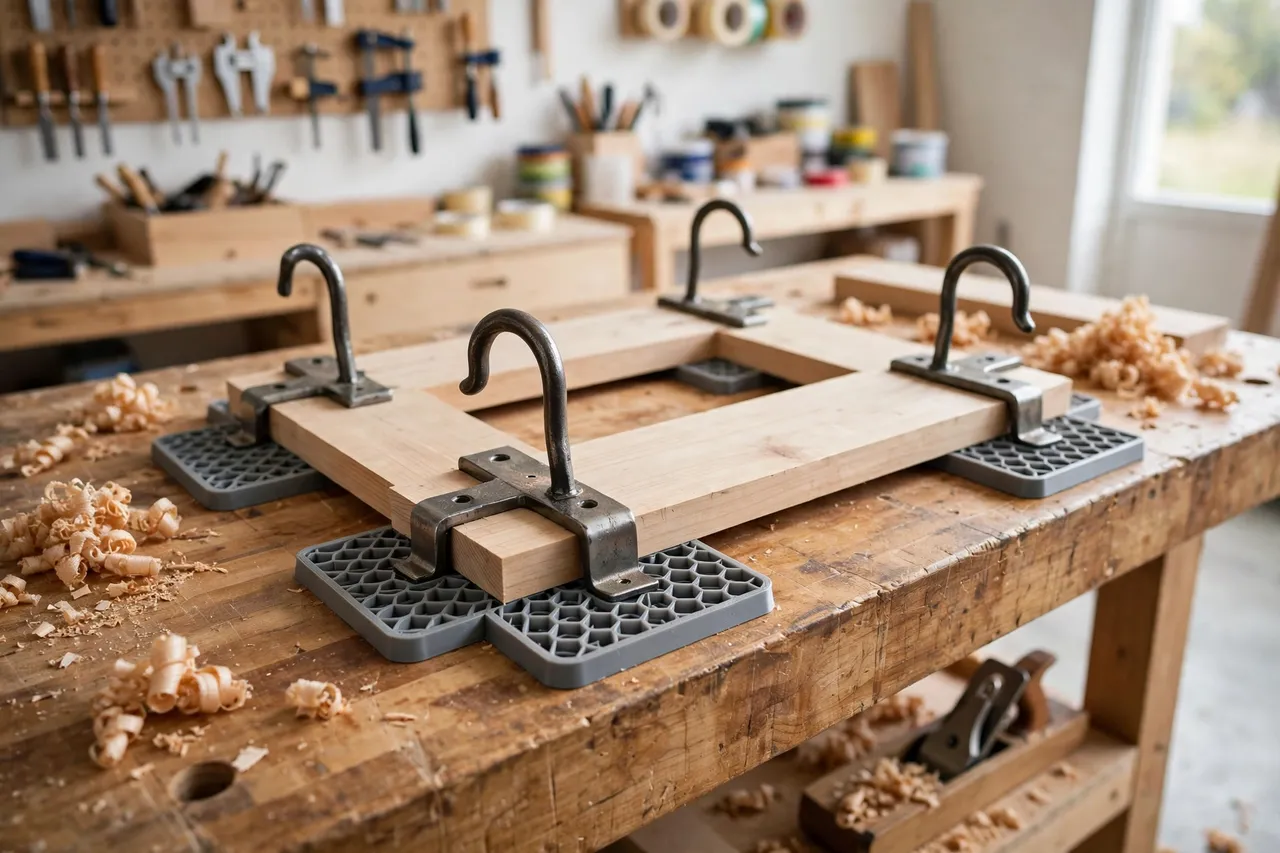
A printed pad spreads that force. Slipped under the holdfast foot, it turns a point load into a broad, cushioned contact, protecting both the workpiece and the bench. It costs almost nothing, prints in minutes, and saves the slow accumulation of dents that makes a bench look tired and a finished piece look damaged.
These pads are light-duty surface guards for ordinary bench work. They do not change how a holdfast works, they do not increase its holding power, and they are not for heavy or safety-critical holding. For planing, sanding, sawing, and assembly at the bench, they are a small upgrade with an outsized effect.
What You Need
Holdfast pads are among the simplest prints in the workshop — small discs or rectangles with a texture.
Materials and tools
- A home 3D printer with even a small build area
- TPU filament for soft, grippy pads, or PETG for firmer ones
- Your holdfasts, for measuring the foot size
- Calipers or a ruler, a pencil, and sandpaper or a small file
- A scrap board for dent testing
TPU is ideal: it cushions, grips, and does not transfer dark marks the way bare steel can. PETG suits rougher work where cushioning matters less than durability.
Suggested print settings
- Layer height: 0.20 mm.
- Walls: 3 to 4 perimeters.
- Infill: 30 to 40 percent for TPU so it stays springy; 50 percent for PETG.
- Top and bottom layers: 4 or more.
- Orientation: Print face-down for the flattest contact surface.
- Supports: None.
Print one pad first, test it under a real holdfast, and then print a set.
Design Considerations
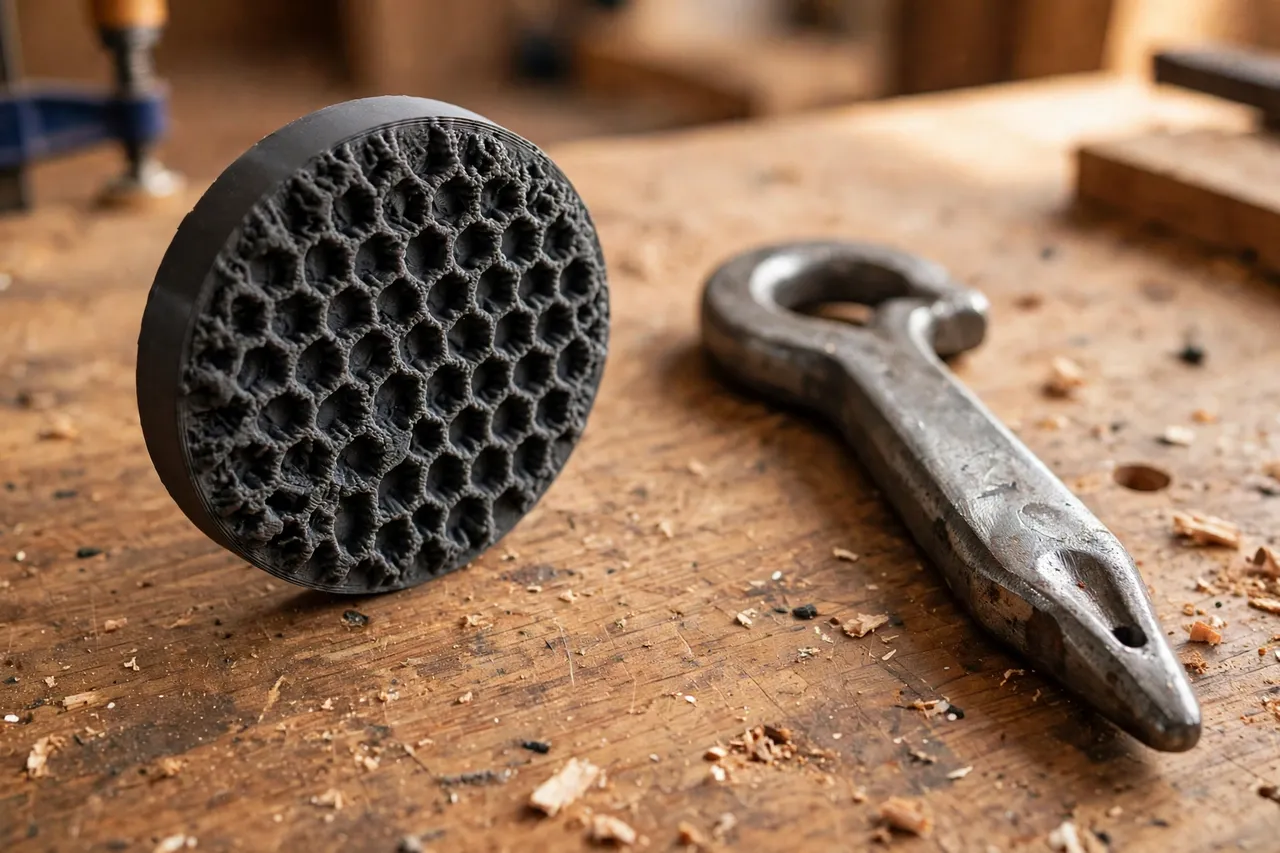
A holdfast pad is a disc with a job: spread force, grip, and stay put. Three details matter.
1. Size and shape
The pad should be comfortably larger than the holdfast foot — about 40 to 60 mm across works well for standard holdfasts. Round pads suit general work; rectangular pads suit edges and narrow stock. A shallow dish or dimple on top centers the holdfast foot so it cannot slide off the pad mid-tap.
2. Grip and cushioning
Texture the underside with shallow ribs or a crosshatch so the pad grips the work instead of sliding. Keep the pad 4 to 6 mm thick: thick enough to cushion, thin enough that the holdfast still seats properly and the mallet taps still transmit. For finished work, a smooth TPU face is kindest; for rough stock, texture adds useful grip.
3. Staying in place
A small tab or loop on the edge makes pads easy to pick up and hang on a peg. Some makers add a magnet recess so pads stick to the holdfast itself — handy, but keep magnets away from anything they could damage, and never rely on a magnet to hold a pad under load.
Step-by-Step
- Measure your holdfast foot — its diameter or footprint.
- Model the pad: a disc or rectangle larger than the foot, with a centering dimple on top and texture below.
- Print one test pad and place it under a holdfast on a scrap board.
- Tap the holdfast to normal working tightness and check that the pad stays centered.
- Release and inspect the scrap for dents or marks.
- Adjust if needed. Sliding? Add underside texture. Foot slipping off? Deepen the dimple.
- Print a set — one pad per holdfast, plus spares.
- Use them routinely. Place a pad under every holdfast foot, on the work and on the bench wherever the holdfast bears.
Tips for Better Results
- Pad both sides when it matters. If a holdfast bears on the bench as well as the work, protect both surfaces.
- Keep pads near the holdfasts, hung on the same peg or in the same drawer, so using them becomes habit.
- Check pads for embedded grit before use — a grain of sand under a pad scratches the very surface you are protecting.
- Use smooth pads on finished pieces and textured pads on rough stock.
- Replace pads that have gone hard or cracked; a worn pad protects nothing.
- Keep a couple of oversized pads for wide holdfast feet. Some holdfasts have broader feet than others, and an undersized pad under a wide foot is barely better than no pad at all.
- Use a pad under the holdfast even when the work itself is rough stock. The habit protects the bench top, which is the surface you will still be using long after that particular board is finished, and a bench top full of holdfast dents eventually stops registering work flat.
- Match pad thickness to the job. A thicker pad suits heavy mallet taps on rough work, while a thinner pad keeps delicate pieces closer to the bench and easier to keep level.
For long boards that also need support beyond the holdfast, “3D Printed Board Jacks for Workbenches: Support Long Boards While You Work” holds the far end steady while holdfasts pin the working end.
Common Mistakes to Avoid
- Making pads too small. A pad barely larger than the foot barely spreads the load.
- Printing pads too thin. A 2 mm pad compresses to nothing under a mallet-set holdfast.
- Skipping the centering dimple. Without it, the foot wanders off the pad at the first tap.
- Using pads as a fix for a loose dog hole. A holdfast that rocks in an oversized hole needs the hole addressed, not a pad.
- Expecting pads to increase holding power. They protect surfaces; the holdfast’s grip comes from the steel and the dog hole, unchanged.
Care, Storage, and Alternatives
Brush off dust and chips, peel off any glue, and hang pads on a peg near your holdfasts. TPU pads last well but can harden with age; PETG pads can crack if dropped on concrete. Reprinting a set takes minutes, so retire worn pads promptly.
Leather pads are the traditional alternative and work beautifully — a scrap of thick leather under a holdfast foot is a time-tested solution. Printed pads add consistent sizing, a centering dimple, and easy replacement, which is why many workshops now use both: leather for the finest work, printed pads for everyday bench tasks.
FAQ
Will a pad reduce how firmly the holdfast grips?
Barely, if at all, for ordinary bench work. A 4 to 6 mm TPU pad compresses slightly under the foot but still transmits the holdfast’s force. If a holdfast feels loose with a pad, check the dog hole fit first — that is the usual cause.
Can I use holdfast pads on a finished surface?
Yes — that is exactly where they help most. Use a smooth TPU pad, check it for grit first, and test on a scrap of the same finish if the piece is precious.
Do pads work with all holdfast styles?
Most, yes. Measure the foot of your holdfast and size the pad’s dimple to match. Very small or unusually shaped feet may need a custom pad, which is a quick model change.
My pad keeps sliding out when I tap the holdfast. What helps?
Add underside texture, deepen the top dimple, or both. Also check that you are tapping the holdfast straight — a glancing blow pushes the foot sideways off any pad.
Conclusion
Holdfast dents are the kind of damage you only notice when it is too late — a dark ring on a tabletop, a crushed edge on a nearly finished piece. A few printed pads, sized to your holdfasts and kept where you use them, prevent that damage for the price of a handful of filament.
Print one, test it under a real holdfast, and then make a set. Your bench and your work will both stay looking better, longer. And where the work itself needs clamping rather than pinning, “3D Printed Hand Screw Clamp Pads: Soft Pads for Wooden Hand Screws” applies the same protect-the-surface idea to a different clamp.