Introduction
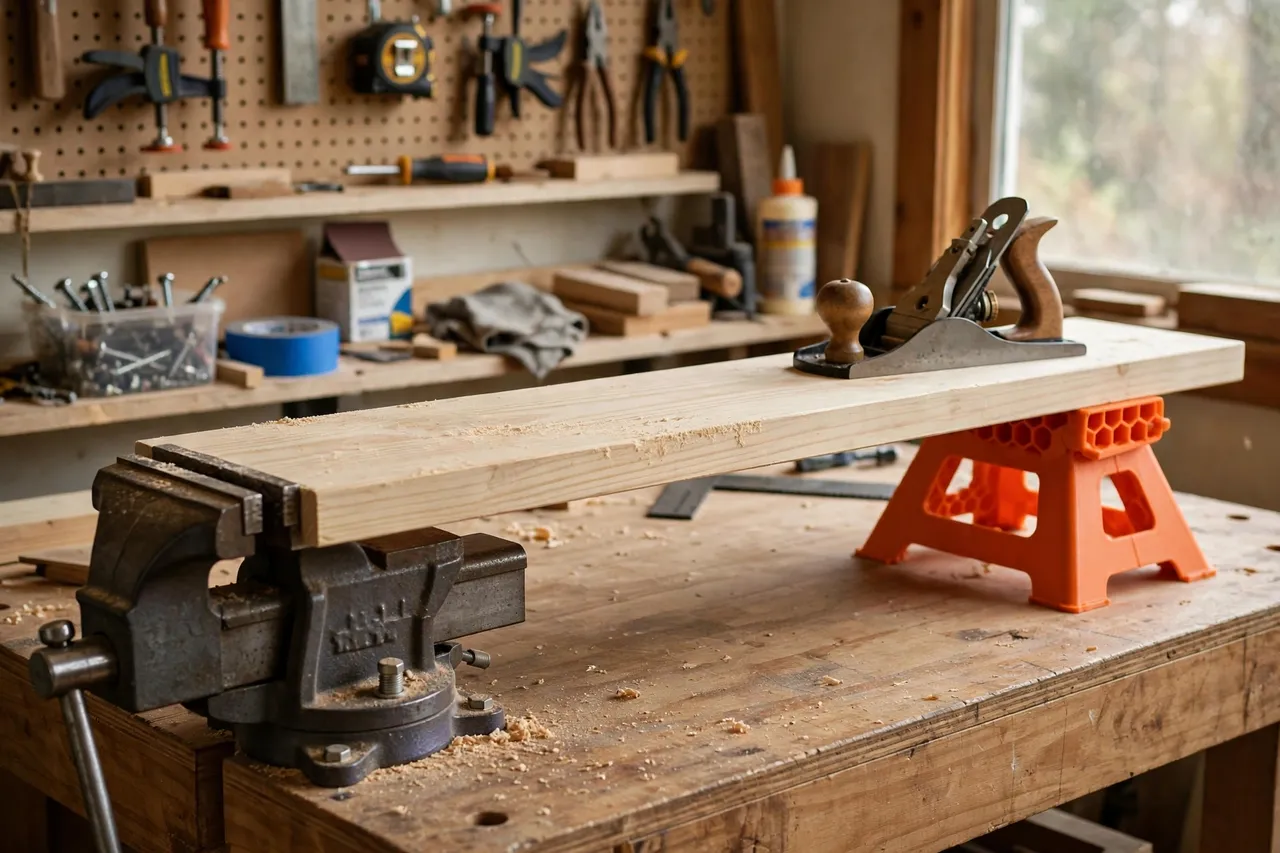
Long boards defeat ordinary bench setups. Clamp one end in the vise and the far end droops, bounces, and chatters every time a plane or saw touches it. Prop it on a scrap stack and the stack shifts. Ask a helper to hold it and you have added a second person to a one-person job.
A board jack is the traditional answer: a standalone support that holds the free end at bench height, adjustable to the board. Printed board jacks bring that classic tool into the home workshop at almost no cost, sized to your bench and your boards, and easy to make in pairs.
Be clear about their limits. Board jacks support light and medium boards for planing, sawing, sanding, and marking at the bench. They are not load-bearing stands for heavy timber, scaffolding, or anything a person could be hurt by if it fails. For heavy stock, use manufactured sawhorses or steel stands — the printed jack is a bench helper, not a structural support.
What You Need
Board jacks are taller prints than most bench accessories, so check your printer’s height capacity first.
Materials and tools
- A home 3D printer with enough height for a jack of roughly 150 to 200 mm
- PETG filament for stiffness and durability
- A tape measure, a pencil, and sandpaper or a small file
- Your workbench, for measuring its height and the boards you work with
- A long board for testing, plus a plane or saw to try real work
PETG is the right choice: it stays stiff under a board’s weight and handles workshop temperatures better than PLA. Print jacks solid — this is one accessory where infill is not the place to save filament.
Suggested print settings
- Layer height: 0.20 mm.
- Walls: 5 perimeters or more, especially on the post and cradle.
- Infill: 50 to 60 percent, gyroid.
- Top and bottom layers: 5 or more.
- Orientation: Print base-down, post vertical.
- Supports: Only if your cradle design overhangs sharply; a well-designed V-cradle usually needs none.
Print one jack first, test it under a real board, and then print its partner.
Design Considerations
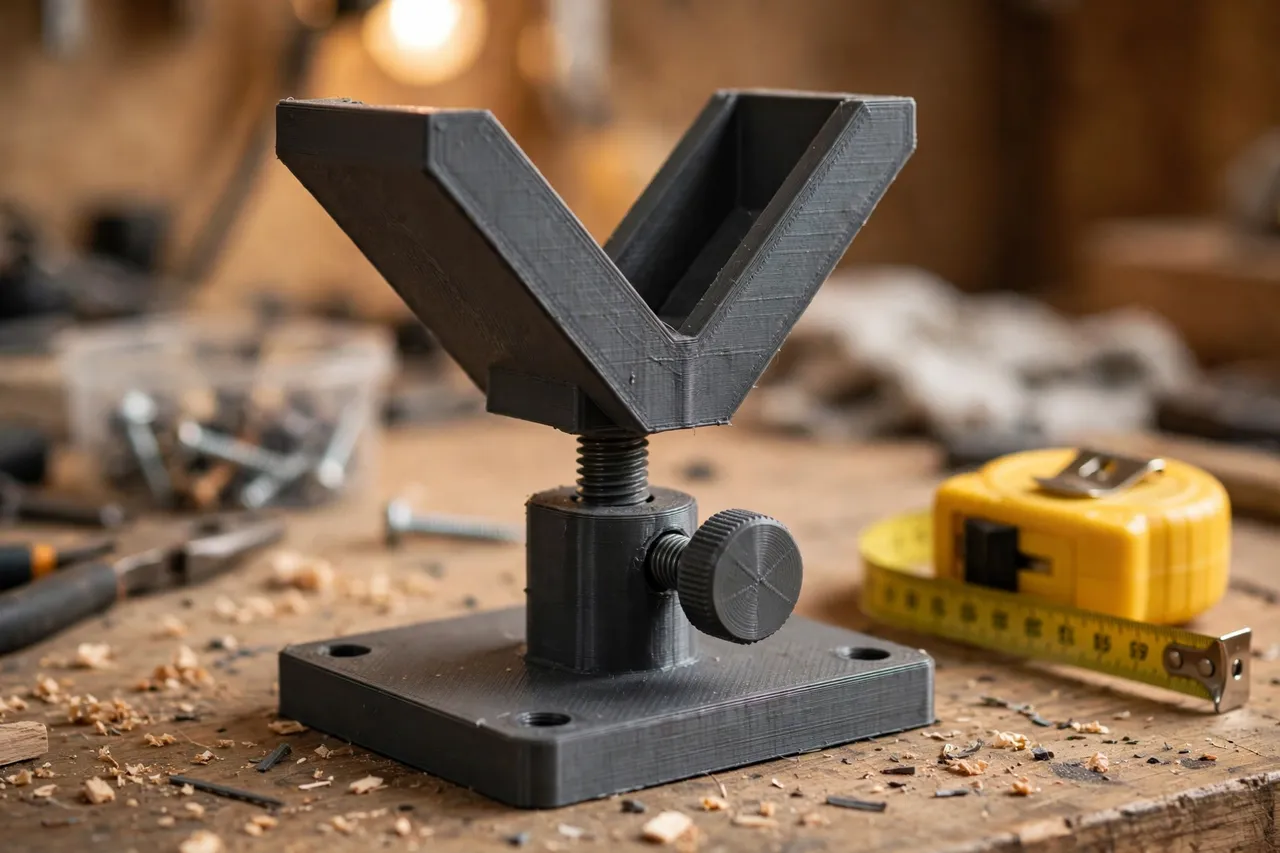
A board jack has three parts: a base, a post, and a cradle. Each needs attention.
1. The base
The base must resist tipping. Make it wide — at least 150 mm across — with a low profile and, ideally, three or four feet that spread the load. A triangular or cross-shaped footprint resists tipping better than a narrow square. Add rubber pad recesses underneath if your floor is smooth, and keep the base hollow-free: solid infill here pays off.
2. The adjustable post
Height adjustment is what makes a jack useful across benches and boards. Options include a telescoping post with pin holes every 15 to 20 mm, a screw-thread post for fine adjustment, or a simple stepped post with a locking wedge. Pin holes are the most reliable printed option: a printed or metal pin through matching holes locks the height positively. Aim for a height range that covers your bench height plus a little — typically adjustable from about bench height minus 50 mm to bench height plus 50 mm.
3. The cradle
The cradle holds the board. A V-shape centers boards of different widths automatically and grips better than a flat rest. Line the V with a thin TPU insert or a felt strip to protect the board’s underside, and keep the cradle wide enough for your widest common board — about 150 mm covers most home workshop stock.
4. Pairs and stability
Board jacks work best in pairs for very long boards, or singly for a board with one end in the vise. Print two at once if your build plate allows, and mark them as a pair so their heights stay matched.
Step-by-Step
- Measure your bench height and the thickness of boards you work with most.
- Model the jack: wide base, adjustable post with pin holes, V-cradle on top.
- Print one test jack and check that the post slides and locks cleanly.
- Set the height to your bench top and rest a long board on it, with the other end in the vise.
- Test with real work. Plane or saw the board and feel for bounce or tipping.
- Adjust if needed. Tipping? Widen the base. Slipping? Add a cradle liner. Post creeping? Tighten pin hole tolerances.
- Print the second jack and test the pair under a long board supported at both ends.
- Put them to work on your next long-board project and notice how much steadier the work feels.
Tips for Better Results
- Set jack height a hair below the vise height so the board rests with slight downward pressure into the vise, not seesawing.
- Keep jacks near the bench, hung or shelved together, so they are there when a long board arrives.
- Use a cradle liner on finished boards to prevent scratches on the underside.
- Check pin engagement before each use — a pin halfway in can slip under vibration.
- Work from the supported end toward the vise when planing, so the board stays loaded onto the jack.
For holding the working end while the jack holds the far end, “3D Printed Holdfast Pads for Workbenches: Protect Work Under Holdfasts” protects the bench surface under holdfasts, and the pair — holdfast at one end, jack at the other — covers long boards completely.
Common Mistakes to Avoid
- Building too narrow a base. A tall jack on a small base tips at the first sideways push.
- Printing with low infill. A jack that flexes under a board is barely better than no jack.
- Forgetting height adjustment. A fixed-height jack only suits one bench and one board thickness.
- Using jacks for heavy timber. Printed jacks are bench helpers for ordinary boards, not stands for heavy beams — use manufactured stands for those.
- Placing the jack too close to the work. Leave room for the plane or saw to pass without hitting the cradle.
Care, Storage, and Alternatives
Brush off dust and shavings, check pins and cradle liners occasionally, and store jacks upright near the bench. A cracked post or base is a reprint, not a repair — retire damaged jacks rather than trusting them under a board.
Manufactured roller stands and steel board jacks are the right choice for heavy stock, long production runs, and anything beyond ordinary bench boards. For the home workshop, printed jacks matched to your bench height are cheaper, lighter, and easy to make in matched pairs.
FAQ
How long a board can a printed jack support?
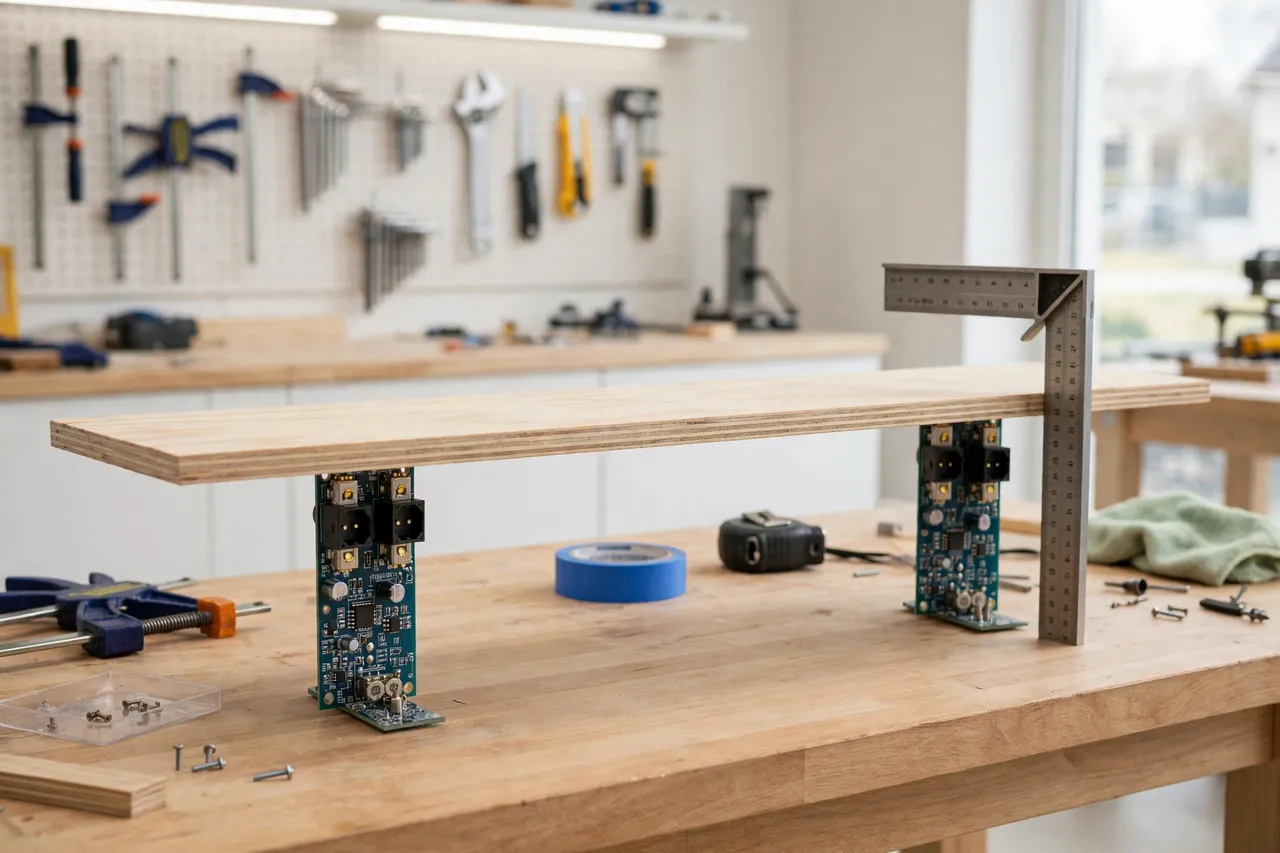
For ordinary home workshop boards — up to about 2.5 meters of pine or similar softwood, with one end in the vise — a well-printed jack works well. Longer or heavier hardwood boards deserve a second jack or a manufactured stand.
Can I adjust the height with a board already resting on the jack?
Light boards, yes, if the pin design allows it — lift slightly, move the pin, and reseat. For heavier boards, lift the board off first; forcing an adjustment under load wears the pin holes.
Will the V-cradle mark my boards?
Not if it is clean and lined. Add a felt or TPU liner for finished boards, and brush out grit before use — trapped sand scratches undersides quickly.
My jack tips when I plane toward it. What went wrong?
Usually the base is too narrow or the jack is too far from the bench. Widen the base, move the jack closer to the work, and plane toward the vise rather than away from it.
Conclusion
A drooping board end turns straightforward planing and sawing into a wrestling match. A pair of printed board jacks — wide-based, height-adjustable, and sized to your bench — ends that struggle for the cost of a spool’s worth of filament and an evening of printing.
Measure your bench, print one jack, test it on a real board, and then make its partner. Long boards will feel like ordinary boards from now on. And for the clamping side of the same setup, “3D Printed Edge Clamps for Workbenches: Clamp Work to the Bench Edge” holds work right at the bench edge while jacks carry the rest.