Introduction
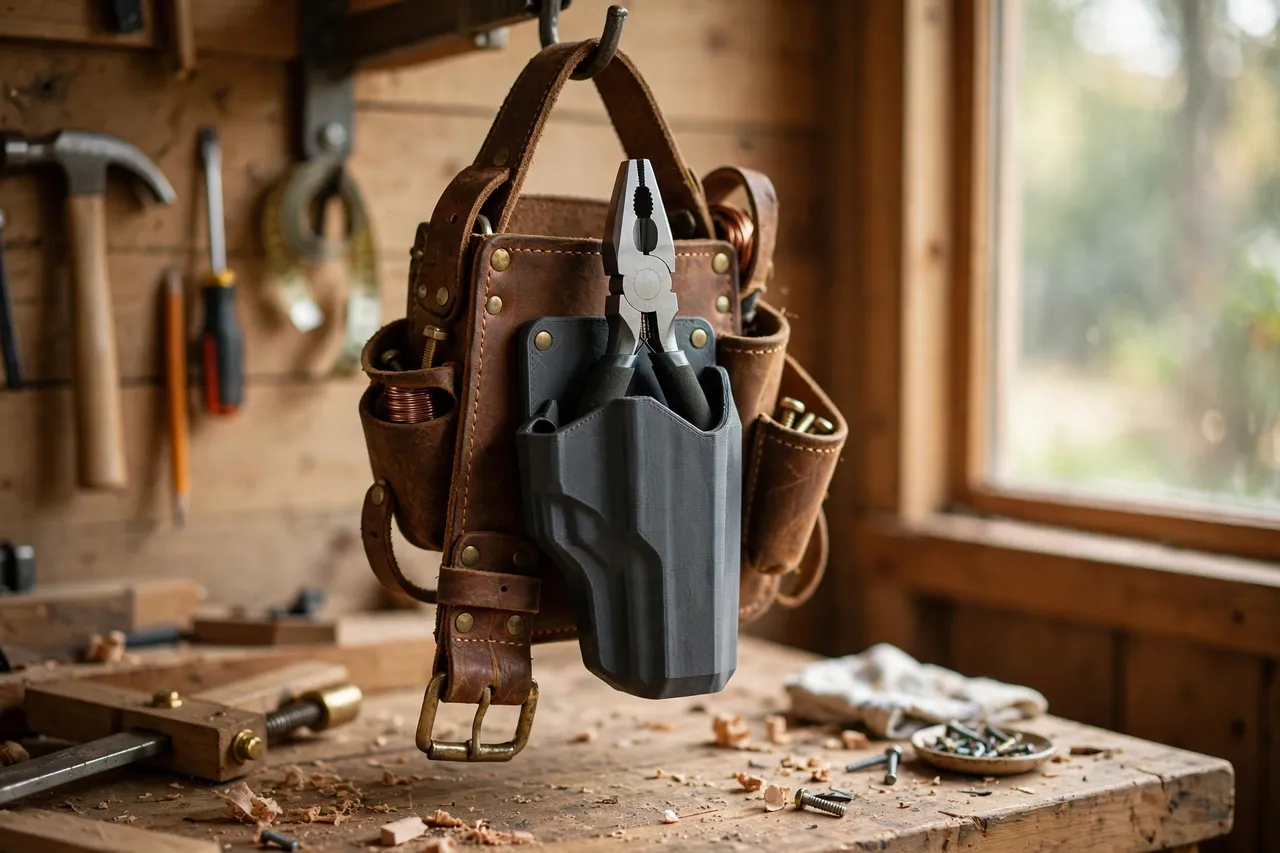
Pliers live in pockets, and pockets are where pliers go to hide. They poke, they snag, and they always seem to be in the wrong pocket when you need them. A belt holster fixes that: the pliers ride handle-up in a tapered pocket at your hip, ready to draw one-handed, and out of the way the rest of the time.
A printed holster does this job well because it can be shaped to your exact pliers. Combination pliers, needle-nose, linesman’s — each has a different head shape and handle width, and a holster printed to fit yours holds better than a generic pouch that fits everything loosely.
The usual limit applies. A printed holster is for carrying and parking pliers at the bench, around the workshop, or on a light job — nothing more. It is not a safety restraint, not fall protection, and not something to trust with tools over people or at height. For heavy trade use or work at height, use a manufactured holster or tethering system rated for the job.
What You Need
Pliers holsters are medium-sized prints, open at the top and tapered toward the bottom.
Materials and tools
- A home 3D printer with a build area of roughly 120 mm in at least one direction
- PETG filament for toughness, or TPU for a holster with grip
- Your tool belt and your pliers, for measuring
- Calipers or a ruler, a pencil, and sandpaper or a small file
PETG is the default: stiff enough to hold its shape when empty, tough enough for daily belt wear. TPU grips the handles nicely but can stretch, so check fit over time if you choose it.
Suggested print settings
- Layer height: 0.20 mm.
- Walls: 4 perimeters — the pocket walls flex every time you draw and holster.
- Infill: 40 to 50 percent, gyroid.
- Top and bottom layers: 4 or more.
- Orientation: Print pocket-opening up, so the interior prints cleanly.
- Supports: Usually none for a tapered pocket; add supports only if your belt clip overhangs sharply.
Print one holster first, fit it to your belt and pliers, and then print variants for other pliers.
Design Considerations
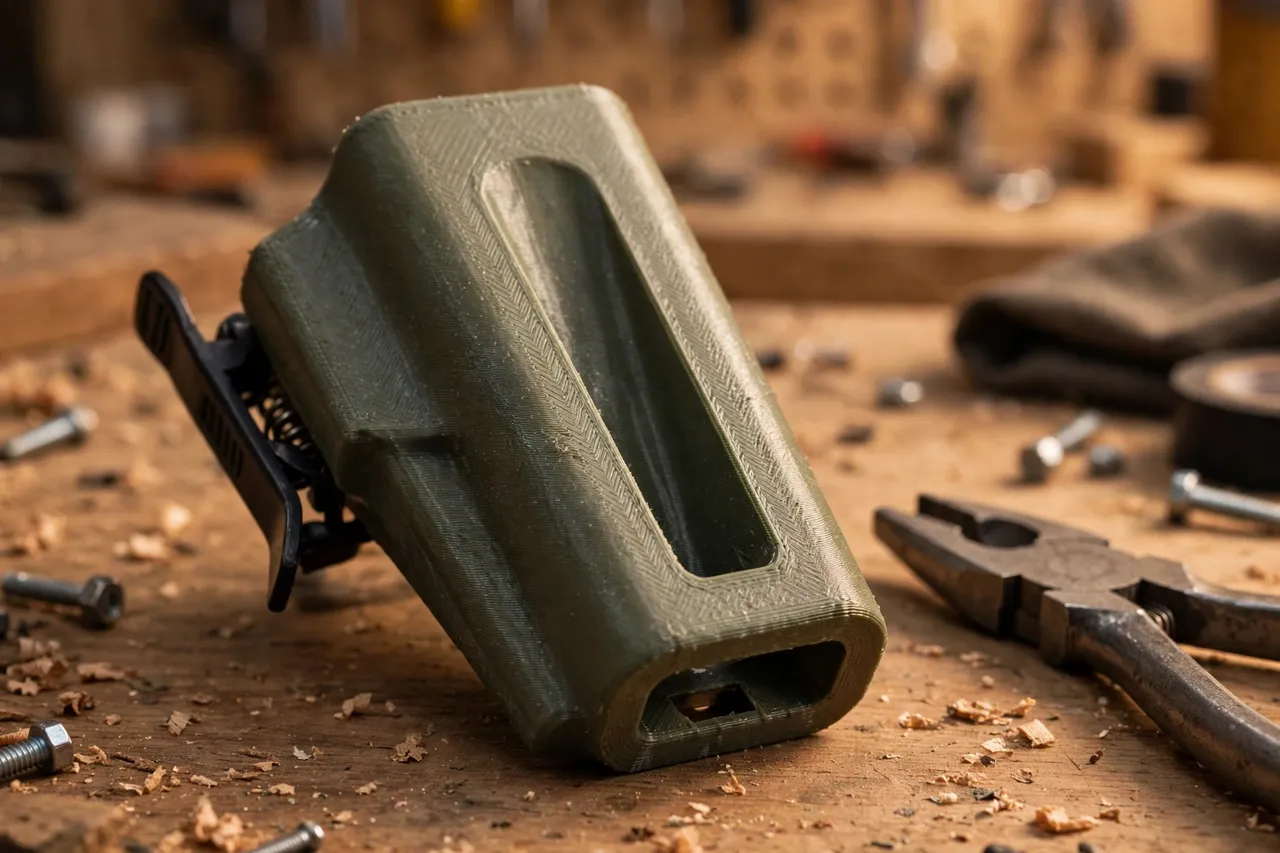
A holster is a tapered pocket plus a belt attachment. Four details decide whether it feels good or fights you.
1. The pocket taper
The pocket should be wider at the top than the bottom, so pliers slide in easily and wedge gently as they settle. Measure your pliers’ head width and handle spread, then size the pocket so the pliers sit with the head inside the pocket and the handles protruding about two-thirds out — enough to grip, not so much that the pliers flop. A closed bottom stops the pliers sliding through; a small drainage slot at the bottom lets out dust and moisture.
2. The belt attachment
As with a hammer loop, choose between a clip that snaps over the belt for easy moving, a threaded slot for security, or screw holes for a permanent mount. Size the attachment to your belt’s actual width and thickness, not its label. A holster that wobbles on the belt is annoying and wears the belt edge.
3. Retention
Retention comes from the taper and, optionally, a small inward lip or a flexible tab near the top that catches the pliers’ joint. Keep retention light — you want the pliers to stay put when you bend, but draw smoothly one-handed. Overly tight retention turns every draw into a tug-of-war.
4. One holster, or a family?
Most workshops have several pliers, and one holster rarely fits them all well. Print a family: a wide pocket for combination pliers, a narrow one for needle-nose, and a short one for snips. Color-code by type so you grab the right holster without thinking.
Step-by-Step
- Measure your pliers — head width, handle spread, and overall length.
- Measure your belt — width and thickness.
- Model the holster: tapered pocket, closed bottom with a drainage slot, belt attachment, and a light retention lip.
- Print one test holster and fit it to your belt.
- Holster the pliers and walk, bend, and crouch. They should stay put without bouncing out.
- Test the draw. One hand, no looking — the pliers should come out smoothly.
- Adjust if needed. Too loose? Narrow the pocket slightly. Too tight? Open the taper. Handles too deep? Shorten the pocket.
- Print the family for your other pliers and fit them all to the belt.
Tips for Better Results
- Position the holster opposite your hammer loop to balance the belt and keep both tools in easy reach.
- Round every edge in the design or with sandpaper — sharp edges wear belts and snag clothing.
- Keep the pocket clean. Dust and grit in the pocket scratch plier handles over time.
- Check for cracks monthly with daily use, especially at the belt attachment.
- Print a spare for your most-used pliers; holsters are small and a cracked one mid-job is a needless interruption.
- Test the holster with wet or dusty hands. A holster that draws cleanly with clean hands but sticks when your hands are dusty or damp will frustrate you on real jobs, so try the draw in workshop conditions, not just at the printer.
- Angle the pocket slightly outward if your belt rides low, so the handles clear your hip and the draw stays natural rather than a twist of the wrist.
The natural belt companion is “3D Printed Hammer Loop for Tool Belts: A Loop That Holds Your Hammer” — loop on one side, holster on the other, and the two tools you reach for most are both parked and ready.
Common Mistakes to Avoid
- Sizing the pocket to one pliers pair and expecting it to fit all. Print a family instead.
- Making the pocket too deep. Handles buried in the pocket are hard to grip one-handed.
- Forgetting the drainage slot. A closed pocket collects dust, grit, and moisture.
- Printing with low infill. A holster that flexes under pliers feels insecure and cracks sooner.
- Trusting a printed holster at height or over people. For work at height, use manufactured, rated tool tethering — a printed holster is a workshop convenience, not safety gear.
Care, Storage, and Alternatives
Brush out the pocket regularly, check the belt attachment for cracks or whitening, and retire any holster that shows stress marks — reprinting is quick. Store spare holsters with your belt so they are there when needed.
Manufactured leather and nylon holsters are excellent for daily trade use and last for years. For the home workshop, printed holsters matched to your exact pliers are cheaper, faster to replace, and easy to customize for unusual pliers shapes.
FAQ
Will one holster fit all my pliers?
Only if they are similar in size. Combination pliers and needle-nose pliers differ enough that each deserves its own pocket size — print a small family and color-code them.
Can I wear the holster on either side of the belt?
Yes, if you design the belt attachment symmetrically or print a mirrored version. Most people keep pliers on the non-dominant side, opposite the hammer.
My pliers bounce out when I bend over. What helps?
Deepen the pocket slightly, add a retention lip near the top, or both. Also check that the pocket taper actually wedges the pliers — a straight pocket holds nothing.
Is PETG or TPU better for a holster?
PETG holds its shape and lasts longer as a daily holster. TPU grips handles better but stretches over time. For most workshops, PETG with a light retention lip is the best combination.
Conclusion
Pliers in a pocket are pliers you will lose time looking for. A printed holster — tapered to your pliers, clipped to your belt, and ready to draw one-handed — ends that daily friction for the cost of a little filament and an evening’s printing.
Measure one pair of pliers, print one test holster, and then build the family. Your pockets will thank you, and your pliers will always be exactly where your hand expects them. For keeping the whole belt ready between jobs, “3D Printed Tool Belt Hooks: Hang Belts Ready for the Next Job” gives the belt itself a proper home.