Introduction
Every sander makes dust, but not every sander comes with a dust bag that still fits. Bags wear out, get lost in a move, or belong to a model that is no longer sold. The sander itself may run perfectly for years, yet without a working bag it fills the room with fine dust on every pass.
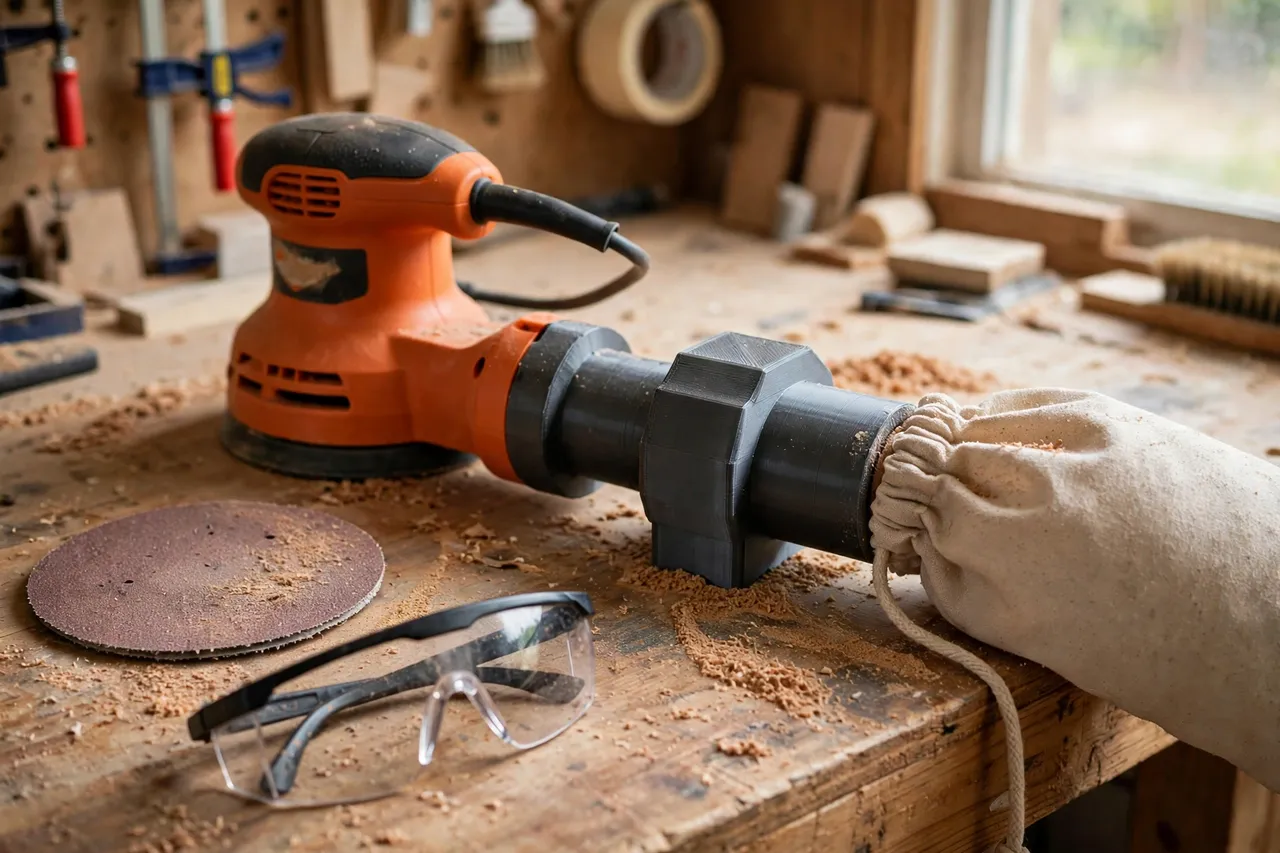
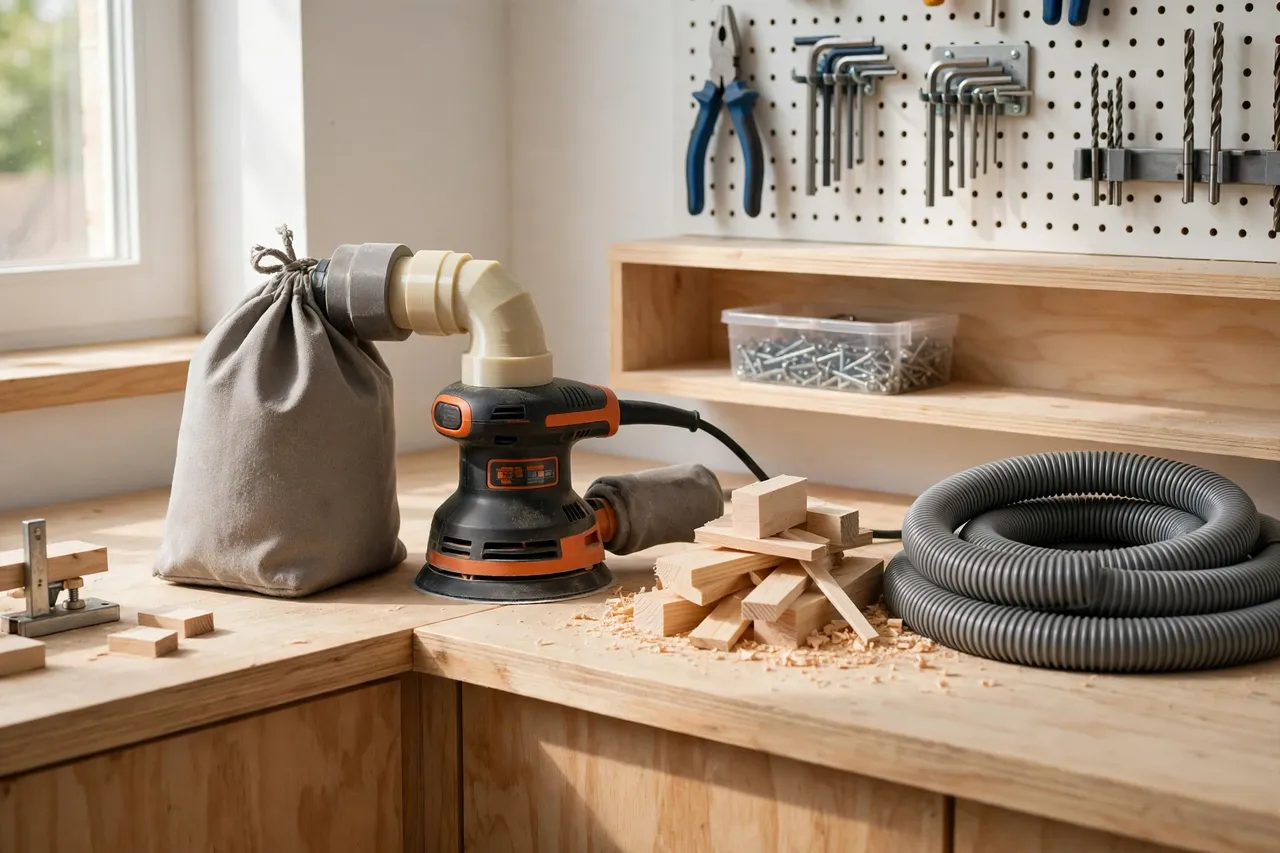
Buying a new sander just for a matching bag is wasteful. A better fix is a small printed adapter that bridges the gap between your sander’s dust port and a dust bag you already own, or a standard vacuum hose. The adapter does one simple job: it holds the bag securely on the port so dust has a clear path out of the sander and into the bag, instead of into the air.
This guide shows how to measure your port, design a stepped adapter, print it, and test it safely. One important boundary first: this adapter fits a dust bag to the outside of the sander’s existing dust port. It never modifies the sander’s guard, motor housing, or internal dust path, and it should never be forced onto a part it was not sized for. If the fit is wrong, reprint it at the right size rather than trimming the tool.
What You Need
This is a small, quick print. Most of the work is measuring carefully before you model anything.
Materials and tools
- A home 3D printer with a modest build area, roughly 100 mm in at least one direction
- PETG filament for a tougher adapter, or PLA for a first test fit
- The sander and the dust bag or vacuum hose you want to connect
- Calipers or a tape measure, plus a ruler for checking port shapes
- Sandpaper or a small file for cleanup, and a pencil for marking
- A dust mask and eye protection for sanding and test runs
PETG is the better keeper material here. Sanding dust and workshop warmth are kinder to PETG than to PLA, and a PETG adapter is less likely to crack when you push a bag on and pull it off repeatedly. PLA is still fine for a test version.
Suggested print settings
- Layer height: 0.20 mm for a good balance of speed and fit; 0.16 mm if the sealing surfaces look rough.
- Walls: 4 perimeters, so the rings stay round and resist repeated fitting.
- Infill: 40 to 50 percent, grid or gyroid, for a part that gets handled often.
- Top and bottom layers: 4 or more, for smooth mating faces.
- Orientation: Print with the axis vertical, so the rings print as true circles.
- Supports: Usually none, if the adapter is a simple stepped tube. Add supports only for an angled outlet.
Print a test adapter first. Fit matters more than finish, and a short test print saves a wasted full print.
Design Considerations
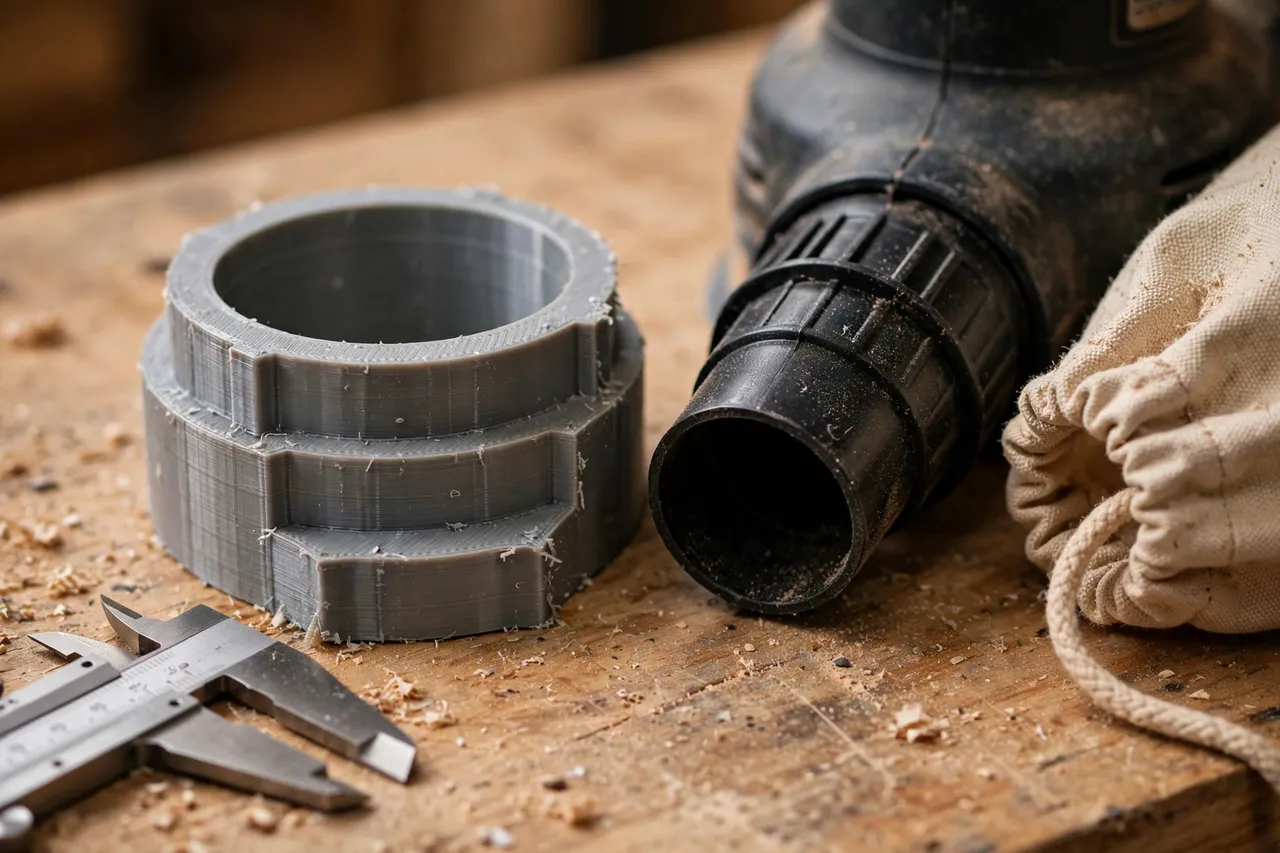
A dust bag adapter is essentially a short tube with two different ends: one end matches the sander port, the other matches the bag or hose. Getting both ends right is the whole project.
1. Measure the sander port first
Measure the outside diameter of the port if the adapter will slip over it, or the inside diameter if it will plug into it. Take three measurements around the port, because molded ports are rarely perfectly round. Use the average, and note whether the port is round, oval, or rectangular. Many detail sanders have oval or rectangular ports, and those need a matching oval or rectangular socket rather than a round ring.
Also measure how far the adapter can sit on the port without blocking anything. Keep the adapter short and clear of switches, vents, and the sanding pad’s movement. If the port has a locking notch or rib, include a matching recess or leave clearance for it, rather than forcing the adapter past it.
2. Measure the bag or hose end
Dust bags usually have a neck with an internal diameter and sometimes a clamp, elastic cuff, or drawstring. Measure the neck’s inside diameter and the length of straight neck available for gripping. For a vacuum hose, measure the hose end’s outside diameter. The adapter’s bag-side end should slip into the bag neck with a snug fit, or slip over the hose end with a friction fit. A stepped design with two or three diameters on the bag side lets one adapter serve a couple of bags, which is handy if you own more than one sander.
3. Keep the air path smooth
Dust flows best through a smooth, gradual transition. Avoid sharp internal steps that catch dust and clog. A gentle taper from the port diameter to the bag diameter works better than an abrupt shoulder. Keep the wall thickness around 2 to 3 mm: thick enough to hold shape, thin enough to keep the bore open. Add a small external rib or lip at each end so the bag cuff or hose has something to grip, and so your fingers have purchase when removing it.
4. Fit, not force
Aim for about 0.3 to 0.5 mm of clearance on a slip-over fit, and a light interference of about 0.2 mm on a plug-in fit that the bag’s elastic can accommodate. If the adapter rocks or spins freely, it is too loose and dust will leak at the joint. If you have to hammer it on, it is too tight and may crack or stress the port. A good fit pushes on with firm hand pressure and stays put during sanding, yet pulls off without tools.
Step-by-Step: Printing and Fitting the Adapter
- Measure the port. Record outside or inside diameter, shape, and usable length, measuring in three places.
- Measure the bag or hose. Record the neck or hose diameter and how much straight length you have to grip.
- Model a short stepped tube with a port-side socket, a bag-side spigot, and a gentle internal taper.
- Add grip ribs at both ends and rounded outer edges for comfortable handling.
- Print a test version in PLA at 0.20 mm layers.
- Clean up the print. Remove stringing, lightly sand the mating surfaces, and clear any rough spots inside the bore.
- Test the fit dry. Push the adapter onto the port, then fit the bag. It should seat fully without rocking.
- Adjust if needed. Too loose? Reduce the socket diameter by 0.3 mm. Too tight? Open it by the same amount. Reprint and retest.
- Print the keeper in PETG once the test fit is right.
- Run a short sanding test on scrap wood, outdoors or with ventilation, and check for dust leaking at either joint.
If dust leaks at a joint, the usual cause is an oval port that was modeled as round, or a bag neck that is stretched out of shape. Re-measure, and consider a version with a slightly longer grip section for a worn bag neck.
Tips for Better Results
- Label the adapter with the sander model.
- Print a spare. Adapters are small and cheap; a spare in the sander’s case saves a future hunt.
- Match the bag to the job. A fine-dust bag suits finish sanding, while a coarser bag is fine for heavy stock removal.
- Empty the bag often. A full bag restricts airflow and pushes dust back out at the joints.
- Check the fit after storage. Heat can warp a PLA adapter left in a hot garage, so re-check before use.
For a broader dust-collection setup, the same measuring approach works for larger fittings, and readers often pair this project with 3D Printed Dust Collection Blast Gate Adapters: Rings for Blast Gates. If your sander’s hose end also needs help, 3D Printed Shop Vac Accessory Hooks: Hooks for Nozzles and Wands is a handy companion for keeping nozzles organized.
Common Mistakes to Avoid
- Designing from a manual diagram instead of your own port. Ports vary between production runs; measure the tool in your hand.
- Making the adapter too long. A long adapter levers against the port and can work loose; keep it as short as the grip allows.
- Ignoring the port shape. An oval port needs an oval socket. A round adapter on an oval port leaks and rocks.
- Blocking vents or switches. Always check the full range of the sander’s controls with the adapter fitted.
- Using the adapter to bypass a damaged port. If the port itself is cracked, replace the manufacturer’s part rather than bridging over the damage with a printed sleeve.
Care, Storage, and When to Choose an Alternative
Tap dust out of the adapter after each session and store it with the sander or its bag, not loose in a drawer where it can be crushed. Keep PLA versions out of direct heat, and replace any adapter that has cracked, warped, or gone loose with use.
A printed adapter is a fitment part, not a repair for a broken tool. If the sander’s own dust port is damaged, if the bag’s neck is torn, or if you need a sealed connection for fine-dust work that your bag cannot provide, choose a manufactured replacement bag or hose fitting made for that sander. The printed adapter shines when both parts are sound and simply do not share a size.
FAQ
Will one adapter fit every sander I own?
Probably not, and that is fine. Ports differ in size and shape across brands and models. The strength of printing your own is that each adapter costs little and fits exactly one port and bag combination. Print one per sander, label them, and keep them together.
Is PLA strong enough, or should I use PETG?
PLA works for a test fit and for light, occasional use. PETG is the better keeper because it resists cracking, handles warmth better, and survives repeated fitting and removal. Either way, use generous walls and infill rather than a thin, fast print.
My adapter fits but dust still leaks. What is wrong?
Check three things: whether the port is oval rather than round, whether the bag neck is stretched or torn, and whether the adapter is fully seated. A short length of tape around the joint can confirm where the leak is, but the lasting fix is a re-measured, correctly shaped reprint, not a taped joint.
Can I connect the sander straight to a shop vacuum with this adapter?
Yes, if the vacuum hose end matches the adapter’s bag-side diameter and the connection is a simple slip fit at the port. Size the hose end the same way you would size a bag neck, test it on scrap, and empty the vacuum regularly so airflow stays strong.
Conclusion
A missing dust bag should not retire a good sander. With careful measuring and a short, well-fitted print, a sander dust bag adapter puts that sander back to clean work in an afternoon. Keep the design honest: a short tube, two well-measured ends, and a smooth air path. Test the fit, print the keeper in PETG, and sanding gets noticeably cleaner without a new tool.