Introduction
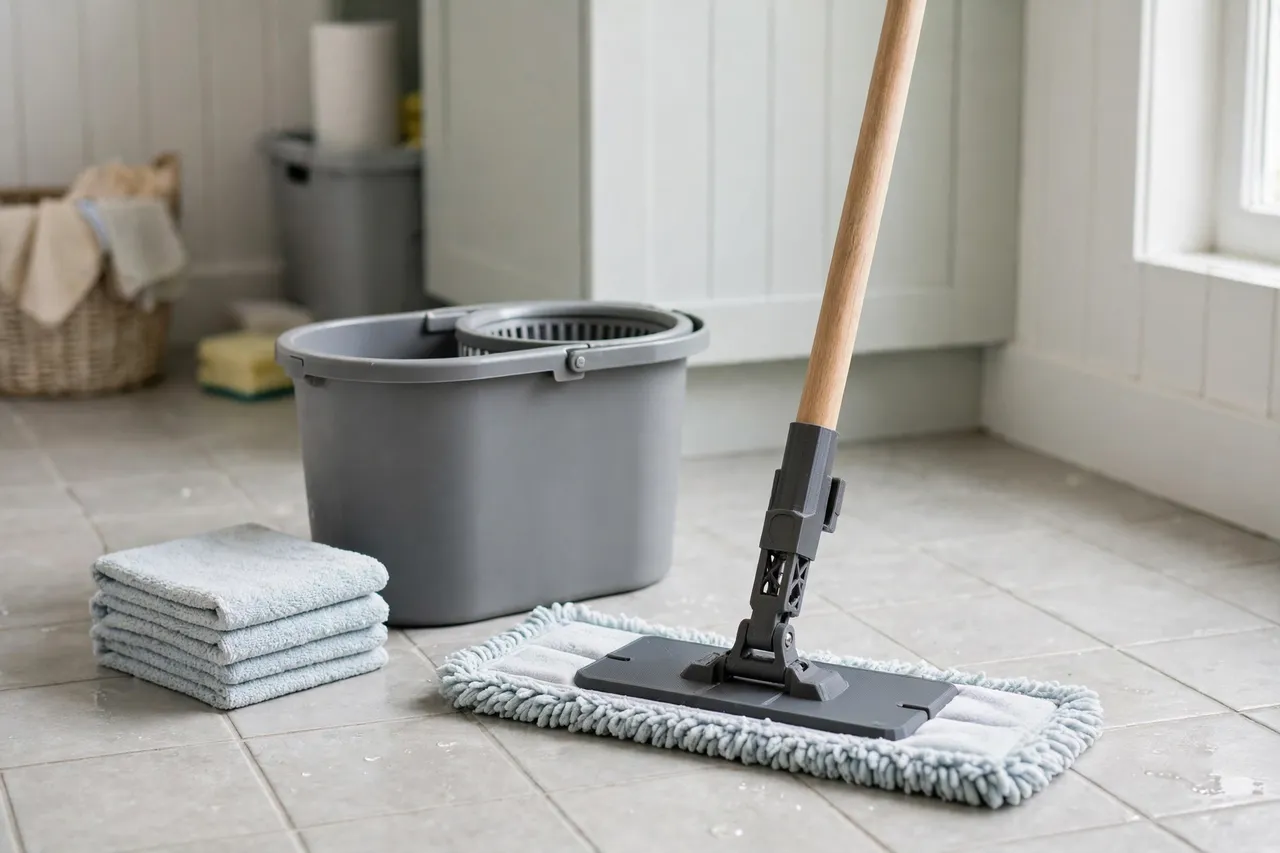
A mop handle often outlasts its head several times over. The handle is a straight, sturdy stick; the head is the part that wears out, frays, or breaks at its fitting. Yet when the replacement head does not match the handle’s thread or socket, many people throw the whole mop away and buy another, even though the handle is perfectly good.
A printed adapter fixes that mismatch. It is a short sleeve or threaded coupling that joins one handle end to a different head fitting, letting a new head work with an old handle. The job is deliberately light-duty: the adapter holds the head on during normal mopping and lets you swap heads again later. It is not a structural repair for a cracked handle, and it should never be asked to carry loads beyond ordinary household cleaning.
This guide walks through measuring handle and head fittings, designing a snug adapter, and testing it before it goes near a wet floor.
What You Need
Mop fittings vary more than most people expect, so measuring tools matter more than printing speed here.
Materials and tools
- A home 3D printer with a build area of roughly 120 mm in at least one direction
- PETG filament for the keeper, since mops meet water regularly; PLA for a test fit only
- The mop handle and the replacement head you want to fit
- Calipers, a ruler, and a thread gauge if the fittings are threaded
- Sandpaper or a small file, and a pencil for marking
- A bucket of water for a realistic wet test
PETG is the clear choice for the final part. It handles damp storage far better than PLA, which can soften and warp in a warm, humid utility room. If you only have PLA, treat that print as a fitting test and plan a PETG keeper.
Suggested print settings
- Layer height: 0.20 mm, or 0.16 mm for threaded sections.
- Walls: 4 to 5 perimeters, because the adapter is gripped and twisted during head changes.
- Infill: 40 to 50 percent, grid or gyroid.
- Top and bottom layers: 4 or more.
- Orientation: Print with the axis vertical so threads and bores print round.
- Supports: Usually none for a straight sleeve; internal supports only if the design has an overhanging lip.
Threaded prints need patience. Print slowly, and expect one or two test fits before the thread feels right.
Design Considerations
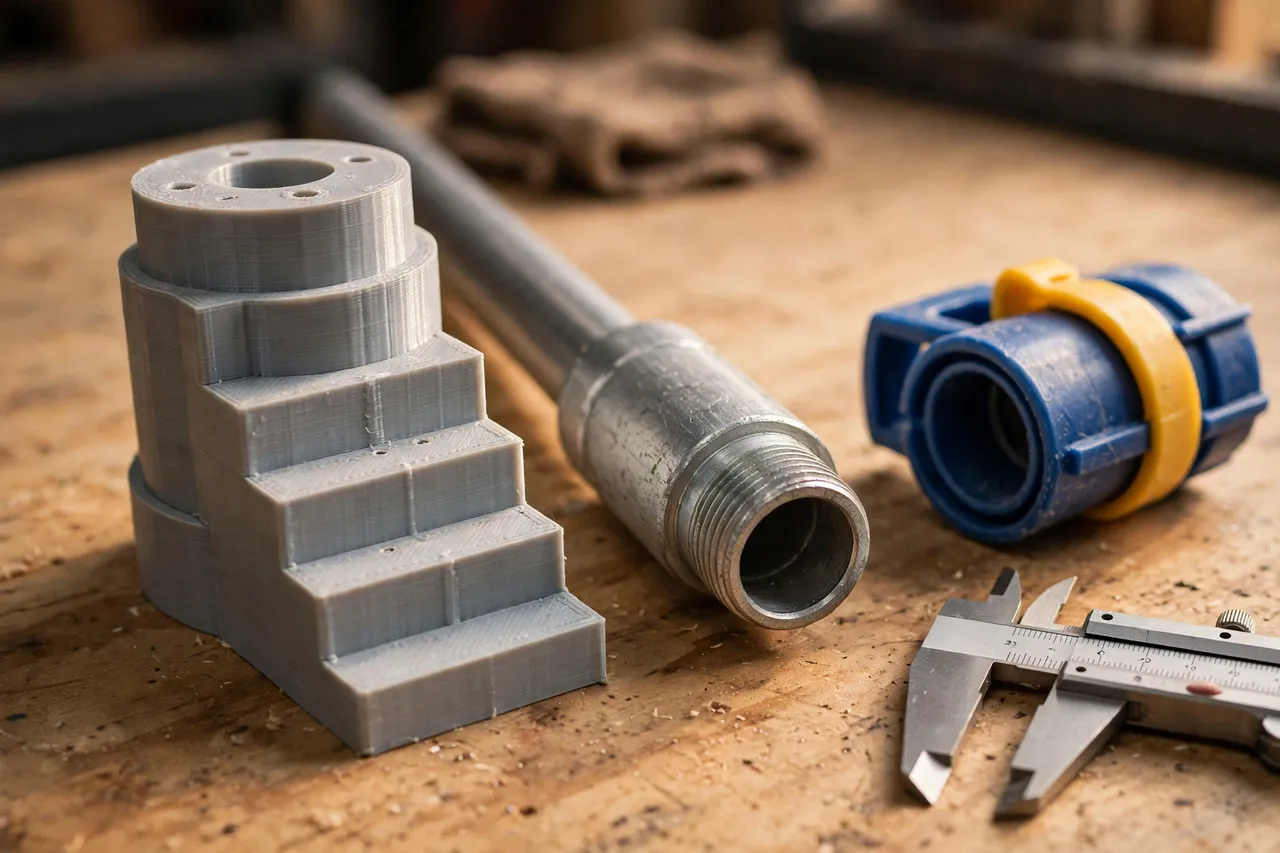
Mop adapters come in a few common forms, and the right one depends on what you measured.
1. Identify both fittings
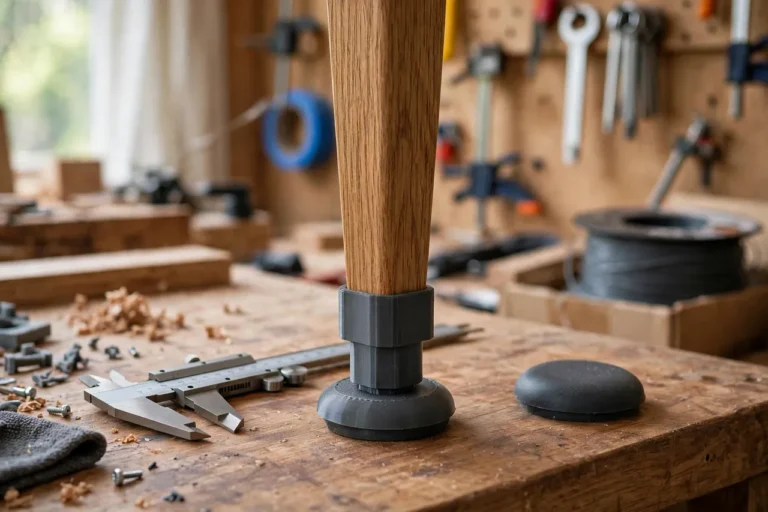
Handles usually end in one of three ways: an external thread, an internal threaded socket, or a plain tapered or straight end that pushes into a head socket. Heads mirror that: a threaded socket, a threaded stud, a push-fit socket, or a clamp plate. Identify both sides before modelling. For threads, count the threads over 10 mm to estimate pitch, and measure the major diameter with calipers. For push fits, measure the inside diameter of the socket and the outside diameter of the handle end.
2. Choose the adapter form
A sleeve adapter slides over a plain handle end and presents a new socket or thread for the head. A coupling adapter has a thread on one end and a socket on the other. A stepped adapter handles a handle that is slightly too thin for a head socket, filling the gap so the head grips firmly. In every form, keep the adapter short, roughly 40 to 70 mm, so it does not make the mop feel whippy or add a weak flex point.
3. Design for wet use and easy swapping
Mop heads are changed regularly, so the adapter must release without tools and without breaking. Add flats or a knurled band on the outside for grip, and avoid tiny tabs that snap off when wet. Keep a small drainage gap or open end where sensible so water does not sit trapped inside the adapter and grow musty. Round all outer edges so the adapter is comfortable to grip with wet hands.
4. Keep loads light and honest
A mop adapter only needs to survive pushing, light twisting, and the weight of a wet head. It is not a lever, a pry bar, or a repair for a split handle. If the handle itself is cracked, splintered, or bent, replace the handle. The adapter’s job is fitment between two sound parts, and it should be replaced at the first sign of cracking.
Step-by-Step: Printing and Fitting the Adapter
- Identify both fittings. Note thread or push-fit, diameters, and thread pitch if threaded.
- Measure in three places. Handles and sockets are rarely perfectly round; use the average.
- Model the adapter with the handle-side fitting on one end and the head-side fitting on the other.
- Add grip flats or a knurled band and rounded outer edges.
- Print a test version in PLA at 0.20 mm layers.
- Clean up the print. Sand mating faces lightly and clear any stringing from threads or bores.
- Test the fit dry. The handle should seat fully and the head should attach without rocking.
- Adjust by 0.2 to 0.3 mm per iteration until the fit is firm but removable by hand.
- Print the keeper in PETG and repeat the dry fit.
- Wet-test it. Fit the head, dampen it, and mop a small floor area, checking that the head stays attached and the adapter does not slip or creak.
If the head spins on the adapter, the thread pitch is probably wrong or the push fit is too loose. Re-measure the pitch carefully, or add a slightly longer grip section for a push fit.
Tips for Better Results
- Print two adapters. A spare means the next head change is instant, not another print job.
- Label the combination. Note the handle and head types on the adapter with a paint pen.
- Rinse and dry the adapter after mopping so it does not sit damp inside a head socket.
- Keep threads clean. A quick brush removes grit that would otherwise wear a printed thread.
- Store mops head-up so water drains away from the adapter rather than pooling in it.
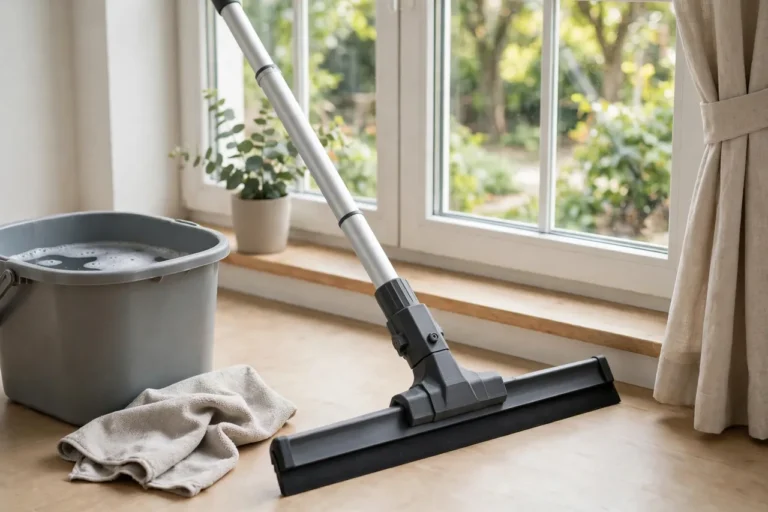
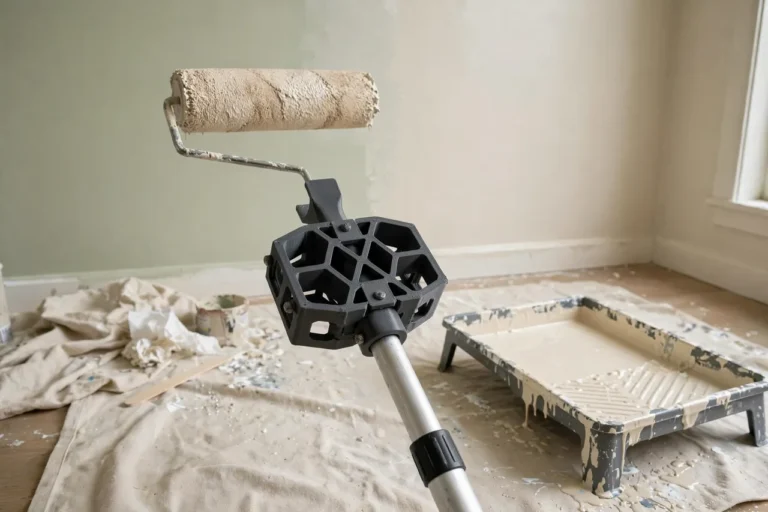
This same fitment thinking appears across the adapter family. Readers who fix household tools this way often also enjoy 3D Printed Squeegee Handle Adapters: Fit Squeegees to Any Handle, which solves the same mismatch for window cleaning, and 3D Printed Paint Roller Frame Adapters: Fit Roller Frames to Poles for painting jobs.
Common Mistakes to Avoid
- Guessing the thread. A thread that looks right but has the wrong pitch will jam halfway and may strip. Measure pitch properly.
- Making the adapter too long. Length adds flex and makes the mop feel unstable; keep it short.
- Ignoring water. A PLA adapter stored damp will warp and loosen; use PETG for the keeper.
- Forcing a tight fit. If the adapter needs a mallet, it is too tight and may crack the head socket.
- Repairing a broken handle with an adapter. A split or bent handle needs replacing, not sleeving.
Care, Storage, and When to Choose an Alternative
Rinse the adapter after use, let it dry, and store the mop where air circulates. Inspect printed threads each time you change heads, and reprint at the first sign of wear, cracking, or looseness. A worn adapter that lets a head fly off mid-mop is not saving anything.
Choose a manufactured adapter or a matching handle and head set when the fittings are heavily worn, when the head is unusually heavy, or when no printed fit can be made firm without force. For ordinary household mops with sound handles and standard replacement heads, a printed adapter is a simple, satisfying fix.
FAQ
Will one adapter fit every mop in the house?
Unlikely, since mop fittings vary by brand and style. Print one adapter per handle and head combination, label each, and keep them with the mop they belong to. Each print is short and cheap.
Is PETG really necessary, or will PLA do?
PLA is fine for a dry test fit, but PETG is strongly recommended for the keeper because mops live in damp conditions. PLA softens in warm, humid storage and its fit loosens over time.
My printed thread jams halfway. What went wrong?
Almost always the pitch is off, or stringing is filling the thread valleys. Re-measure the pitch over 10 mm, clean the thread carefully, and reprint slightly looser if needed. A thread that starts easily and firms up at the end is correct.
The head stays on dry but slips when wet. Why?
Wet surfaces are slippery and a push fit that felt snug dry may loosen. Add a longer grip section, a slightly tighter bore, or a small rib that the head socket can grip, then wet-test again before regular use.
Conclusion
A good mop handle deserves more than one head. With careful measuring and a short PETG print, a mop handle adapter lets new heads fit old handles, keeps a sturdy handle in service, and makes head changes quick and tool-free. Measure both fittings, test the fit wet as well as dry, and the next worn-out mop head becomes a five-minute swap instead of a whole new mop.