Introduction
Chair glides are small, but they do important work. They let chairs slide without screeching, protect floors from scratches, and keep chairs level. When a glide wears out, the replacement should be a five-minute job, yet it often is not. The new glide’s stem may be too thin for the leg’s socket, too thick to push in, or shaped for a different socket entirely. The chair leg itself is usually fine; only the fit has changed.
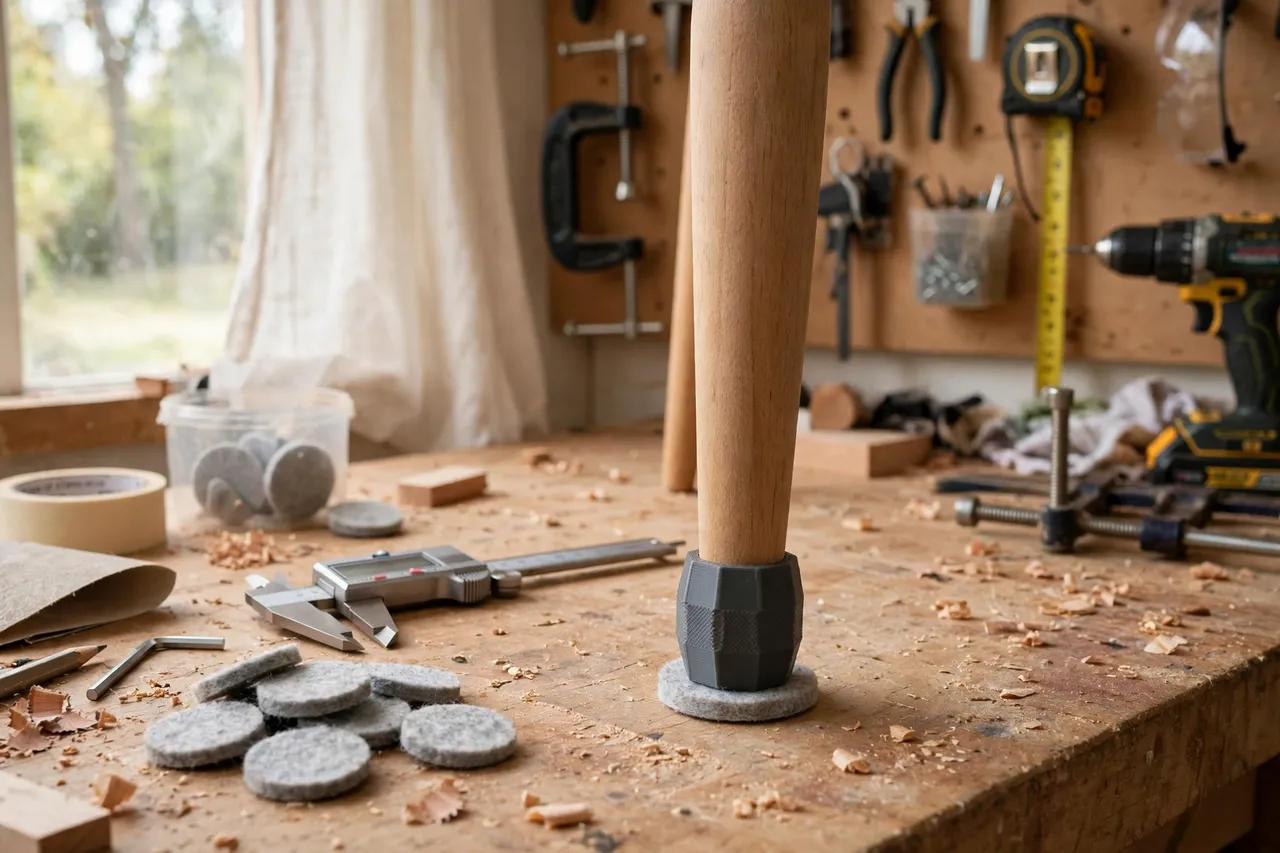
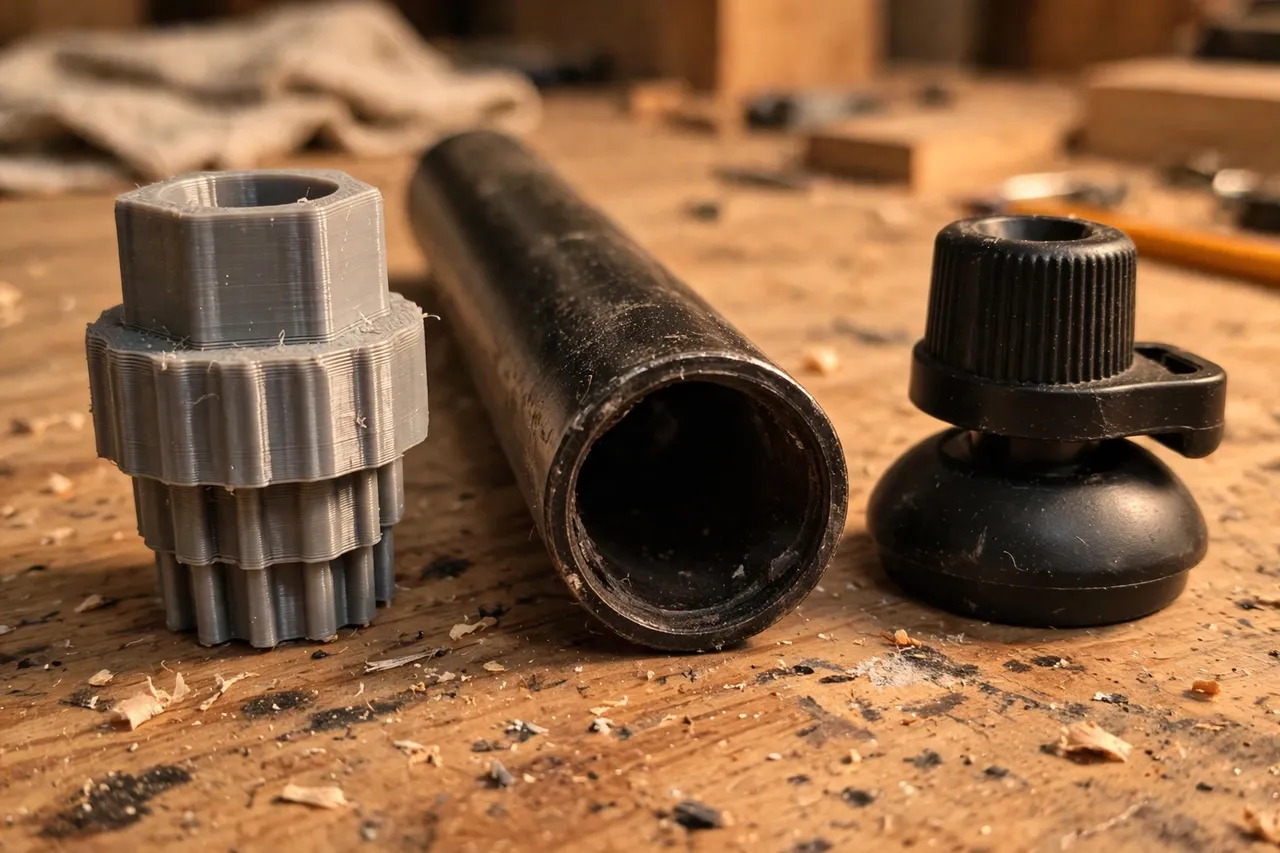
A printed insert adapter solves that fit problem. It is a short sleeve that sits in the leg’s socket and presents a new socket sized for the glide you can actually buy. The glide then pushes into the adapter, and the adapter grips the leg. These are light-duty fitment parts for household chairs: they hold a glide in place during normal sitting and sliding, and they let the glide be replaced again later. They are not structural repairs for a split leg, and they do not make a damaged chair safe to use.
This guide covers measuring leg sockets and glide stems, designing a snug insert, and testing the result so chairs sit level and glide smoothly.
What You Need
Sockets and stems are measured in millimetres, and small errors show up as loose glides, so take measuring seriously.
Materials and tools
- A home 3D printer with a build area of roughly 100 mm in at least one direction
- PETG filament for the keeper, or PLA for a test fit
- The chair legs and the replacement glides you want to fit
- Calipers and a ruler
- Sandpaper or a small file, and a pencil for marking
- A flat floor area for level testing
PETG is preferred for the keeper because it flexes slightly rather than cracking when a chair is moved, and it holds up better under repeated small loads. PLA is fine for checking the fit.
Suggested print settings
- Layer height: 0.20 mm, or 0.16 mm if the bores look rough.
- Walls: 4 to 5 perimeters, so the sleeve resists splitting when the glide is pushed in.
- Infill: 40 to 50 percent, grid or gyroid.
- Top and bottom layers: 4 or more.
- Orientation: Print with the axis vertical so bores print round.
- Supports: Usually none for a straight sleeve.
A test print in PLA is cheap insurance. A sleeve that is half a millimetre too loose will let the glide fall out the first time the chair is lifted.
Design Considerations
Four details decide whether an insert adapter works or falls out.
1. Measure the leg socket and the glide stem
Measure the leg socket’s inside diameter and depth, and the glide stem’s diameter and length. Measure each in two or three places, since sockets in wood are rarely perfectly round, especially in older chairs. Note the socket shape too: round sockets are most common, but some legs have square or rectangular sockets, and those need a matching outer shape on the adapter. Also check whether the socket is clean or packed with old glue and debris; clean it gently before measuring, or your measurements will be wrong.
2. Design the sleeve with two fits
The adapter has two fits to get right: the outside must grip the leg socket firmly, and the inside must grip the glide stem firmly. Aim for a light interference fit on the outside, about 0.2 mm larger than the socket, so the adapter presses in and stays. For the inside, aim for a snug fit on the stem, about 0.1 to 0.2 mm smaller than the stem diameter, so the glide pushes in with firm hand pressure. Add a small rim or flange at the bottom so the adapter cannot push too far into the leg, and so it has a definite seating face.
3. Add grip without making removal impossible
Glides need replacing again one day, so the adapter should grip without gluing itself permanently in place. Small external ribs around the sleeve improve grip in a slightly worn socket without requiring adhesive. Inside, one or two shallow rings give the glide stem something to catch on. Avoid barbs that are so aggressive the glide cannot be pulled out later. If a socket is badly worn and oval, a slightly larger adapter with ribs is a better answer than glue, which makes the next change destructive.
4. Keep heights even
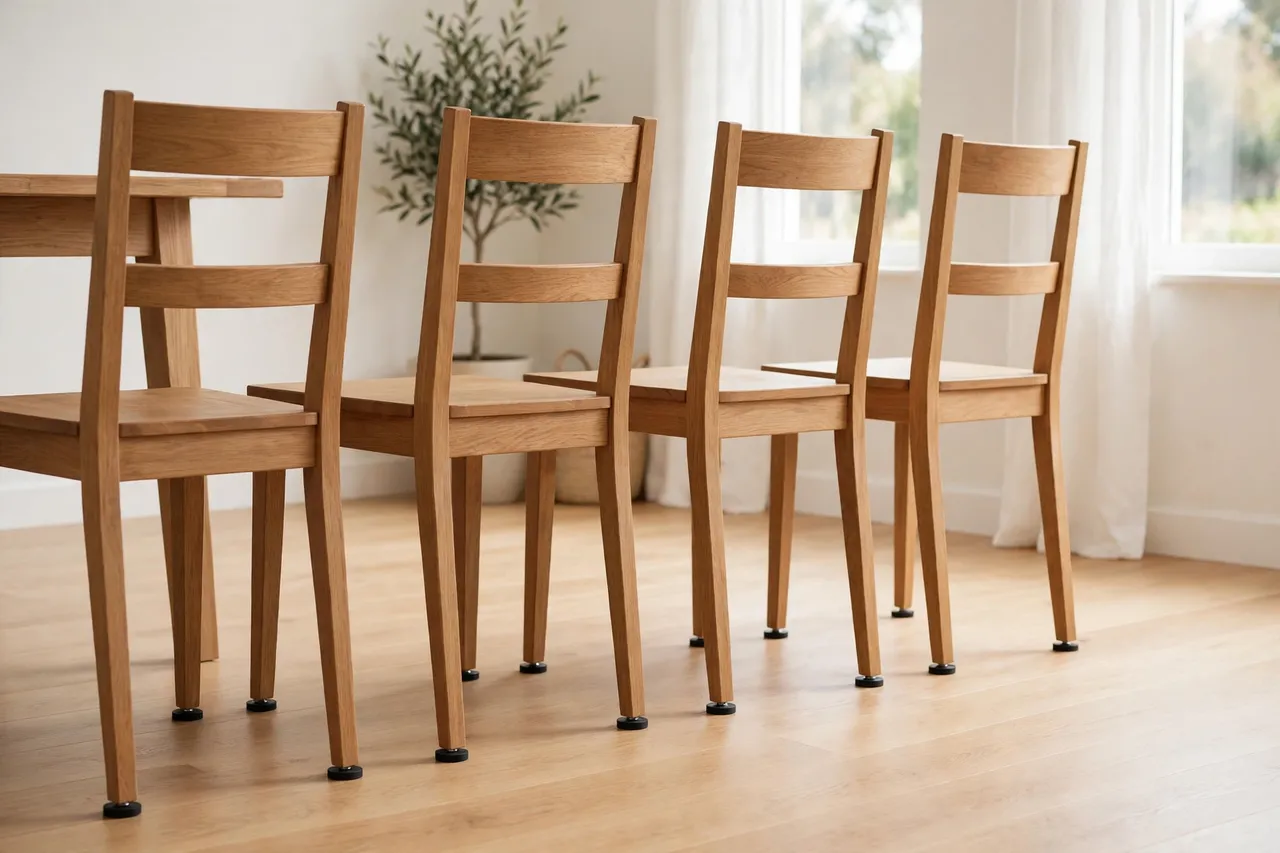
Adapters and glides add a small amount of length to each leg. Fit adapters and glides to every leg that needs them, then check the chair on a flat floor. A chair that rocks after fitting usually has one adapter seated deeper than the rest, or one glide stem longer than the others. Seat every adapter against its flange, and trim or match glide stems if needed, so all four legs finish at the same height.
Step-by-Step: Printing and Fitting the Adapter
- Clean the leg sockets gently, removing old glue and debris without enlarging them.
- Measure socket diameter, depth, and shape, and glide stem diameter and length.
- Model the sleeve with an outer diameter slightly larger than the socket and an inner bore slightly smaller than the stem.
- Add a bottom flange and small external grip ribs.
- Print a test version in PLA.
- Clean up the print, sanding the outer surface lightly and clearing the bore.
- Test the fit dry. Press the adapter into the leg socket, then push the glide into the adapter. Both should seat firmly by hand.
- Adjust by 0.2 mm at a time and reprint if either fit is loose or too tight.
- Print the keeper set in PETG and fit all legs.
- Level-check the chair on a flat floor, and slide it gently to confirm the glides stay put and move smoothly.
If a glide falls out when the chair is lifted, the inner bore is too loose. If the adapter spins in the socket, the outer diameter is too small or the socket is worn oval, and a ribbed, slightly larger version is needed.
Tips for Better Results
- Print a full set plus spares. Chairs wear glides unevenly, and spares make the next change instant.
- Label adapters by chair. Sockets that look alike may differ slightly between chairs.
- Fit glides to all legs at once. Mixed old and new glides make chairs sit unevenly.
- Check glides after moving house or rearranging. A quick press restores any glide that has worked slightly loose.
- Replace worn glides promptly. A worn glide exposes the adapter to floor abrasion and shortens its life.
Readers working through chair repairs often pair this guide with 3D Printed Furniture Leg Thread Adapters: Fit Feet to Threaded Legs, which covers legs with threaded feet instead of push-in glides, and with 3D Printed Shelf Bracket Adapters: Fit Brackets to Any Standard for the next household fitment job.
Common Mistakes to Avoid
- Measuring a dirty socket. Old glue and debris make the socket look smaller than it is.
- Making the outer fit too loose. A sleeve that drops into the socket will drop out again with the glide.
- Making the inner bore too tight. Forcing a glide stem can split the adapter or crack the leg socket.
- Skipping the flange. Without a seating flange, adapters push in to different depths and chairs rock.
- Adapting a split leg. A cracked leg socket needs repair or a replacement leg, not a sleeve.
- Glueing everything permanently. Glue makes the next glide change destructive; a good friction fit is enough.
Care, Storage, and When to Choose an Alternative
Check chair glides and adapters when cleaning floors or moving furniture. Press any loose glide back in, wipe dust from the adapter flange, and reprint any adapter that has cracked, split, or gone loose. Keep spares labelled with the chair they belong to.
Choose a manufactured glide or a replacement leg when the leg socket is split, badly worn oval beyond what a ribbed adapter can grip, or the chair is heavily used in a way that needs a metal insert. For ordinary household chairs with sound legs and a simple size mismatch, a printed insert adapter is a tidy, low-cost fix.
FAQ
Will one adapter fit every chair in the house?
Probably not, since leg sockets and glide stems vary. Print one set per chair, label them, and keep spares. Each sleeve is a short print, so a set is quick to build.
Is PETG necessary, or will PLA do?
PLA works for a test fit and for lightly used chairs. PETG is the better keeper because it flexes rather than cracking when chairs are moved and handles repeated small loads better.
My glide stays in but the chair still rocks. Why?
Check seating depth first: every adapter should sit against its flange, and every glide should be fully pushed in. Then check finished leg heights. One leg finishing longer than the rest is the usual cause.
Can I use these adapters on metal chair legs?
Metal legs often have round or square sockets that suit an insert adapter, provided the socket is sound and the fit is snug. Measure carefully, since metal sockets do not give the way wood does, and a too-tight adapter can be very hard to remove. If the metal socket is dented or split, replace the glide assembly or the leg instead.
Conclusion
A worn glide should not mean a wobbly chair or a scratched floor. Measure the socket and the stem, print a short PETG sleeve with a seating flange and two well-judged fits, and test the chair for level and smooth sliding. The result is a chair that moves quietly, sits steady, and keeps its floors protected, all from a part that prints in minutes.