Introduction
A workshop dust collection system is only as good as its weakest joint. Hoses, blast gates, and tool ports come in a frustrating range of diameters — 100 mm here, 4 inches there, a metric port on one machine and an imperial hose on the next — and every loose joint leaks suction. A leaky system does not just leave dust on the floor; it leaves fine dust in the air, which is the part that matters for your lungs.
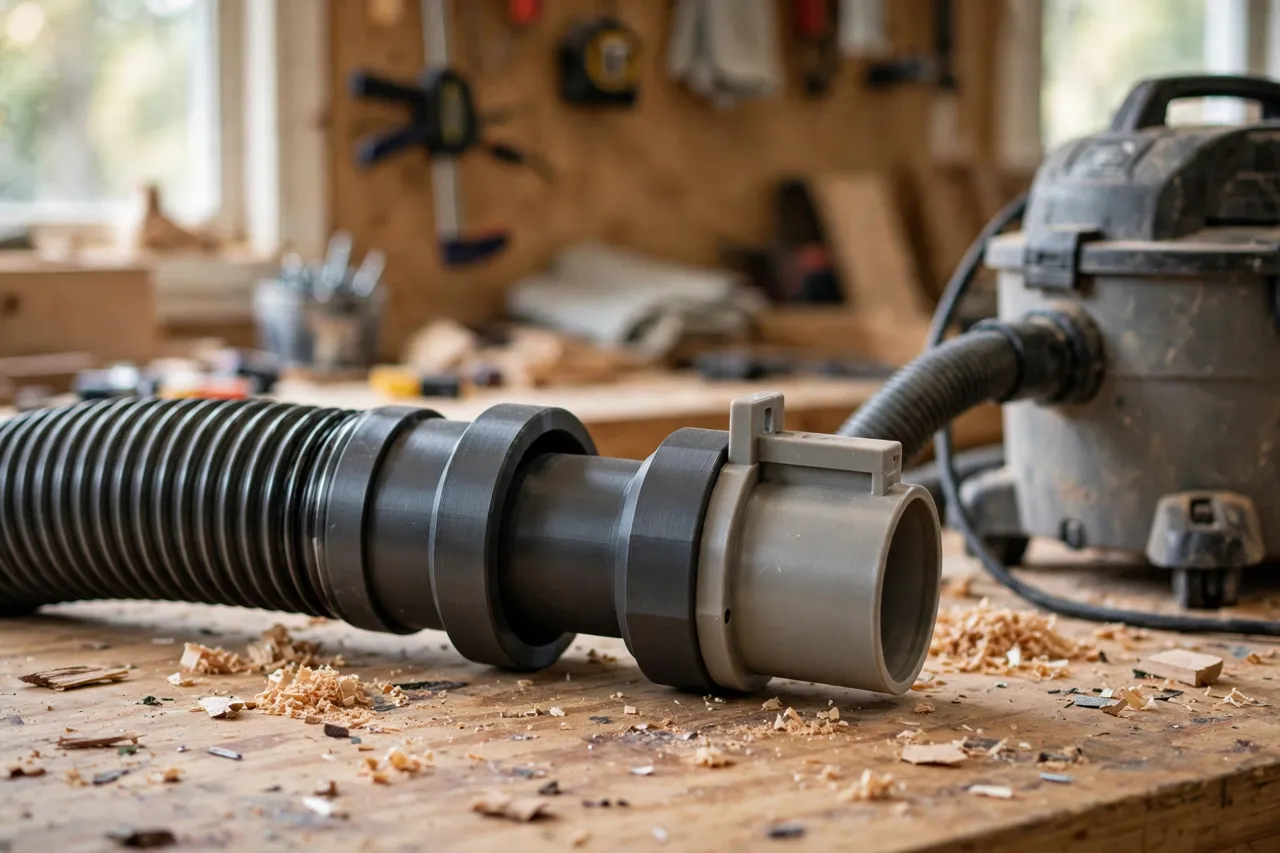
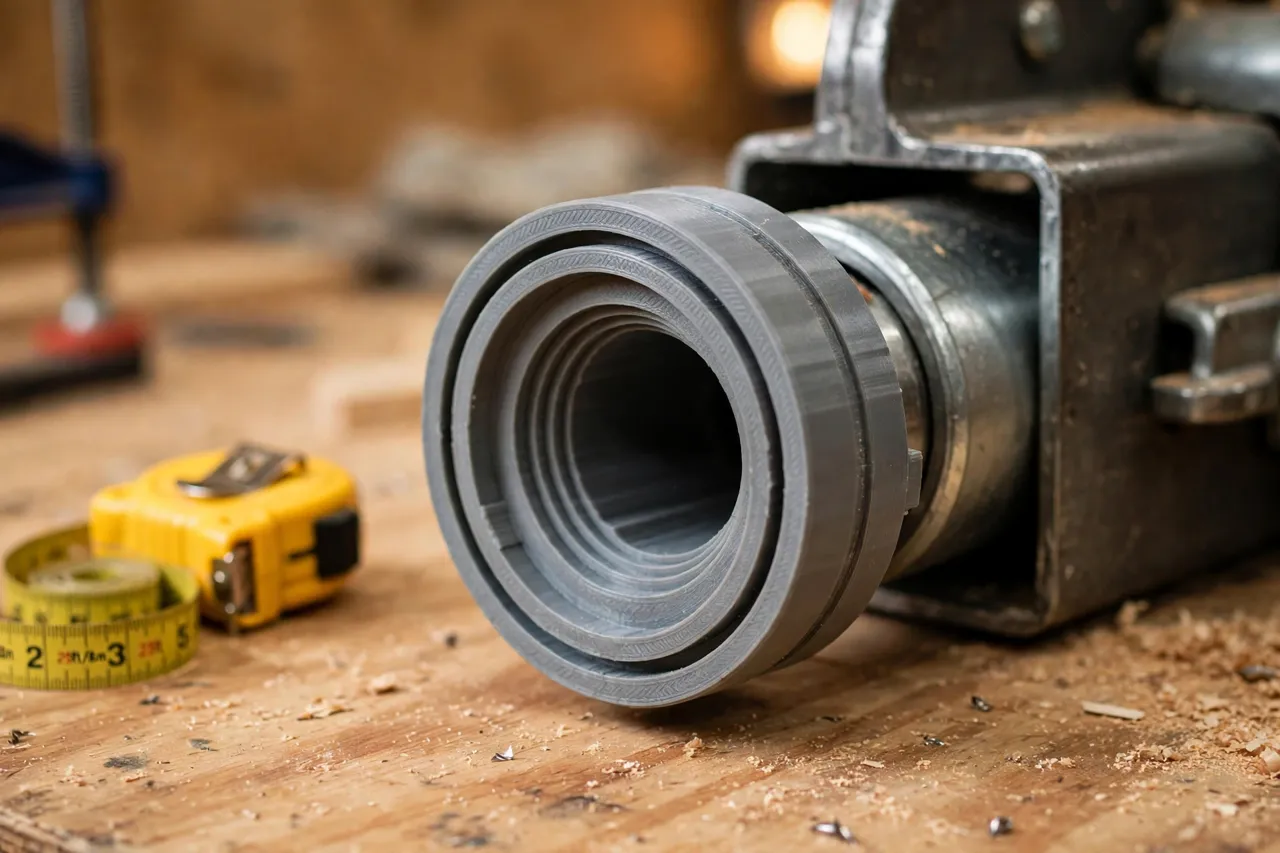
A 3D printed blast gate adapter ring fixes the joint. It is a short stepped ring that connects a hose to a blast gate, or a gate to a tool port, when their diameters do not match — sealing the connection so the collector pulls at full strength. It is a simple, practical print, and it is one of the highest-value small parts in a home workshop.
A safety note first: this guide covers ordinary woodshop dust collection — low-pressure suction air, sawdust, and chips. These adapters are not for pressurized air systems, compressed-air lines, or anything carrying pressure. They also do not replace dust masks or respirators: even a well-sealed system leaves some fine dust in the air, so wear appropriate respiratory protection when machining, especially MDF.
What You Need
Dust ports vary by brand and country, so measure every port in your system before designing.
Materials and tools
- A home 3D printer with a build area larger than your biggest port diameter, or a plan to print the ring in segments
- PETG filament for a tougher ring, or PLA for a test fit
- The blast gate, hose, and tool port you want to connect, plus calipers or a tape measure
- Hose clamps sized to your hose, a screwdriver, and sandpaper or a file
- A pencil, and a vacuum or collector for testing suction
PETG is the better keeper: dust hoses get dragged, knocked, and left in warm workshops, and PETG resists cracking better than PLA. For a ring that lives permanently on a wall-mounted gate, PLA is acceptable.
Suggested print settings
- Layer height: 0.20 to 0.28 mm — adapter rings are chunky parts and do not need fine detail.
- Walls: 4 perimeters minimum, so the ring resists the squeeze of a hose clamp.
- Infill: 30 to 40 percent, grid or gyroid. The ring sees suction, not crushing loads, so it does not need to be solid.
- Top and bottom layers: 4 or more, for flat faces that seat against the gate.
- Orientation: Print with the ring axis vertical, so the bore prints roundest.
- Supports: Usually none for a simple stepped ring; a ring with an overhanging flange may need supports.
For ports wider than your build plate, split the ring into two or three arc segments with lap joints, glue them with a strong adhesive, and sand the joint smooth inside so it does not catch chips.
Design Considerations
A good blast gate adapter ring has three features: two bores, a seal, and a grip.
1. Two bores, one ring
The ring is essentially a short tube with a different diameter at each end, or a stepped bore inside a constant outer size. Measure both ports — hose outside diameter and gate port inside diameter, or the reverse — and model each bore with about 0.5 to 1 mm of clearance. Dust fittings are not precision parts, and a little clearance plus a hose clamp beats a perfect-looking fit that will not assemble. Add a small internal step or shoulder so the hose cannot slide too far into the gate and block the blade.
2. The seal
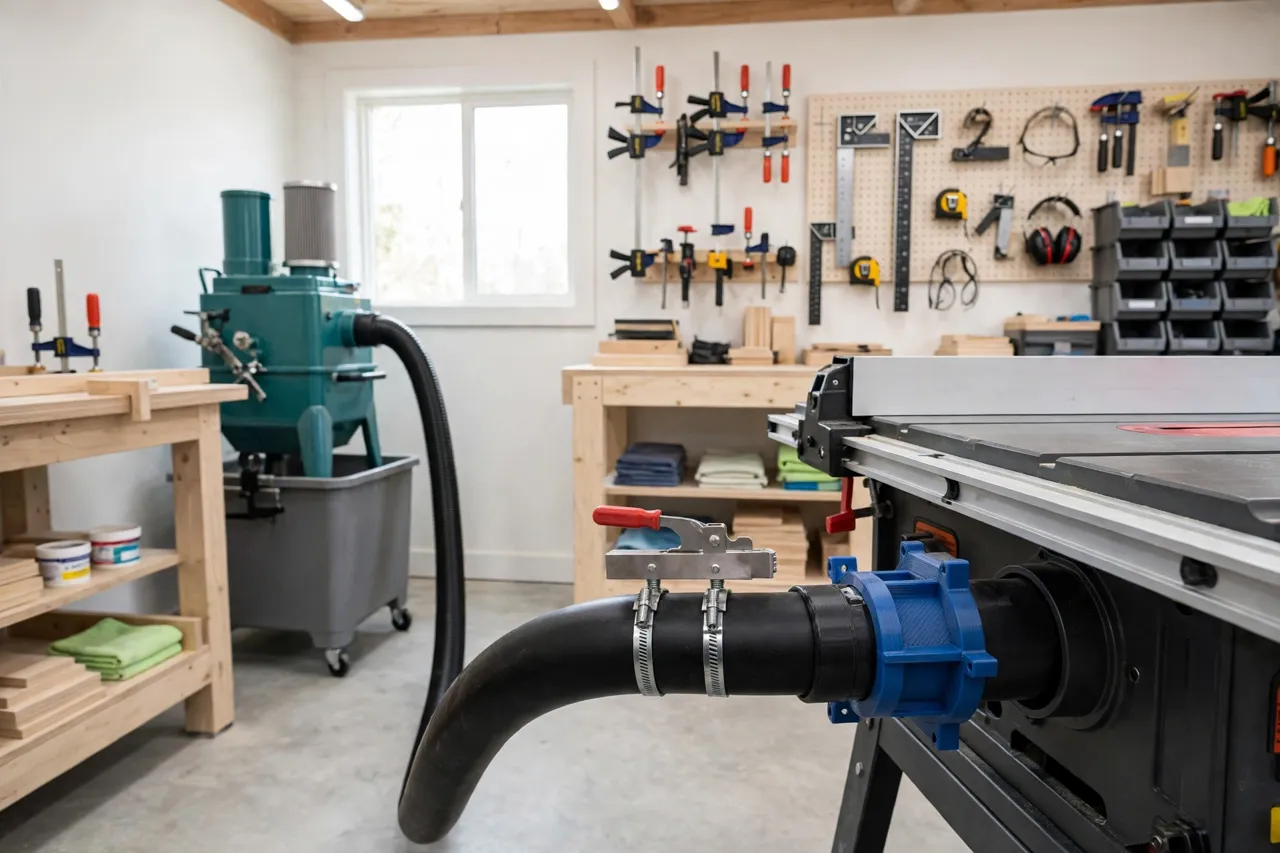
Suction leaks kill performance, so the ring must seal at both ends. A hose clamp groove around the outside gives the clamp a seat and stops the hose creeping off. On the gate side, a flat flange with a foam tape gasket seals against the gate face — a thin strip of self-adhesive foam tape costs almost nothing and closes the small gaps that printed plastic leaves. Keep the inside of the ring smooth: internal ridges catch chips and build up into clogs.
3. The grip and the gate clearance
The ring must not interfere with the blast gate’s sliding blade. Check the gate’s blade travel before you model anything, and keep the ring clear of the blade slot. If the ring mounts on the gate face, make sure its flange does not cover the blade handle or the screws that hold the gate together. Also add a couple of screw holes through the flange so the ring can be bolted to the gate rather than relying on friction alone.
Measure hose diameters with the hose in its natural, uncompressed state. A hose squeezed by a clamp measures smaller than it really is, and a ring sized to the squeezed measurement will be loose.
Step-by-Step: Printing and Assembly
- Identify the mismatched joint — which hose, gate, and port sizes are involved.
- Measure both ports with calipers, and check the blast gate’s blade travel and screw positions.
- Model the ring with two bores, a clamp groove, a flange with screw holes, and clearance for the gate blade.
- Print a test ring in cheap filament and check both ends fit, dry, before committing.
- Clean it up. Sand the inside smooth, clear the screw holes, and check the ring seats flat against the gate face.
- Adjust if needed. Too tight? Open the bore by 0.5 mm. Too loose? Shrink it and reprint — suction leaks punish loose fits.
- Print the keeper in PETG, and print matching rings for other mismatched joints in the same run if sizes allow.
Label each ring with its two sizes using a paint pen. Dust rings all look alike, and the wrong one in the wrong joint leaks.
Step-by-Step: Fitting the Ring to the Blast Gate
- Remove the gate from the run if you can, so you can work on it at the bench.
- Fit the ring to the gate and check it sits flat, clear of the blade slot and handle.
- Mark and drill pilot holes if the gate material allows, or use the gate’s existing screws where they line up.
- Bolt or screw the ring to the gate, fitting the foam tape gasket between flange and gate face.
- Slide the hose onto the ring and seat the hose clamp in its groove.
- Tighten the clamp firmly but not so hard that it crushes the printed ring out of round.
- Refit the gate and test. Open the gate, run the collector, and feel around the joint for air leaks — your hand finds leaks faster than your eyes.
- Check the gate blade slides freely with the ring fitted, and that suction at the tool feels strong.
Test with the gate both open and closed. A ring that seals well when open but binds the blade when closed is a failed fit.
Tips for Better Results
- Test suction, not just fit. A ring can look perfect and still leak. Feel for leaks with the collector running.
- Use foam tape gaskets. They forgive the small surface imperfections that printed parts always have.
- Keep the bore smooth. Sand the inside of the ring; rough layers catch chips and narrow the airway over time.
- Print spares. Rings are cheap, and a spare for each joint size saves a reprint when one cracks.
- Standardize where you can. If several joints share a size, print identical rings and keep the system consistent.
Common Mistakes to Avoid
- Designing from a nominal hose size. A “100 mm hose” rarely measures exactly 100 mm. Measure your hose.
- Blocking the gate blade. The most common design error. Check blade travel before printing, not after fitting.
- Skipping the clamp groove. A smooth ring lets the hose creep off under vibration. The groove is a small feature with a big effect.
- Over-tightening the hose clamp. Crushing the ring out of round creates leaks and can crack the part. Firm is enough.
- Forgetting the inside finish. A rough bore builds up chips, narrows the airway, and eventually clogs. Sand it smooth.
Care, Storage, and When to Choose an Alternative
Check rings when you empty the collector: look for cracks, loose clamps, and chip buildup inside the bore, and brush out any accumulation. Re-tighten clamps occasionally, since hoses relax over time. A cracked ring is a quick reprint from a proven file.
Sometimes a manufactured fitting is the better buy. If you need a standard size that already exists as a molded fitting, buy it — molded parts are smoother and tougher than printed ones. Printed rings earn their place on odd sizes, mixed metric and imperial systems, and one-off joints that no catalog covers. For the rest of the dust system, our guide “3D Printed Sander Dust Bag Adapters: Fit Dust Bags to Any Sander” covers sander connections, and “3D Printed Drill Dust Shroud Adapters: Catch Dust at the Drill” handles dust at the drill itself.
FAQ
Will a printed ring restrict airflow compared to a molded fitting?
Slightly, if the bore is rough or stepped. Keep the bore smooth, match the port diameters closely, and avoid sudden steps inside the ring. A well-finished printed ring performs close to a molded one in a home shop system.
Can I use these adapters on a shop vacuum as well as a dust collector?
Yes — the principle is identical, and shop vac hoses are just as mismatched as collector hoses. Size the ring to your actual vac hose and port, and use a clamp on the hose side.
My ring keeps popping off the gate. What is wrong?
Usually the flange is not bolted, or the hose is pulling the ring off. Bolt the ring to the gate, add a clamp groove on the hose side, and support heavy hoses so their weight does not drag on the joint.
Does the ring need to be airtight, or is close enough fine?
The tighter the better. Every leak reduces suction at the tool and leaves more fine dust in the air. Foam gaskets and clamps are cheap — use both, and test with the collector running.
Conclusion
A dust system that leaks at every joint is barely a dust system. A printed adapter ring, sized to the ports you actually own and sealed with a clamp and a gasket, turns a mixed collection of hoses and gates into a system that pulls hard where it matters — at the tool. Measure the real ports, keep the gate blade clear, sand the bore smooth, and test with the collector running.
Seal the joints, and the collector can finally do the job you bought it for.