Introduction
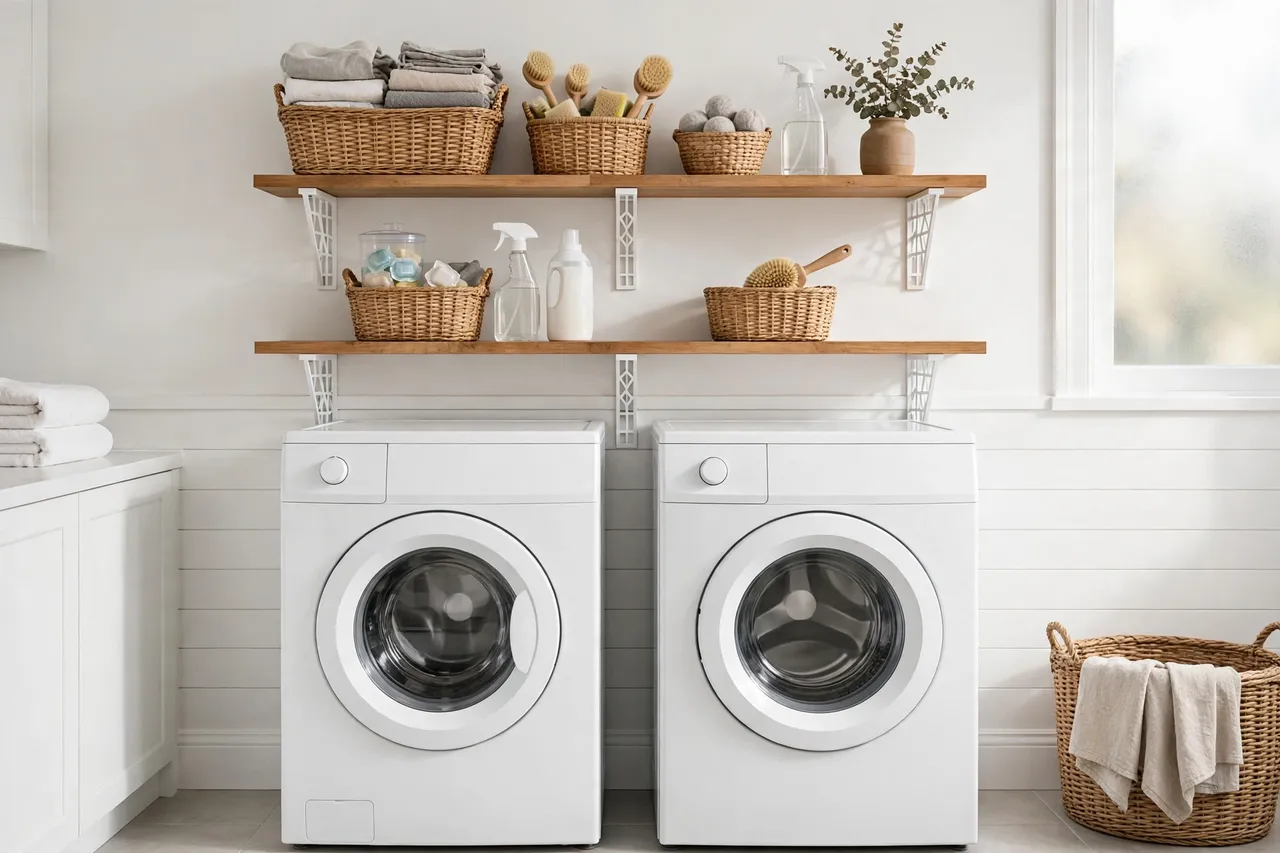
The wall above a washer and dryer is some of the most useful storage space in a house, and also the most commonly wasted. Detergent, baskets, and cleaning supplies end up on top of the machines, where they vibrate off, collect lint, and get in the way every time you load the washer.
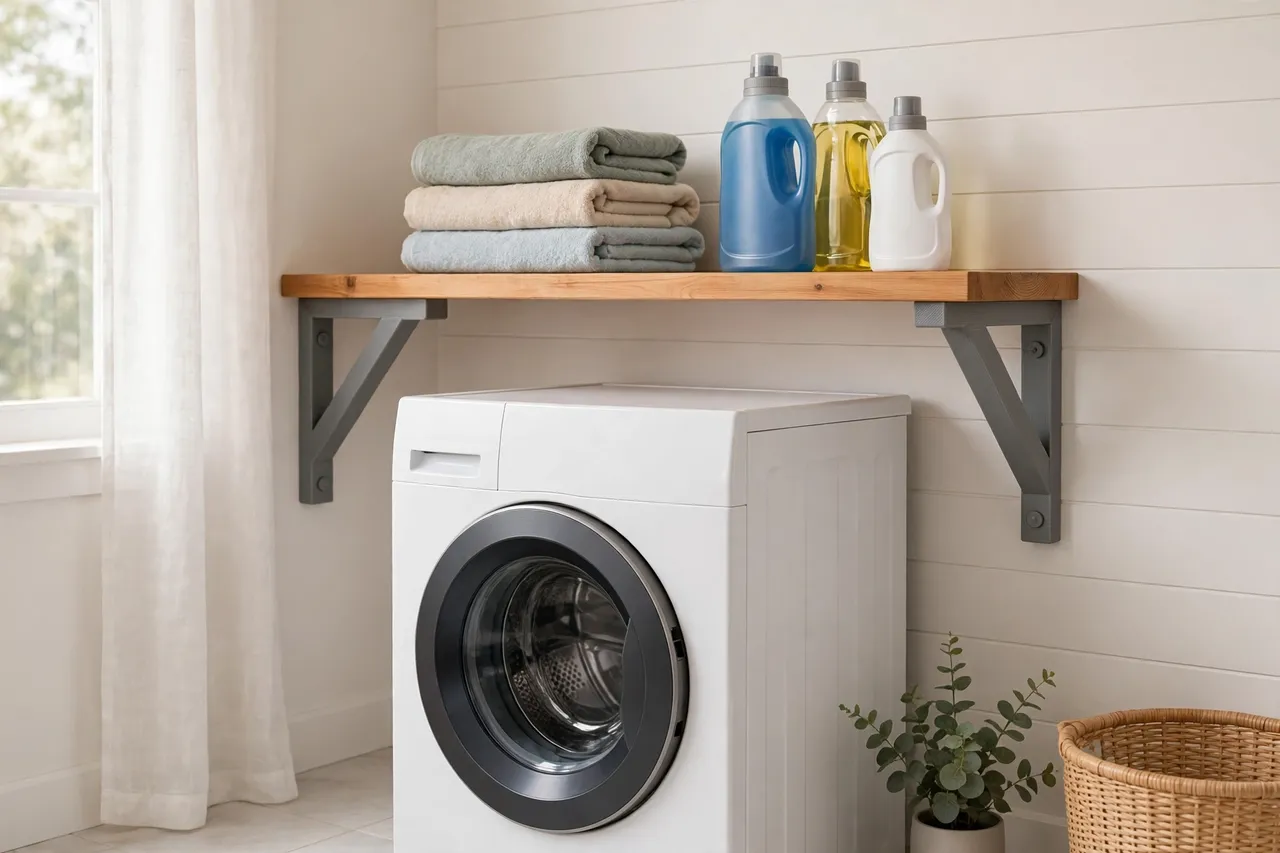
A shelf fixes that — and a printed bracket lets you put the shelf exactly where you want it, at the depth you want, without hunting for a store bracket that matches your shelf board and your wall. Print two or three brackets, screw them to the wall with proper anchors, and drop a board on top.
The honest limit here is weight. Printed brackets are light-duty shelf supports: fine for detergent bottles, folded towels, and baskets of supplies, but not for heavy paint cans, toolboxes, or anything you would not want falling. Keep loads modest, anchor into studs or use proper wall anchors, and check the shelf’s level and fixings every so often. Within those limits, printed laundry brackets are a genuinely practical project.
What You Need
This is a medium-sized print with straightforward hardware. The key skill is not printing — it is finding solid wall fixings and keeping the brackets level.
Materials and tools
- A home 3D printer with a build area of roughly 150 mm in at least one direction
- PETG filament for strength and a little flex; PLA works for very light loads
- A shelf board cut to size, plus a tape measure or calipers
- Wall screws and wall anchors matched to your wall type, or long screws for studs
- A cordless drill, drill bits, a screwdriver, a spirit level, and a stud finder
- A pencil and painter’s tape for marking
PETG is the better choice for a shelf bracket: it handles the steady load and the warm, sometimes humid laundry room better than PLA. If you print in PLA, keep loads light and the room ventilated.
Suggested print settings
- Layer height: 0.20 mm for a good balance of speed and strength.
- Walls: 4 to 5 perimeters — the bracket’s arms and screw bosses carry the load.
- Infill: 50 percent or more, grid or gyroid. This is not a place to save filament.
- Top and bottom layers: 4 or more.
- Orientation: Print flat, wall-facing side down, for the flattest mounting face.
- Supports: Only if your design includes a steep overhang; a triangular bracket usually needs none.
Print one test bracket first and check its fit against the shelf board before printing the rest.
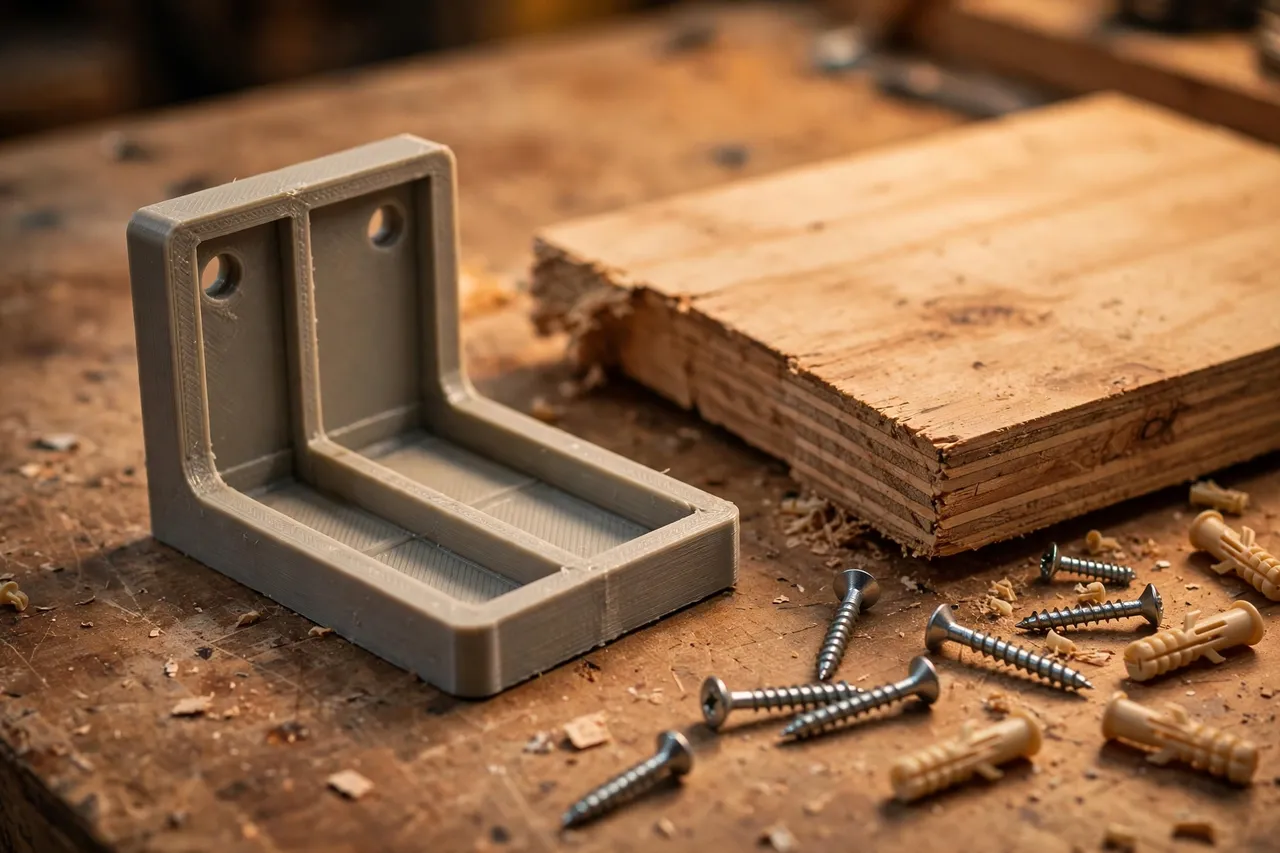
Design Considerations
A laundry shelf bracket is a right-angle support: one leg against the wall, one arm under the shelf, and a diagonal brace between them. Its strength comes from geometry and wall fixings more than from plastic alone.
1. The wall leg and fixings
Make the wall leg at least 120 mm tall with two screw holes spaced vertically. Two screws resist the bracket’s tendency to rotate under load far better than one. If you can hit a stud, do it — a long screw into a stud is the strongest fixing a printed bracket can have. If not, use wall anchors rated for the wall type and the load you plan. Never rely on a bare screw in plasterboard for a loaded shelf.
2. The shelf arm and brace
The arm under the shelf should reach at least two-thirds of the shelf’s depth, so the board is properly supported and does not tip forward. A diagonal brace from the bottom of the wall leg to the end of the arm turns the bracket into a triangle, which is dramatically stiffer than an L shape alone. Add a small lip at the arm’s end to stop the board sliding forward, and a screw hole through the arm so the board can be screwed to the bracket.
3. Sizing for the load
Be realistic about what the shelf will hold. A shelf of detergent bottles and towels is a light-to-moderate load that printed brackets handle well. If you plan to store bulk detergent, heavy baskets, or anything dense, either add a third bracket in the middle, shorten the shelf span, or choose manufactured metal brackets instead. Printed plastic has limits, and exceeding them is how shelves end up on the floor.
4. Laundry-room conditions
Laundry rooms are warm and humid. PETG resists both better than PLA. Keep brackets away from direct contact with the dryer vent, and give them a wipe when you clean the room. A smooth print with rounded edges is easier to keep lint-free than a rough one.
Step-by-Step: Printing the Brackets
- Measure your shelf board. Depth, thickness, and the span between bracket positions.
- Check your wall. Find the studs, or decide which anchors your wall type needs.
- Model the bracket, with wall leg, shelf arm, diagonal brace, and screw holes in both legs.
- Print a test bracket and check the shelf board sits level on it and the lip holds the board.
- Clean up the print. Sand the mounting face flat and clear the screw holes.
- Adjust if needed. Flexing? Add a perimeter or thicken the brace. Board rocking? Check the arm is flat.
- Print the full set — two brackets for a short shelf, three for a longer span.
Step-by-Step: Mounting the Shelf
- Mark the height. Hold a board at the planned height and check it clears the washer lid and anything you lift over it.
- Find the fixings. Mark stud positions, or anchor positions if no stud lines up.
- Level the first bracket. Mark its screw holes, drill, fit anchors if needed, and screw it in place.
- Level the second bracket to the first. Use a spirit level across both brackets before drilling — a shelf that slopes is obvious and annoying.
- Drop the board on and check it sits flat on both arms.
- Screw the board to the brackets through the arm holes, so it cannot slide off.
- Load gradually. Start with light items, check the brackets after a day, then load normally.
Tips for Better Results
- Use three brackets for spans over 900 mm. The middle bracket halves the sag and the load per bracket.
- Level across brackets, not just each one. A level shelf needs all brackets at the same height.
- Keep heavy items near the brackets. Loads close to the wall and near fixings stress the brackets least.
- Add a front lip to the shelf. A small raised edge stops bottles vibrating off during spin cycles.
- Check fixings twice a year. Laundry vibration slowly works things loose; a quick check catches it early.
Common Mistakes to Avoid
- Skipping anchors or missing studs. A bare screw in plasterboard under a loaded shelf will pull out. This is the most common failure, and it is entirely avoidable.
- Printing too light. Two perimeters and 15 percent infill make a bracket that flexes under detergent bottles. Go heavy on walls and infill.
- Spacing brackets too far apart. A long board on two distant brackets sags in the middle and stresses the brackets. Add a middle bracket.
- Overloading the shelf. Printed brackets are light-duty. If the shelf creeps toward heavy storage, switch to metal brackets.
- Mounting too low. A shelf that blocks the washer lid or forces you to duck is worse than no shelf. Check clearances with the lid open before drilling.
Care, Storage, and When to Choose an Alternative
Wipe brackets when you clean the laundry room, and re-tighten screws if they ever feel loose. If a bracket cracks or a wall fixing fails, unload the shelf, fix the cause, and reprint or replace before reloading.
Printed brackets are right for light-to-moderate laundry storage on sound walls. For heavy storage, long spans, or walls in poor condition, manufactured metal brackets with proper fixings are the safer choice. And if the wall itself is damaged or crumbling, repair the wall first — no bracket fixes a bad wall.
FAQ
How much weight can printed laundry shelf brackets hold?
A modest, everyday load — detergent bottles, folded towels, baskets of supplies — spread across two or three well-anchored brackets. There is no safe printed-bracket rating for heavy storage, so keep loads light and add a middle bracket for longer shelves.
Should I screw into studs or use wall anchors?
Studs first, always, if they line up with your bracket positions. If they do not, use anchors rated for your wall type and load. Never rely on a bare screw in plasterboard for a loaded shelf.
Will the brackets survive a humid laundry room?
Printed in PETG, yes, for normal laundry humidity. Keep them away from the dryer vent’s direct heat, and avoid PLA if the room gets very warm or steamy.
My shelf sags in the middle. What went wrong?
The span is too long for two brackets, or the board is too thin. Add a middle bracket, use a thicker board, or shorten the span. Printed brackets cannot compensate for an undersupported board.
Conclusion
A shelf above the washer turns dead wall into the laundry room’s best storage, and printed brackets let you size that shelf to your room instead of to a store’s bracket range. Print solid, anchor properly, keep loads modest, and the shelf will earn its keep every laundry day.
If you want the same bracket logic at a bigger scale, you may also enjoy our related guide, “Light-Duty Shelf Brackets: When 3D Printed Brackets Make Sense — and How to Print Them Strong,” which explains the strength principles in more depth. And for keeping the new shelf tidy, “Workshop Small-Parts Organizer: 3D Printed Stackable Bins and Screw Sorters for Your Workbench” shows how zone thinking turns cluttered storage into an organized system.