Introduction
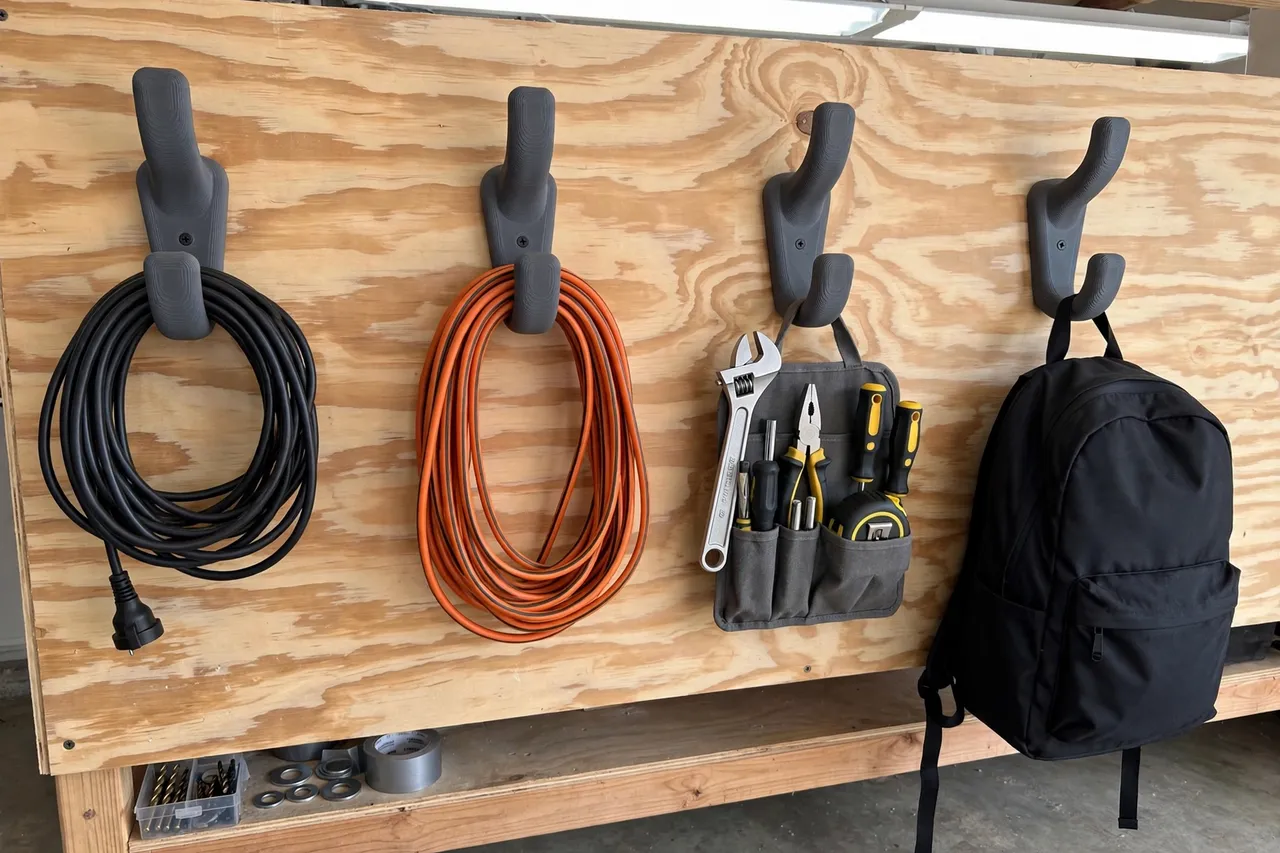
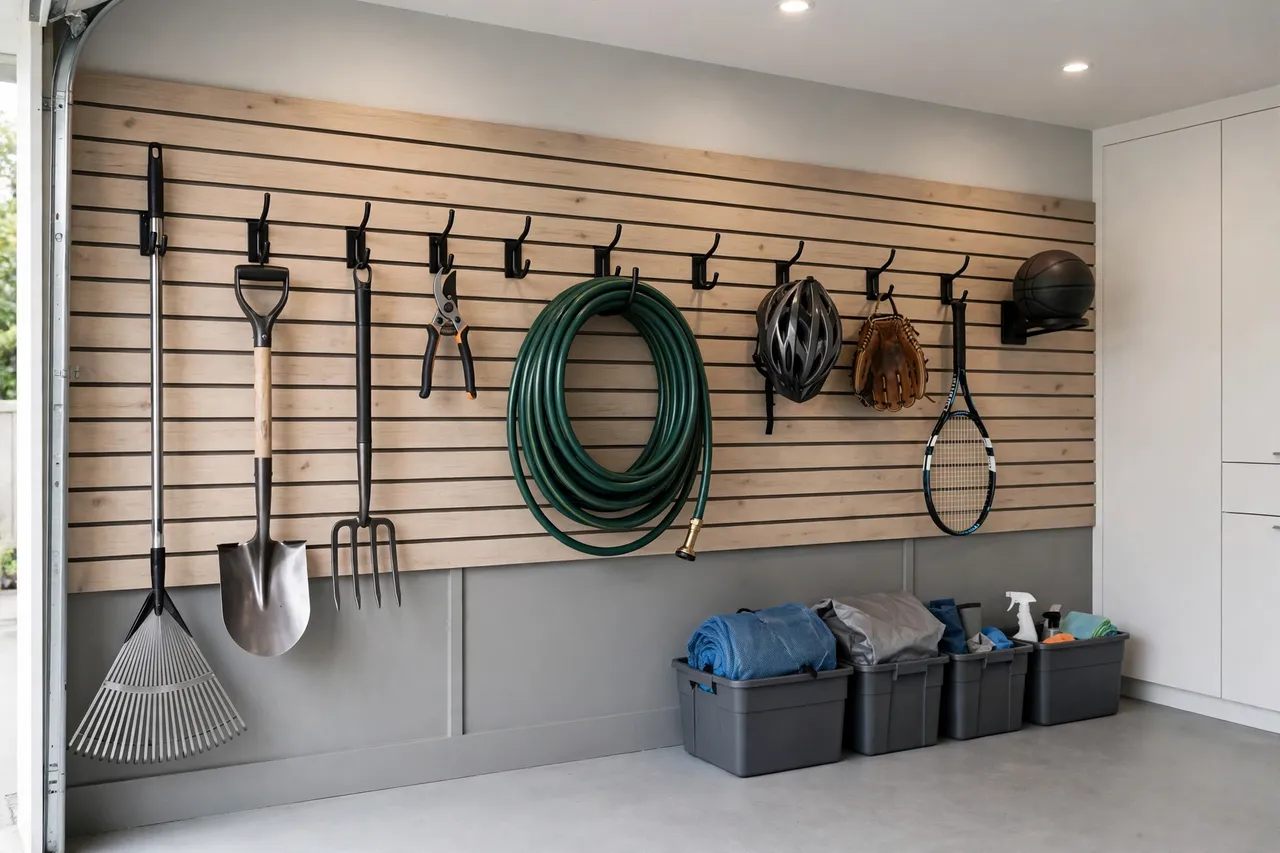
Garage floors have a way of disappearing under stuff: extension cords, garden tools, sports gear, bags, and hoses all end up leaning, coiling, and piling where you walk. Wall hooks fix this fast, and printed hooks let you make exactly the shape you need — a deep hook for a hose coil, a shallow one for hand tools, a wide one for a backpack — instead of buying a multipack of hooks that mostly do not fit your gear.
Before the how-to, the honest limits, because garage hooks invite overloading. These are wall hooks screwed into studs with proper screws, for ordinary garage items: hand tools, cords, hoses, bags, and light sports gear. They are never for overhead loads — nothing hung above head height that could fall on someone — never for anything whose fall could hurt someone, and never a substitute for manufactured heavy-duty hooks where weight demands it. If an item is heavy, sharp, or valuable, buy a rated metal hook. Within those bounds, printed hooks are a practical, satisfying garage upgrade.
What You Need
Garage hooks are chunky prints. They need solid walls and a sound wall fixing far more than they need a fancy design.
Materials and tools
- A home 3D printer with a build area of roughly 150 mm in at least one direction
- PETG filament for strength and toughness; PLA is acceptable only for very light items
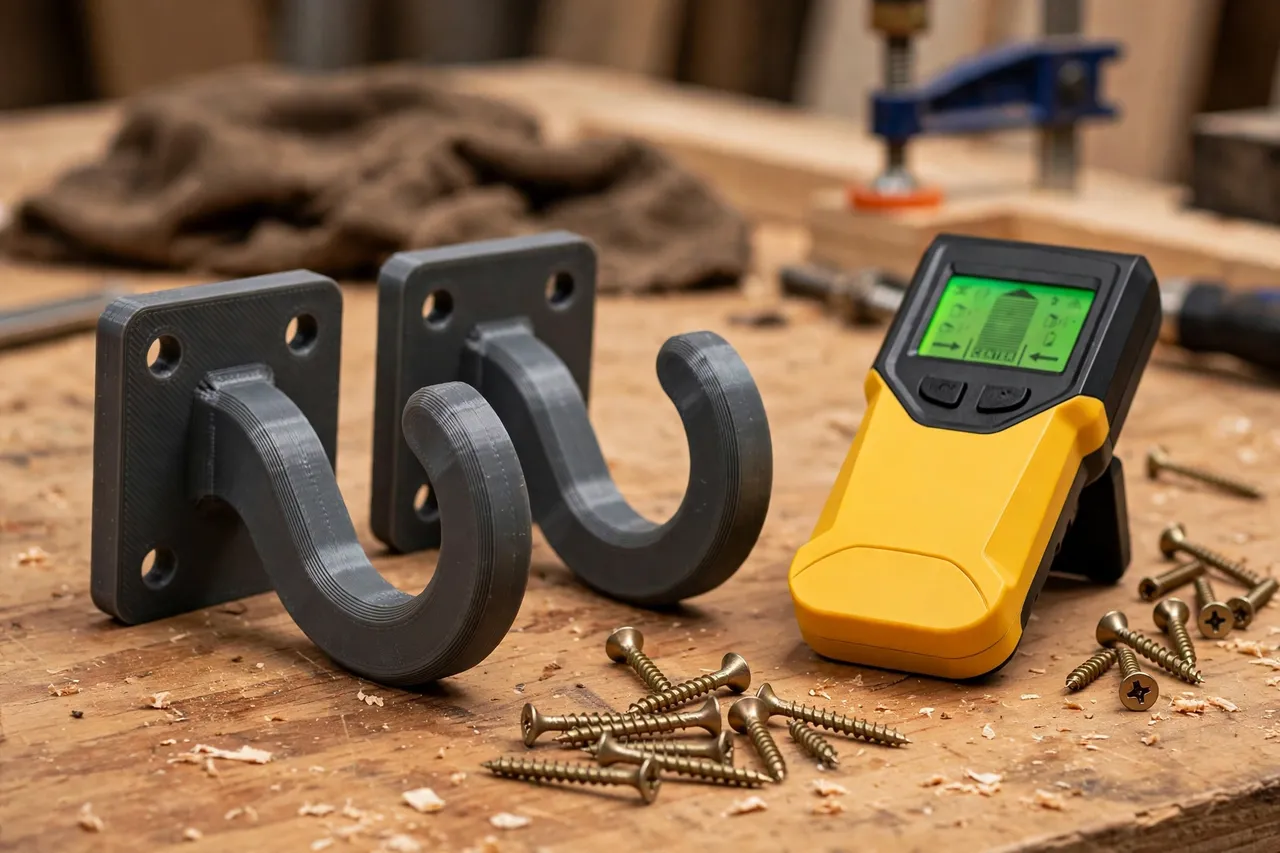
- A stud finder, tape measure, and pencil
- Wood screws long enough to reach well into studs, plus a cordless drill and screwdriver
- A spirit level and sandpaper or a small file for cleanup
PETG is the right material here: it flexes slightly under load instead of snapping, and it handles garage temperature swings better than PLA. The fixing matters as much as the print — a hook screwed into a stud with a proper screw is dramatically stronger than the same hook in plasterboard with a light anchor.
Suggested print settings
- Layer height: 0.20 mm, or 0.24 mm for a fast functional print.
- Walls: 5 to 6 perimeters — the hook’s curve and neck carry the load.
- Infill: 60 percent or more, grid or gyroid. Do not skimp on infill for hooks.
- Top and bottom layers: 5 or more.
- Orientation: Print flat, mounting face down, so the wall plate is flat and the hook curve prints cleanly.
- Supports: Only if your hook design has a steep upward curve; a well-designed J-hook usually needs none.
Print one test hook first, mount it, and load it gradually before printing a whole row.
Design Considerations
A garage hook is a wall plate plus a curved arm. The curve’s shape decides what it holds well, and the plate’s fixings decide how much it holds safely.
1. The wall plate and stud fixings
Make the wall plate at least 100 mm tall and 50 mm wide, with two screw holes spaced vertically. The screws must go into a stud — use a stud finder, mark the stud edges, and center the plate on the stud. Use screws long enough to bite at least 30 mm into the stud itself, not just the wallboard. Two screws into a stud, spread vertically, resist both pull-out and rotation. This is the single most important design decision in the whole project.
2. The hook curve
A J-shaped curve holds cords, hoses, and bags; a tighter, shorter hook suits hand tools; a wide, shallow curve suits backpacks and sports gear. Make the hook’s neck — where the curve meets the plate — the thickest part of the print, at least 12 to 15 mm, since that is where bending stress concentrates. Round the hook’s tip so it does not snag gear, and add a slight upturn at the tip so items do not slide off. Keep the curve’s inner radius generous; a tight inner corner is a stress riser that cracks first.
3. Sizing hooks to their jobs
Print different hooks for different jobs rather than one universal hook. A hose hook needs a deep, wide curve; a tool hook needs a short, strong one; a bag hook needs a broad, smooth curve that will not crease straps. Label the print files by job so you can reprint the right one later. A row of purpose-shaped hooks looks better and works better than a row of identical compromises.
4. Placement and safety
Hang hooks at a height where items are easy to lift on and off, and never above head height for anything that could fall. Keep hooks clear of walkways where a protruding hook could catch clothing or skin, and keep sharp tools’ hooks away from where children pass. A hook that is easy to use gets used; a hook that is awkward gets ignored, and the gear ends up back on the floor.
Step-by-Step: Printing the Hooks
- List what you will hang. Group items by shape: cords, hoses, tools, bags, sports gear.
- Find your studs. Mark stud positions along the wall where the hooks will go.
- Model the hooks, with wall plate, thick neck, and a curve shaped for each job.
- Print a test hook and check it sits flat and the curve holds its intended item.
- Clean up the print. Sand the curve smooth so straps and cords do not snag.
- Adjust if needed. Flexing at the neck? Add perimeters and thicken it. Item sliding off? Add more tip upturn.
- Print the full row from your job-specific files.
Step-by-Step: Mounting the Hooks
- Mark the stud line. Use the stud finder and mark both edges of each stud, then its center.
- Set the height. Hold the item against the wall at the planned hook height and check you can lift it on and off comfortably.
- Level and mark. Hold the hook plate against the stud, level it, and mark both screw holes.
- Drill pilot holes into the stud, slightly smaller than your screws.
- Screw the hook in place, driving both screws firmly into the stud. The plate should sit flat with no rocking.
- Load gradually. Hang the lightest item first, check the hook after a day, then load normally.
- Repeat along the wall, keeping spacing generous enough that items do not crowd each other.
Tips for Better Results
- Print a variety. A garage needs several hook shapes; print the set in one session.
- Color-code by zone. One color for garden tools, another for sports gear — it makes the wall read as organized.
- Add a back plate pad. A thin foam pad behind the plate protects painted walls and stops the plate shifting.
- Keep a spare hook. Printing an extra of each shape now saves a reprint later.
- Review the load yearly. Garages accumulate weight; if a hook’s load has crept up, move the heavy item to a manufactured metal hook.
Common Mistakes to Avoid
- Screwing into plasterboard instead of a stud. This is the failure that drops gear on the floor. Find the stud, every time.
- Printing too light. Thin walls and low infill make a hook that flexes and eventually cracks at the neck. Go heavy.
- Hanging overhead loads. Never hang anything above head height that could fall on someone, and never hang anything whose fall could cause injury.
- Using printed hooks for heavy items. If an item is heavy, sharp, or valuable, use a manufactured heavy-duty hook rated for its weight.
- Ignoring the neck. The neck is the weak point. If it looks thin in the design, it will fail there — thicken it before printing.
Care, Storage, and When to Choose an Alternative
Check hooks when you tidy the garage: look for cracks at the neck, loose screws, or plates pulling from the wall. Tighten screws and reprint any hook that shows stress marks. Keep the print files so replacements are quick.
Printed hooks are right for ordinary garage items on stud-mounted walls. For heavy items, overhead storage, or anything whose fall could hurt someone, manufactured heavy-duty hooks rated for the load are the only sensible choice. And if the wall is not sound — crumbling block, thin paneling with no stud behind it — fix the mounting surface before hanging anything.
FAQ
How much can a printed garage hook hold?
Ordinary garage items — hand tools, cords, hoses, bags, light sports gear — when the hook is printed solid in PETG and screwed into a stud. There is no safe printed-hook rating for heavy items, so keep loads modest and use metal hooks for anything heavy.
Must the screws go into studs?
Yes, for any hook that will carry real weight. A stud finder is a small investment that makes the whole project work. Plasterboard anchors are not a substitute for a stud here.
Why did my hook crack at the neck?
The neck was too thin, the infill too low, or the material was PLA. Thicken the neck to at least 12 to 15 mm, print with 5 to 6 perimeters and 60 percent infill in PETG, and fillet the inside of the curve.
Can I hang a bike from a printed hook?
No. A bike is heavy, valuable, and hung at a height where a failure could hurt someone or damage the bike. Use a manufactured bike hook rated for the weight.
Conclusion
A wall of well-placed, well-shaped hooks turns a cluttered garage floor into open space, and printed hooks let you match every hook to its job. Print solid in PETG, screw into studs, keep loads ordinary and below head height, and the garage stays tidy with very little effort.
For the same wall-organization logic in the workshop, you may also enjoy our related guide, “Pegboard Tool Holders: 3D Print a Complete Organizer Set for Screwdrivers, Pliers and Wrenches,” which gets hand tools onto the wall in a matching system. And for another stud-mounted storage project, “3D Printed Vacuum Hose Wall Brackets: Park the Shop Vac Hose Tidy” shows how printed brackets keep a bulky hose off the floor.