Introduction
Curtain rods and brackets are sold as sets for a reason: the rod diameter and the bracket cup are made for each other. But rods and brackets often get separated over time. A rod survives a move, brackets stay on the old wall, and the replacement brackets in the shop are made for a different diameter. The rod is too thin for the cups and sags, or too thick to sit in them at all. Buying a whole new rod set over a few millimetres of difference is frustrating, especially when both parts are otherwise in good condition.
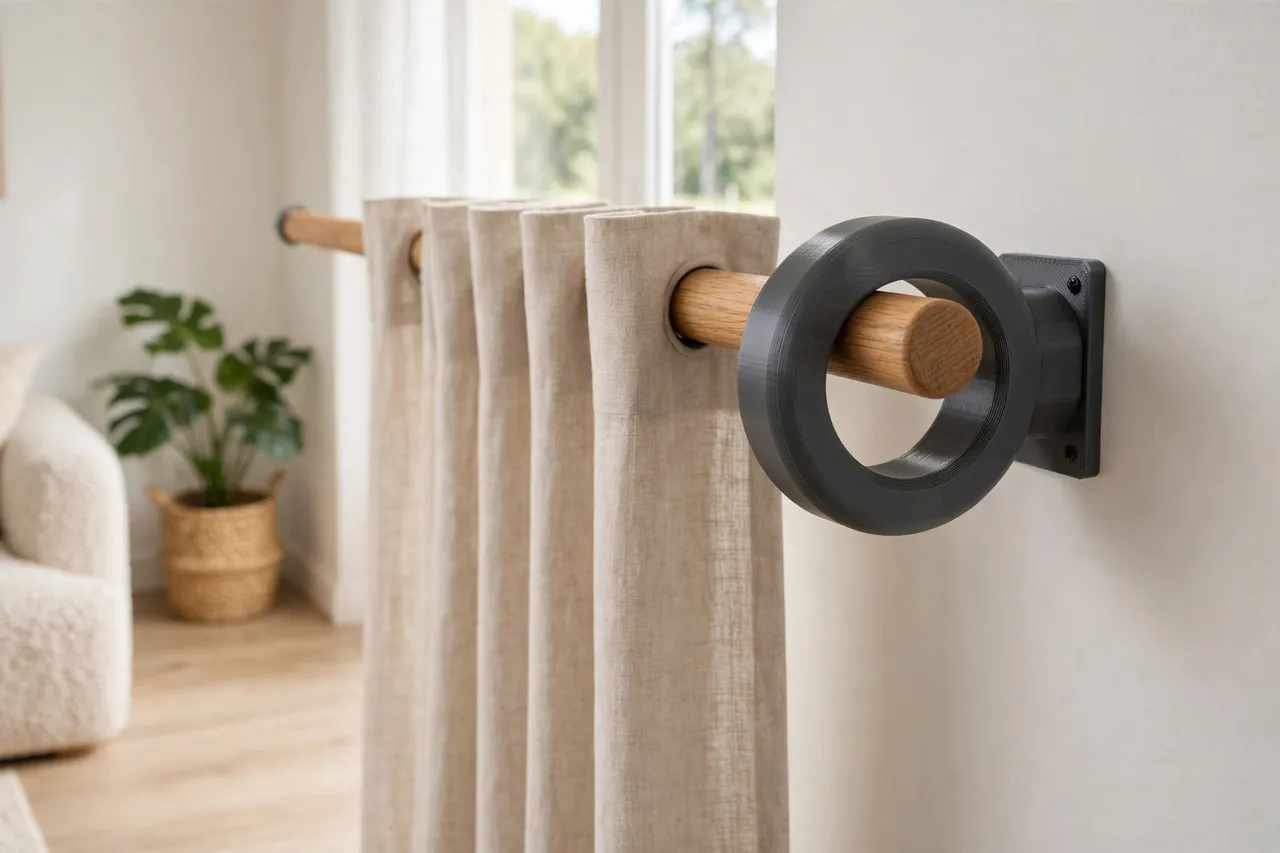
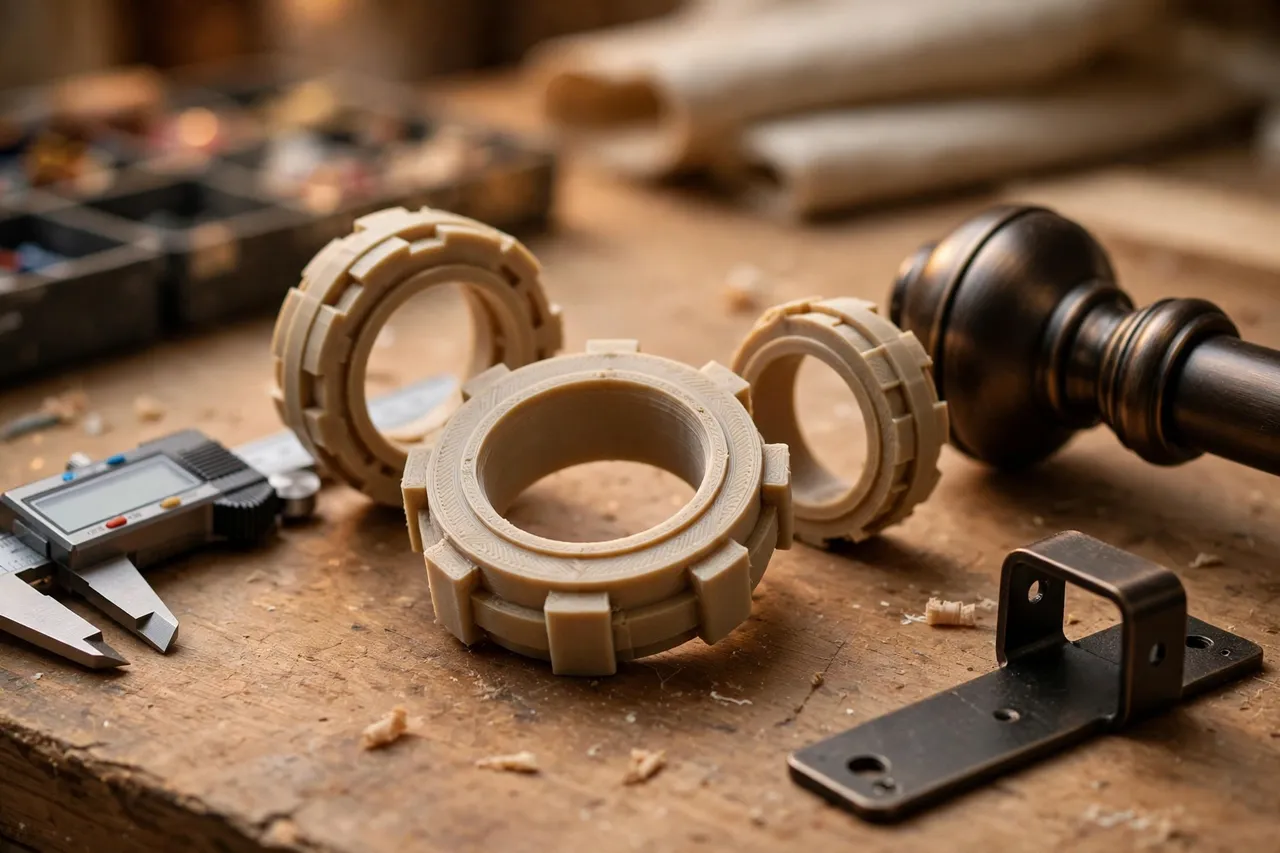
A printed diameter adapter solves that difference. It is a ring or sleeve that fills the gap between a thinner rod and a larger bracket cup, or steps a rod down to a smaller cup, so the rod sits centred, level, and steady. These are light-duty fitment parts for household curtains: they hold a rod in its brackets under the weight of ordinary curtains and the small movements of opening and closing them. They are not structural parts, and they do not repair a cracked bracket, a loose wall fixing, or a bent rod.
This guide covers measuring rods and brackets, designing a ring that fits, and testing it so curtains hang straight.
What You Need
Rod and bracket diameters are the whole project, so measure them properly.
Materials and tools
- A home 3D printer with a build area of roughly 100 mm in at least one direction
- PETG filament for the keeper, or PLA for a test fit
- The curtain rod and the brackets you want to use
- Calipers and a ruler
- Sandpaper or a small file, and a pencil for marking
- A spirit level and a step stool for fitting and checking
PETG is preferred for the keeper because it resists cracking and holds its shape in warm, sunlit rooms better than PLA. PLA is fine for a test ring.
Suggested print settings
- Layer height: 0.20 mm.
- Walls: 4 perimeters, so the ring stays round under the rod’s weight.
- Infill: 40 to 50 percent, grid or gyroid.
- Top and bottom layers: 4 or more.
- Orientation: Print with the axis vertical for the roundest rings.
- Supports: Usually none for a simple ring; a split ring needs no supports either.
Print one test ring first. Rod diameters vary, and a ring that is half a millimetre too loose will let the rod sag.
Design Considerations
Curtain rod adapters are simple shapes, but four details matter.
1. Measure the rod and the bracket cup
Measure the rod’s outside diameter in three places, since rods, especially wooden ones, vary slightly along their length. Measure the bracket cup’s inside diameter and depth the same way. Note whether the cup is a full ring, an open hook, or a socket with a screw. The adapter must suit the cup type: a full ring for a closed cup, and a ring with a flat or a screw clearance for a cup that tightens with a small screw.
2. Choose a full ring or a split ring
A full ring is simplest and strongest, and it suits rods whose finials unscrew so the ring can slide on. A split ring, with a small gap, suits rods whose finials are fixed, because it can be sprung open around the rod. Split rings need slightly thicker walls so the gap does not make them weak, and the gap should face downward or backward once fitted, where it is least visible and least loaded.
3. Centre the rod in the cup
The adapter’s job is to centre the rod, not just to fill space. Model the outer diameter to match the cup and the inner diameter to match the rod, with even wall thickness all round. An uneven wall tilts the rod and makes curtains hang at a slant. Add a small lip or flange at the outer edge so the ring cannot slide along the rod into the middle of the span, and so it stays visible at the bracket where it belongs.
4. Keep loads light and brackets sound
These adapters suit ordinary household curtains on sound brackets fixed firmly to the wall. They do not fix a bracket that is pulling out of the wall, a rod that is bent, or curtains far heavier than the brackets were made for. If a bracket fixing is loose, fix that first; an adapter cannot hold a rod steady on a bracket that is itself moving.
Step-by-Step: Printing and Fitting the Adapter
- Measure rod diameter in three places and bracket cup diameter and depth.
- Note the cup type — closed ring, open hook, or screw-tightened socket.
- Model the ring with an inner diameter matching the rod and an outer diameter matching the cup.
- Choose full or split ring depending on whether the finials unscrew.
- Add a small outer lip to stop the ring sliding along the rod.
- Print a test ring in PLA.
- Clean up the print, sanding mating faces and clearing any stringing inside the bore.
- Test the fit dry. The ring should grip the rod firmly and seat fully in the bracket cup.
- Adjust by 0.2 to 0.3 mm and reprint until the fit is firm without force.
- Print the keeper set in PETG, fit one ring per bracket, hang the rod, and check level.
After hanging, draw the curtains a few times and check that the rings stay at the brackets and the rod does not creep sideways. A ring that walks along the rod needs a slightly tighter inner diameter or a larger lip.
Tips for Better Results
- Print one ring per bracket, plus a spare. A full set keeps the rod level across the whole span.
- Match ring colour to the rod or bracket. Dark gray suits most brackets; paint can match others.
- Check finials after fitting. Finials must still tighten fully with rings in place.
- Re-level after hanging curtains. Curtain weight settles the rod slightly; a final level check catches it.
- Keep the split gap hidden. Face it downward or toward the wall for a tidy look.
Readers sorting window hardware often pair this project with 3D Printed Blind Headrail End Cap Adapters: End Caps That Fit Any Rail, which covers the next window fitting mismatch, and with 3D Printed Shelf Bracket Adapters: Fit Brackets to Any Standard for a similar fitment job on shelving.
Common Mistakes to Avoid
- Measuring the rod once. Rods vary along their length; measure in three places and use the largest diameter at the bracket.
- Making the ring too loose. A loose ring lets the rod sag and curtains hang unevenly.
- Forcing a tight ring. If it needs a mallet, it is too tight and may crack or dent the rod.
- Forgetting the lip. Without a lip, rings slide toward the middle of the rod and stop doing their job.
- Adapting a loose bracket fixing. Fix the wall fixing first; an adapter cannot steady a moving bracket.
- Overloading the rod. Heavy curtains on light brackets will sag whatever adapter is used.
Care, Storage, and When to Choose an Alternative
Check rings when curtains are taken down for washing. Look for cracking, looseness, or rings that have slid, and reprint any that show wear. Keep spare rings with the curtain hardware, labelled by rod and bracket size.
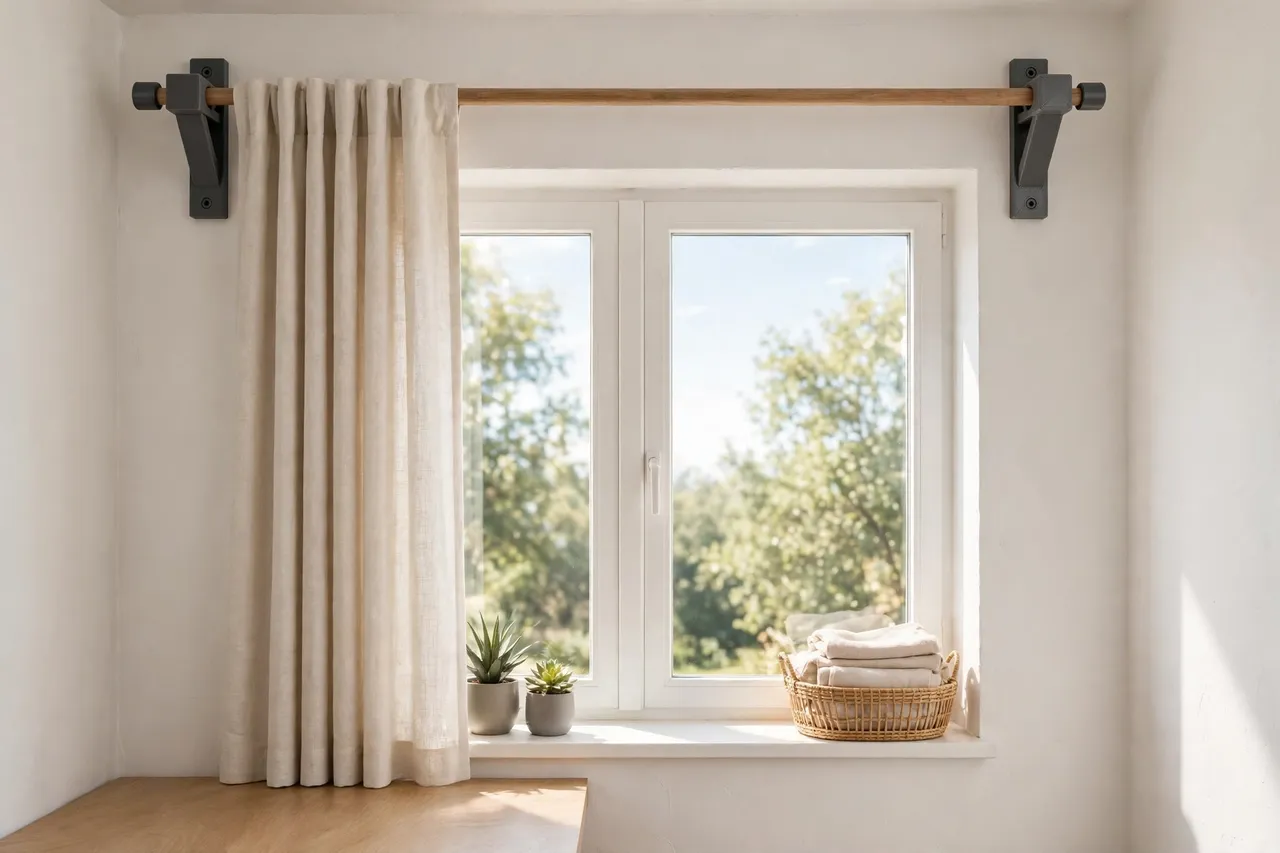
Choose a manufactured rod and bracket set when brackets are damaged or pulling out of the wall, the rod is bent, or the curtains are heavy enough to need a stronger rod and bracket system. For ordinary household curtains with sound brackets and a simple diameter mismatch, a printed ring adapter is a neat fix.
FAQ
Will one ring size fit every window in the house?
Unlikely, since rods and brackets vary. Print one ring size per rod and bracket combination, fit a full set per window, and label spares by size.
Is PLA strong enough for curtain rod rings?
PLA works for a test ring and for light curtains in cool rooms. PETG is the better keeper because sunlit windows get warm, and PETG holds its shape and grip better over time.
My rod still sags in the middle. Is the adapter at fault?
Probably not. Middle sag comes from a long span, a thin rod, or heavy curtains, not from the bracket fit. Check that the brackets are level and firmly fixed, and consider a centre support bracket if the span is long.
Can I use a split ring on a rod with fixed finials?
Yes, that is exactly what split rings are for. Spring the ring open around the rod, seat it in the bracket cup with the gap facing down or toward the wall, and check that it grips firmly without rocking.
Conclusion
A few millimetres should not force a new curtain rod set. Measure the rod and the bracket cup, print a short PETG ring that centres the rod and stays put, and check level after hanging. The result is a steady rod, curtains that hang straight, and hardware that keeps working together even though it was never sold as a set.