Introduction
Shelving systems look universal until you try to mix them. One brand’s upright has slots spaced a certain way, another’s brackets have tabs a fraction wider, and the spare brackets in the garage fit neither. Buying a whole new upright system because two brackets do not match is expensive and wasteful, especially when the uprights on the wall are still solid.
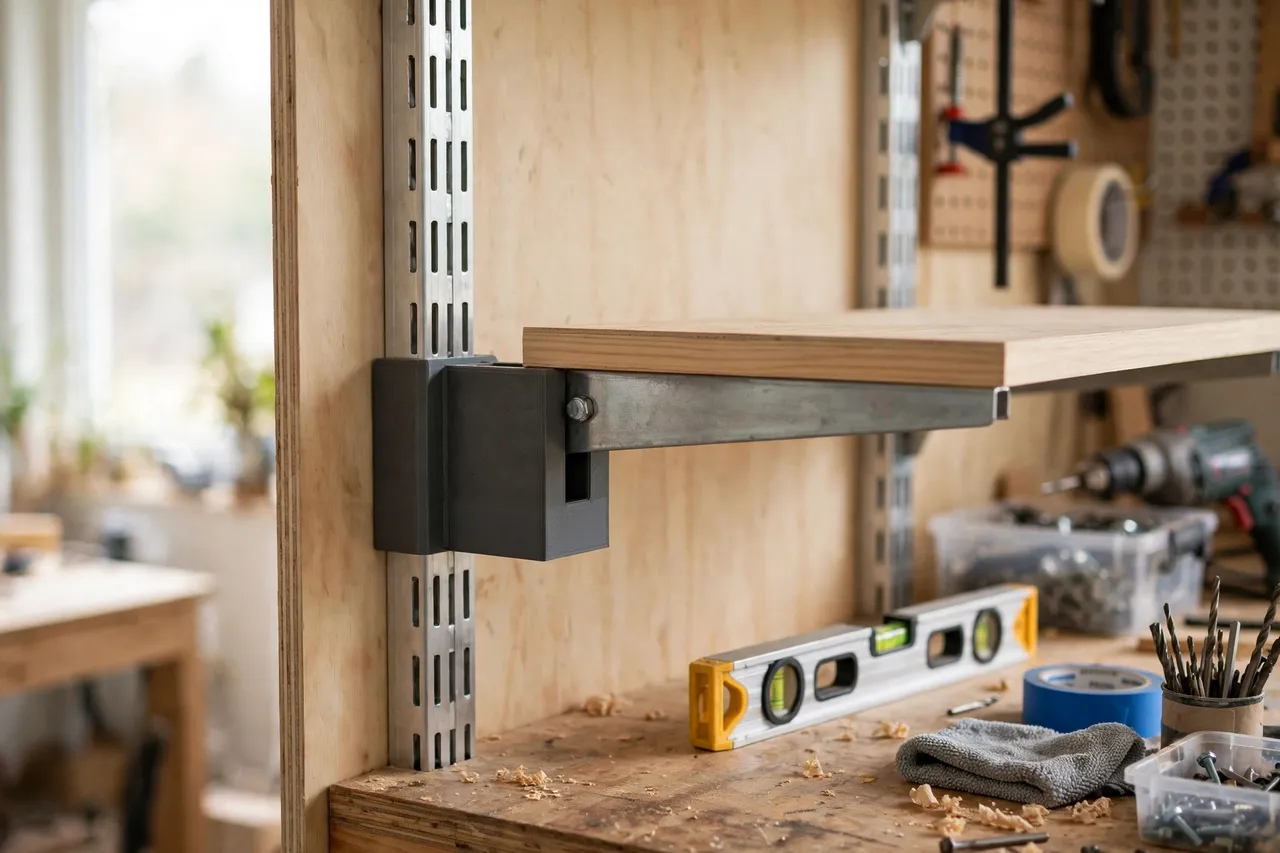
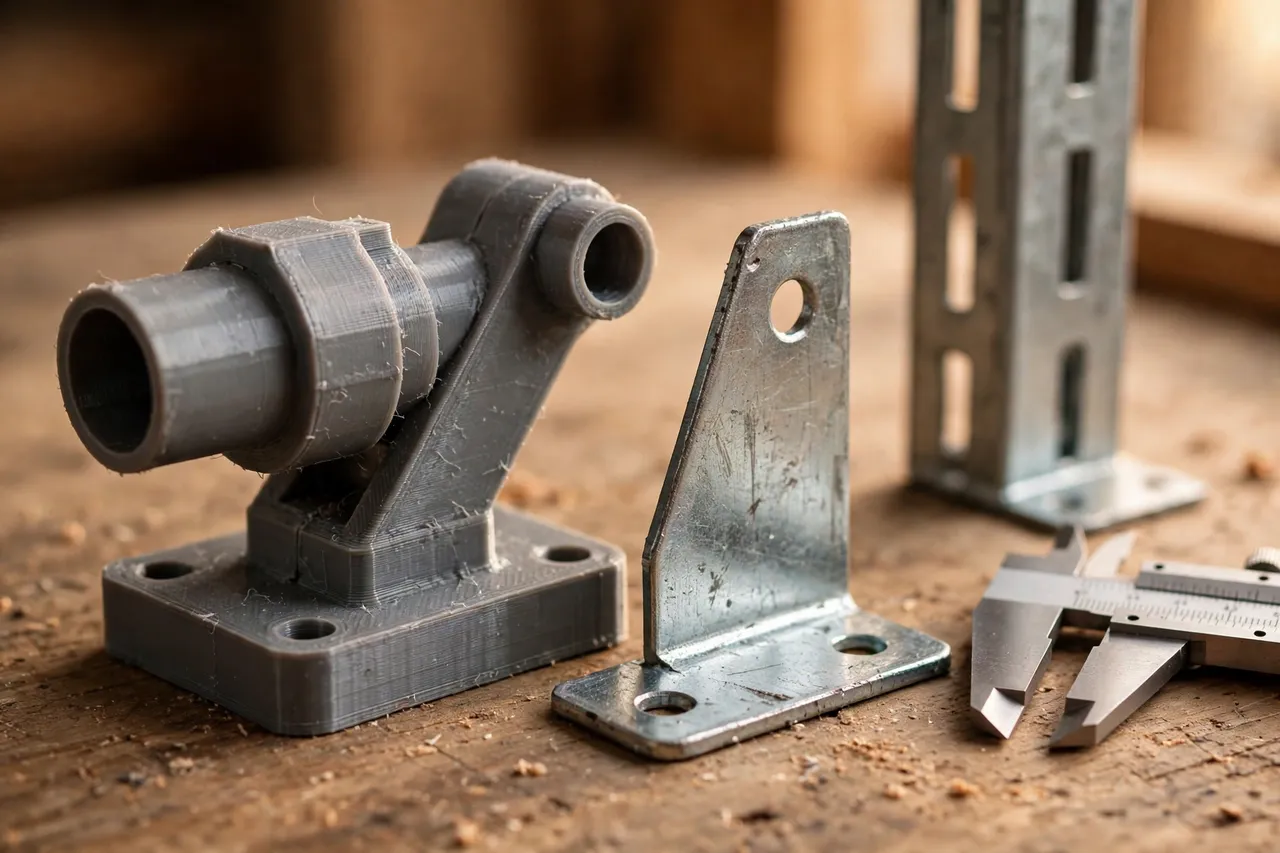
A printed shelf bracket adapter bridges that mismatch. It is a small plate, sleeve, or tab that lets a bracket engage with an upright or standard it was not made for, so the bracket seats, locks, and holds a shelf board level. These adapters are light-duty fitment parts for household shelving: they adapt the connection between two sound parts. They are not structural reinforcements, and they do not make an overloaded, damaged, or poorly fixed upright safe. Shelves must still be fixed to sound wall material, loaded within the bracket maker’s guidance, and checked for level and stability.
This guide covers measuring slots and tabs, designing an adapter that seats properly, and testing it before anything is stored on the shelf.
What You Need
Slot and tab dimensions are small, so calipers are essential here.
Materials and tools
- A home 3D printer with a build area of roughly 150 mm in at least one direction
- PETG filament for the keeper, or PLA for a test fit
- The shelf upright or standard and the brackets you want to fit
- Calipers, a ruler, and a pencil
- Sandpaper or a small file, and a spirit level
- A screwdriver and the screws or fixings the bracket normally uses
PETG is preferred for the keeper because it resists cracking under the repeated loading and unloading of a shelf better than PLA. PLA is fine for checking the fit.
Suggested print settings
- Layer height: 0.20 mm, or 0.16 mm for fine tab details.
- Walls: 4 to 5 perimeters, so tabs and plates stay strong.
- Infill: 50 percent, grid or gyroid.
- Top and bottom layers: 4 or more.
- Orientation: Print flat where possible, so the plate prints strong and the tabs print accurately.
- Supports: Only if the design has an overhanging hook or tab.
Test-fit before loading anything. A bracket that looks seated but is not fully engaged can drop a shelf.
Design Considerations
Shelf bracket adapters take different forms depending on the mismatch, but the same principles apply to all of them.
1. Measure the upright slots and the bracket tabs
Measure slot width, height, and spacing on the upright, and tab width, thickness, and spacing on the bracket. Measure in several places, since punched slots vary slightly along an upright. Note how the bracket normally engages: does it hook downward into slots, push straight in and drop, or screw to a standard? The adapter must preserve that engagement action, not replace it with friction alone. A bracket held only by friction will work loose when a shelf is bumped.
2. Choose the adapter form
A tab adapter adds a correctly sized tab to a bracket whose own tab is too narrow or too thin for the upright. A sleeve adapter wraps a bracket arm so it fits a wider channel. A shim plate fills the gap between a bracket and a standard so the bracket sits square instead of rocking. In every form, keep the adapter compact and make sure it does not prevent the bracket from fully engaging its slots. Full engagement is what holds a shelf, not the adapter alone.
3. Keep the shelf level and the load honest
The adapter must not tilt the bracket. Model flat seating faces and keep the bracket arm at the same angle it had on its native upright. After fitting, check with a spirit level before loading. Keep loads modest and within what the bracket and upright were made for. A printed adapter adapts a connection; it does not increase a bracket’s load rating, and it must never be used to justify overloading a shelf.
4. Use screws and fixings as designed
If the bracket normally screws to the upright or to the shelf board, keep those screws in the design. Do not replace a screwed connection with a purely printed clip unless the original connection was itself a clip. Screws, where the maker intended them, are part of the bracket’s holding power.
Step-by-Step: Printing and Fitting the Adapter
- Measure slot and tab dimensions on the upright and the bracket, in several places.
- Note the engagement action — hook, drop-in, or screw-fixed — and preserve it in the design.
- Model the adapter as a tab, sleeve, or shim plate to suit the mismatch.
- Include flat seating faces so the bracket sits square and level.
- Print a test version in PLA.
- Clean up the print, sanding mating faces and clearing any rough tab edges.
- Test the fit empty. The bracket should engage fully, sit level, and resist a firm upward and sideways nudge.
- Adjust by 0.2 to 0.3 mm and reprint until engagement is full and firm.
- Print the keeper in PETG and fit all brackets for the shelf.
- Level-check and load gradually. Fit the shelf board, check level, then load lightly and recheck before full use.
If a bracket rocks after fitting, the adapter is probably not seating flat or the tab is not fully engaged. Remove it, re-measure, and reprint rather than packing the gap with extra shims.
Tips for Better Results
- Print adapters for all brackets on a shelf. Mixed adapted and unadapted brackets sit at different heights.
- Label adapters by upright and bracket type. Similar-looking adapters may differ by a millimetre.
- Check brackets after rearranging shelves. Moving a shelf can partially disengage a bracket.
- Keep loads within the maker’s guidance. An adapter does not raise a bracket’s rating.
- Inspect adapters when shelves are emptied. Replace any that show cracking, wear, or looseness.
Readers sorting out shelving often also look at 3D Printed Shelf Standard Adapters: Fit Standards to Any Slot, which covers the upright side of the same problem, and at 3D Printed Bracket Storage Rack: A Rack for Spare Brackets for keeping spare brackets organised.
Common Mistakes to Avoid
- Relying on friction alone. The bracket must still engage its slots or screws as designed.
- Measuring one slot only. Slots vary along an upright; measure several.
- Tilting the bracket. An adapter that changes the bracket angle makes shelves slope and items slide.
- Overloading an adapted shelf. Adapters fit parts together; they do not strengthen them.
- Fitting to a damaged upright. A bent, cracked, or poorly fixed upright needs repair or replacement first.
- Skipping the empty-fit test. Always test engagement and level before loading anything.
Care, Storage, and When to Choose an Alternative
Check adapted brackets whenever a shelf is rearranged or emptied. Look for cracking, wear at the tabs, and any loosening, and reprint at the first sign of trouble. Keep spare adapters labelled with the upright and bracket they join.
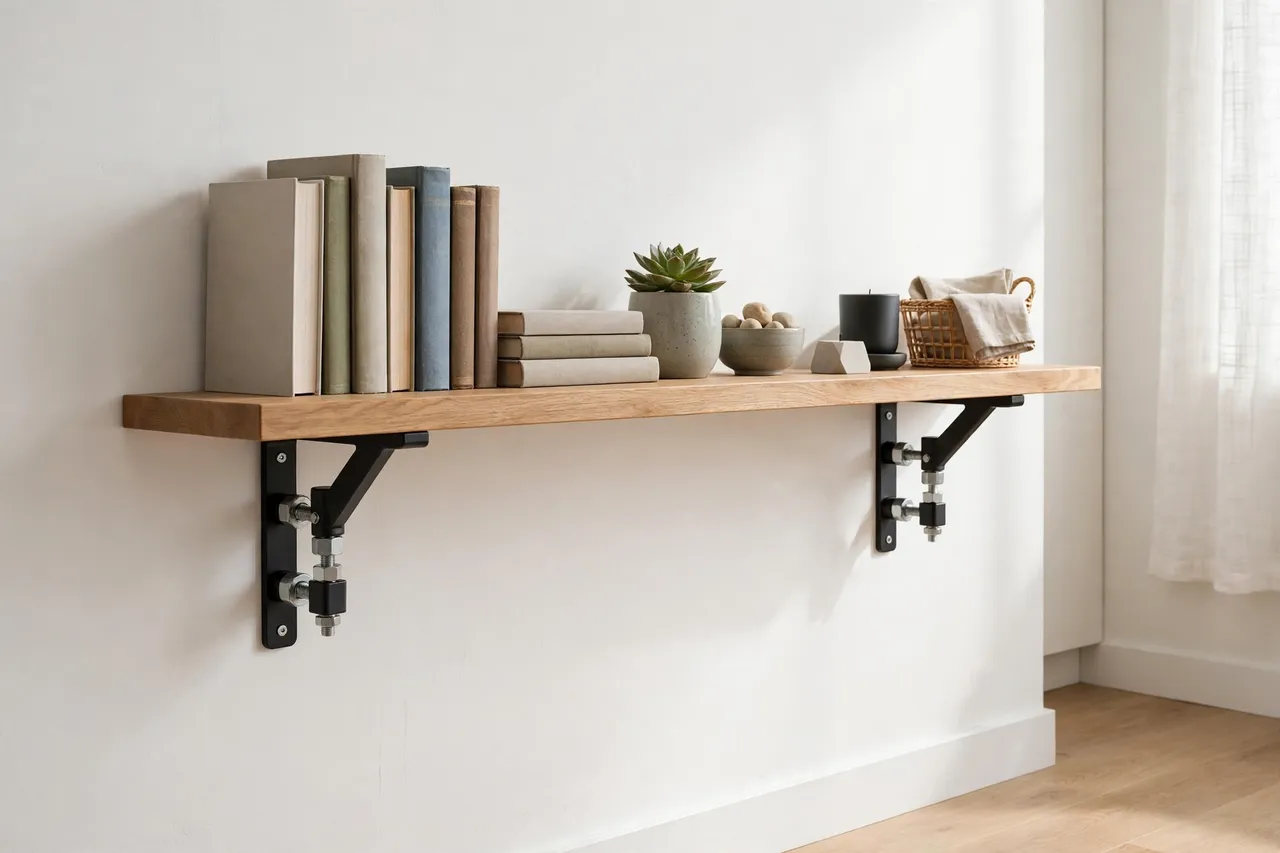
Choose a manufactured bracket and upright set when the upright is damaged or poorly fixed, the shelf will carry heavy loads, or no printed adapter can achieve full, firm engagement. For light household shelving with sound uprights and a simple slot or tab mismatch, a printed adapter is a practical fix.
FAQ
Will one adapter fit every shelving system I own?
No, because slot and tab sizes vary by system. Print one adapter type per upright and bracket combination, label them, and fit a full set per shelf so heights stay even.
Is PETG necessary for shelf bracket adapters?
For the keeper, PETG is recommended. Shelves are loaded and unloaded repeatedly, and PETG resists cracking under that cycling better than PLA. Use generous walls and infill either way.
My bracket seats but the shelf still slopes. Why?
Check that the bracket is fully engaged and that the adapter seats flat. Also check that both brackets on the shelf are the same type and height. A mixed pair, or one bracket engaged a slot higher than the other, slopes the shelf.
Can I use an adapter to fit a bracket to a different wall fixing?
No. This adapter fits a bracket to an upright or standard, not a bracket to a wall. Wall fixings must suit the wall material and the load, and they must be chosen and installed as the bracket maker directs.
Conclusion
A mismatched shelf bracket should not force a whole new shelving system. Measure slots and tabs carefully, print a compact PETG adapter that preserves full engagement and a level seat, and test the empty shelf before loading it. The result is a level shelf, brackets that stay put, and a storage system that keeps working with the parts you already own.