Introduction
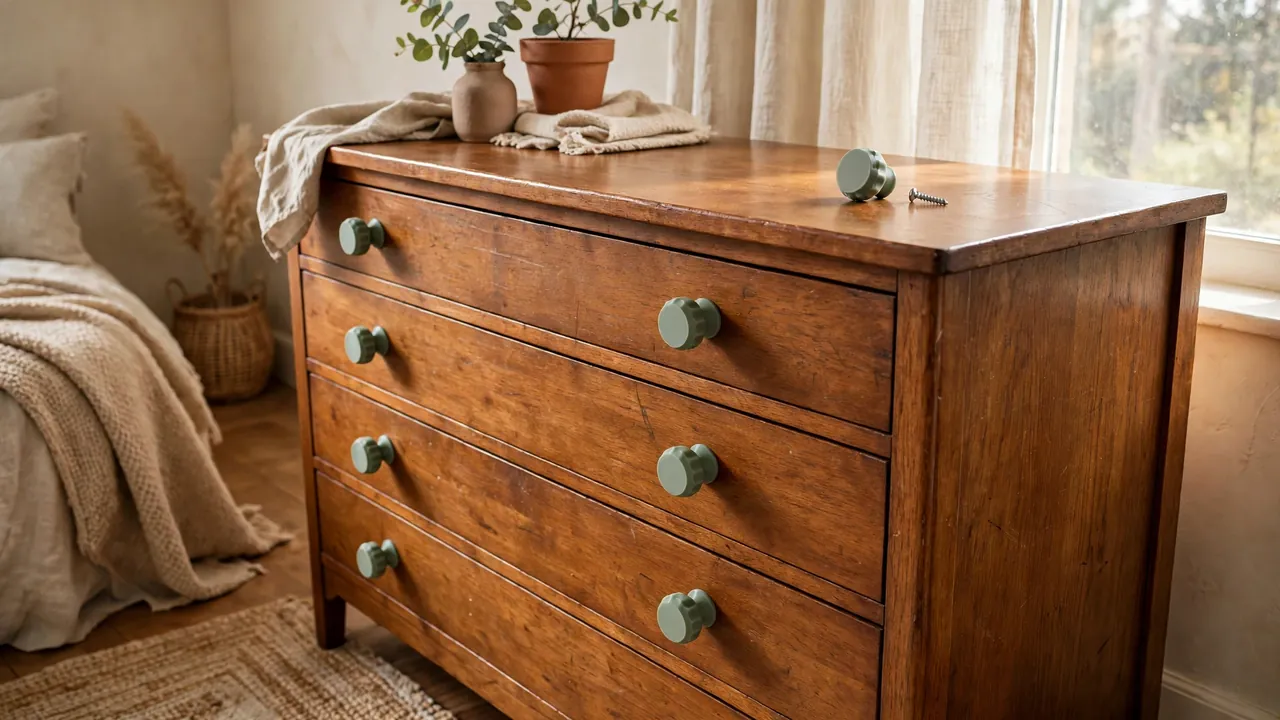
Old furniture has a hardware problem that newer pieces rarely do. One knob cracks, one pull goes missing, and suddenly a perfectly good dresser looks unfinished — and the exact replacement simply does not exist anymore. Hardware stores stock current styles in current sizes. A dresser from a thrift store, or a kitchen fitted thirty years ago, plays by different rules.
That mismatch is where printing your own hardware shines. With custom drawer pulls and knobs modeled around the furniture you own, you can match the original size and screw spacing instead of re-drilling every drawer front to suit a store-bought compromise.
This guide covers measuring old hardware, designing for daily use, and — most importantly — building around a real metal screw and threaded insert. That metal core is the difference between a print that strips out in a month and one that feels solid for years. These are decorative, low-load handles for drawers and doors, in original shapes you size yourself.
What You Need
A knob gets pulled, twisted, and knocked thousands of times, so the metal hardware below matters.
Materials and tools
- A home 3D printer; knobs and pulls are small and fit almost any build plate
- PETG filament for the keeper parts, or PLA for shape and size test prints
- The original knob or pull, if you still have one, plus the drawer or door it fits
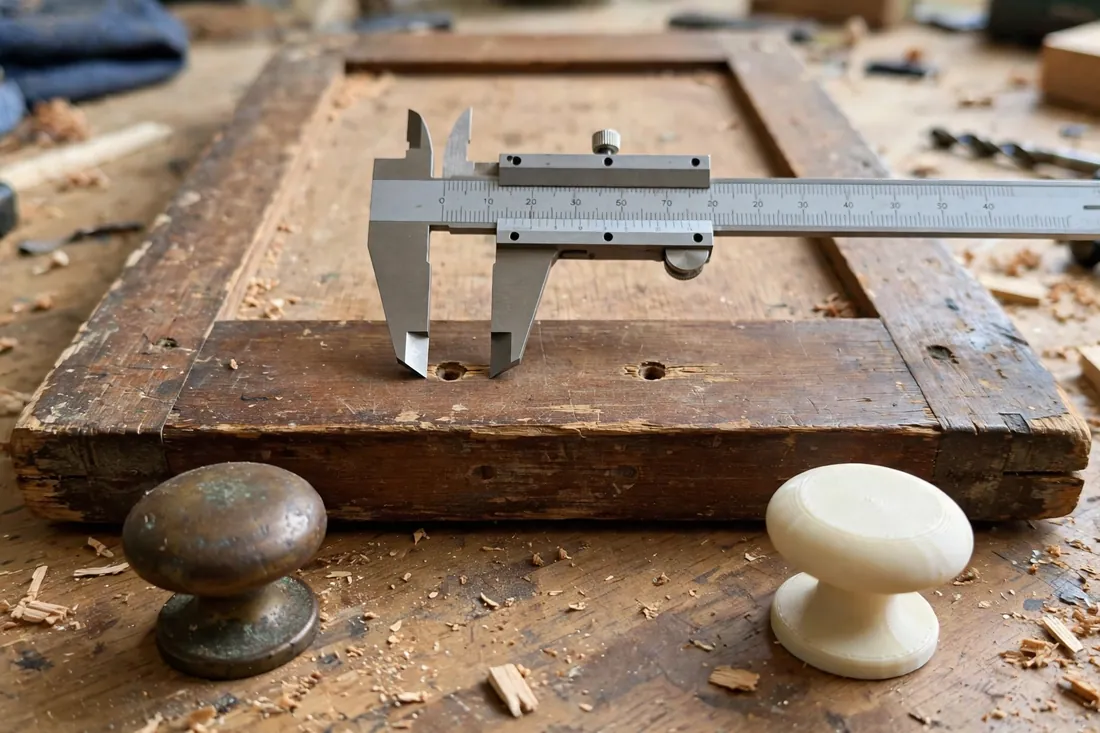
- Calipers for measuring screw spacing, hole size, and the original hardware
- A metal machine screw of the correct thread for your furniture, plus spares
- Brass heat-set threaded inserts matched to that screw, and a soldering iron with an insert tip — or a screw and nut for the simpler method below
- A screwdriver, a drill with a small bit for test holes in scrap, and fine sandpaper
US cabinet knobs commonly use a single machine screw often sold as 8-32 thread, but old and imported furniture varies a lot. Never assume — match the screw to the insert and the existing holes.
Suggested print settings
- Layer height: 0.16 to 0.20 mm; finer layers look better on curves you touch every day.
- Walls: At least 4 to 5 perimeters — the neck of a knob and the posts of a pull need solid walls, not a hollow shell.
- Infill: 50 percent or higher for knobs, and near-solid around the insert pocket.
- Top and bottom layers: 5 or more, so the face of the knob sands and finishes smoothly.
- Orientation: Print to keep the insert pocket clean and unsupported, with supports away from visible faces.
- Supports: Avoid them on visible faces if you can; a little design planning beats a lot of cleanup.
Print and test one knob first before printing a full set.
Design Considerations
You can model these parts in any basic CAD program. Start from measurements, not from a photo.
1. Measuring screw spacing and threads
This measurement decides whether the project works, so take it twice. For a single-screw knob, test-fit your metal screw through the drawer hole — it should pass freely, since the screw clamps the knob from behind. For a two-screw pull, measure center-to-center spacing precisely; old furniture often lands between modern standards, which is exactly why you are printing a custom part. Confirm the thread by threading your screw gently into the original hardware. If it binds, stop — forcing a wrong thread damages both parts.
2. Building around a metal screw and insert
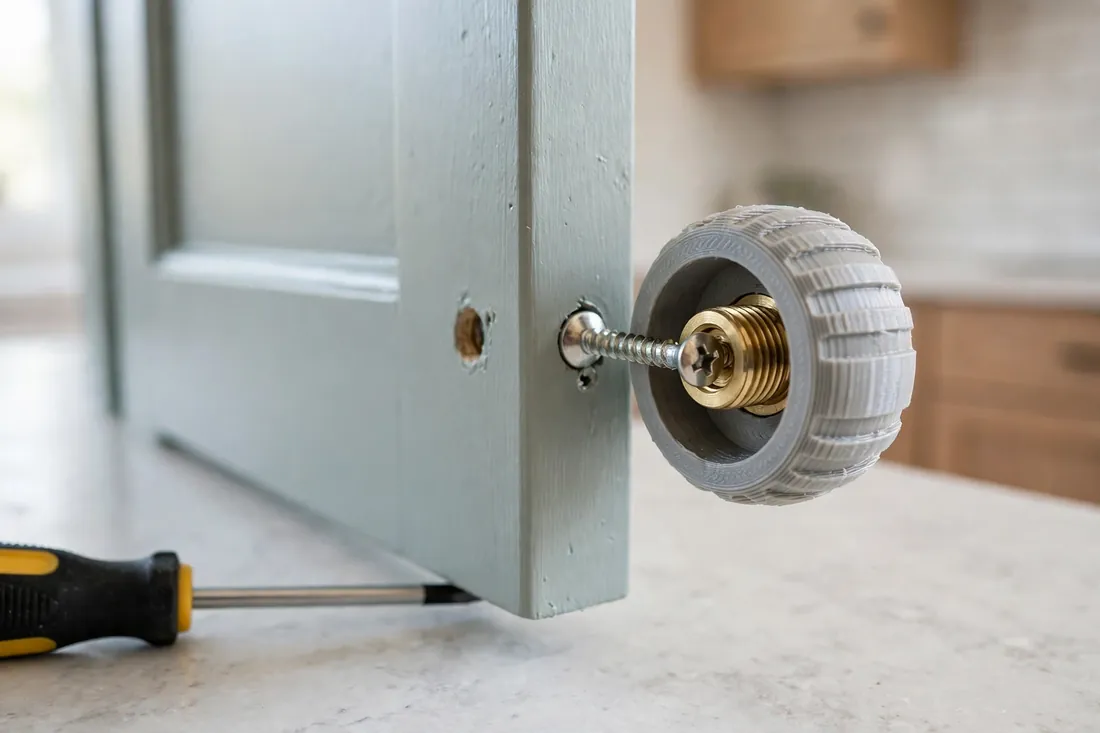
Do not rely on a screw threading directly into printed plastic on a part pulled daily — plastic threads creep, crack, and strip. Instead, design a pocket in the back of the knob or pull post for a brass heat-set threaded insert. The metal screw passes through the drawer front and threads into that insert, so clamping force travels through metal, and the printed part provides shape, grip, and style. Leave at least 2 to 3 mm of solid plastic around the pocket. Where inserts are not an option, a captured nut pocket works too — a hex recess trapping a standard metal nut.
3. Shape, grip, and clearance
A knob that pinches your fingers will annoy you every day. Give round knobs a diameter around 30 to 38 mm, with a narrower neck behind the head so fingers wrap naturally. For pulls, leave at least 25 to 30 mm of clearance between the grip bar and the drawer front, or knuckles will scrape. Break every sharp edge with a small fillet. Keep profiles simple in a kitchen, where grooves collect grime.
4. A base that sits flat and hides old marks
Old hardware leaves ghosts: a ring of unfaded finish or a larger footprint where the original base sat. Design your base a few millimeters wider than the original contact patch, with a flat underside that sits flush on the drawer front. A flat base also stops the knob rotating once the screw is snugged down. A knob clamped over a paint ridge will rock, loosen, and eventually crack around its neck.
Step-by-Step: Printing and Assembly
- Measure the furniture and the original hardware — hole size, screw spacing for pulls, thread, and the footprint of the old base.
- Choose your metal parts. Match one metal screw and one threaded insert per knob, or two per pull, and set them aside.
- Model the knob or pull around those measurements, with insert pockets, a flat base, and comfortable grip clearances.
- Print one test part in PLA and check its size and shape against the original and the drawer front.
- Install the insert in the test part. Heat the soldering iron, press the insert in slowly, square to the pocket, and let it cool fully.
- Test-fit with the real screw. It should thread in smoothly by hand for the first turns and pull the knob down flat and snug.
- Live with the test for a few days. Use that drawer normally. If the knob loosens, flexes, or feels awkward, fix the design now.
- Print the full set in PETG, install the inserts, and finish the faces with a light sand for a softer, matte look.
Keep failed test parts, labeled, as size references for next time.
Step-by-Step: Fitting Your New Knobs and Pulls
- Remove the old hardware. Back out the screws from inside the drawer or cabinet, supporting the old knob so it does not drop and dent the furniture.
- Clean the drawer front. Wipe away dust and grime around the holes so the new base seats on a clean, flat surface.
- Check every hole. Confirm screws pass through freely. If a hole is worn oversize, repair it first.
- Dry-fit one knob or pull. Check it covers the old marks, and confirm a pull’s two posts line up with both holes without forcing.
- Fit the screw from behind. Push it through from inside the drawer, engage the insert by hand, and turn it a few threads before reaching for a tool.
- Snug it down — do not crank it. Tighten until the base sits flat and the knob will not rotate, then stop. Overtightening cracks printed necks.
- For pulls, alternate screws. Bring both down a little at a time so the pull seats evenly instead of cocking to one side.
- Test the grip. Open and close the drawer with a normal load inside. Your fingers should clear the drawer front comfortably.
- Fit the rest of the set, checking alignment from across the room, where a crooked pull is easiest to spot.
- Recheck after a week. A quarter-turn of settling is normal; repeated loosening means the insert or hole needs attention.
Fitting a full dresser takes less than an hour once the parts are printed.
Tips for Better Results
- Print the whole set from one spool. Filament color shifts slightly between batches, and a matching set should actually match.
- Make one or two spares. Knobs are cheap to print, and a spare in the drawer beats remodeling the part years later.
- Sand for a furniture finish. A few minutes with fine sandpaper, working up the grits, takes a knob from printed to finished.
- Keep the design family consistent. Use the same knob shape in two sizes for pieces sharing a room.
- Save your measurements. Note screw spacing, thread, and insert size in your workshop notebook.
Common Mistakes to Avoid
- Threading screws straight into plastic. It feels fine on day one and strips out with use. A metal insert or captured nut is what makes a printed knob durable.
- Guessing screw spacing from a listing or photo. Standard spacings have changed over the decades. Measure the actual drawer, twice, in millimeters.
- Overtightening the screw. A cracked neck or a spun insert is almost always a tightening problem, not a printing problem.
- Installing inserts crooked. A tilted insert makes the knob sit at an angle no tightening fixes. Press slowly and keep the iron vertical.
- Making knobs too small to save filament. An undersized knob on a heavy, loaded drawer is miserable to use. Print for the hand, not the spool.
Care, Storage, and When to Choose an Alternative
Printed knobs need little care. Wipe them with a damp cloth, avoid harsh solvents, and give the screws an occasional gentle check. Store spares with their matching screws and inserts in a labeled bag. Keep PLA away from sustained heat, such as a cabinet above a radiator — PETG handles warm rooms better.
Sometimes metal hardware is simply the right call. A very heavy drawer, a pull people haul their full weight on, or a historic piece where originality affects value deserves proper metal hardware. Printed hardware is at its best reviving everyday old furniture that just needs its missing knob back.
FAQ
How do I find the right screw thread for my old furniture?
Start with the original screw if you have it. Test it at a hardware store thread gauge, or gently against known nuts — it should spin on smoothly by hand. If nothing matches, replace screw and insert as a matched pair in a common modern thread, as long as the screw passes through the existing hole.
Are 3D printed knobs strong enough for kitchen drawers?
Yes, for normal use, when built correctly: generous walls, high infill, and a metal threaded insert carrying the screw. For an exceptionally heavy drawer, consider a metal pull instead.
Can I match the color and style of my remaining original knobs?
Closely, with a little patience. Match the size and silhouette first — that is what the eye notices across a room. Then choose a filament color near the original, or print in a neutral color, sand it smooth, and finish the full set the same way.
What if my pull has an unusual screw spacing no store sells?
That is the best reason to print your own. Measure the center-to-center spacing, model the posts at exactly that distance, and your custom pull fits the existing holes with no re-drilling and no marks showing.
Conclusion
A missing knob should not be the reason good furniture looks tired or ends up replaced. Built around a proper metal screw and insert, a printed knob or pull is a durable, honest repair that respects the furniture’s original holes and spacing.
Print one, live with it for a week, then make the set.
If a knob on your list is stuck fast before you can replace it, you may also enjoy our related guide, “3D Printed Knob and Handle Puller: Remove Stuck Drawer Knobs and Handles Without Damage,” which pairs naturally with the replacement hardware in this article.