Introduction
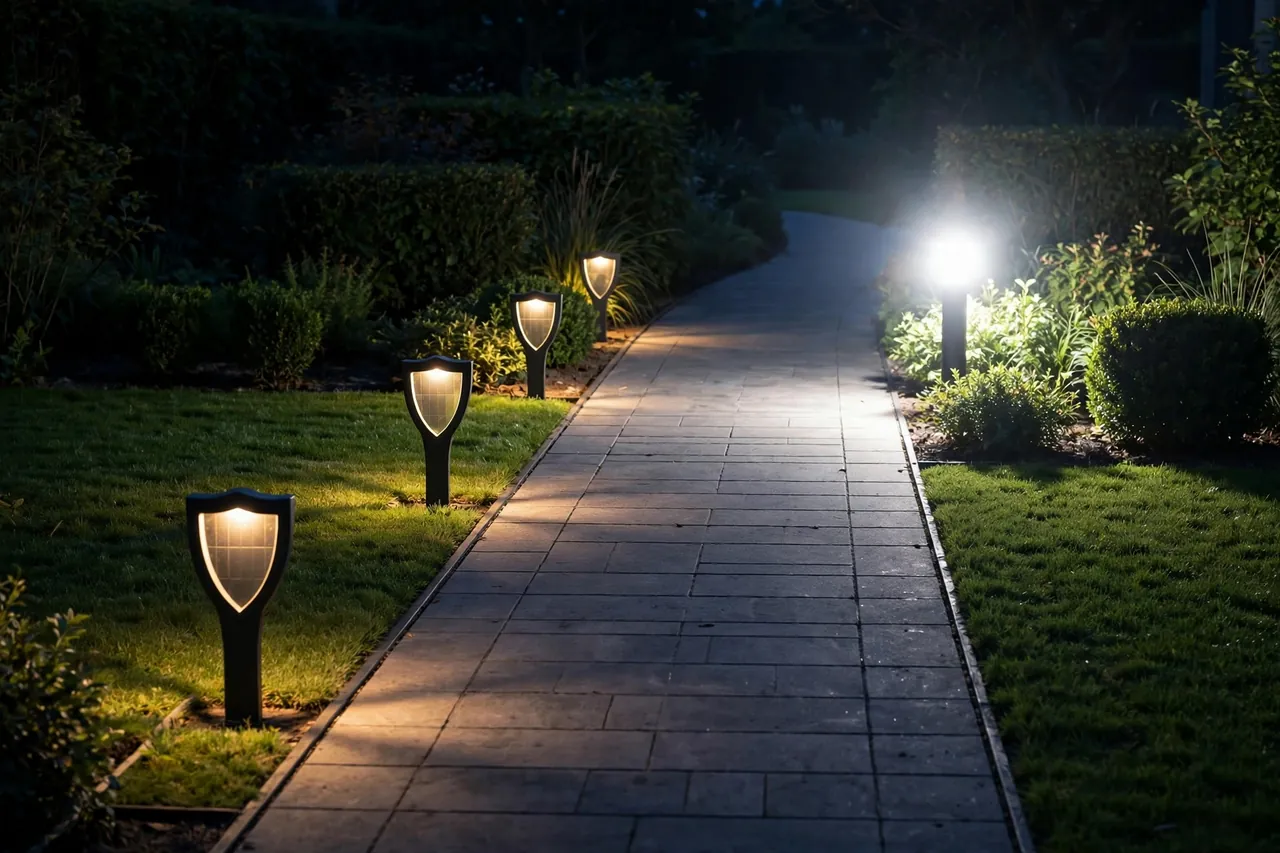
Solar pathway lights have one job — light the path — and many of them do a second, unwanted job at the same time: shining straight into your eyes. The little exposed lamp head that looks so neat at noon becomes a dazzling point of glare at night. You see the light itself, bright and harsh, and somehow see the path less well, because your eyes adjust to the glare, not the ground.
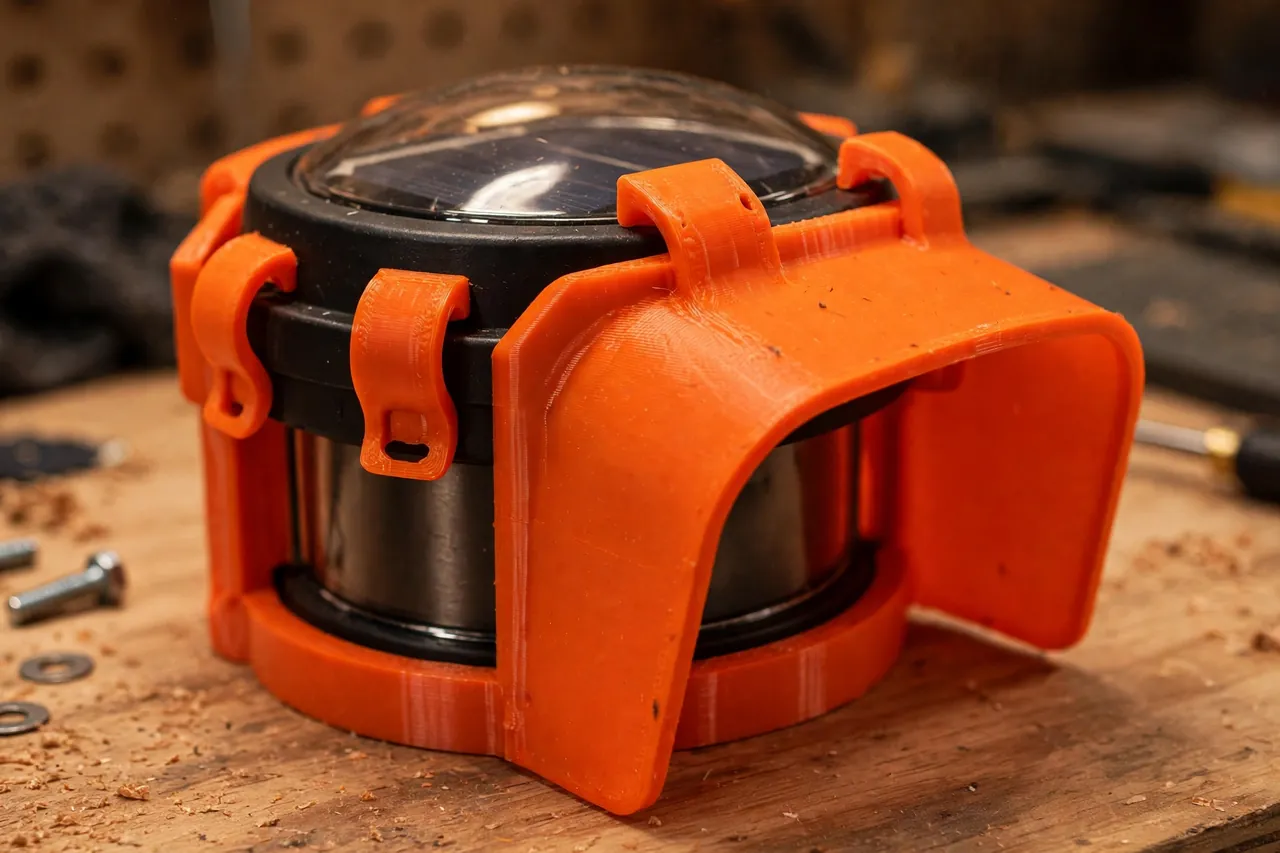
A 3D printed glare shield does exactly that. It is a small shade that clips over or around the head of your existing pathway light, blocking the sideways and upward spill while leaving the downward light — and the solar panel’s access to the sky — untouched. The path gets clearer, the garden gets calmer, and neighbours get less of your lighting in their windows.
This guide covers designing, printing, and fitting shields for the lights you own. As with every holder on this site, the printed part is an accessory around a sealed, finished product. The light is never opened, its lens and housing stay as its maker made them, and no printed part touches anything electrical — the shield simply shades it from outside.
What You Need
Shields are quick, light prints, which makes experimenting with shapes cheap and enjoyable.
Materials and tools
- A home 3D printer with a build area of roughly 120 mm in at least one direction
- PETG filament — dark colours work best for glare control, as explained below
- The actual pathway lights you plan to shield, brought to the bench for measuring
- A tape measure or calipers for the light head’s diameter and height
- Fine sandpaper for easing clip edges
- A torch or phone light for quick bench tests of shade patterns in a dark room
- Optional matte black paint, if you print in a light colour and want a dark inner face
Choose a dark PETG — charcoal or black — for the keeper shields. A dark inner surface absorbs stray light instead of bouncing it around inside the shade, which is the whole point. Light-coloured or translucent filament glows like a lantern and defeats the design. PETG over PLA matters outdoors for the usual reasons: sun, heat, and rain quickly age a PLA part left out all summer, while PETG takes seasons of it.
Suggested print settings
- Layer height: 0.20 mm is fine; shields are shades, not precision instruments.
- Walls: 3 to 4 perimeters — the wall basically is the shield, so print it solid and opaque.
- Infill: 20 to 40 percent where the design has solid sections; many shields print nearly all-wall.
- Top and bottom layers: 4 or more on any cap section so no light leaks through thin top layers.
- Orientation: Print the shield open-side down or upright so the visible outer surface comes out clean.
- Supports: Favour shapes that print without supports; a gentle cone or bell profile does this naturally.
Print one test shield first and try it on the real light after dark before printing the set for the whole path.
Design Considerations
You can model a shield in any basic CAD program. It is essentially a shade — a cap, bell, or visor — with a clip or collar that fits your light’s head.
1. Measure the head, and find the light’s real shape
Measure the head’s diameter, its height, and where the light actually comes out: many pathway lights shine from a ring or a downward lens under a cap, while others glow through the whole head. Stand one in a dark room and look. Your shield must block the view of the glowing part from standing eye level while leaving the downward path of light open. Note also where the solar panel sits — usually the very top — because the shield must never shade the panel during the day, or the light will barely charge.
2. Choose a shade profile for the job
Three profiles cover most paths:
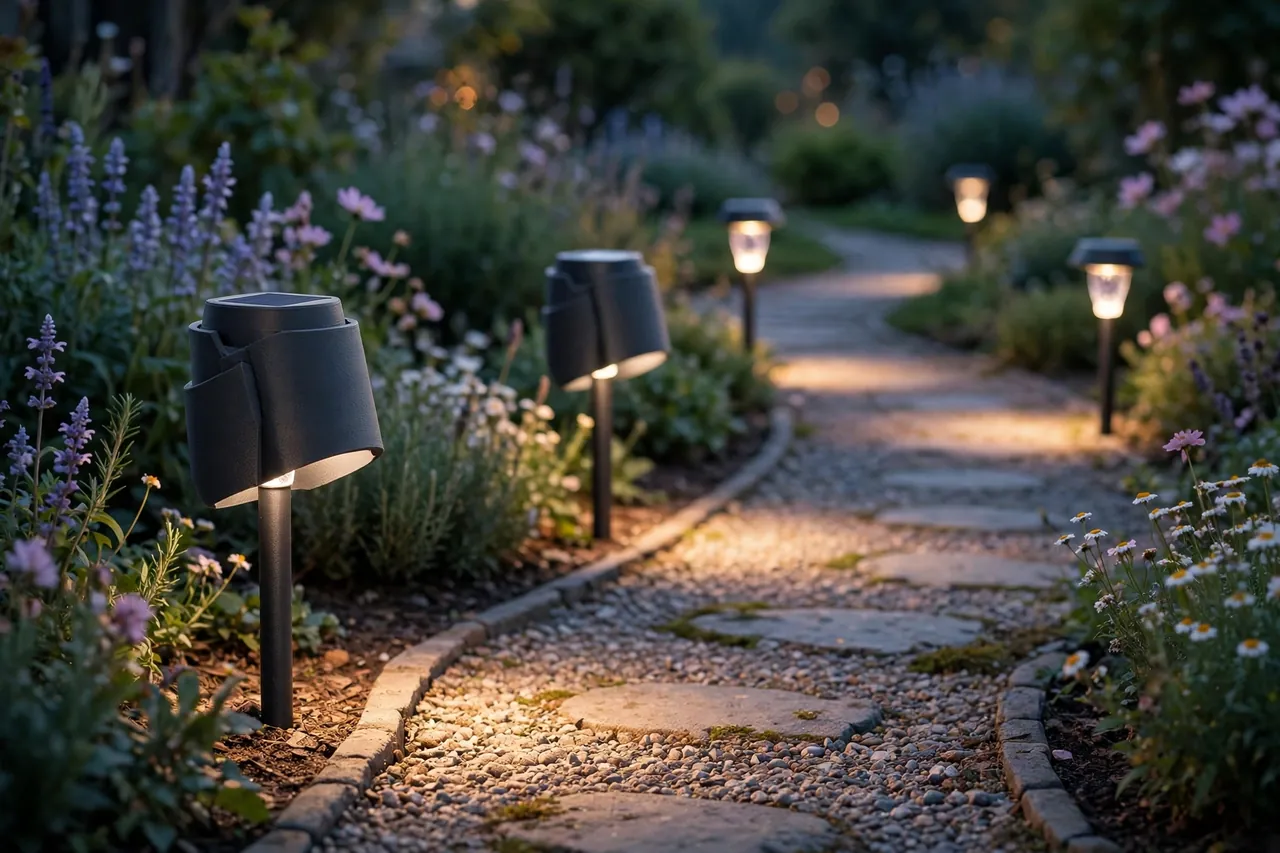
- Full bell or cap: wraps the head and throws all light downward in a neat pool. Best for lights beside seating or bedroom windows.
- Half shield or visor: blocks glare in one direction only — toward the house, say — while leaving the garden side open. Best along borders.
- Tall collar: a deep ring that recesses the light source upward, cutting glare from all sides while keeping a wider spread than a bell.
Keep the shade’s lower edge below the light source from a walker’s viewpoint, and flare the opening enough that the downward cone still covers the path width. A shield that is too tight makes a bright ring and a dark path.
3. Fit the clip to an unmodified light
Design the shield to grip features the light already has: a friction collar around the head with about 0.3 to 0.5 mm of clearance, clip tabs that catch under the head’s rim, or a ring that sits between head and stake top exactly as the parts already separate in normal use. Fit must be firm enough to survive wind and a brushed sleeve, yet removable for cleaning. Never glue, screw into, or trim the light’s housing to accept a shield — if the fit is wrong, the printed shield changes, and the sealed light stays exactly as it was made.
Step-by-Step: Printing and Assembly
- Measure your light’s head and observe its light pattern in a dark room.
- Choose a profile — bell, half shield, or collar — matched to where the glare actually bothers you.
- Model the shield with its clip or collar, air gap, and drainage kept clear of the panel.
- Print one test shield in your keeper filament if possible; opacity matters, so a PLA colour test can mislead.
- Clip the test shield onto the real light on the bench and confirm it fits without forcing and removes without tools.
- Dark-test it. Take the light into a dark room or out at dusk and check glare from standing height and light coverage on the ground.
- Adjust the profile once — deeper for more glare control, wider flare for more path coverage — and reprint if needed.
- Print the full set in dark PETG once the test passes, plus a spare.
Step-by-Step: Using the Glare Shields
- Charge the lights first for a full sunny day, so your night test judges the shield, not a flat battery.
- Clip each shield on with the light in your hands, before placing lights along the path.
- Orient half shields deliberately, with the blocked side toward eyes, windows, or the road.
- Set the lights along the path at their usual spacing and heights.
- Walk the path both ways at night, at a normal pace, and notice where glare remains or the path falls dark.
- Adjust by swapping profiles — a bell where you sit nearby, a visor where only one direction offends.
- Check from indoors through the nearest window; path lights often glare worst into a kitchen or lounge.
Tips for Better Results
- Test at real eye height. A shield that looks fine on the bench can still dazzle a taller walker; judge from standing, walking toward the light.
- Shield the worst offenders first. The lights nearest seating and windows matter most; distant ones may be fine as they are.
- Keep the panel fully exposed. Hold the shielded light at noon sun angle and confirm no shadow from the shield crosses the panel.
- Mix profiles along one path. Uniform looks matter less than comfort; a consistent colour keeps the set looking deliberate.
Common Mistakes to Avoid
- Printing shields in pale or translucent filament. The shade itself glows and the glare gets worse, not better.
- Shading the solar panel. A beautiful shield on a light that never charges is garden sculpture, not lighting.
- Modifying the light to hold the shield. No screws into housings, no trimming lenses — the shield adapts to the sealed light, never the reverse.
- Making the opening too small. A tight bell gives a bright ring of path and darkness at your feet.
Care, Storage, and When to Choose an Alternative
Unclip shields a couple of times a year and wash off the film of dust and pollen that builds up inside — a dirty inner face scatters light and slowly brings the glare back. Check clip tabs for cracks each spring. Stored spares belong in a labelled bag with the lights’ winter box, out of hot roof spaces.
Sometimes the alternative is simply a better light. If a pathway light is so exposed in design that even a deep bell leaves it dazzling, or its output is too weak once shielded, replacing it with a purpose-made downward light is wiser than shielding forever. But for the very common case — decent lights, harsh sideways glare — a printed shield is a ten-minute fix that makes a whole path feel calmer.
FAQ
Will a shield make my path too dark?
It will make the path different, not darker where it counts. Blocking sideways spill removes light that was lighting the air and your eyes, while the downward pool stays. Most people find the path easier to see because their eyes are no longer fighting glare.
Does the shield affect charging?
It must not, by design. The shield sits around or below the head and never covers the top panel.
Can I leave shields on all year?
Yes, in PETG they are made for it.
My lights have an unusual head shape. Is this still possible?
Usually, yes. Model the collar to the shape you measure — oval, square, and fluted heads all take a friction collar or a rim clip.
Conclusion
Glare is not brightness — it is light going to the wrong place — and a simple printed shade puts it back where it belongs: down, on the path, out of your eyes. Your lights stay sealed and unmodified, the path reads clearly, and the garden at night becomes a calmer place to be.
Start with the one light that has always annoyed you, prove the profile after dark, and then print the set. If you are also lifting lights for a better spread, you may also enjoy our related guide, “Solar Light Riser Stakes: 3D Print Taller Stakes for Pathway Lights,” which pairs naturally with shields — height spreads the pool, the shield tames the glare.
For the lights themselves and their fixings, our guide “3D Printed Brackets for Solar Garden Lights: Repair Broken Stakes and Mounts the DIY Way” covers keeping the whole line in good repair, while “Solar Light Wall Mounts: 3D Print Brackets for Patios, Fences and Pathways” extends the same glare-conscious thinking to lights mounted up on walls and fences.