Introduction
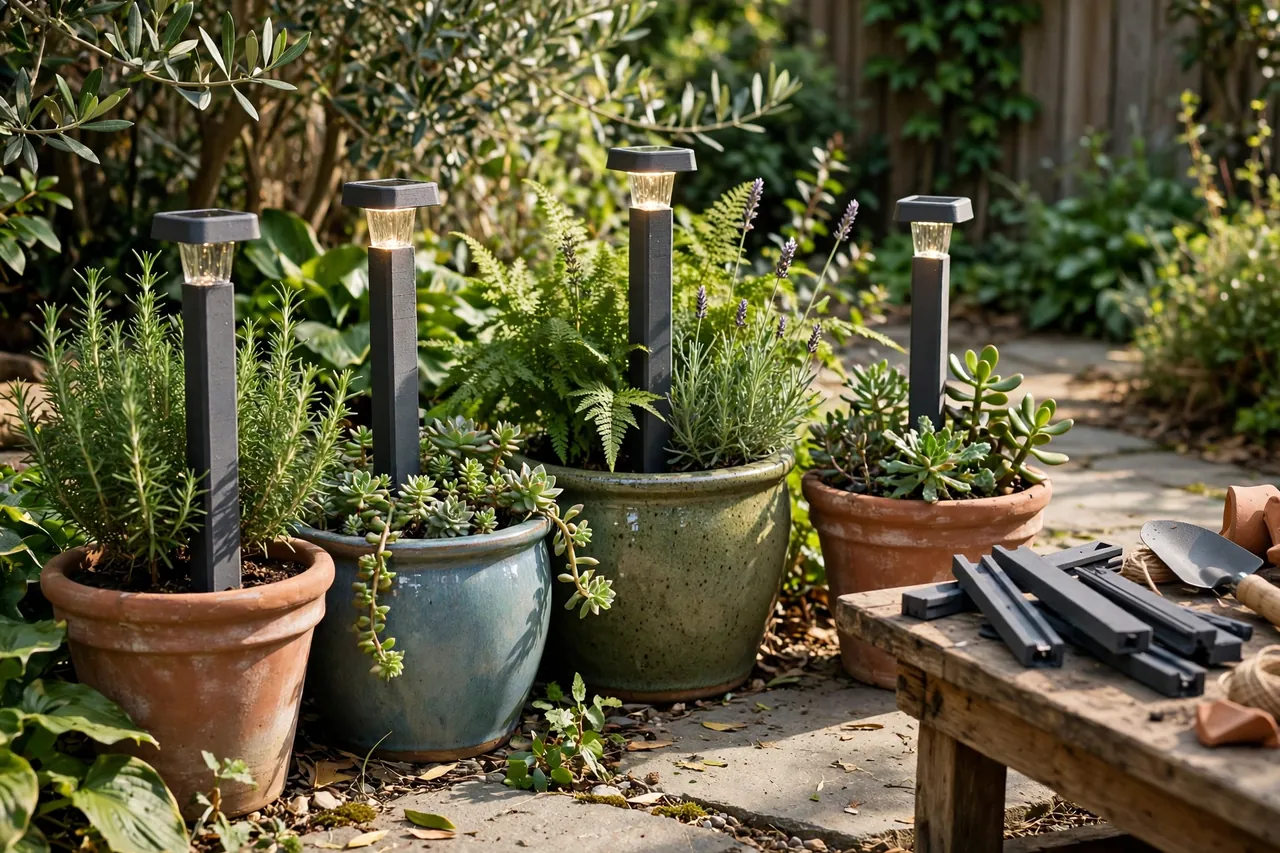
Some of the best places for evening light have no ground to stake into. A big planter by the front door, a row of pots along a patio edge, a raised bed full of herbs by the kitchen — all of them would glow beautifully with a small solar light, and none of them accept a standard ground stake. Pots are too shallow, their soil is loose, and a normal stake leans within the week, taking the light’s aim and dignity with it.
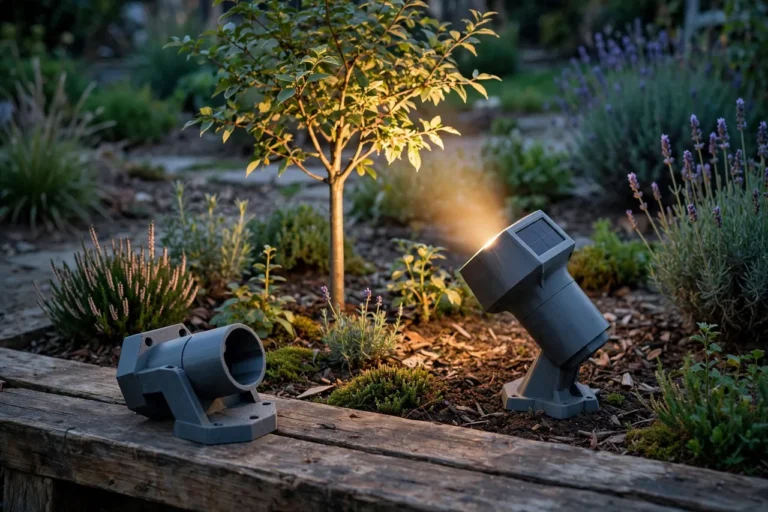
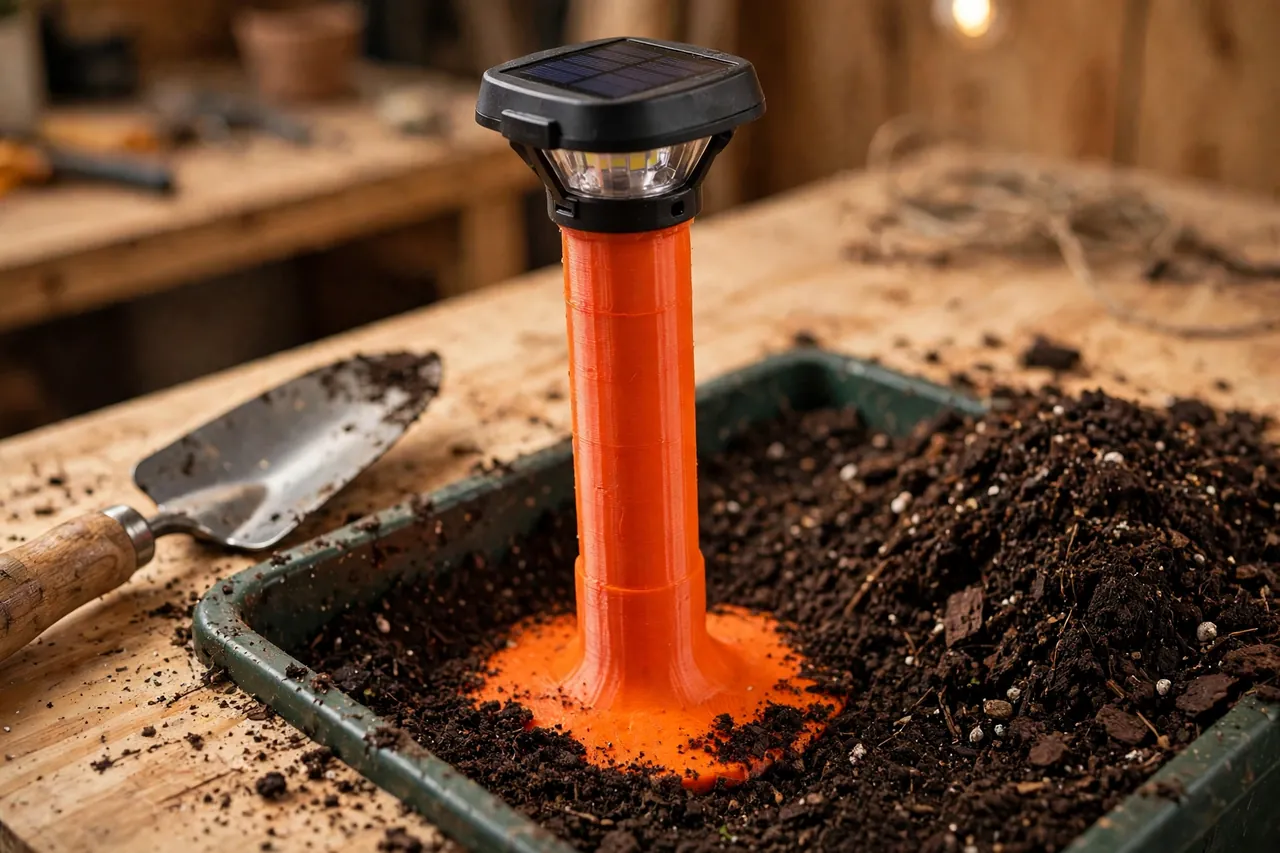
3D printed planter stakes are designed for that world. Instead of a long ground spike, they use a short, wide, stabilising base that sits securely in pot soil, with a socket on top copied from your light’s own fitting. The light clicks on exactly as it would outdoors, sits upright among the foliage, and lifts out again when you replant the pot.
This guide covers designing, printing, and using planter stakes for pots, tubs, and raised beds. The principle is the same as all our solar holders: the printed part is a stake and holder only. Your solar light stays a sealed, finished product — never opened, never rewired — and simply mounts on the stake by its standard fitting.
What You Need
Planter stakes are compact prints, shorter and wider than ground stakes, so they print quickly and use little filament.
Materials and tools
- A home 3D printer with a build area of roughly 120 mm in at least one direction
- PETG filament for damp soil contact and outdoor life
- The actual solar lights you plan to use, plus one original ground stake as a pattern
- The planters themselves, or at least their depth and top diameter, measured
- A tape measure or calipers for the light fitting and pot dimensions
- A hand fork or trowel for settling stakes into pot soil
- Optional grit or coarse compost to firm up very loose potting mixes around a stake
PETG earns its place here because a planter stake lives in permanently damp compost. PLA left buried in wet soil in a warm pot degrades and weakens far faster than it would on a shelf, and it can snap when you lift a light out for cleaning. PETG shrugs off the damp, the fertiliser, and the occasional frost, and flexes instead of cracking when a pot is knocked or moved.
Suggested print settings
- Layer height: 0.20 mm balances speed and the clean socket fit you need.
- Walls: At least 4 perimeters, especially around the socket and the stake shaft.
- Infill: 40 to 60 percent, grid or gyroid, so the wide base stays rigid under soil pressure.
- Top and bottom layers: 4 or more, closing the base so compost does not pack into hollow sections.
- Orientation: Print base-down, socket up, so the part sits exactly as it will in the pot and layers wrap the shaft.
- Supports: A flat-based design needs none; keep it that way.
Print one test stake first and fit both the real light and the real pot before printing stakes for the whole collection.
Design Considerations
You can model a planter stake in any basic CAD program. It is a stabilising base and short shaft below, with a faithful copy of your light’s socket on top.
1. Copy the light’s fitting, faithfully
As with any replacement stake, start by separating one light from its original stake by hand and measuring the fitting it uses: the spigot or socket shape, its size, and any ribs or twist features. Reproduce it with about 0.3 to 0.4 mm of clearance so the light pushes on firmly, sits level, and still lifts off for cleaning or winter storage. The light itself is never trimmed, opened, or adapted — all the adapting happens in your printed part, and the original stake stays in a drawer as the pattern and spare.
2. Design for shallow, loose soil
Pot compost is shallow — often only 150 to 250 mm deep — and loose compared with garden soil, so a planter stake needs stability from width, not depth. A broad disc or cross-shaped foot, 70 to 100 mm across, buried just under the surface, resists tipping far better than a spike. Short fins or a slightly domed underside help the base key into the compost. In tall, narrow pots where a wide foot will not fit, use a longer, slender stake that reaches near the pot’s base and pair it with a modest foot — depth where you have it, width where you do not.
3. Keep the light at pot-friendly height
In a planter, the light’s job is local: pick out foliage, edge a step, mark a doorway pot. A head height of 10 to 20 cm above the soil usually clears low planting without towering over the pot. Taller stakes in pots look top-heavy and catch wind that the pot then feels as a rocking load. If a pot stands beside steps or a path edge and wants more throw, raise the whole arrangement cautiously and choose a heavier, wider pot — the stake cannot fix an unstable container.
Step-by-Step: Printing and Assembly
- Separate one light from its original stake and measure its fitting carefully.
- Measure your pots — soil depth and the width available for a stabilising foot.
- Model the stake with its wide base, short shaft, and the copied socket on top.
- Print one test stake in PETG.
- Fit the real light onto the test stake and check the joint: firm, level, and removable by hand.
- Set the test stake in a real pot, burying the foot just under the surface, and firm the compost around it.
- Test stability honestly — a firm nudge, a watering from a full can, and the pot carried a short distance.
- Print the full set once the test passes, plus a spare or two for new pots.
Step-by-Step: Using the Planter Stakes
- Fit stakes before final planting where you can, so roots and bulbs are not disturbed later.
- Press the foot into the soil slightly below surface level and backfill compost firmly around the shaft.
- Check the stake is vertical from two sides before mounting the light.
- Seat each sealed light onto its stake using its normal fitting.
- Water the pot after fitting; compost settles as it wets, so re-firm around the shaft once after the first watering.
- Give the lights a full day of sun in position — pots against walls can shade panels more than expected.
- Check the effect at dusk, adjusting a light’s position within the pot rather than bending anything.
Tips for Better Results
- Put doorway pots on duty. A lit planter each side of a door looks deliberate and helps guests find the step.
- Match stake colour to the pot or the compost. Charcoal stakes disappear; a bright stake in a formal pot shouts.
- Lift lights out before replanting, and pull stakes while the compost is moist — they release far more cleanly.
- Keep one spare stake of each fitting type if your pot lights are different models; label them with the light they serve.
Common Mistakes to Avoid
- Using a long ground-spike design in a pot. It bottoms out on the pot base and levers itself loose. Pots need width, not length.
- Guessing the light fitting. Copy the measured original, or expect a rocking light.
- Modifying a light to sit on a stake. The sealed light is never cut, opened, or glued; redesign the printed stake instead.
- Placing the panel in the pot’s own shade. Foliage grows fast — position lights where leaves will not cover the panel by midsummer.
Care, Storage, and When to Choose an Alternative
Rinse stakes when pots are emptied, check sockets for cracks, and store them with the lights over winter if your pots come indoors or under cover. Because each stake is a small print, keeping a labelled set for every pot style you own is easy, and replacements take under an hour.
Sometimes a different answer suits better. A tiny pot has no room for any stake — rest a light on the rim with a small clip mount instead, or choose a hanging light for baskets. Very exposed, wind-hammered containers may need the light mounted to something fixed nearby rather than standing in the pot at all. For the great majority of patio pots and beds, though, a wide-footed printed stake is the stable, tidy solution the lights should have come with.
FAQ
Can I put a planter stake in a pot with plants already growing?
Yes, with care. Choose a gap between plants, ease the foot into the compost with a hand fork loosening the spot first, and avoid forcing it through a root ball. Fitting stakes at planting time is kinder, but a careful retrofit works in most established pots.
Will the stake harm drainage or roots?
No more than the plants’ own root balls do. The foot is a thin disc or cross that water passes around freely, and roots simply grow around it. Pull it out at replanting and the compost shows no lasting effect.
Do the lights charge well inside planters?
They charge as well as their position allows. The fitting and the light are untouched and sealed, so charging works exactly as designed — the variable is shade. Place the light where its panel sees open sky, keep foliage trimmed off the panel, and expect shorter winter run times against a north wall, as with any solar light.
What size pot is too small for a planter stake?
As a rule, a pot needs enough soil width for the foot — roughly 120 mm across at the surface — and enough depth to bury the foot and shaft, around 120 mm or more. Below that, a rim clip or simply standing the light among low plants in a larger grouped display works better.
Conclusion
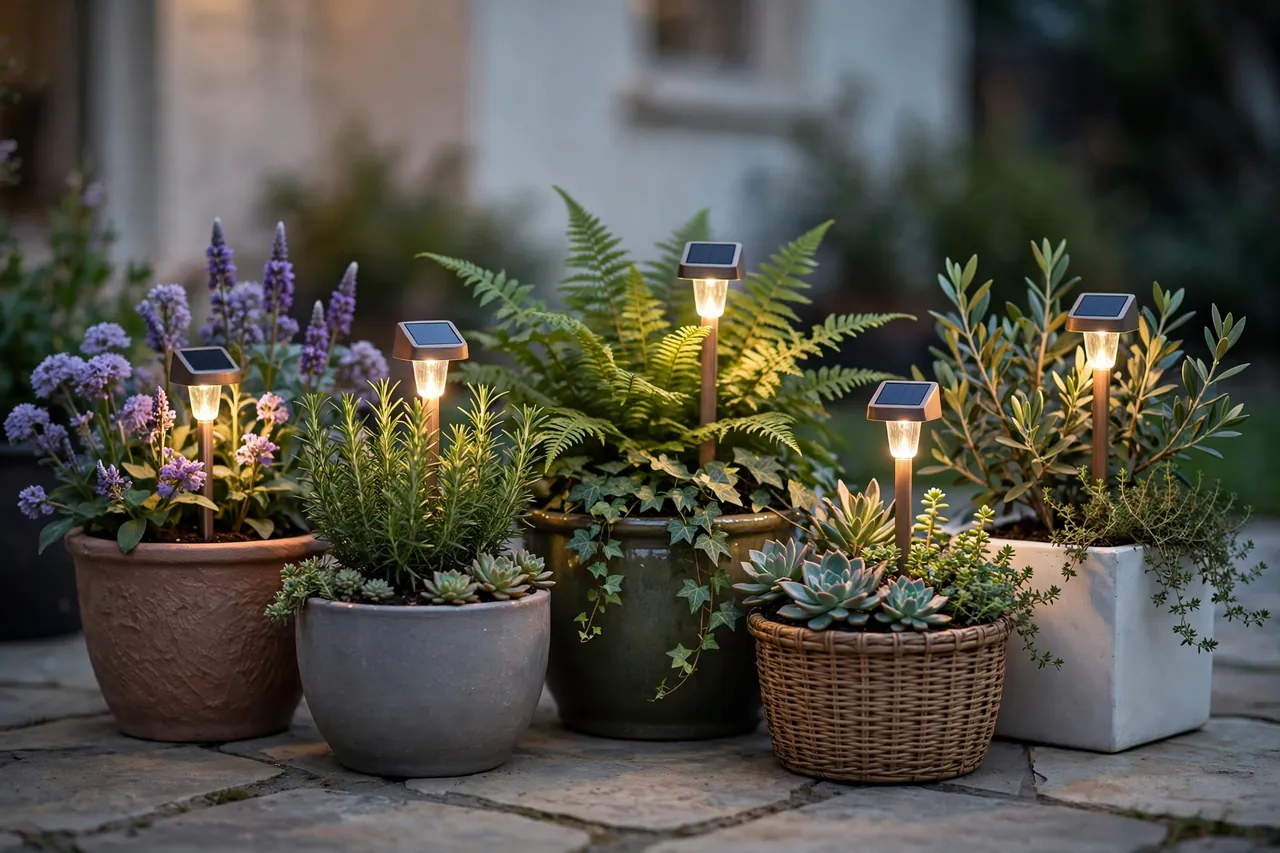
Pots and planters deserve proper light, and proper light in a pot needs a stake designed for shallow, loose soil rather than open ground. A wide foot, a short shaft, and a socket copied from your own light turn any suitable planter into a calm pool of evening light — with the light itself sealed, standard, and untouched.
Prove the fit in one pot, check it after a thorough watering, and then print for the rest of the patio. If you like the effect and want the neighbouring path raised and evened out too, you may also enjoy our related guide, “Solar Light Riser Stakes: 3D Print Taller Stakes for Pathway Lights,” which uses the same copied-fitting approach at garden scale.
For keeping the original lights and their fittings in good order season after season, our guide “3D Printed Brackets for Solar Garden Lights: Repair Broken Stakes and Mounts the DIY Way” is the natural companion, and “3D Printed Rain Gauge Holder and Garden Marker Set for a Tidy Yard” brings the same printed-holder thinking to the beds alongside your pots.