Introduction
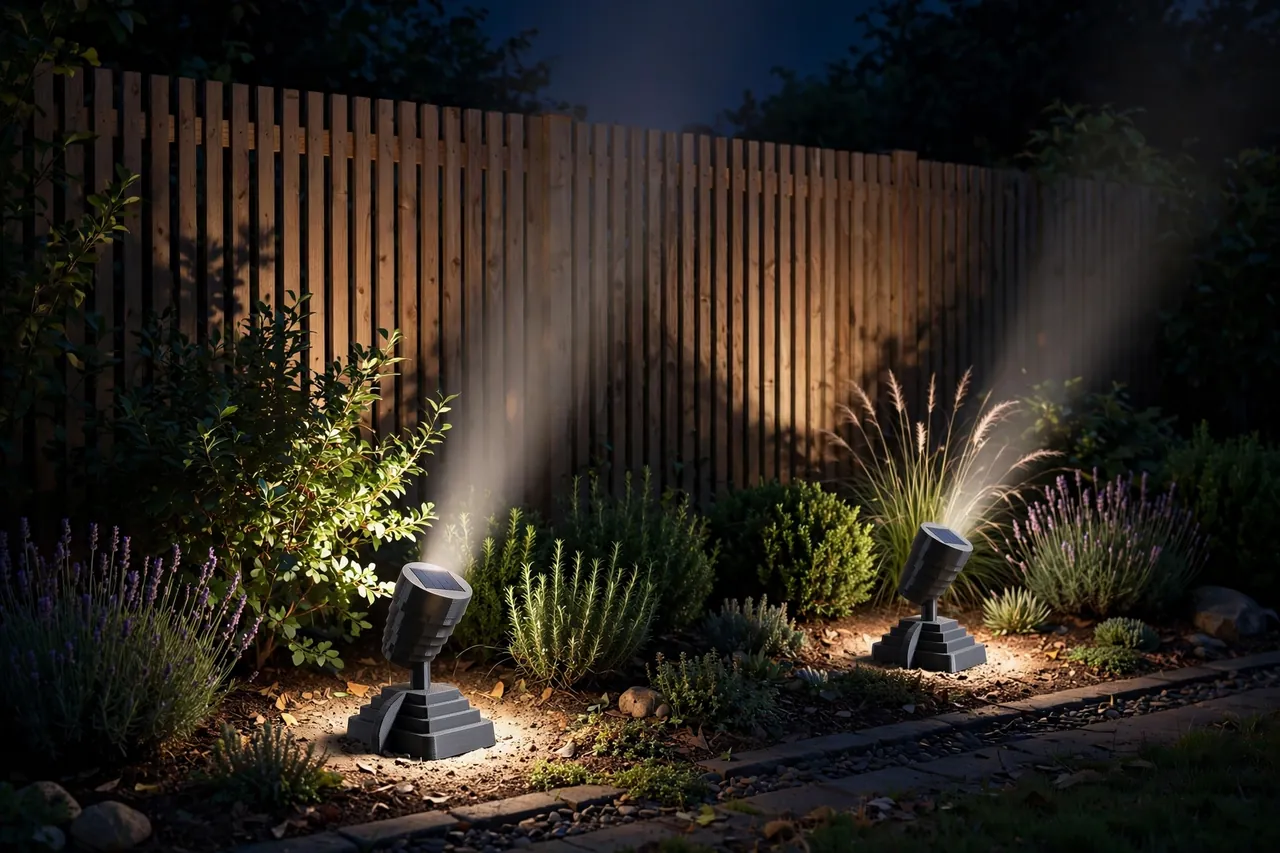
A solar spotlight is only as good as its aim, and aim is exactly what the little spike in the box cannot keep. You set the beam perfectly on the tree or the house number at dusk, and within a fortnight the head has sagged, twisted in soft soil, or been nudged by a mower wheel, a football, or a curious animal. The light still works — it is just lighting the lawn now.
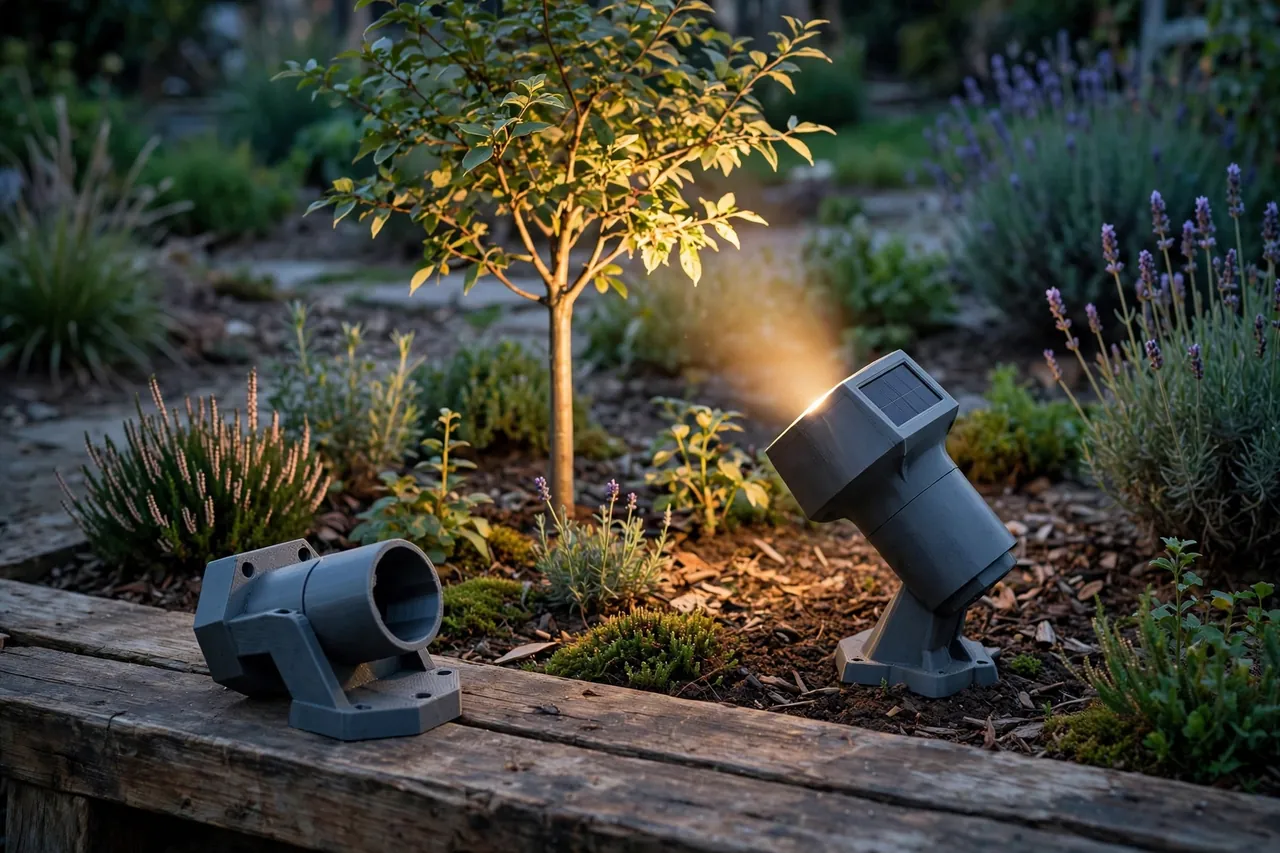
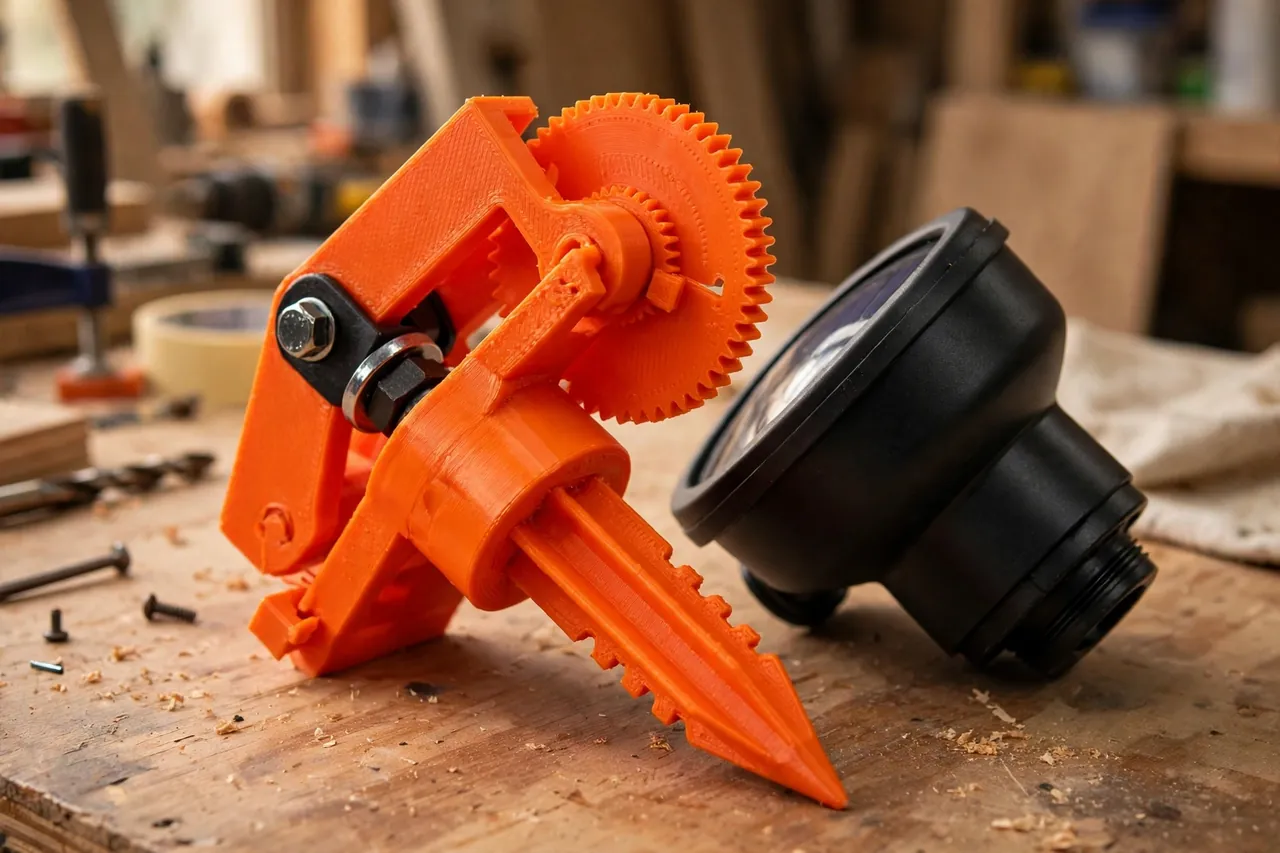
3D printed solar spotlight ground mounts fix the holding, not the light. A broad, finned ground section keeps the mount planted, and a proper tilt joint — toothed, indexed, and lockable — holds the angle you set. Your spotlight attaches by the mounting point it already has, so it stays a sealed, standard product doing its own job from a far better stand.
This guide covers designing, printing, and using these mounts in real borders and lawns. The framing to keep in mind: the printed part is a ground mount and holder only. The spotlight is never opened, rewired, or modified, and no printed part joins any wiring — it simply cradles or bolts to the spotlight’s existing bracket, exactly as that bracket was designed to be used.
What You Need
A spotlight mount works harder than most small prints, so it deserves decent material and a bit of print time.
Materials and tools
- A home 3D printer with a build area of roughly 150 mm in at least one direction
- PETG filament for strength, weather resistance, and a hinge that will not go brittle
- The actual solar spotlight you plan to mount, for measuring its bracket or base
- A stainless bolt, washer, and wing nut or knob for the tilt joint — a common size such as M6
- A tape measure or calipers, plus a protractor or angle app for setting beams
- A mallet for tapping the mount through a guide hole in firm ground, used gently
- Sandpaper or a small file for cleaning the tilt teeth and hinge faces
PETG is the sensible default outdoors: it resists rain, tolerates the sun heating a dark mount through summer afternoons, and gives a tilt joint enough toughness to be adjusted repeatedly without cracking. PLA mounts go brittle and chalky outside with surprising speed, and a brittle hinge is a failed hinge. If your garden is very hot and sunny, ASA is a worthy upgrade, but PETG covers most homes well.
Suggested print settings
- Layer height: 0.20 mm — crisp enough for tilt teeth, quick enough for a chunky part.
- Walls: At least 5 perimeters on the hinge cheeks and ground section; this mount earns its keep through wall strength.
- Infill: 50 to 70 percent, gyroid or grid, in the head and base sections.
- Top and bottom layers: 4 or more, so the base sheds water and the hinge faces stay flat.
- Orientation: Print hinge cheeks upright so the bolt hole is formed accurately, and layer lines run around the load.
- Supports: Keep the ground spike and base support-free by design; small supports under a hinge overhang are acceptable.
Print one test mount first and fit your real spotlight to it before printing mounts for the whole border.
Design Considerations
You can model this mount in any basic CAD program. From the ground up it is three things: a ground section, a tilt joint, and a top interface that matches your spotlight.
1. Anchor the ground section properly
Soft borders and lawns let slim spikes wander, so build stability in. A spike 100 to 140 mm long with two crossed fins resists both sinking and twisting, and a broad collar or foot at ground level spreads the load and stops slow sinking after rain. In stony soil, shorten and thicken the spike; in soft, deep border soil, the finned design at full length is ideal. The goal is a mount that feels planted when you grip the head and push — because everything above it depends on that stillness.
2. Make the tilt joint lock, not just lean
The heart of the mount is a joint that holds an angle under real conditions. The reliable pattern is two cheeks with matching radial teeth — like coarse gear teeth around the pivot — clamped by a central bolt. Set the teeth coarse, around 10 to 15 degrees per step, so they print cleanly and engage positively. The spotlight’s bracket bolts or cradles between the cheeks, you tilt to a tooth, and tightening the bolt locks head, teeth, and mount into one piece. Add a simple angle scale on the cheek if you like, so a favourite aim can be noted and restored after cleaning.
3. Copy the spotlight’s own mounting point
Measure how your spotlight expects to be held: many have a flat bracket foot with a central hole, some a knuckle joint, some a simple sleeve that pushed onto the original spike. Reproduce that interface on top of your tilt section — a flat pad with the right hole, a matching knuckle, or a copied sleeve — with the usual 0.3 to 0.5 mm of clearance on slip features. The spotlight attaches with its own hardware, untouched and sealed. Never drill the spotlight’s housing, never open it to reach a fixing, and never adapt its body to your mount: if the fit is wrong, the printed mount is what changes.
Step-by-Step: Printing and Assembly
- Measure your spotlight’s bracket and decide which interface your mount must copy.
- Model the three sections — finned ground spike, toothed tilt joint, and the spotlight interface.
- Print a test mount and check the tilt teeth mesh cleanly through their whole range.
- Assemble the joint with its stainless bolt and knob, and confirm it locks without creeping under a firm push.
- Fit the real spotlight to the mount on the bench using its own hardware, and set a rough angle.
- Adjust once. Ease tight teeth with a file, open a snug sleeve by 0.2 mm, or thicken a flexing cheek.
- Print the keeper mounts in PETG, one per spotlight, plus a spare if your border is long.
- Clean up each mount — clear stringing from the teeth and check the spike point is true.
Step-by-Step: Using the Ground Mounts
- Choose positions at dusk if you can, standing a spotlight in place by hand to judge the beam before committing the mount.
- Push or settle each mount into the soil at its mark, working it in with steady pressure rather than hammer blows.
- Check the mount is vertical in the axis that matters — a mount leaning sideways will tilt every beam.
- Bolt each sealed spotlight onto its mount using its own bracket hardware, snug but not forced.
- Rough-aim in daylight, then wait for dark: beams always look different, and narrower, in daylight imagination.
- Fine-aim after dark, loosening the tilt bolt just enough to move one tooth at a time, and lock each position before judging it.
- Check the panel’s sun the next day, especially for all-in-one lights, and shift the mount a few degrees if charging suffers.
Tips for Better Results
- Aim slightly low. Beams creep upward in the imagination; a slightly low aim survives small ground movement gracefully.
- Widen the base in soft soil. A printed ground plate under the collar transforms stability in fresh borders.
- Use a knob, not just a nut, on the tilt bolt if you adjust often — gloved hands in winter will thank you.
- Group lights on one setting pass. Aim the whole border in one dusk session so the scheme balances across plants.
Common Mistakes to Avoid
- Relying on a friction pivot. If the design can sag, it will. Teeth and a bolt are the whole point of this mount.
- Hammering the mount home. Printed spikes crack under impact. Ease a starter hole, press, and wiggle instead.
- Modifying the spotlight to fit. No drilling housings, no opening cases — the mount adapts to the sealed light, never the other way around.
- Setting aim once in daylight. Always confirm after dark; foliage and fences change everything.
Care, Storage, and When to Choose an Alternative
Check each mount each spring: clear soil from the fins, confirm the tilt bolt is snug, and look for cracks around the hinge. Wash the spotlight’s panel and lens as its maker advises. Mounts left in year-round in PETG should last several seasons; any damaged one reprints from the saved file.
For very heavy spotlight units, public spaces, or ground so hard and stony that plastic spikes simply fold, a commercial metal ground mount is the honest choice. But for the typical sealed garden spotlight in home soil, a printed finned mount with a toothed, locking tilt holds aim better than the spike in the box ever did — and costs a fraction of replacing the light.
FAQ
Will the tilt joint really hold its angle all season?
Yes, if it is toothed and bolted as described. Coarse radial teeth cannot creep the way a smooth friction pivot does; once the bolt is snug, the head would have to shear teeth to move.
Do I have to change anything on my spotlight?
No. Your spotlight stays sealed and standard, bolting or sleeving onto the mount by the bracket it already has. Nothing is opened, nothing electrical is touched, and the light can go straight back onto its original spike whenever you like.
What if my spotlight’s panel is on a separate cable?
That is often the easiest case. Only the light head mounts on your printed mount, aimed exactly where you want it.
Can one mount design serve different spotlight models?
Sometimes — models sharing the same bracket foot can share a mount.
Conclusion
Keeping a spotlight aimed is a holding problem, and holding problems are what printed parts solve best. A finned ground section, a toothed tilt that locks, and an interface copied from your own spotlight turn nightly aim-drift into a set-and-forget garden — with the light itself sealed, standard, and untouched throughout.
Build one mount, aim it after dark, and check it after the first storm. If it holds — and it will — print the rest of the border. If you are also mounting lights up high rather than in the soil, you may also enjoy our related guide, “Solar Light Wall Mounts: 3D Print Brackets for Patios, Fences and Pathways,” which covers the wall-mounted side of the same approach.
For keeping the lights and their original fittings in good shape alongside the new mounts, our guide “3D Printed Brackets for Solar Garden Lights: Repair Broken Stakes and Mounts the DIY Way” is the companion to keep bookmarked, and for panels rather than lights, “Portable Solar Panel Kickstand Legs: 3D Print Adjustable Legs for Ground-Level Panels” applies the same lockable-angle thinking to small ground-level panels.