Introduction
Glue bottles are small, top-heavy, and constantly in the way. Set one down on the bench during a glue-up and it tips over, usually at the worst moment, leaving a puddle and a bottle with a clogged nozzle. Store bottles in a drawer and the glue settles away from the nozzle, so the first squeeze of the next job is air, then a splutter, then finally glue — assuming the nozzle is not sealed shut.
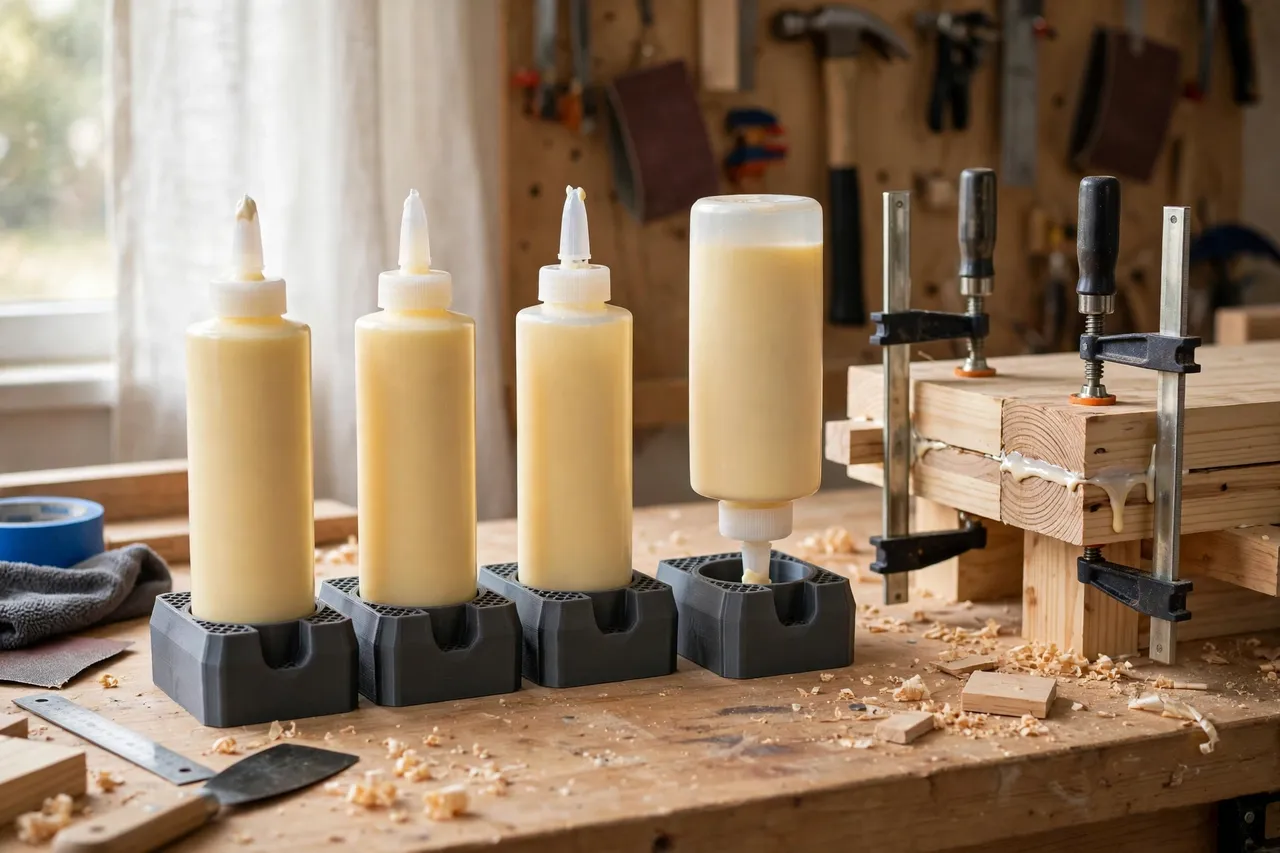
A printed holder solves both problems. An upright holder keeps the bottle stable and visible. An inverted holder keeps glue at the nozzle, ready to flow the moment you pick it up. Either way, the bottle has a place that is not the middle of your bench, and the nozzle stays cleaner because the bottle is not rolling around collecting dust.
This guide covers both styles: a simple upright stand for everyday bottles, and an inverted holder for the bottle you reach for most. The holders are storage for finished, sealed glue bottles only. They do not change the glue, and they are not a substitute for keeping caps on and following the glue manufacturer’s storage instructions.
What You Need
This is a quick print, and you probably already have everything else on the bench.
Materials and tools
- A home 3D printer with a build area of roughly 120 mm in at least one direction
- PLA or PETG filament; PETG resists glue drips and wipes clean more easily
- Your glue bottles, for measuring body diameter, nozzle length, and cap shape
- A tape measure or calipers, and a pencil
- Sandpaper or a small file for cleanup
- Optional: a small silicone mat or wax paper to line a drip tray
If you mount holders to a wall or a bench edge, add screws, a drill, and a screwdriver to the list. Most holders in this guide are freestanding bench stands and need no fixings at all.
Suggested print settings
- Layer height: 0.20 mm is fine; holders are not precision parts.
- Walls: 3 to 4 perimeters for a sturdy ring and base.
- Infill: 25 to 40 percent, gyroid or grid. A holder does not carry much weight, but a wide base resists tipping.
- Top and bottom layers: 4 or more, so the base sits flat and the drip tray area is smooth.
- Orientation: Print flat, base down, for the flattest footing.
- Supports: Usually none.
Print one holder first and test it with your actual bottle before printing a set.
Design Considerations
Glue bottles come in a surprising range of shapes: standard squeeze bottles, bottles with wide caps, bottles with long precision nozzles, and small bottles for specialty adhesives. Measure the bottles you own rather than designing for an imagined standard.
1. Upright holders
An upright holder is essentially a cup or ring on a wide base. The ring should grip the bottle body with 2 to 3 mm of clearance, and the base should be at least 20 mm wider than the bottle in every direction — that wide footprint is what stops tipping. A low front cutout lets you grip the bottle to lift it out without fumbling.
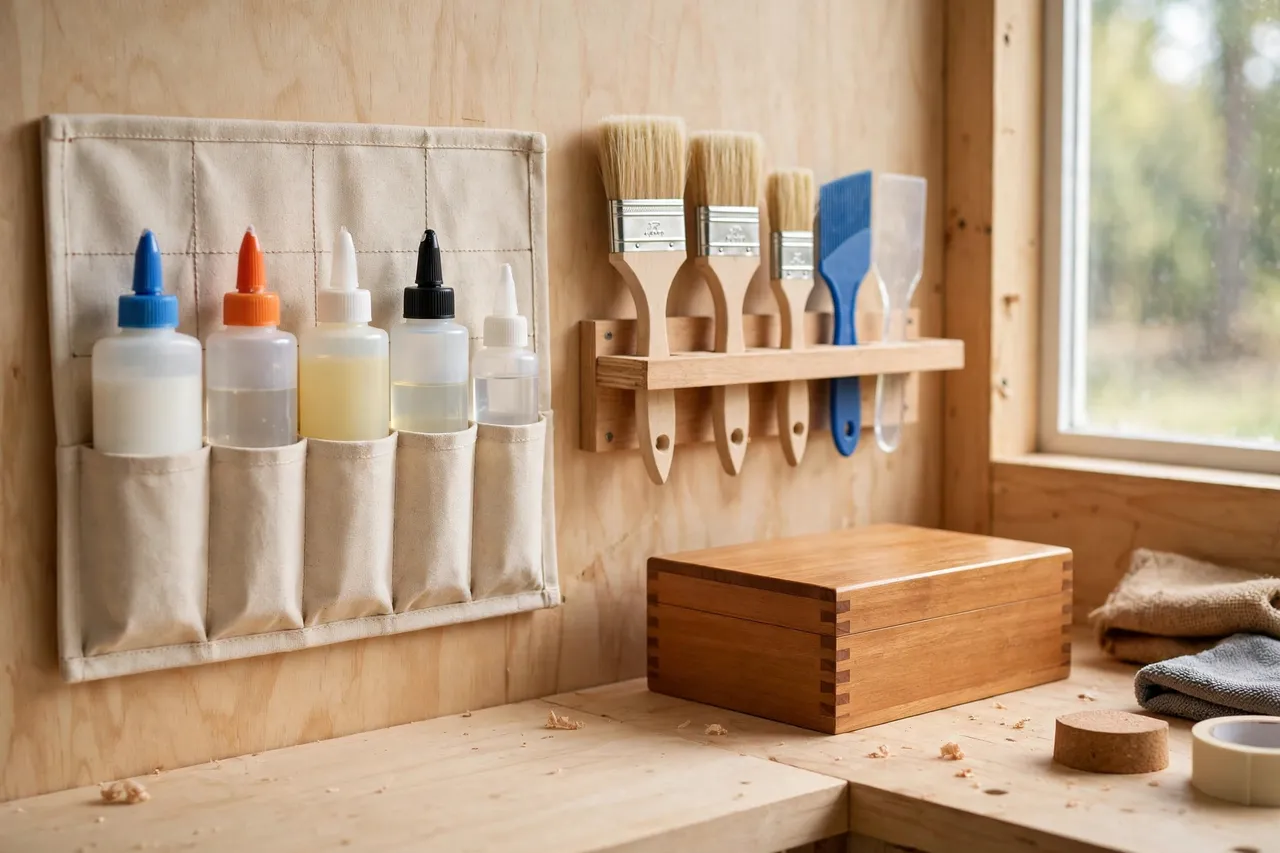
Upright holders suit bottles you use occasionally, bottles with caps that must stay on, and bottles whose glue should not sit against the nozzle for long periods. They also suit a bench-edge or wall-mounted row, where several bottles stand in a line like a spice rack.
2. Inverted holders
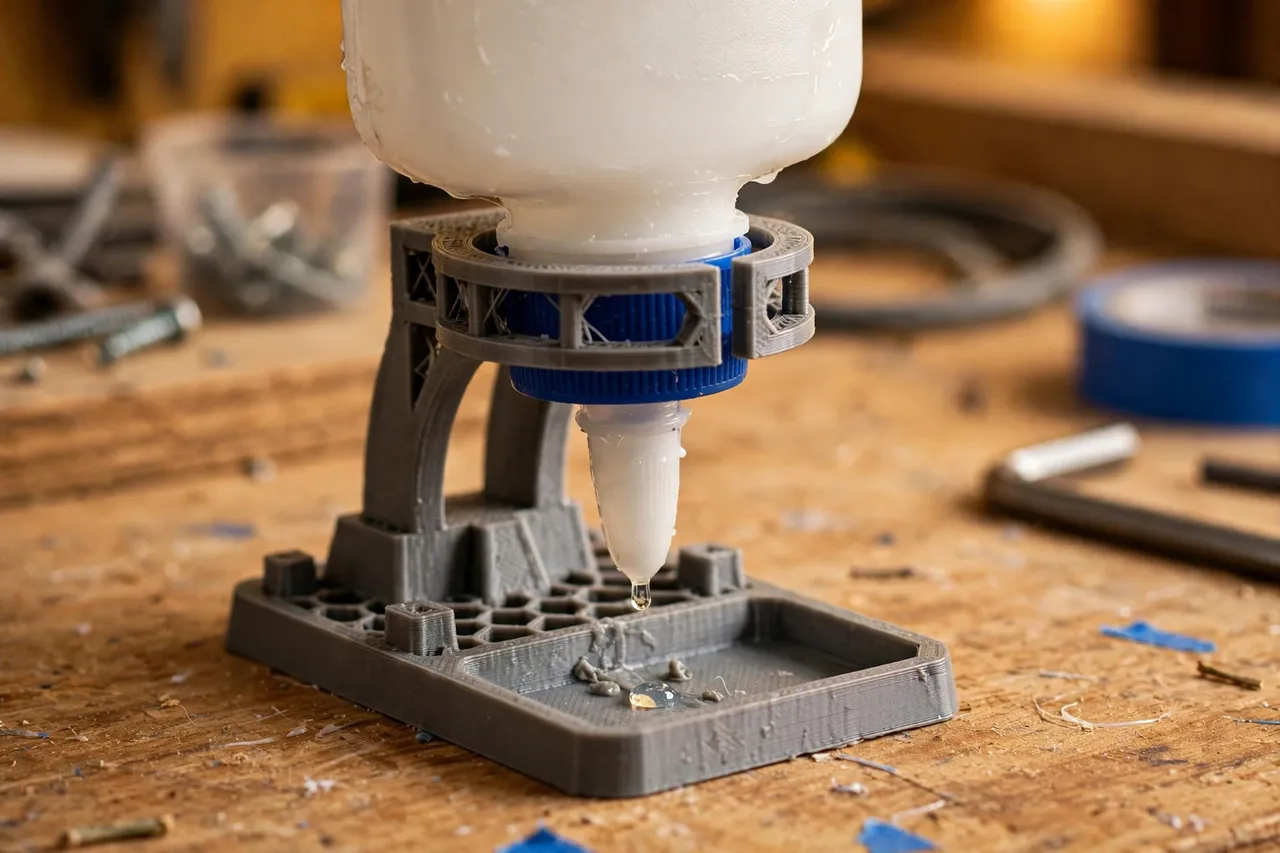
An inverted holder holds the bottle nozzle-down, so glue stays at the tip and dispenses immediately. The design needs three things: a ring that grips the bottle body or shoulder, a recess or tray below the nozzle to catch drips, and enough height that the nozzle does not touch the bench.
Size the nozzle recess generously — at least 10 mm wider than the cap or nozzle on every side — and make the drip tray removable or easy to wipe. A tray that cannot be cleaned becomes a crusty mess that glues the bottle in place, which is exactly the problem you are trying to solve.
Inverted storage suits the bottle you use most often, the one you reach for several times a week. For bottles used rarely, upright storage with the cap on is usually better, because glue sitting against a nozzle for months can still skin over or clog.
3. One holder or a row
A single holder is useful, but a row of holders on a shared base is better for a shop with several glues: wood glue, a thinner glue for small joints, a specialty adhesive, and a bottle of glue remover or applicator. A shared base keeps the row tidy, stops individual holders wandering across the bench, and gives you one object to move when you clear the bench.
4. Drip management
Glue drips are inevitable. Design for them: a shallow tray under an inverted nozzle, a smooth base that wipes clean, and no tight corners where dried glue can lock a bottle in. PETG wipes cleaner than PLA, and a thin silicone pad in the tray makes cleanup a peel-and-wipe job.
Step-by-Step: Printing and Setting Up
- Measure your bottles — body diameter, shoulder shape, nozzle and cap length, and overall height.
- Choose upright or inverted for each bottle, based on how often you use it.
- Model the holder with a ring matched to the body, a wide flat base, and, for inverted holders, a nozzle recess and drip tray.
- Print one test holder and clean up any rough edges.
- Test-fit the bottle. Upright: it should stand steady and lift out easily. Inverted: the nozzle should clear the tray and the bottle should sit level.
- Test for tipping. Nudge the holder from the side; a good base resists tipping and slides rather than toppling.
- Adjust if needed. Too tight? Open the ring by 2 mm. Tips easily? Widen the base.
- Print the remaining holders or a shared-base row once the test passes.
- Place the holders where you glue up — near the bench, not across the shop — and load the bottles.
- Use them for a week before printing more. Real glue-ups reveal fit problems faster than any test.
For the wider adhesive collection, the same upright logic scales up: the guide 3D Printed Adhesive Tube Rack: Adhesive Tubes Sorted and Sealed covers tubes that do not stand well on their own, and 3D Printed Glue Bottle Holders pair naturally with a tidy bench that also uses 3D Printed Pencil and Marker Holders for Benches: Marking Tools Always in Reach to keep marking tools off the glue-up area.
Tips for Better Results
- Keep caps on inverted bottles too, between jobs. Inverted storage keeps glue at the nozzle, but an uncapped nozzle still dries out. Cap on when the job is done.
- Label the holder, not just the bottle. Bottles get wiped, relabeled, or refilled. A tag on the holder — “wood glue,” “thin,” “specialty” — keeps the row readable.
- Keep one holder empty. It is the landing spot for the bottle in your hand during a glue-up, so you are not balancing it on a project.
- Wipe nozzles before they go back. A ten-second wipe prevents the clog that wastes ten minutes next time.
- Store holders away from direct heat. Glue and heat do not mix, and neither does PLA. A cool bench corner beats a sunny windowsill.
Common Mistakes to Avoid
- Designing for one bottle and expecting it to fit all. Measure each bottle; print two sizes if needed.
- Making an inverted holder with no drip tray. Drips happen. A tray is not optional.
- Printing a narrow base. A tall bottle on a narrow base tips at the slightest nudge. Wide bases are the whole point.
- Forgetting nozzle length. A holder sized for a short nozzle will not accept a bottle with a long precision tip. Measure with the cap off and on.
- Letting dried glue lock bottles in. Clean trays regularly, and avoid tight fits around the nozzle area where glue can bridge and harden.
- Storing glue upside down for months without checking. Inverted storage is for working bottles. Check rarely used bottles, and store them upright with caps on if they sit for long periods.
Care, Storage, and Alternatives
Holders need only occasional cleaning: peel dried glue off PETG easily, or soak a PLA holder briefly in warm water if glue builds up — do not use solvents that attack the plastic. Replace any holder that cracks or warps, which costs minutes, not money.
Alternatives include a commercial bottle stand, which works but rarely fits your exact bottles, and a simple wooden block with holes drilled in it, which is sturdy but cannot be resized without a new block. A printed holder wins on fit: it matches your bottles, your bench, and your workflow, and it can be reprinted in a new size the day you buy a different bottle.
FAQ
Should glue bottles be stored upright or inverted?
Both have a place. Upright is best for bottles used rarely and for long-term storage, with caps on. Inverted is best for the bottle you use often, because glue stays at the nozzle and dispenses right away. Use upright holders for the collection and an inverted holder for the working bottle.
Will inverted storage clog the nozzle?
It usually reduces clogging, because glue stays wet at the tip instead of settling away from it. Clogs still happen if the cap is left off or the nozzle is not wiped, so cap the bottle between jobs and wipe the tip before it goes back in the holder.
Is PLA or PETG better for glue holders?
PETG is the better choice: it resists glue drips, wipes clean, and handles a warm shop better. PLA works fine for a first version and for upright holders that see few drips.
My bottle wobbles in its holder. What is wrong?
The ring is too loose or the base is too narrow. Check the bottle’s diameter at the point where the ring grips it — bottles taper, and a ring sized for the widest part will be loose at a narrower point. Size the ring for the gripping point, and widen the base if tipping is the problem.
Conclusion
Glue work is fiddly enough without fighting your bottles. A holder that keeps a bottle upright and steady, or inverted and ready, removes a small frustration from every glue-up — and small frustrations, repeated daily, are the ones that wear a workshop down.
Print one holder for the bottle you use most, test it through a real glue-up, and then print the row. Your bench will be clearer, your nozzles cleaner, and your glue ready when you are.