Introduction
A grout float usually fails in one place first: the handle. The rubber pad lasts, the base plate lasts, but the grip cracks, loosens, or goes smooth with years of wet work. Buying a whole new float for a broken handle feels wasteful, especially when the part that touches the tile is still perfectly good.
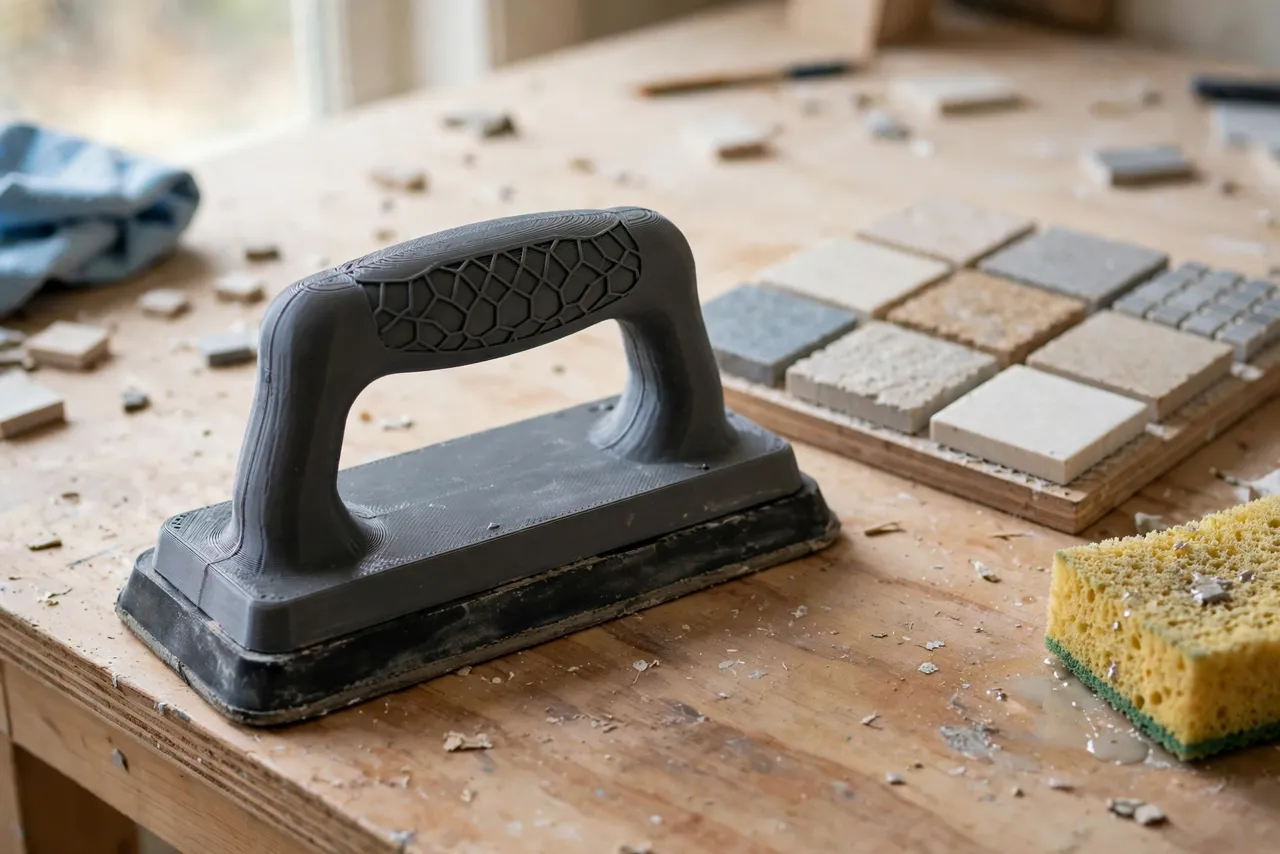
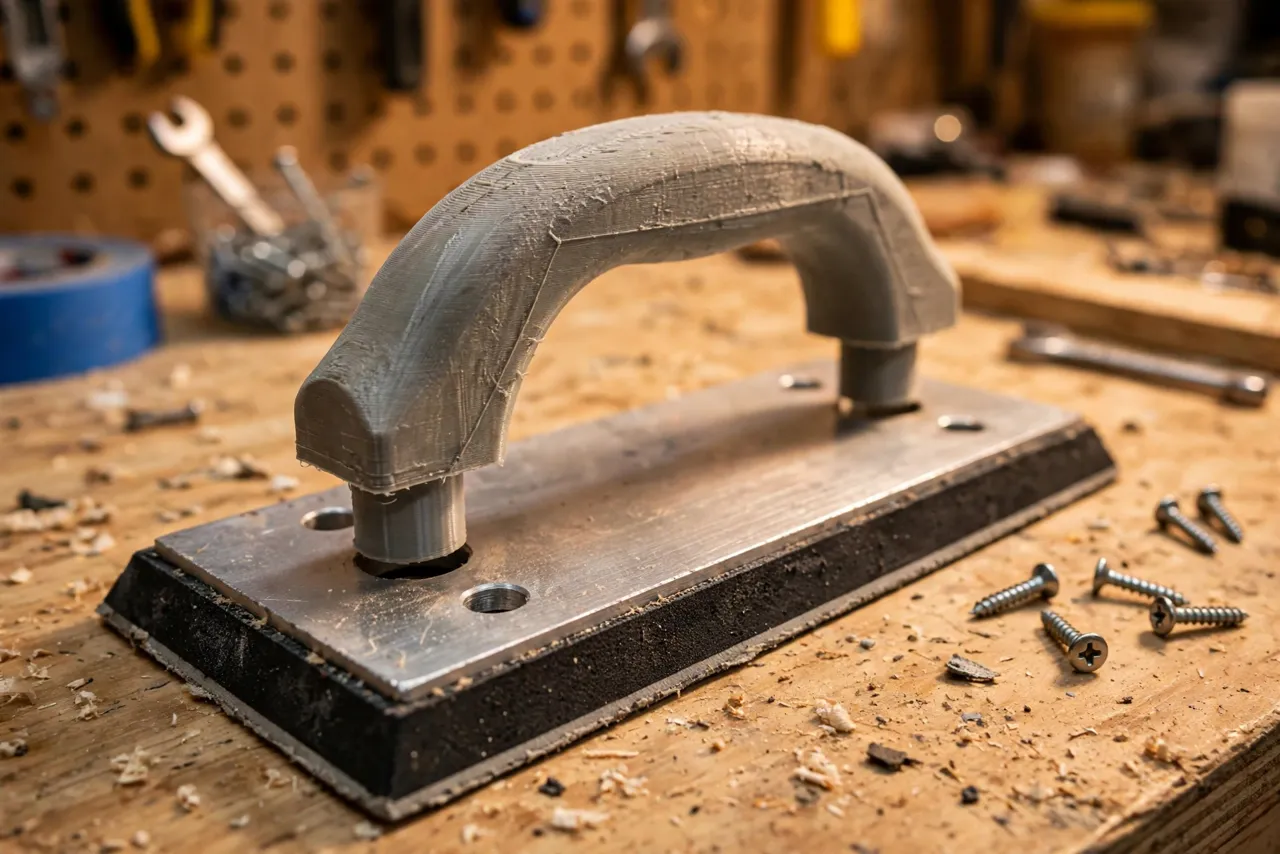
A 3D printed grout float handle replacement solves that mismatch. You measure the base plate and its mounting points, print a handle shaped to your hand, and bolt or slot it onto the float you already own. The result is a tool that feels new, costs almost nothing in filament, and keeps a sound float out of the bin.
This guide covers measuring, designing, printing, and fitting a replacement handle for common rectangular grout floats. Treat the handle as a light-duty grip only — it spreads grouting pressure across the float, it does not reinforce a cracked base plate, and if the float’s pad or plate is damaged, replace the float itself rather than dressing it up with a new handle.
What You Need
The handle is a medium-sized print, longer than most workshop prints, so check your printer’s build area first. Everything else is basic workshop kit.
Materials and tools
- A home 3D printer with a build area of at least 230 mm in one direction, or a split-handle design if yours is smaller
- PETG filament for water resistance and toughness, or PLA for a dry test fit
- Your existing grout float, with its old handle removed, plus its screws or bolts
- Calipers or a ruler, a pencil, and fine sandpaper or a small file
- A screwdriver, and stainless or coated screws if the originals are rusted
- A sponge and bucket for testing the finished float on a sample tile
PETG is the clear choice for a keeper, since grouting is wet work and a handle that softens or cracks in water is useless. PLA is fine for checking the fit indoors, but do not trust it for a real grouting session.
Suggested print settings
- Layer height: 0.20 mm, or 0.24 mm for a faster, still-strong print.
- Walls: 5 perimeters, since the handle takes repeated pressing force.
- Infill: 50 to 60 percent, grid or gyroid, for a solid grip that does not flex.
- Top and bottom layers: 5 or more.
- Orientation: Print on its side or flat, whichever puts layer lines across, not along, the main bending direction.
- Supports: Only for overhanging grip features; a simple handle needs none.
Print a test fit first, even if it means a slower start. A handle that does not sit flat on the base plate will rock and ruin your grout lines.
Design Considerations
A grout float handle is not a decoration. It must transfer even pressure to the pad, stay comfortable when wet, and attach firmly. Design for all three.
1. Mounting to the base plate
Start by measuring the float itself: the base plate length and width, the hole positions, and the height of any raised boss the old handle sat on. Most floats use two or four screws through the plate into the handle. Model matching holes or recesses in your handle base, with a little clearance — about 0.3 mm — so screws pass cleanly. Add shallow counterbores so screw heads sit flush and never touch the tile. If the original mounting used a slot or clip, measure that slot carefully and reproduce it rather than forcing a screw design onto it.
2. Grip shape
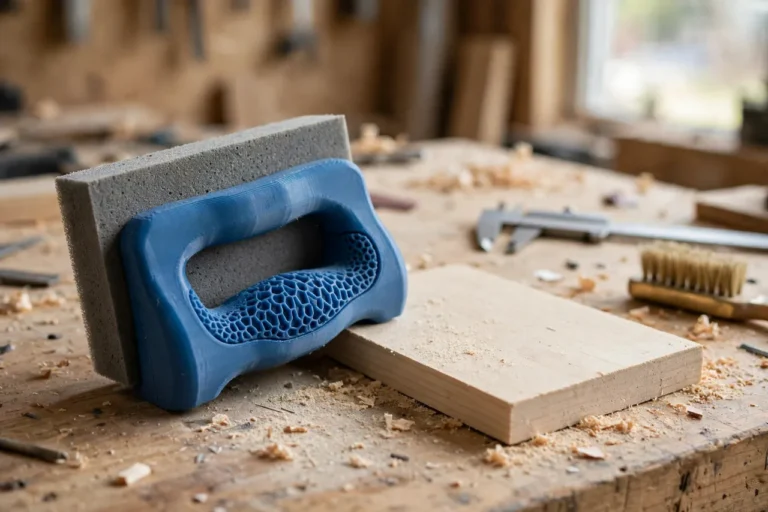
The classic grout float handle is a raised bar you can wrap your fingers around, or a flat palm pad. A bar grip, about 110 to 130 mm long and 30 mm wide, suits most hands and lets you press with your whole hand. A palm pad, about 120 mm by 90 mm, spreads pressure more evenly for large floors but gives less control on walls. Choose the shape that matches how you grout. Round every edge generously, add shallow finger grooves under a bar grip, and keep the grip surface slightly textured — small ribs or a knurled pattern printed into the top — so wet hands do not slip.
3. Height and balance
Handle height sets how much leverage you have and how tired your wrist gets. About 35 to 50 mm above the base plate is a good range for a bar grip; much taller and the float tips easily, much lower and your knuckles drag. Centre the grip over the base plate so pressure lands evenly. An off-centre handle leaves one edge of the float digging in and the other floating, which shows up immediately as uneven grout.
4. Split prints for small printers
If your printer cannot fit a full-length handle, split it into two halves joined by a printed dovetail or by bolts through the base plate. Design the joint to sit under the grip centre, where stress is lowest, and test it hard on scrap tile before a real job. A split handle that flexes is worse than no handle at all.
Step-by-Step: Printing and Assembly
- Remove the old handle and clean the base plate, noting every hole, slot, and raised boss.
- Measure carefully. Record hole spacing, plate dimensions, and the old handle’s height and grip length.
- Model the replacement, with matching mounting holes, a rounded grip, and a flat base that sits fully on the plate.
- Print a test fit in PLA, and check it against the plate without screws first.
- Clean it up. Sand the grip smooth, clear the screw holes, and round any sharp edges.
- Bolt it on. Use the original screws, or stainless replacements, and tighten evenly. Check the handle does not rock.
- Print the keeper in PETG once the test fits, using the same file.
Check the screws after the first test use. Wet work and vibration can loosen a fitting that felt tight when dry.
Step-by-Step: Using the Rebuilt Float
- Test on a sample tile. Spread a small batch of grout on an offcut or a spare tile and check the float sits flat and presses evenly.
- Mix grout as directed and let it slake for the time the maker specifies. A rebuilt handle does not fix badly mixed grout.
- Load the float and spread grout diagonally across the joints, using firm, even pressure from the new grip.
- Work in sections. Grout a manageable area, then clean with a damp sponge before moving on, rather than racing ahead.
- Check your lines. Look along the joints in raking light: they should be full and even, with no low spots where the float rocked.
- Clean the float promptly. Rinse grout off the handle and pad before it hardens, and dry the tool before storing.
A good handle should disappear in use — you notice the grout lines, not your hand. If you are thinking about the grip, something is still wrong with its shape or fit.
Tips for Better Results
- Test on scrap tile first. An offcut reveals rocking or uneven pressure before it ruins a floor.
- Keep the grip textured but cleanable. Deep grooves trap grout; shallow ribs give grip without becoming a cleaning chore.
- Tighten screws evenly. Uneven tightening tilts the handle and the float with it.
- Dry the tool after use. Even PETG lasts longer when it is not stored wet, and screws stay rust-free.
- Mark the float size on the handle. If you own several floats, this stops a handle migrating to the wrong plate.
Common Mistakes to Avoid
- Designing from memory instead of measuring. Float plates differ by brand, and a few millimetres of hole error means a handle that never bolts on straight.
- Printing too thin. A hollow-feeling handle flexes under pressure and makes grout lines wavy. Use thick walls and high infill.
- Ignoring balance. An off-centre grip is the commonest cause of uneven grouting with a rebuilt float.
- Using rusted original screws. They seize, snap, or stain. Replace them cheaply while the handle is off.
- Skipping the sample test. The first real tile is not the place to discover a rocking handle.
Care, Storage, and When to Choose an Alternative
Rinse the float after every job, dry it, and store it flat with the pad protected. If the printed handle cracks or a mounting hole wears loose, reprint it — the file is already proven. If the base plate itself is bent, the pad is torn, or the float rocks even with a perfect handle, buy a new float. A handle can rescue a sound tool, but it cannot rescue a worn-out one.
FAQ
Will this handle fit any grout float?
No. Float plates and mountings vary, so this is a measure-and-print job for your specific float. The design approach is the same for most rectangular floats, but the dimensions must come from the float in your hand.
Is PLA strong enough, or do I need PETG?
PLA is fine for a dry test fit. PETG is the keeper material for wet grouting work, because it resists water and flexes instead of cracking. Either way, thick walls and high infill matter most.
Can I print the handle in one piece?
Usually, yes, if your printer fits about 230 mm in one direction. If not, split the handle into bolted halves as described above, and test the joint thoroughly before a real job.
My rebuilt float still leaves uneven grout. What went wrong?
Check three things: the handle is centred and bolted flat, the base plate is not bent, and your pressure is even. Loosen the screws, reseat the handle, retighten evenly, and test again on a sample tile before returning to the floor.
Conclusion
A worn handle should not retire a good float. Measure the plate, print a grip shaped to your hand, bolt it on flat and centred, and test it on scrap. The result is a tool that feels new for the cost of a little filament.
Print one for the float you actually own, keep it clean and dry, and the next grouting job will be about the tiles, not the tool.
For more tiling work, you may also enjoy our related guide, “3D Printed Tile Spacers and Leveling Clips for DIY Floor and Wall Tiling,” and for keeping abrasives sorted for the finishing stages, see “Sandpaper Organizer and Storage Box: 3D Print a Grit-Sorted System for Your Workshop.”