Introduction
Fresh glazing putty looks simple until you try to lay it. Too much pressure and it squeezes out in waves. Too little and it leaves ridges, gaps, and thin spots where water can creep in. A putty knife alone demands a steady hand and a lot of practice, and most home repairs end up looking patched rather than finished.
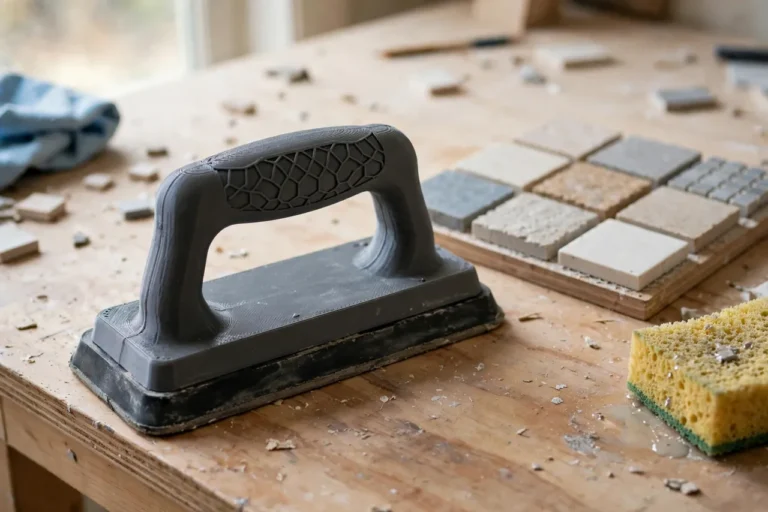
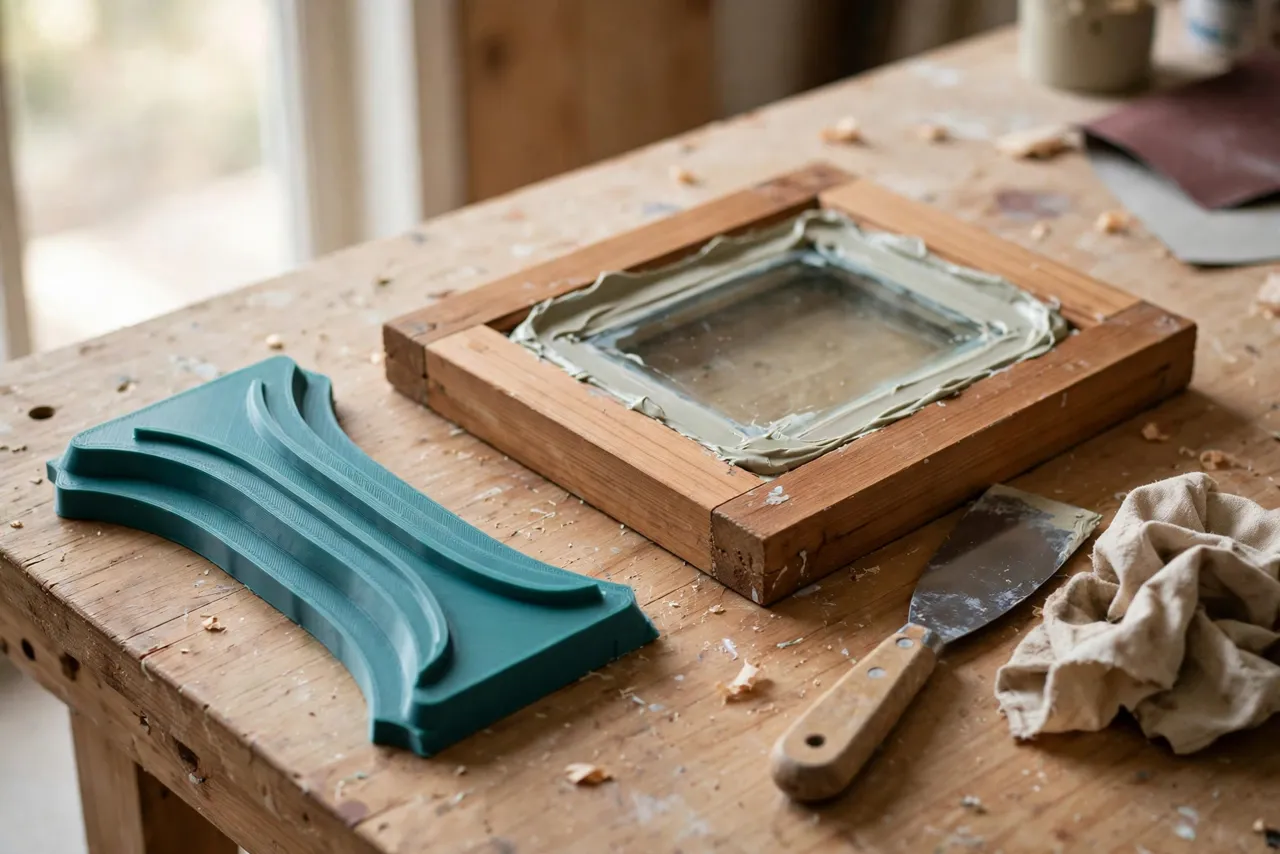
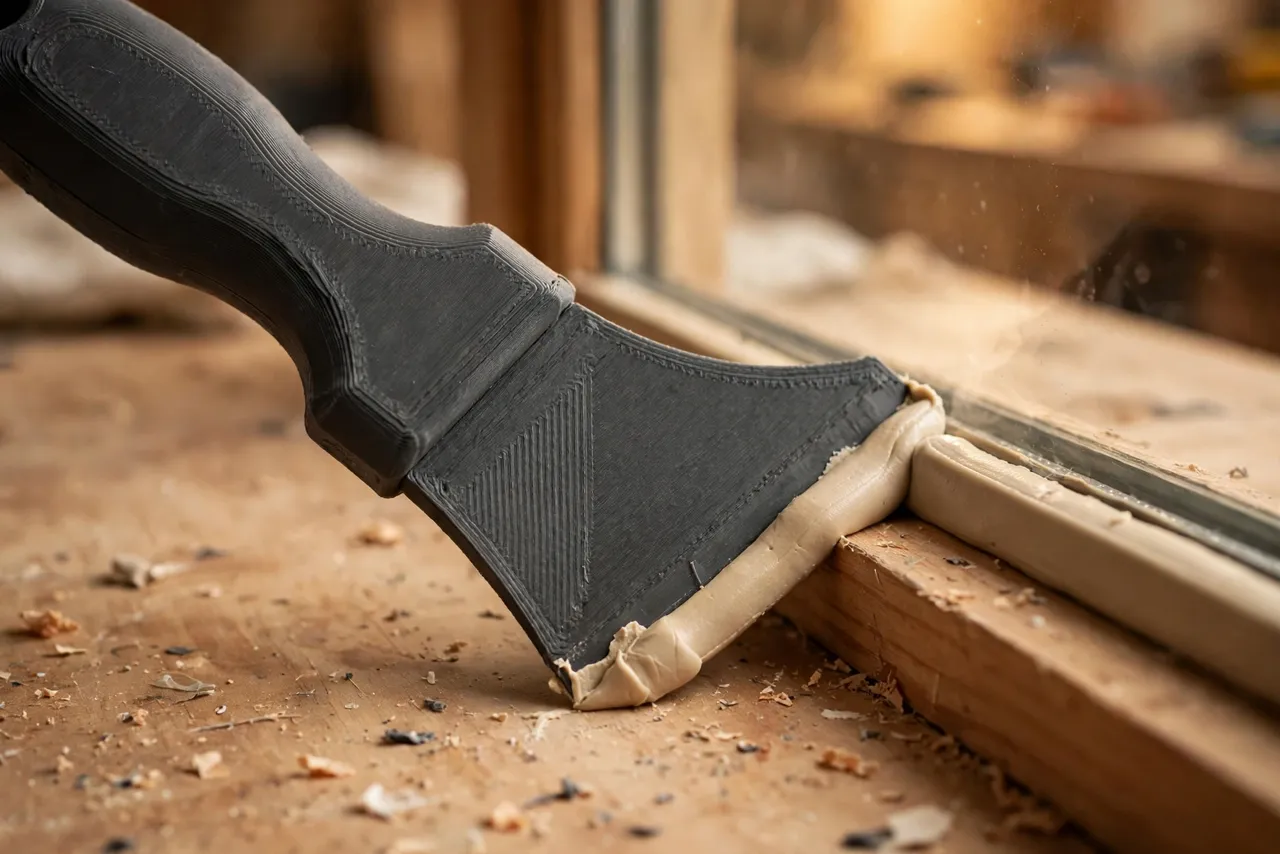
A 3D printed glazing putty smoothing tool gives your hand the geometry a glazier learns by feel. It is a small profiled block with bevelled edges at the angles putty lines actually need. You press putty roughly into place, then draw the tool along the line in one smooth pass. The bevel shapes the bead, trims the excess, and leaves a consistent angle from corner to corner.
This guide covers designing, printing, and using your own smoothing tool for standard wooden window sashes. Treat it as a finishing aid only — it shapes putty, it does not hold glass in place, and it never replaces proper glazing points, a sound frame, or a fully cured and painted finish where the job requires one. If a frame is rotten or the glass is cracked, fix that first and choose a manufactured part or professional help when the job demands it.
What You Need
The tool is small and flat, so it prints quickly and uses little filament. Most of the work is getting the bevel angles right for your windows.
Materials and tools
- A home 3D printer with a build area of at least 100 mm in one direction
- PETG filament for a tool that resists putty solvents and cleaning, or PLA for a test
- Glazing putty, glazing points, and a putty knife for applying the putty
- A window sash or test frame to practise on, plus a ruler or protractor
- Fine sandpaper, a small file, a clean rag, and mineral spirits or the cleaner your putty maker recommends
- Painter’s tape, useful for protecting glass while you learn
PETG is the better keeper because it cleans up well and flexes rather than snapping. PLA works for a first version, but store it away from heat and clean it promptly, since dried putty is harder to remove from any surface.
Suggested print settings
- Layer height: 0.16 to 0.20 mm, so the bevel faces come out smooth.
- Walls: 4 perimeters, for a rigid edge that will not flex mid-stroke.
- Infill: 40 to 50 percent, grid or gyroid.
- Top and bottom layers: 4 or more, for flat, true faces.
- Orientation: Print flat, bevel face up, so layer lines do not run across the smoothing edge.
- Supports: None, for a well-designed block.
Print a test tool first and practise on scrap before touching a real window.
Design Considerations
A smoothing tool is really a set of bevels on a comfortable block. Each edge does one job, so design them deliberately rather than copying a putty knife shape.
1. The main bevel
The classic glazing bead is a 45-degree slope from the glass to the wooden frame, or close to it. Model your main edge at 45 degrees, about 15 to 20 mm long, with a crisp but not knife-sharp corner. A slightly rounded leading edge, about 0.5 mm radius, glides better and is less likely to dig a groove. Test it: if the bead looks hollow, the angle is too steep for your frame depth; if it looks flat and wide, it is too shallow.
2. Secondary edges
Add a second edge at a steeper angle, around 60 degrees, for narrow rebates, and a third at a shallower angle, around 30 degrees, for wide ones. Put each on a different side of the block and label them with shallow embossed marks or a paint pen. One tool can then cover most windows in a house. Also add a square corner for pushing putty into corners before smoothing, and a small notch for clearing excess from the glass edge.
3. Size and grip
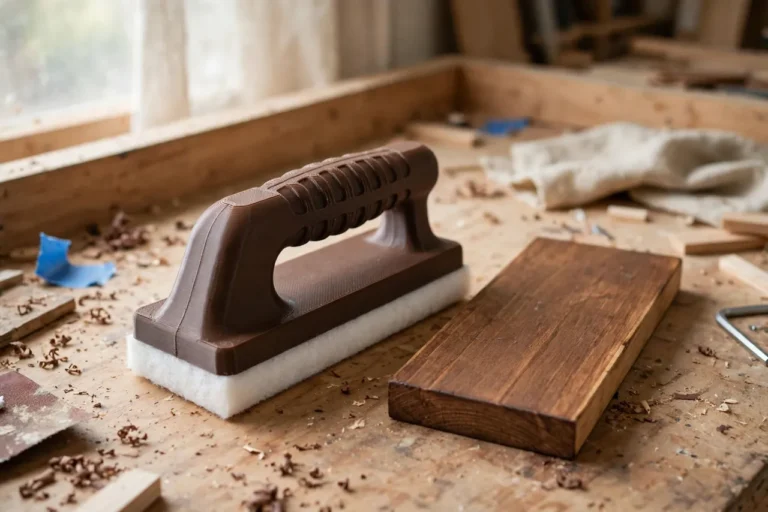
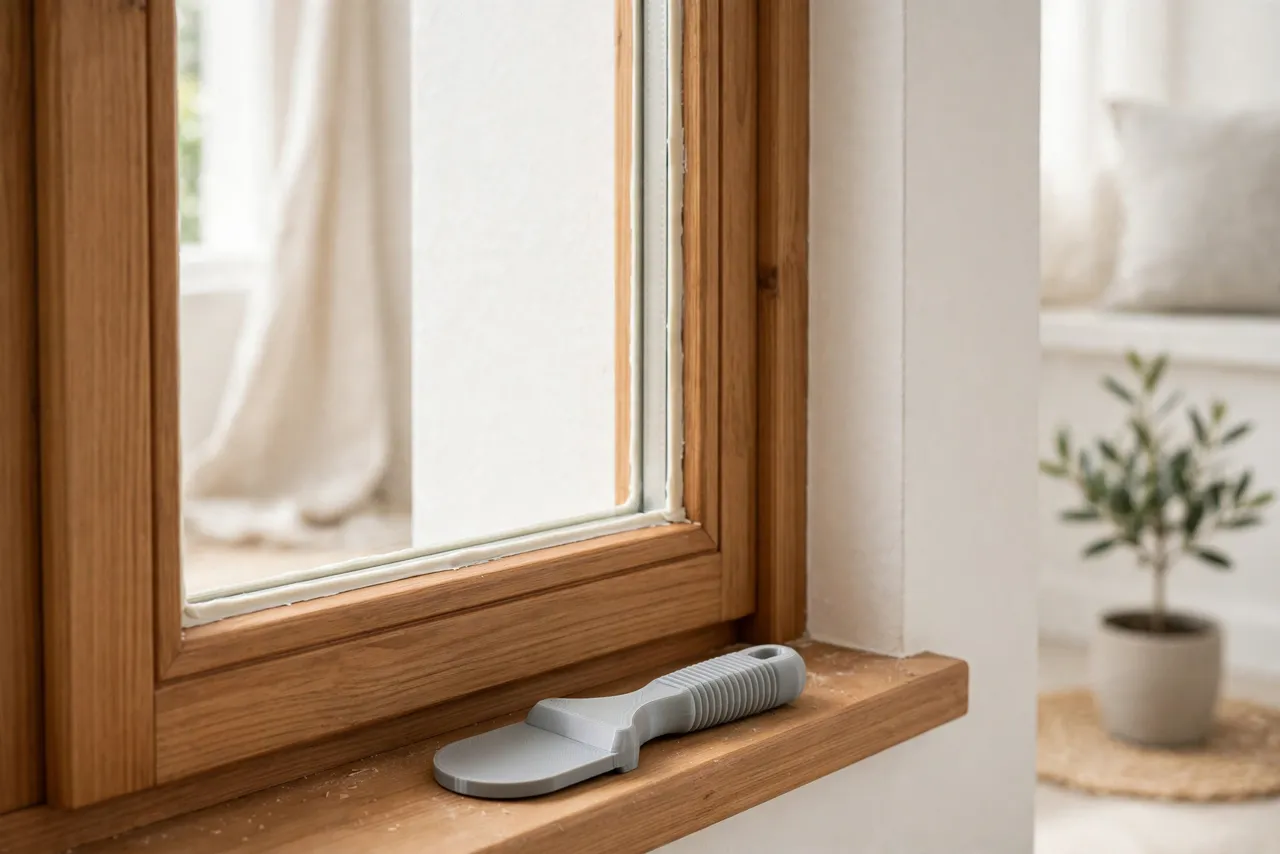
Make the block about 80 to 100 mm long, 35 to 45 mm wide, and 15 to 20 mm thick — large enough to hold firmly, small enough to turn in a corner. Round the back and sides for comfort, and add shallow finger grooves or a textured top if your printer handles it. A through-hole at one end lets you hang the tool, and keeps it from vanishing into a toolbox.
4. Material and finish
The smoothing faces must be smooth. Sand the printed bevels lightly with fine sandpaper, working along the edge, not across it. A rough bevel drags putty and leaves lines. If a face still feels rough, a second print at a finer layer height is worth the time. Do not coat the tool with anything that could transfer to the putty or the glass.
Step-by-Step: Printing and Assembly
- Measure your window rebate. Note the depth from the glass surface to the frame face, and the width of putty line you want.
- Model the block with 30, 45, and 60-degree edges, a square corner, and a clearing notch.
- Print a test version in PLA at the settings above.
- Sand the bevels lightly along each edge until they feel glass-smooth to a fingertip.
- Practise on a scrap frame. Lay a bead of putty and draw the tool along it in one pass.
- Adjust the angles if the bead looks wrong, then reprint. Small changes of 5 degrees make a visible difference.
- Print the keeper in PETG and label each edge angle.
There is no assembly. Keep the tool clean and dry between uses.
Step-by-Step: Using the Tool on a Window Repair
- Prepare the sash. Remove loose old putty, check the frame is sound, and seat the glass with glazing points as the window requires.
- Protect the glass. Tape just outside the putty line if you are still learning, leaving the rebate itself clear.
- Apply putty roughly. Press a rope of putty into the rebate with a putty knife, slightly proud of the final line. Do not try to finish it yet.
- Choose the right edge. Match the bevel to your rebate: 45 degrees for a standard sash, steeper or shallower where the frame demands it.
- Draw the tool in one pass. Start at one corner, hold the tool flat against glass and frame, and pull steadily along the line with light, even pressure. Do not stop halfway.
- Clear the excess. Use the notch or a knife edge to lift the trimmed putty away, and wipe the glass edge clean.
- Finish the corners. Push putty into each corner with the square end, then smooth the two meeting lines toward the corner, not away from it.
- Inspect in raking light. Look along the line from the side: it should be straight, even, and free of ridges. Touch up a small spot with a single light pass, not repeated scrubbing.
Work one side at a time, and let the putty skin over before painting, following the putty maker’s instructions. Rushing to paint soft putty ruins the line you just smoothed.
Tips for Better Results
- Practise on scrap first. A test frame teaches pressure and speed without risking a real window.
- Keep the tool clean. Wipe it between passes so dried putty does not drag lines into the next bead.
- Use light pressure. The bevel does the shaping; pressing hard only squeezes putty out of the rebate.
- Work in one direction. Repeated back-and-forth strokes roughen the surface instead of smoothing it.
- Warm stiff putty slightly in your hands before applying it, if the maker allows it, so it lays evenly.
Common Mistakes to Avoid
- Smoothing too soon. Putty pressed in roughly needs a moment to settle; a rushed pass tears it.
- Using the wrong bevel. A steep edge on a wide rebate leaves a hollow line; match the edge to the frame.
- Stopping mid-line. Every stop leaves a mark. Plan each pass from corner to corner.
- Letting putty dry on the tool. Clean it promptly, or the next pass will be rough.
- Ignoring the frame. A smoothing tool cannot fix a rotten rebate or a loose pane. Repair the frame first.
Care, Storage, and When to Choose an Alternative
Wipe the tool clean after each use and store it flat, away from heat. If a bevel gets nicked, sand it smooth or reprint the tool; it is small and cheap. For a professional glazier working daily, a steel or hardwood profile tool will outlast plastic. For home window repairs, a printed tool with the right angles is accurate, easy to customise, and simple to replace.
FAQ
Will one tool suit every window in my house?
Usually, yes, if it carries several bevel angles. Most wooden sashes use similar rebates, so a 30, 45, and 60-degree set covers them. Unusual metal or very deep frames may need their own edge, which is a quick second print.
Is PLA strong enough, or do I need PETG?
PLA is fine for learning and for occasional use. PETG is the better keeper because it cleans up better and tolerates warmth and handling. Smooth bevels matter more than filament choice, so sand carefully either way.
Can I use this tool instead of a putty knife?
Not entirely. You still need a putty knife, or similar, to press putty into the rebate in the first place. The smoothing tool finishes the line; it does not replace the application step.
My putty line keeps tearing. What went wrong?
Usually the putty is too stiff, the tool is dirty or rough, or you are pressing too hard. Warm the putty as the maker allows, sand the bevel smooth, clean the tool, and use one light, steady pass.
Conclusion
Neat glazing is mostly geometry: the right angle, held steadily, drawn in one pass. A printed smoothing tool gives you that geometry without years of practice, and turns a patched-looking repair into a line you are happy to leave unpainted until curing is done.
Print one with several bevels, practise on scrap, and your next window repair will look like it was meant to be there.
For other window work, you may also enjoy our related guide, “3D Printed Replacement Window Crank Handle: Fix a Broken Crank in an Afternoon,” and for the frames and trim around your windows, see “Contour Sanding Blocks: 3D Print Custom Blocks for Curved Trim and Furniture Repairs.”