Introduction
Headlamps are small, useful, and endlessly easy to lose. They end up in drawers, in tool bags, on top of cabinets, or in the pocket of a jacket you wore last month. When you need one — under a sink, inside a cabinet, in a dim corner of the garage — you spend ten minutes hunting for it, and the job that needed light waits in the dark.
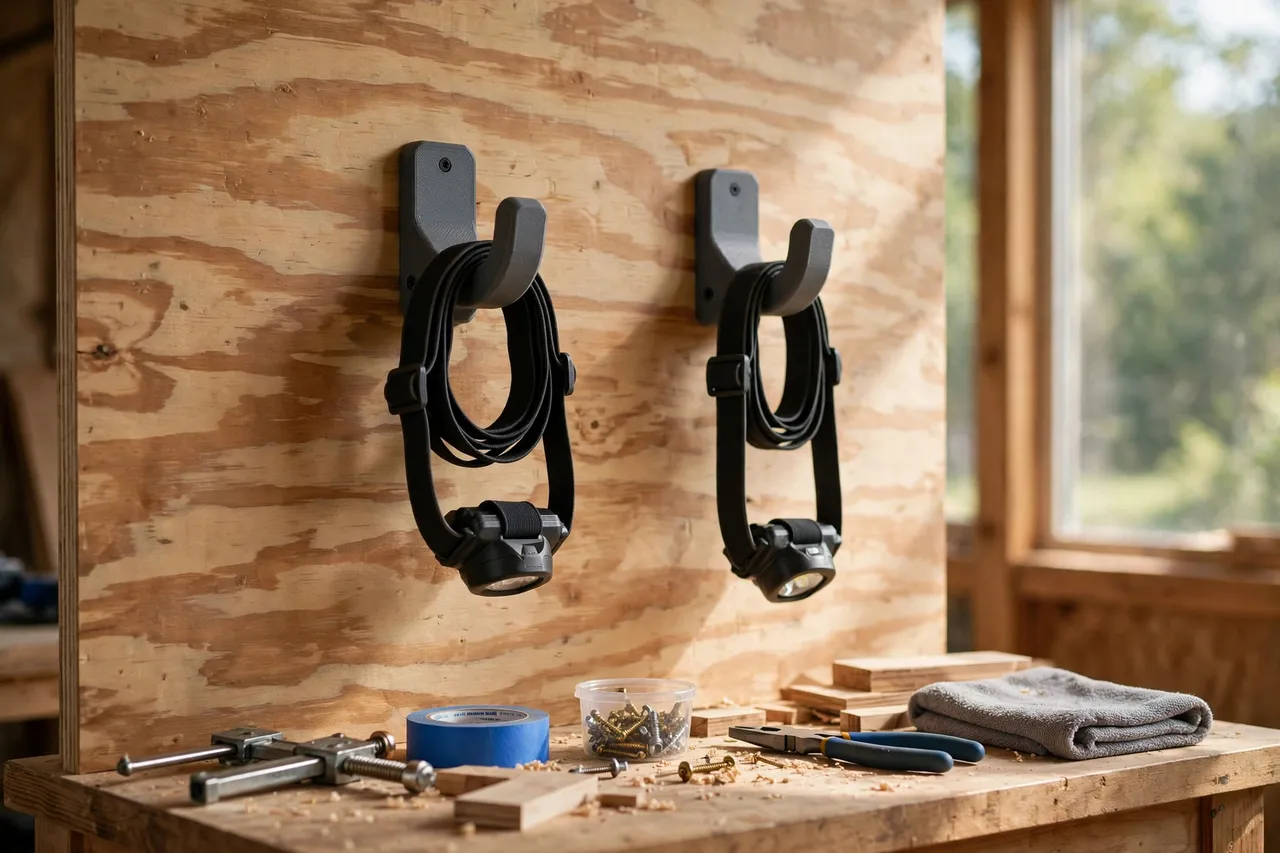
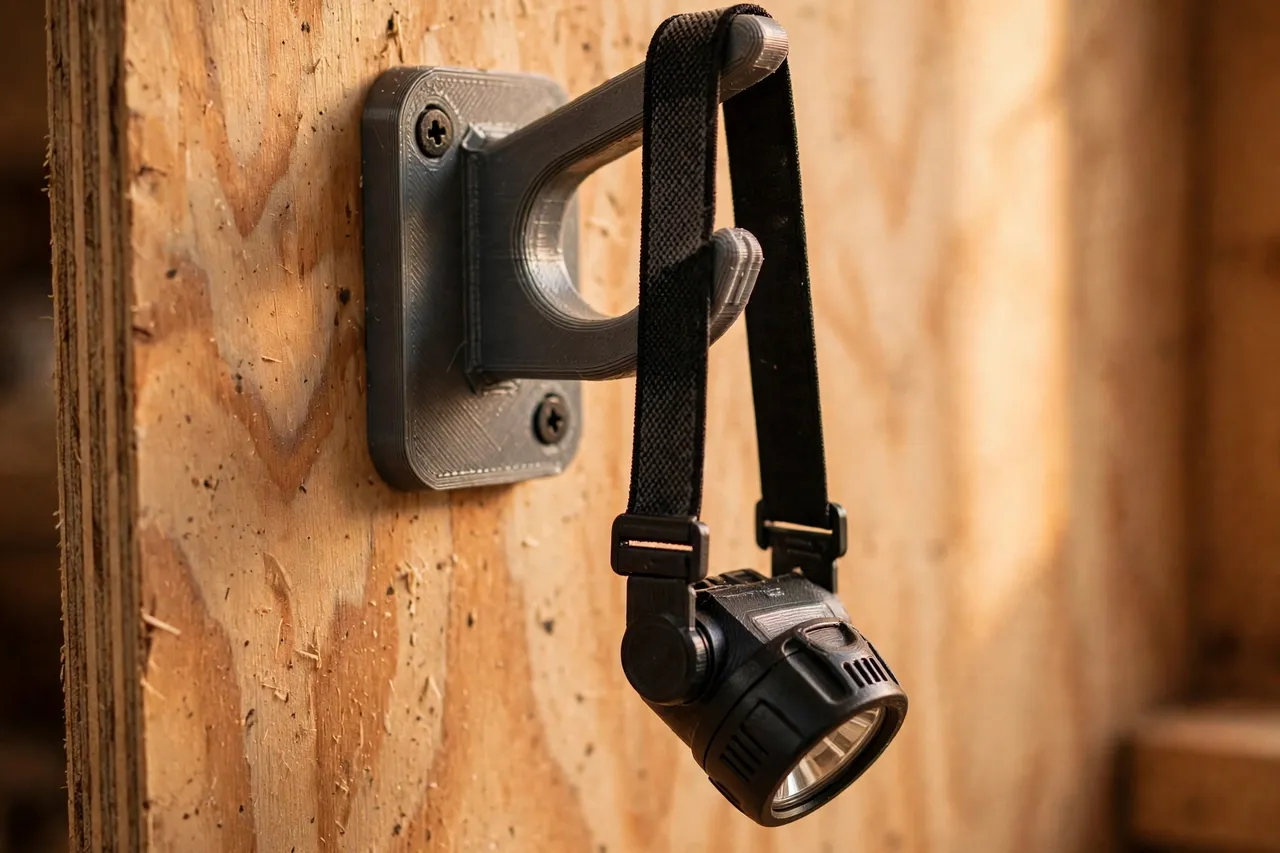
A wall hook by the bench fixes this with a simple habit: the headlamp lives on its hook, and it goes back on its hook when the job is done. The strap hangs neatly, the lamp body stays clean and undamaged, and you can see at a glance whether the headlamp is home or out on a job.
This guide covers printed hooks sized for headlamp straps and lamp bodies. The hooks are storage for finished headlamps only. They do not charge, repair, or modify a headlamp, and they do not change how it works. A hook simply gives it a visible parking spot so it is there when you need it.
What You Need
This is a quick print-and-mount project, much like any other wall hook, with headlamp straps as the sizing guide.
Materials and tools
- A home 3D printer with a build area of roughly 120 mm in at least one direction
- PLA or PETG filament; either works, since a headlamp is light
- Your headlamps, for measuring strap width and lamp body size
- A stud finder, pencil, spirit level, and tape measure
- Wood screws (30 to 40 mm) for plywood or studs, plus wall plugs for masonry
- A cordless drill, pilot drill bit, and screwdriver
- Sandpaper or a small file for cleanup
If you want the hooks near a charging point, plan the location with cable routing in mind — but the hooks themselves involve no electrical work, and any charging uses the headlamp’s own charger and cable, placed safely away from the hooks.
Suggested print settings
- Layer height: 0.20 mm is fine for hooks.
- Walls: 3 to 4 perimeters for a sturdy hook arm.
- Infill: 30 to 50 percent, gyroid or grid.
- Top and bottom layers: 4 or more for a flat mounting plate.
- Orientation: Print flat with the mounting plate down, or on the side for a stronger arm.
- Supports: Usually none for a simple hook shape.
Print one hook first and test it with your headlamp before printing a row.
Design Considerations
Headlamps vary in strap width, lamp body shape, and weight, but they share one useful feature: a strap that loops easily over a hook.
1. Hook shape for straps
A J-hook with a cradle about 30 to 40 mm wide suits most headlamp straps, which are typically 20 to 25 mm wide. The hook should be deep enough that the strap cannot bounce off — a front lip or upturned tip of at least 15 mm keeps the strap captive while still letting you lift it off with one hand.
For headlamps with a top strap as well as a headband, a wider hook or a double hook lets both straps hang without tangling. Alternatively, hang the headlamp by its main band and let the top strap drape — either way, the lamp should hang level and not twist off the hook.
2. Lamp body clearance
The hook’s standoff from the wall — about 30 to 40 mm — should let the lamp body hang clear of the wall without pressing against it. This protects the lens from scratches and keeps the lamp from swinging into the wall when you bump the bench. If your headlamp has a separate battery pack on the back of the strap, check that the pack also clears the wall and does not pull the lamp sideways.
3. Spacing and location
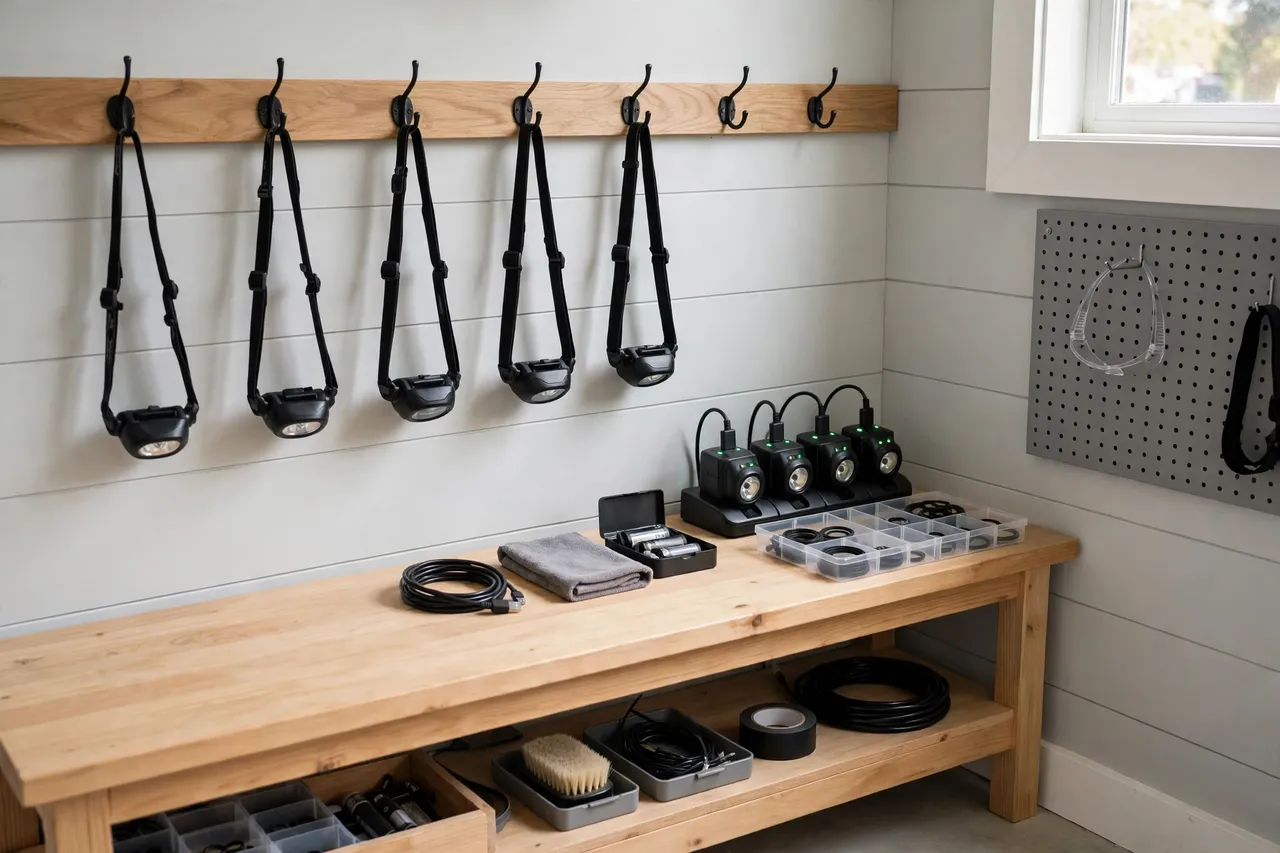
Space hooks 120 to 150 mm apart so straps do not tangle with neighbors. The best location is by the bench or by the door you leave through for outdoor or garage jobs — the place where you naturally reach for a headlamp. If you charge headlamps at the bench, put the hooks nearby, but keep hooks themselves clear of cables and chargers so straps do not snag.
4. One hook or a row
Most households own two or three headlamps: one for the workshop, one for the house, one for outdoor work. A row of three hooks covers that nicely, with a spare hook for a future headlamp or a clip-on work light with a strap. Label the hooks if different people use different headlamps — it stops the wrong lamp disappearing into someone else’s bag.
Step-by-Step: Printing and Mounting
- Measure your headlamps — strap width, lamp body size, and whether there is a rear battery pack.
- Model a J-hook with a cradle wider than the strap, a raised front lip, and a mounting plate with two screw holes.
- Print one test hook and clean up edges that touch straps or lamp bodies.
- Test-hang a headlamp. The strap should sit in the cradle, the lamp should hang level, and the lens should clear the wall.
- Adjust if needed. Strap slipping off? Raise the front lip. Lamp pressing the wall? Increase standoff.
- Print the remaining hooks once the test passes.
- Mark the wall level at a comfortable reaching height, near the bench or door.
- Find studs, drill pilots, and mount the hooks with screws driven snug.
- Hang the headlamps and check each one clears its neighbor.
- Start the habit. Headlamp back on its hook after every job — the system only works if the habit does.
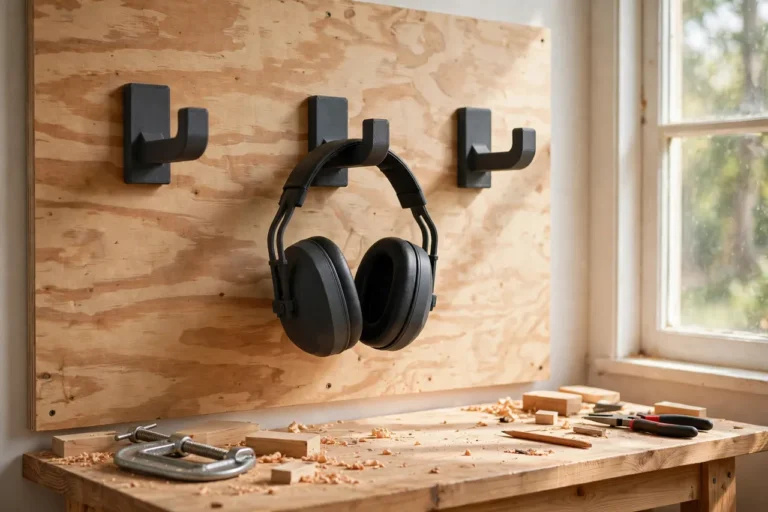
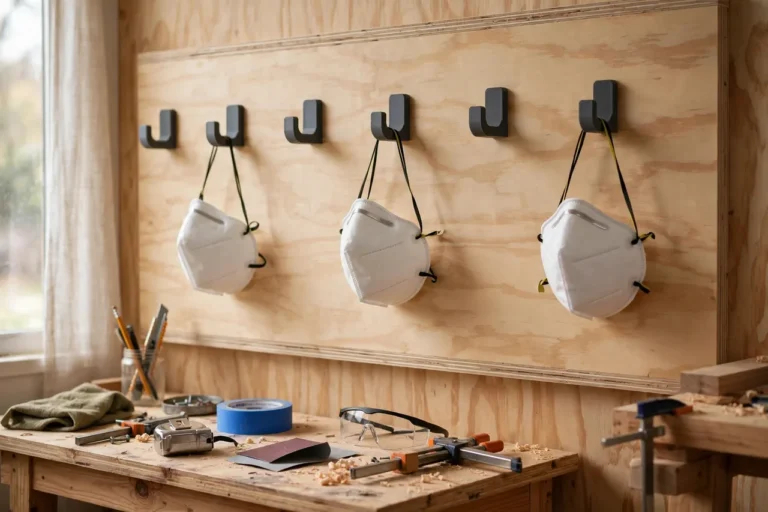
For the wider bench-side storage picture, the guide 3D Printed Ear Muff Wall Hooks: Hang Hearing Protection in Sight uses the same visible-parking-spot logic for hearing protection, and 3D Printed Dust Mask Hooks: Hooks for Masks at the Bench does the same for masks — together, they turn a bare wall by the bench into a tidy gear station where everything you reach for has a home.
Tips for Better Results
- Hang headlamps with lenses facing inward or down. This protects lenses from dust and accidental knocks, and it keeps the lamp’s switch from being pressed by a passing tool.
- Keep a hook by the charging spot. A headlamp that lives next to its charger is a headlamp that actually gets charged, instead of one found dead when you need it.
- Check straps now and then. Elastic straps stretch and fray over time. A stretched strap hangs lower and may slip off a shallow hook — replace the strap or deepen the hook if that happens.
- Wipe lenses before hanging. A quick wipe keeps the lens clear for next time and stops dust building up in storage.
- Leave a spare hook. Headlamps multiply, especially when a household member buys one for camping or outdoor work. A spare hook keeps the row tidy.
Common Mistakes to Avoid
- Using a hook that is too shallow. A shallow hook drops a headlamp the first time the wall is bumped. A raised lip is essential.
- Hanging headlamps where straps tangle. Space hooks properly, or you will spend as long untangling straps as you used to spend hunting for headlamps.
- Mounting with too few fixings. Headlamps are light, but a hook still needs a solid fixing — a stud or a rated anchor, not a bare drywall screw.
- Forgetting battery-pack clearance. A rear pack that presses against the wall pushes the lamp sideways and can strain the strap.
- Storing headlamps with dead batteries for months. Hooks keep headlamps visible, which helps you notice a dead lamp — but check batteries or charge regularly regardless of where the lamp lives.
Care, Storage, and Alternatives
Printed hooks need almost no care: dust them, check screws annually, and reprint any hook that cracks. Headlamps themselves need battery attention — charge rechargeable lamps regularly, and remove disposable batteries from lamps stored for long periods, following the manufacturer’s instructions.
Alternatives include a small basket or drawer for headlamps, which hides them and lets straps tangle, and a pegboard hook, which works but rarely matches strap widths as well as a printed hook. A dedicated row of printed hooks wins on visibility: you see instantly whether the headlamp is home, and you grab it without opening anything.
FAQ
Will one hook fit all headlamps?
Most headlamps, yes, if the cradle is sized for the widest strap you own with a little clearance. Very slim running headlamps and large work headlamps with thick straps may need two hook sizes, but a medium hook covers the common range.
Should headlamps hang by the strap or by the lamp body?
By the strap, almost always. The strap is designed to be looped and hung, and hanging by the strap keeps the lamp body and lens clear of the wall and easy to grab.
PLA or PETG for headlamp hooks?
Either works — a headlamp is light and the hook carries little load. PETG is slightly better in a warm garage, but PLA is perfectly fine for this project.
My headlamp keeps sliding off its hook. What is wrong?
The hook is too shallow or the front lip is too low, or the strap has stretched and no longer sits snugly. Raise the front lip, deepen the cradle, or replace a stretched strap — one of those three fixes it in nearly every case.
Conclusion
A headlamp that lives on a hook by the bench is a headlamp you can find in the dark — which is, after all, when you need it most. A few printed hooks, sized to your straps and screwed into a level row, end the drawer hunt for good.
Print one, test it with your headlamp, and build the row. Then make the habit stick: every headlamp back on its hook, every time.