Introduction
Dust masks are small, light, and almost designed to get lost. They end up crumpled in drawers, crushed under tools, or tossed on a dusty bench — which is ironic, since a mask stored in dust is a mask you do not want on your face. And when dusty work starts, the mask is never where you are. You either hunt for it, or you start cutting and sanding without it, telling yourself it is only a quick job.
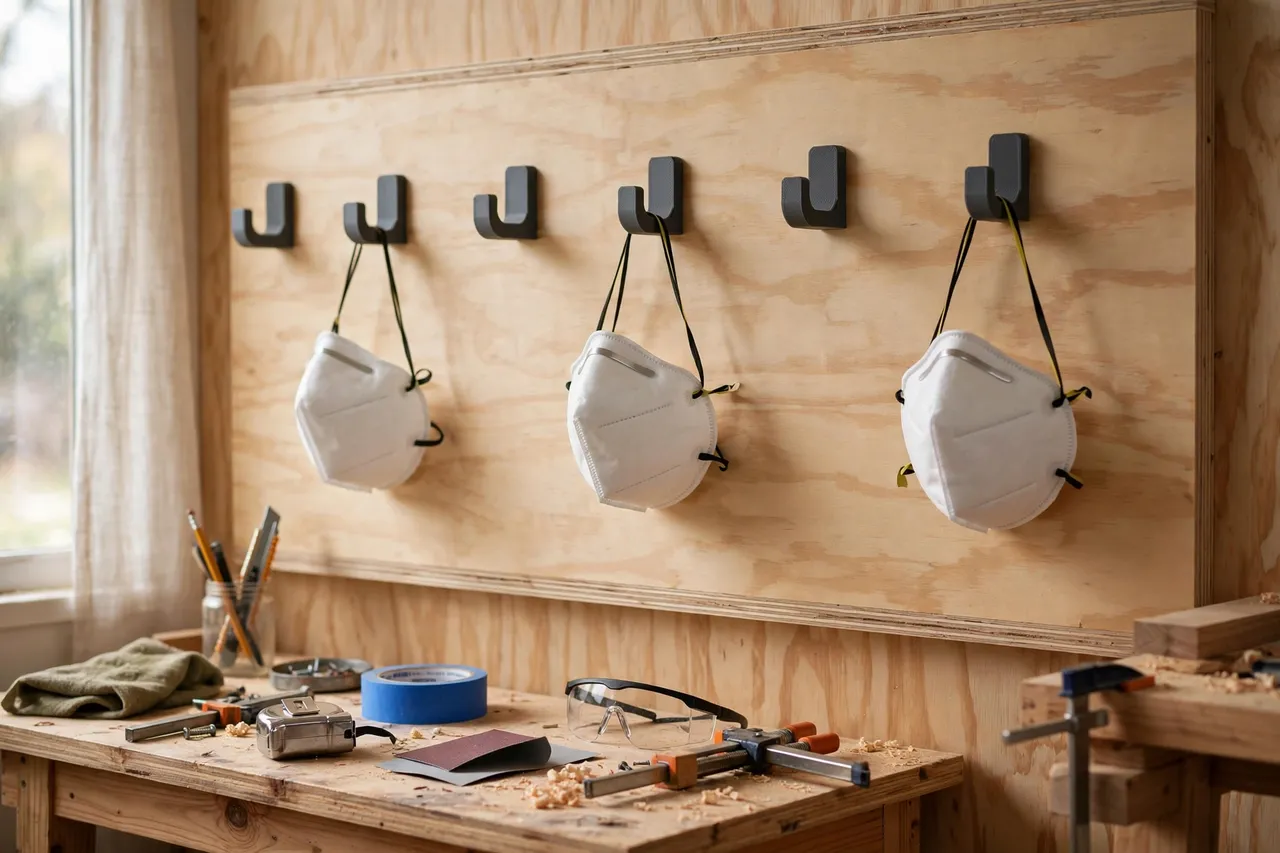
A hook by the bench fixes the habit problem. Masks hang clean, visible, and ready, one per hook, where you see them before dusty work begins. Grabbing a mask becomes part of starting the job, not a separate search.
As with any storage for protective gear, the limits matter and deserve stating plainly: these hooks are storage for finished masks. They hold masks on the wall where they can be found. They are not protective devices themselves, they do not clean, repair, or improve a mask, and hanging a mask on a hook does not make it protective. A mask protects only when it is the right type for the work, undamaged, clean, and fitted properly — and a mask that is dirty, crushed, damaged, or past its use should be replaced, not hung back up. The hook’s job is to keep good masks findable and in good shape until you need them.
What You Need
This is the smallest hook project in this set — quick to print, easy to mount, and easy to multiply.
Materials and tools
- A home 3D printer with a build area of roughly 100 mm in at least one direction
- PLA or PETG filament; either works, since masks weigh almost nothing
- Your dust masks, for measuring strap width and mask cup size
- A stud finder, pencil, spirit level, and tape measure
- Wood screws (25 to 35 mm) for plywood or studs, plus wall plugs for masonry
- A cordless drill, pilot drill bit, and screwdriver
- Sandpaper or a small file for cleanup
Suggested print settings
- Layer height: 0.20 mm is fine for small hooks.
- Walls: 3 perimeters are enough for a mask hook.
- Infill: 25 to 40 percent, gyroid or grid.
- Top and bottom layers: 3 to 4 for a flat mounting plate.
- Orientation: Print flat with the mounting plate down.
- Supports: Usually none for a simple hook shape.
Print one hook first and test it with your mask before printing a row.
Design Considerations
Masks are light but oddly shaped: a cup or folded flat shape, with one or two elastic straps. The hook needs to suit the straps without crushing the mask.
1. Hook shape for straps
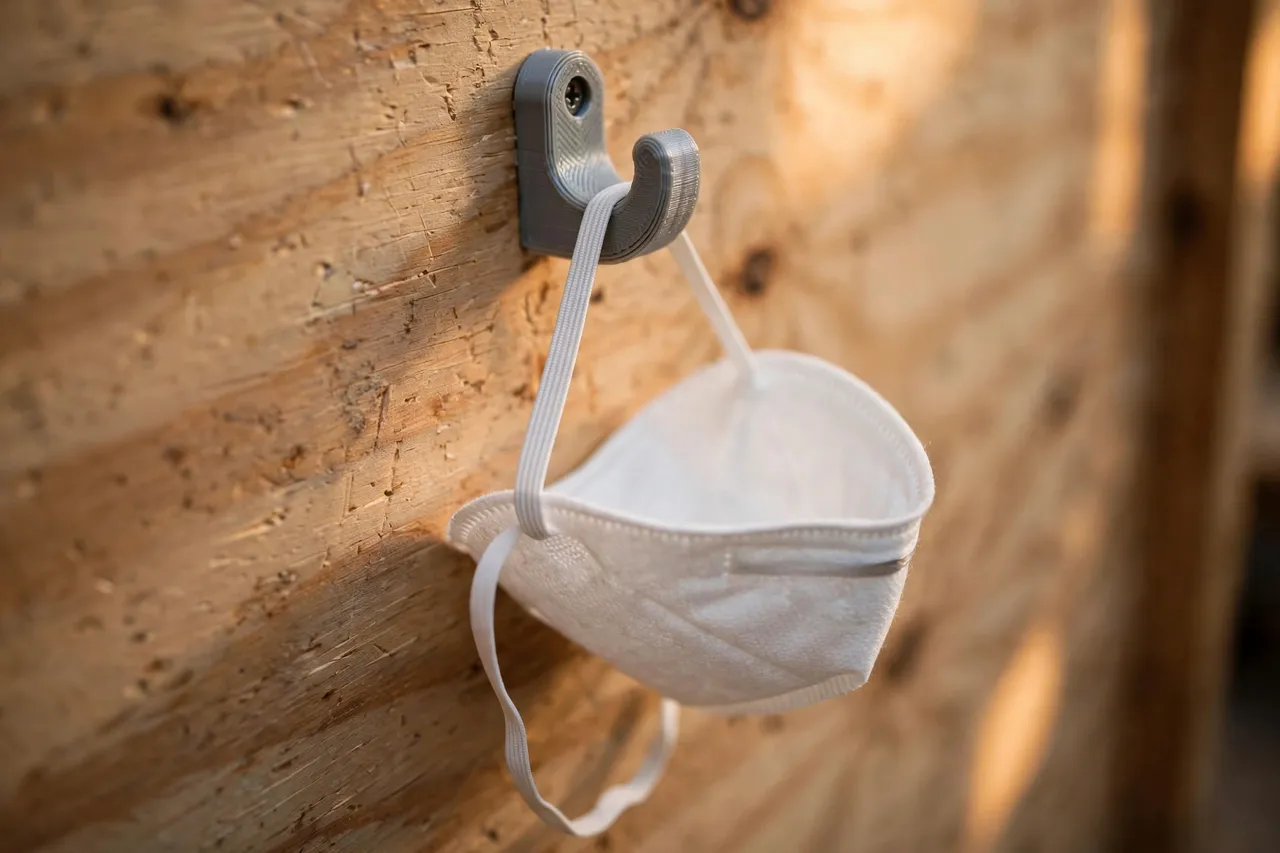
A small J-hook with a cradle about 25 to 35 mm wide suits most mask straps. The front lip should rise at least 12 to 15 mm so the strap cannot slip off when the wall is bumped, while still letting you lift the mask off with one hand. For masks with a single strap loop, hang by the loop; for masks with two straps, drape both over the hook so the mask hangs level.
Avoid hooks with sharp edges or tight clips that pinch the strap. Elastic straps weaken when repeatedly pinched or stretched over a sharp edge, and a weakened strap fits poorly.
2. Mask clearance
The hook’s standoff from the wall — about 30 to 40 mm — should let the mask cup hang clear without pressing flat against the wall. A mask pressed flat loses its cup shape, and a crushed cup fits poorly and seals poorly. Check that the mask does not press against neighboring masks either. Masks are light, so they swing easily; give each one room.
3. Spacing and location
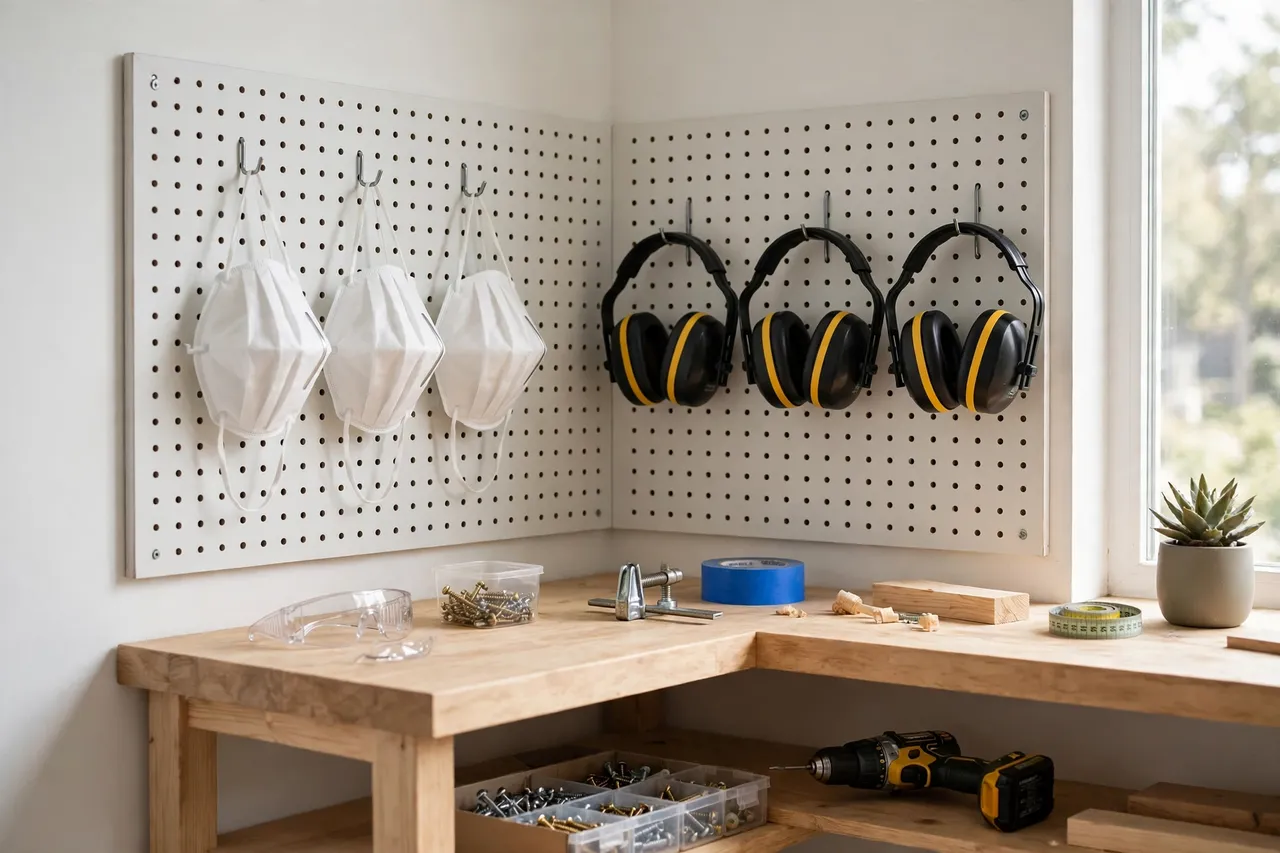
Space hooks 120 to 150 mm apart so masks do not touch each other. The best location is by the bench, near the sanding or sawing area but not directly in the dust path — a hook coated in sawdust is not a clean place for a mask. A spot just outside the dustiest zone, at eye level, keeps masks visible and reasonably clean.
Keep masks away from heat, direct sun, and chemical storage. Heat and chemicals degrade elastic straps and filter material over time, and a hook cannot undo that damage.
4. One mask or a supply
Some shops keep one mask per person on a hook; others keep a small supply of fresh masks hanging as a dispenser row. Both work. For a supply row, use one hook per mask rather than stacking several on one hook — stacked masks crush each other, and the bottom mask is never the one you grab. For a cleaner supply system, the guide 3D Printed Dust Mask Dispenser: Masks Dispensed Cleanly covers a dispenser box that keeps fresh masks protected until use, which pairs well with hooks for the masks in daily rotation.
Step-by-Step: Printing and Mounting
- Measure your masks — strap width, cup size, and whether the mask folds flat or holds a cup shape.
- Model a small J-hook with a cradle wider than the strap, a raised front lip, and a mounting plate with one or two screw holes.
- Print one test hook and clean up any sharp edges that touch straps.
- Test-hang a mask. The strap should sit in the cradle, the cup should hang free and keep its shape, and the mask should lift off with one hand.
- Adjust if needed. Strap slipping off? Raise the lip. Cup pressing the wall? Increase standoff.
- Print the remaining hooks once the test passes.
- Mark the wall level at eye level, by the bench but outside the direct dust path.
- Find studs, drill pilots, and mount the hooks with screws driven snug.
- Hang the masks and check each one clears its neighbor and the wall.
- Inspect before hanging back. A mask that is dirty, crushed, torn, or past its use does not go back on the hook — it gets replaced.
For the full bench-side gear wall, the guide 3D Printed Ear Muff Wall Hooks: Hang Hearing Protection in Sight covers muffs stored the same visible way, and 3D Printed Headlamp Wall Hooks: A Parking Spot for Headlamps covers headlamps — together with mask hooks, they make a wall where everything you reach for before a job is in sight.
Tips for Better Results
- Keep a fresh mask on the hook, not a used-up one. Rotate masks: when a mask is done, replace it on the hook with a fresh one, so the hook always holds a usable mask.
- Hang masks cup-out. Cups facing outward stay round and dry faster if slightly damp, and you can see the mask’s condition at a glance.
- Wipe hooks now and then. Dust settles on hooks too. A quick wipe keeps the hanging spot clean for the mask.
- Label hooks in a shared shop. One mask per person, clearly marked, avoids sharing masks that should be personal.
- Leave a spare hook. Masks are consumables, and a spare hook holds the next fresh mask before the current one is used up.
Common Mistakes to Avoid
- Stacking several masks on one hook. Stacked masks crush each other and hide damage. One mask per hook.
- Hanging masks in the dust path. A mask stored where sawdust settles on it starts the job dirty. Place hooks just outside the dustiest zone.
- Using sharp or pinching hooks. Sharp edges cut elastic straps over time. Smooth, rounded hooks protect straps.
- Hanging damaged masks back up. A torn, crushed, or filthy mask does not become usable by hanging it neatly. Replace it.
- Assuming storage equals protection. A hook keeps masks findable and clean. It does not make an unsuitable, damaged, or poorly fitting mask protective. Choose the right mask for the work and fit it properly every time.
- Mounting with weak fixings. Masks are light, but a hook still needs a solid fixing so it does not fall and drop masks onto a dirty bench or floor.
Care, Storage, and Alternatives
Printed hooks need almost no care: dust them, check screws occasionally, and reprint any hook that cracks. Masks need more attention: inspect them before each use, store them clean and dry, keep them away from heat and chemicals, and replace them on the manufacturer’s schedule or sooner if they are damaged, dirty, or hard to breathe through.
Alternatives include a clean drawer or box for masks, which protects them from dust but hides them and lets them crush each other, and a dispenser box, which is excellent for a fresh supply but less handy for the mask in daily rotation. Hooks win for the working mask: visible, reachable, and hanging free in its proper shape.
FAQ
Will one hook fit all dust masks?
Most cup-style and flat-fold masks, yes, if the cradle suits the strap width. Very small masks and large respirators with thick straps may need different hook sizes, but a medium hook covers the common range.
Should masks hang by the strap or by the cup?
By the strap, always. Hanging by the cup crushes it, and a crushed cup fits poorly. The strap is designed to carry the mask’s negligible weight.
PLA or PETG for mask hooks?
Either works — masks weigh almost nothing. PLA is perfectly fine, and PETG is slightly better in a warm shop.
My mask’s strap stretched out from hanging. What went wrong?
The hook was too narrow or sharp, concentrating stress on one point of the elastic, or the mask hung for a very long time under its own strap tension. Switch to a broader, rounded hook, and rotate masks so no single mask hangs for months unused.
Conclusion
A dust mask that hangs clean and visible by the bench is a mask that gets worn. A few small printed hooks, spaced so masks hang free and keep their shape, turn mask storage from a crumpled drawer into a habit: see the mask, grab the mask, do the dusty job properly.
Print one small hook, test it with your mask, and build the row. Then keep the standard high: only good masks go back on the hooks, and the hooks always hold a mask worth reaching for.