Introduction
Hooks and eyes are the fastener most likely to tangle. Cup hooks catch each other’s curves, screw eyes link into chains, and utility hooks snag everything they touch. A bag or jar of mixed hooks is not storage — it is a knot, and untangling it costs time and patience on every job.
The problem is that hooks sort by shape as well as size. A cup hook, a screw eye, and a utility hook can share a nominal size and still be completely different hardware, and sizes within each shape differ by millimeters. Once shapes and sizes mix in one container, finding the hook you need means emptying the whole thing and picking through a tangle by hand.
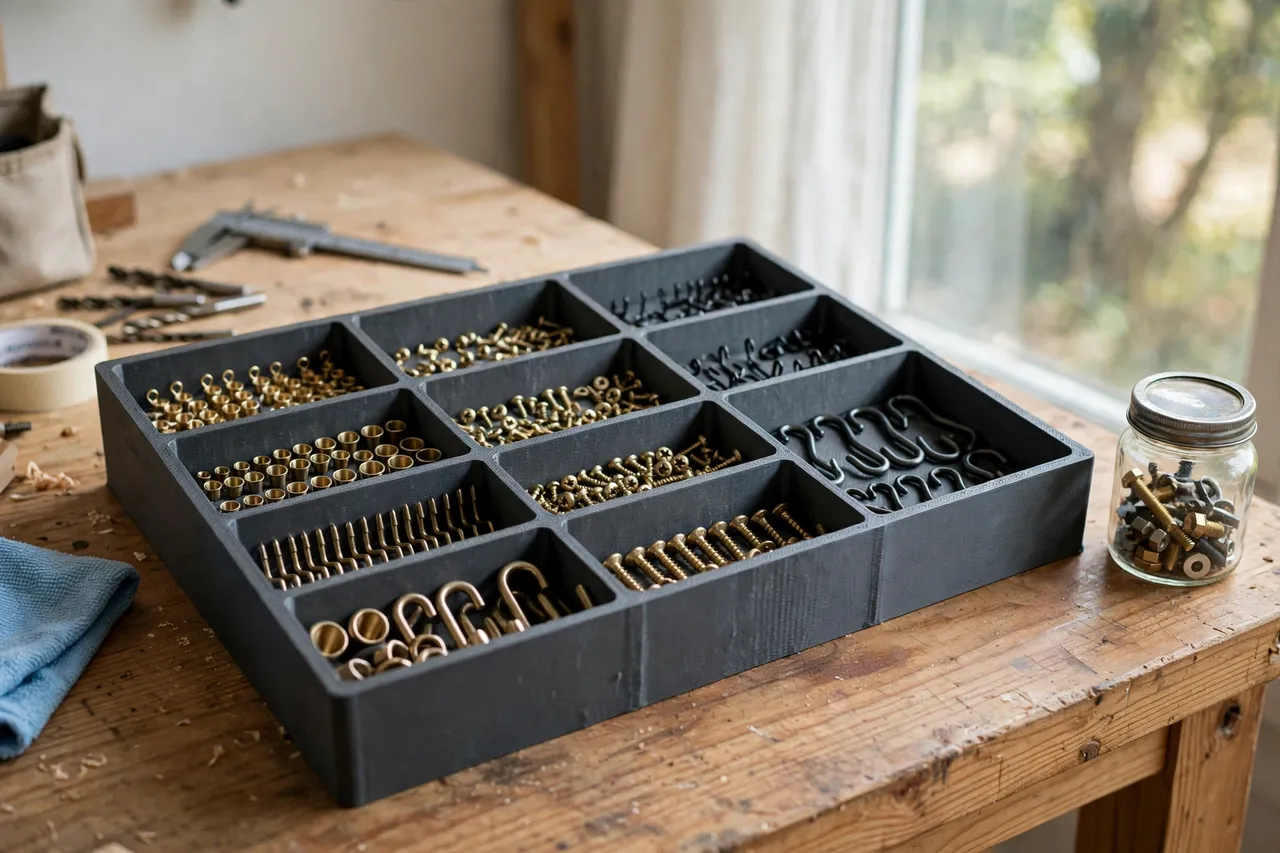
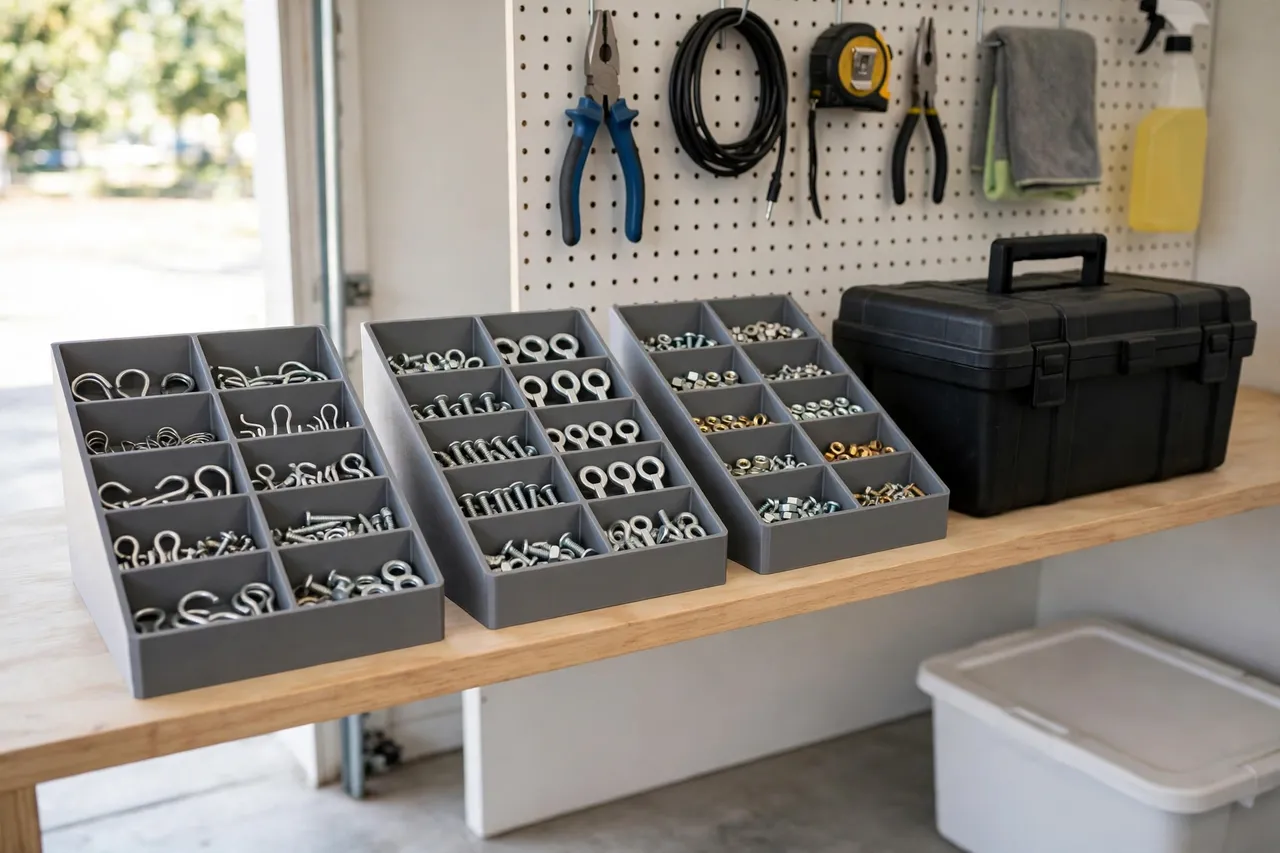
A 3D printed hook and eye organizer fixes that by giving hooks somewhere to hang or sit separately: slotted rows for hooks to hang from, compartments for eyes to rest in, each labeled by shape and size. Sort once, and every hook you reach for is the shape and size you meant to grab — untangled, visible, and ready to use.
This guide covers designing, printing, and using a hook and eye organizer for home workshops. It is a storage aid for small hardware — nothing structural, nothing load-bearing. Hooks stored here are for light-duty hanging; always choose a manufactured hook rated for the load when anything heavy, valuable, or overhead is involved.
What You Need
A hook organizer is a tray with slots and compartments, easy to print on almost any home machine. The design work is auditing your hooks and grouping them by shape and size.
Materials and tools
- A home 3D printer with a build area of roughly 150 mm in at least one direction
- PLA filament for indoor organizers, or PETG for garage and workshop use
- Your hook and eye collection, sorted loosely by shape and size before you design
- A tape measure or calipers, a pencil, and a small ruler
- Sandpaper or a small file for cleanup, plus labels or a paint pen
- A small scoop or magnet for moving loose eyes between containers
PLA is perfectly fine for a benchtop organizer: it is rigid, prints cleanly, and holds its shape indoors. PETG is the better choice for a garage, where heat and humidity are harder on PLA. Print with enough walls that slot dividers stay upright when you hang hooks from them.
Suggested print settings
- Layer height: 0.20 mm balances speed and accuracy; 0.16 mm if slot edges look rough.
- Walls: At least 3 perimeters — slot dividers need to stay upright under handling.
- Infill: 20 to 30 percent, grid or gyroid, is plenty for a tray that carries only light hooks.
- Top and bottom layers: 4 or more, so the tray base stays flat and rigid.
- Orientation: Print flat, base down, for the flattest tray bottom.
- Supports: A good open-tray design needs none.
Print one test organizer first and try it with your real hooks before printing a full set.
Design Considerations
A hook organizer is only as good as its grouping. Sort by shape first, size second, and give each shape the storage style that suits it.
1. Audit your hooks first
Gather every hook and eye you own and sort them into piles by shape — cup hooks, screw eyes, utility hooks, and S-hooks — and then by size within each shape. Count how many piles you actually use; most home workshops need eight to twelve slots or compartments. Designing for the hooks you own beats designing for a catalog. Keep one compartment for odd strays, and never mix shapes in one slot even when sizes look similar.
2. Slots for hooks, wells for eyes
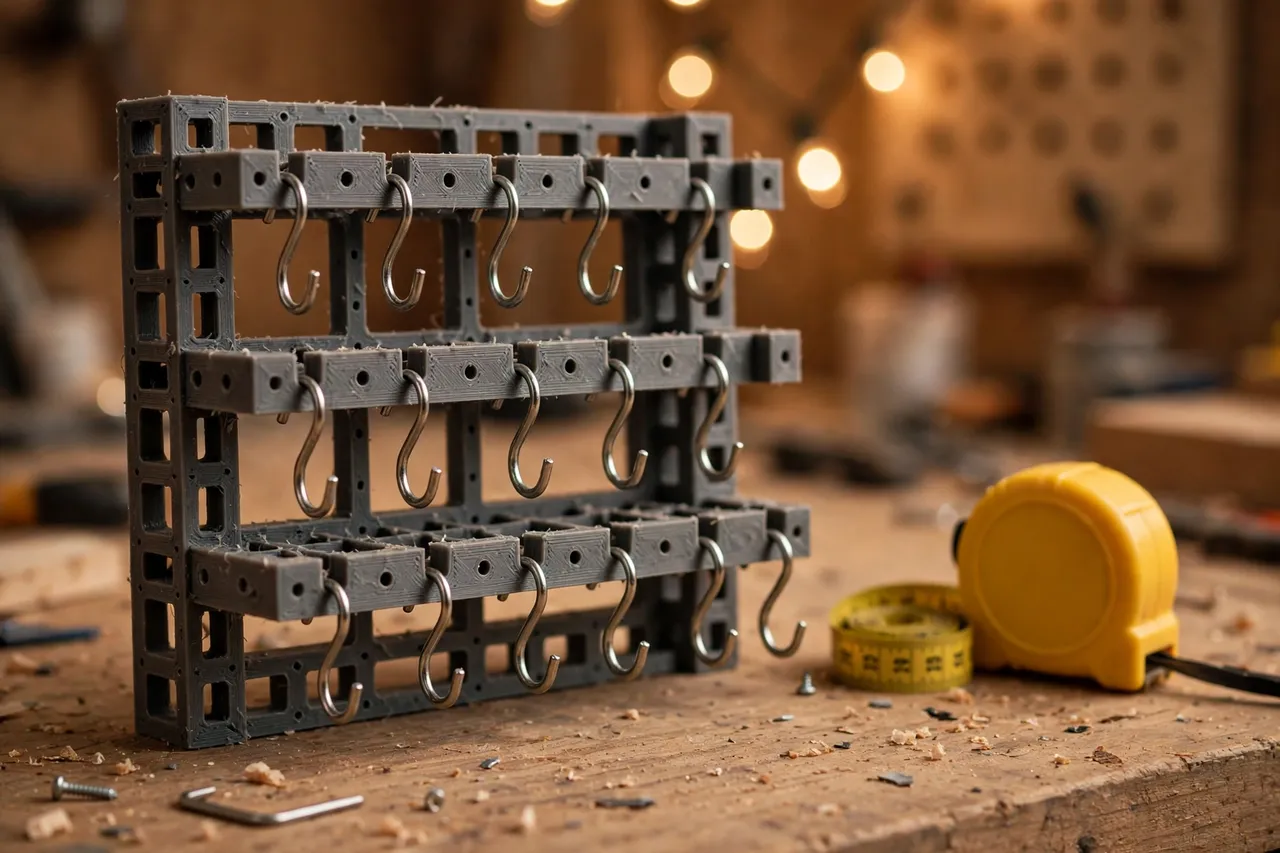
Hooks and eyes store differently. Cup hooks and utility hooks hang best from slotted rails: a row of narrow slots that capture each hook’s shank, letting the curved end hang free and visible. Screw eyes, being closed loops, rest better in shallow wells or cups where they cannot link into chains. Design both features into one organizer — slotted rows along the back, wells along the front — so every shape has its proper place.
3. Spacing that prevents tangling
Tangling happens when hooks sit close enough to catch each other. Space slots generously — at least one hook-width apart — and stagger rows so a hook’s curve cannot reach its neighbor. Wells for eyes should be wide enough that eyes lie flat without overlapping. Generous spacing costs a little tray space and saves a lot of untangling time; it is worth it.
4. Labels and modularity
Label every slot row and well with its shape and size, using a printed label slot, an embossed mark, or a paint-pen note. A label slot that accepts a small paper card is the most flexible, since your collection will change. Design organizers in a standard footprint so they stack or sit side by side, and add a lid if the organizer will travel, so hooks cannot tangle in transit.
Step-by-Step: Printing and Assembly
- Audit and sort your hooks into piles by shape and size, and count your piles.
- Measure the largest hook in each pile, and size its slot or well with room to spare.
- Model the organizer, with slotted rows for hooks and wells for eyes, in your chosen footprint.
- Print a test organizer and try it with your real hooks.
- Check the fit. Hooks should hang free without catching neighbors, eyes should lie flat without linking, and everything should lift out easily.
- Clean it up. Sand rough edges and clear any stringing from slots and well corners.
- Adjust if needed. A slot that crowds its neighbors or a well that links eyes is a quick model tweak; reprint rather than living with it.
- Print the final set, add labels, and fill each slot and well with its shape and size.
Sorting once, properly, is what makes the organizer pay off every time after.
Step-by-Step: Using Your Hook and Eye Organizer
- Fill one slot or well at a time, checking each hook against the label — shape and size — before it goes in.
- Place the organizer where you work. On the bench for active projects, on a shelf for storage — not both, or hooks migrate.
- Hang hooks curve-out. Seat each hook so its curve faces away from its neighbors, which keeps rows tangle-free.
- Return hooks immediately after a job. The habit that keeps an organizer organized is putting leftovers back the same day, not “later.”
- Top up from bulk storage when a slot runs low, rather than buying a new mixed bag each time.
- Check labels monthly. If a slot keeps collecting the wrong hook, its label or position is confusing — fix the label, not the user.
- Add an organizer when you outgrow one, keeping the same footprint so organizers stack or sit together neatly.
The organizer works when returning a hook becomes easier than dropping it in a bag. Design for that habit.
Tips for Better Results
- Sort by shape first, size second. Shape decides what the hook is for; size matters once shape matches.
- Hang a sample hook on each label. A single hook clipped to its label makes identification instant, even in poor light.
- Use one color per hook family. Cup hooks in one color organizer, screw eyes in another, and the bench stays scannable.
- Keep a small parts scoop nearby. It moves loose eyes without scattering them.
- Pair organizers by family. Once hooks are sorted, the same system works for other hardware — our guide “3D Printed Wall Anchor Organizer: Anchors Sorted and Visible” applies the same visible-sorting logic to wall anchors.
Common Mistakes to Avoid
- Designing slots before auditing. Guessing your hook shapes means slots that fit nothing you own.
- Spacing slots too tightly. Tight slots tangle, which defeats the organizer’s entire purpose.
- Mixing shapes in one slot. Similar-looking hooks serve different jobs; keep shapes strictly separate.
- Skipping labels. An unlabeled organizer becomes a tangled bag with walls within a month.
- Overfilling slots and wells. A crowded slot tangles the first time you pull a hook out.
- Forgetting the odd compartment. Strays need a home, or they end up in the wrong slot.
Care, Storage, and When to Choose an Alternative
Brush out dust, wipe organizers occasionally, and reprint any organizer with cracked dividers or a warped base. PLA organizers in a hot garage can warp in summer; switch those to PETG. Store organizers stacked or side by side on a shelf, lids on if they travel.
Sometimes a different system fits better. If you carry hooks to job sites daily, a manufactured compartmented case with latches beats an open organizer. If you stock hundreds of each size, small parts cabinets with drawers scale better than trays. For the home workshop — a bench, a shelf, and a collection that fits in a few organizers — printed organizers are cheaper, better fitted, and easier to extend. The same slot-and-well logic works for other small hardware too, as in “3D Printed Washer Sorting Trays: Trays for Every Washer Size“, which sorts washers rather than hooks by the same compartment principle.
FAQ
How many slots and wells do I really need?
Most home workshops need eight to twelve: three or four cup hook sizes, three or four screw eye sizes, one or two utility hook sizes, and one odd compartment. Audit your actual collection first — designing for shapes you do not own wastes organizer space.
Is PLA strong enough, or do I need PETG?
For an indoor benchtop organizer, PLA is plenty strong with reasonable walls. PETG is the better keeper for garages because it handles heat and humidity better. Divider thickness matters more than the filament brand.
My hooks keep tangling even in the organizer. What is wrong?
Usually the slots are spaced too tightly or hooks are hung curve-in, where curves catch neighbors. Widen the spacing, hang hooks curve-out, and stagger rows so no curve can reach the next hook.
Can I store S-hooks and specialty hooks the same way?
Yes, with their own slots. Give every distinct shape its own labeled row rather than forcing it into a cup hook slot. A specialty hook stored in the wrong slot is a specialty hook you will not find when you need it.
Conclusion
A bag of mixed hooks costs you time on every job: time untangling, time sorting, time picking through a knot for one hook. A printed organizer costs you one sorting session and a few hours of printing, and then pays you back every time you reach for a hook and get the right shape and size first try, untangled.
Audit your collection, print a test organizer, and sort once, properly. The next hanging job starts with a hook in your hand, not a knot on the bench.