Introduction
Every workshop has a jar of nails. It starts organized — one jar for this size, one for that — and ends as a single mixed container where finding a 25 mm brad means tipping the whole thing out and sorting by hand. The next job starts with a hunt instead of a hammer.
The problem is that nails are small, similar-looking, and easy to mix. Lengths differ by a few millimeters, heads differ subtly, and once sizes mingle, telling them apart takes real attention. A loose jar makes mixing inevitable: every handful you grab stirs the rest.
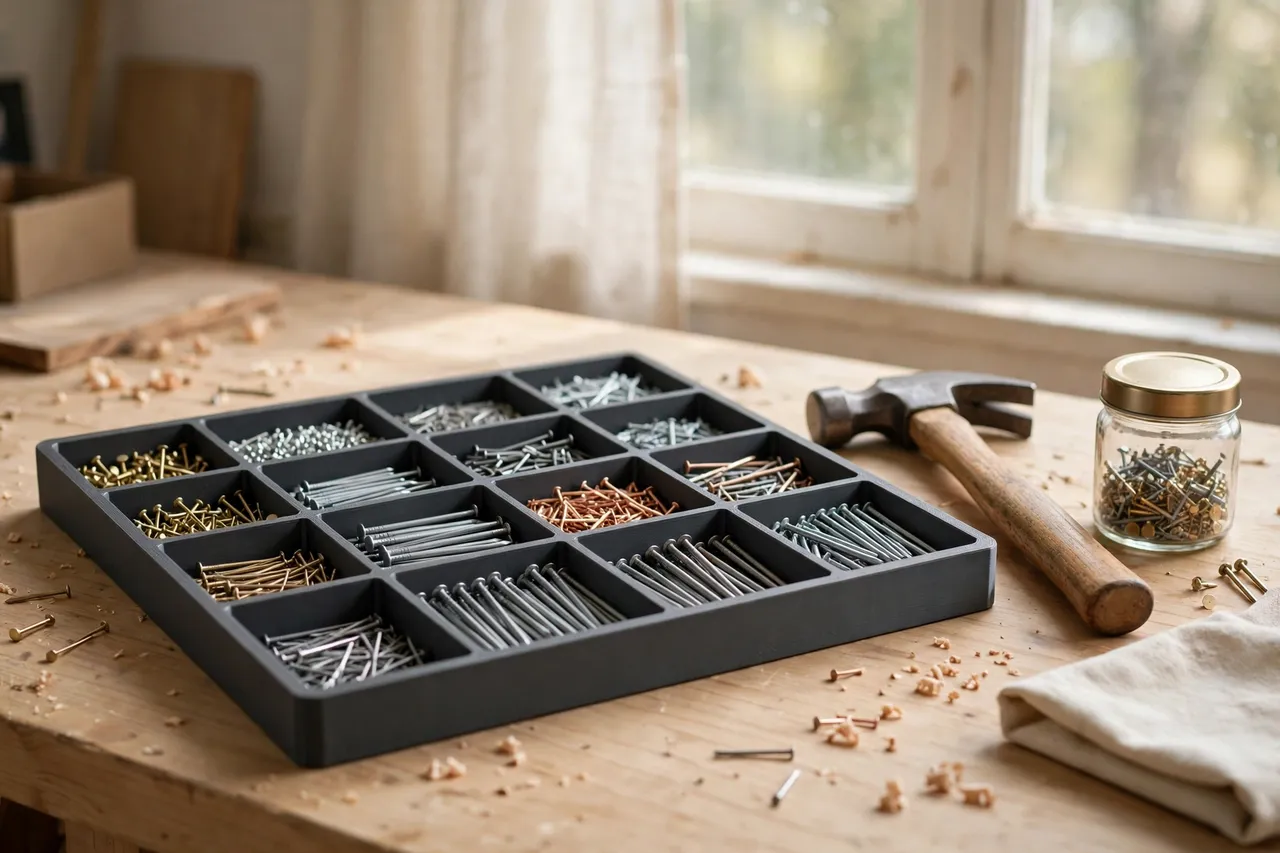
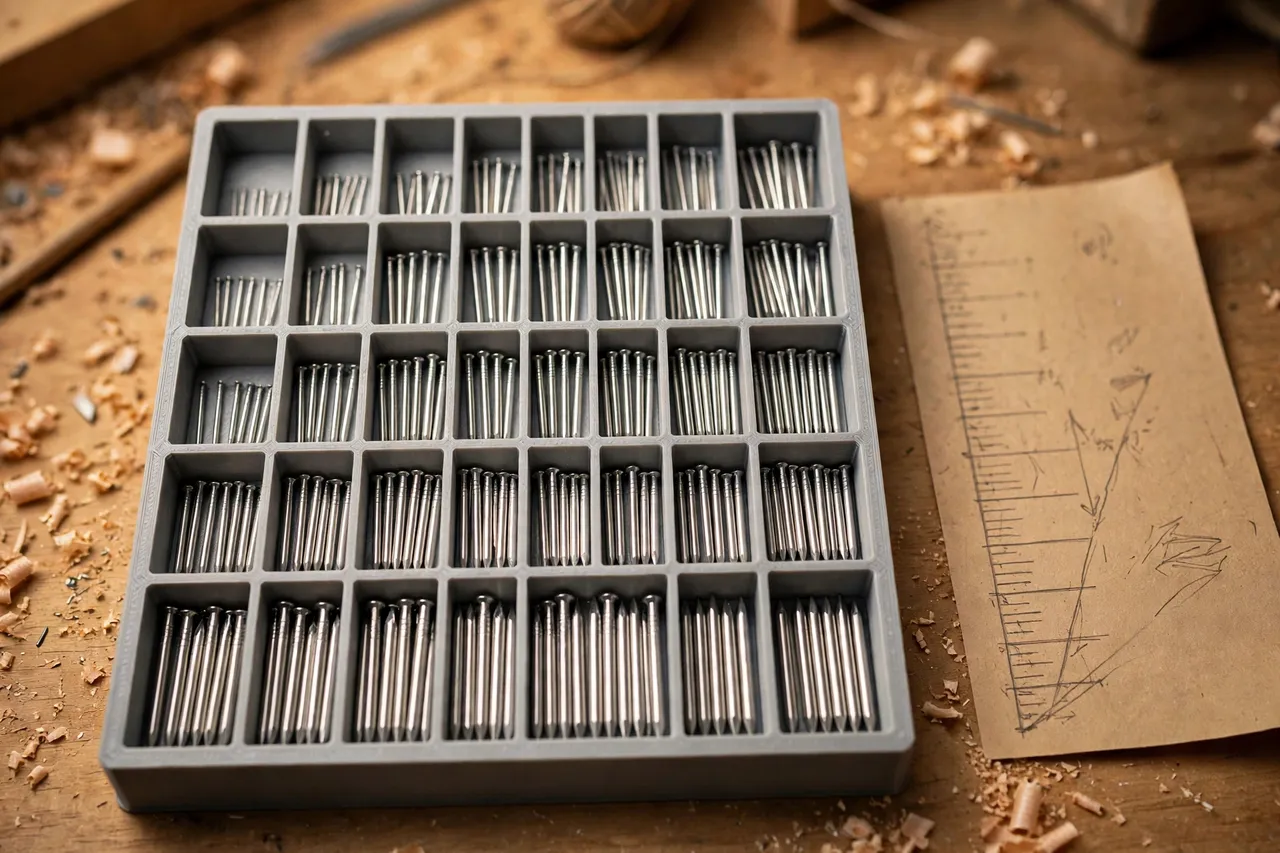
A 3D printed nail and brad organizer fixes that with simple geometry: a tray divided into compartments sized to your fasteners, each one holding a single size, with room to label it. Sort once, and every nail you reach for is the size you meant to grab. No more tipping, no more guessing, no more wrong nail in the wrong hole.
This guide covers designing, printing, and using a nail and brad organizer for home workshops. It is a storage aid for small hardware — nothing structural, nothing load-bearing — and it pairs naturally with the rest of a sorted fastener wall.
What You Need
A nail organizer is a shallow tray, easy to print on almost any home machine. The design work is deciding your sizes and compartment layout.
Materials and tools
- A home 3D printer with a build area of roughly 150 mm in at least one direction
- PLA filament for indoor organizers, or PETG for garage and workshop use
- Your nail and brad collection, sorted loosely by size before you design
- A tape measure or calipers, a pencil, and a small ruler
- Sandpaper or a small file for cleanup, plus labels or a paint pen
- A small scoop or magnet for moving nails between containers
PLA is perfectly fine for a benchtop organizer: it is rigid, prints cleanly, and holds its shape indoors. PETG is the better choice for a garage, where heat and humidity are harder on PLA. Either way, print with enough walls that compartment dividers do not flex when you press nails against them.
Suggested print settings
- Layer height: 0.20 mm balances speed and accuracy; 0.16 mm if compartment edges look rough.
- Walls: At least 3 perimeters — dividers need to stay upright under handling.
- Infill: 20 to 30 percent, grid or gyroid, is plenty for a tray that carries only small nails.
- Top and bottom layers: 4 or more, so the tray base stays flat and rigid.
- Orientation: Print flat, base down, for the flattest tray bottom.
- Supports: A good open-tray design needs none.
Print one test tray first and try it with your real nails before printing a full set.
Design Considerations
An organizer is only as good as its compartments. Size them to your actual fasteners, not to a guess.
1. Audit your nails first
Gather every nail and brad you own and sort them into piles by length and type: brads, finishing nails, common nails, and panel pins. Count how many sizes you actually use — most home workshops need six to ten compartments, not twenty. Designing for the sizes you own beats designing for a catalog. Keep a small “odd” compartment for the strays that do not fit any pile.
2. Compartment size and shape
Size each compartment to its nail length plus about 10 mm of finger room, so you can pinch nails out without tipping the tray. Depth of 20 to 30 mm suits most nails and brads; deeper compartments hide short brads at the bottom. Slightly angled or scooped compartment floors help nails slide toward the front when you reach in. Round the compartment corners a little so nails do not jam in sharp angles.
3. Dividers and lids
Dividers 2 to 3 mm thick stay upright and survive daily use. If the organizer will travel — to a job site or between bench and shelf — add a sliding lid or a snap-on cover so compartments cannot mix in transit. A lid also keeps dust out of a garage tray. For a benchtop-only tray, an open top is faster to use and easier to print.
4. Labels and modularity
Label every compartment, either with a printed label slot, an embossed size on the divider, or a paint-pen mark. A label slot that accepts a small paper card is the most flexible, since your size mix will change. Design trays to stack or sit side by side in a standard footprint, so adding a second tray later does not mean reorganizing the first.
Step-by-Step: Printing and Assembly
- Audit and sort your nails into piles by length and type, and count your sizes.
- Measure the longest nail in each pile, and add about 10 mm for finger room.
- Model the tray, with one compartment per size plus an odd compartment, in your chosen footprint.
- Print a test tray and try it with your real nails.
- Check the fit. Nails should lie flat, lift out easily, and stay in their own compartment when you tilt the tray gently.
- Clean it up. Sand rough edges and clear any stringing from compartment corners.
- Adjust if needed. A compartment that is too tight or too deep is a quick model tweak; reprint rather than living with it.
- Print the final set, add labels, and fill each compartment with its size.
Sorting once, properly, is what makes the organizer pay off every time after.
Step-by-Step: Using Your Nail and Brad Organizer
- Fill one compartment at a time, checking each nail against the label before it goes in.
- Place the organizer where you work. On the bench for active projects, on a shelf for storage — not both, or nails migrate.
- Return nails immediately after a job. The habit that keeps an organizer organized is putting leftovers back the same day, not “later.”
- Use the scoop or magnet for moving nails, so you do not scatter a compartment across the bench.
- Top up from bulk storage when a compartment runs low, rather than buying a new mixed box each time.
- Check labels monthly. If a compartment keeps collecting the wrong size, its label or position is confusing — fix the label, not the user.
- Add a tray when you outgrow one, keeping the same footprint so trays stack or sit together neatly.
The organizer works when returning nails becomes easier than dumping them in a jar. Design for that habit.
Tips for Better Results
- Sort by length first, type second. Length is what you reach for; type matters once length matches.
- Keep a size gauge in the tray. A small printed strip with slots for each length settles arguments about which pile a nail belongs to.
- Use one color per fastener family. Brads in one color tray, finishing nails in another, and the bench stays scannable.
- Print a small parts scoop. A tiny printed scoop moves nails without scattering them.
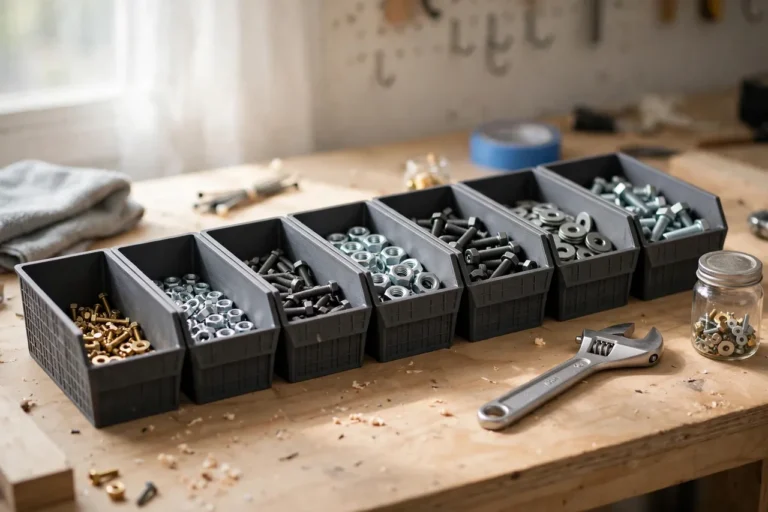
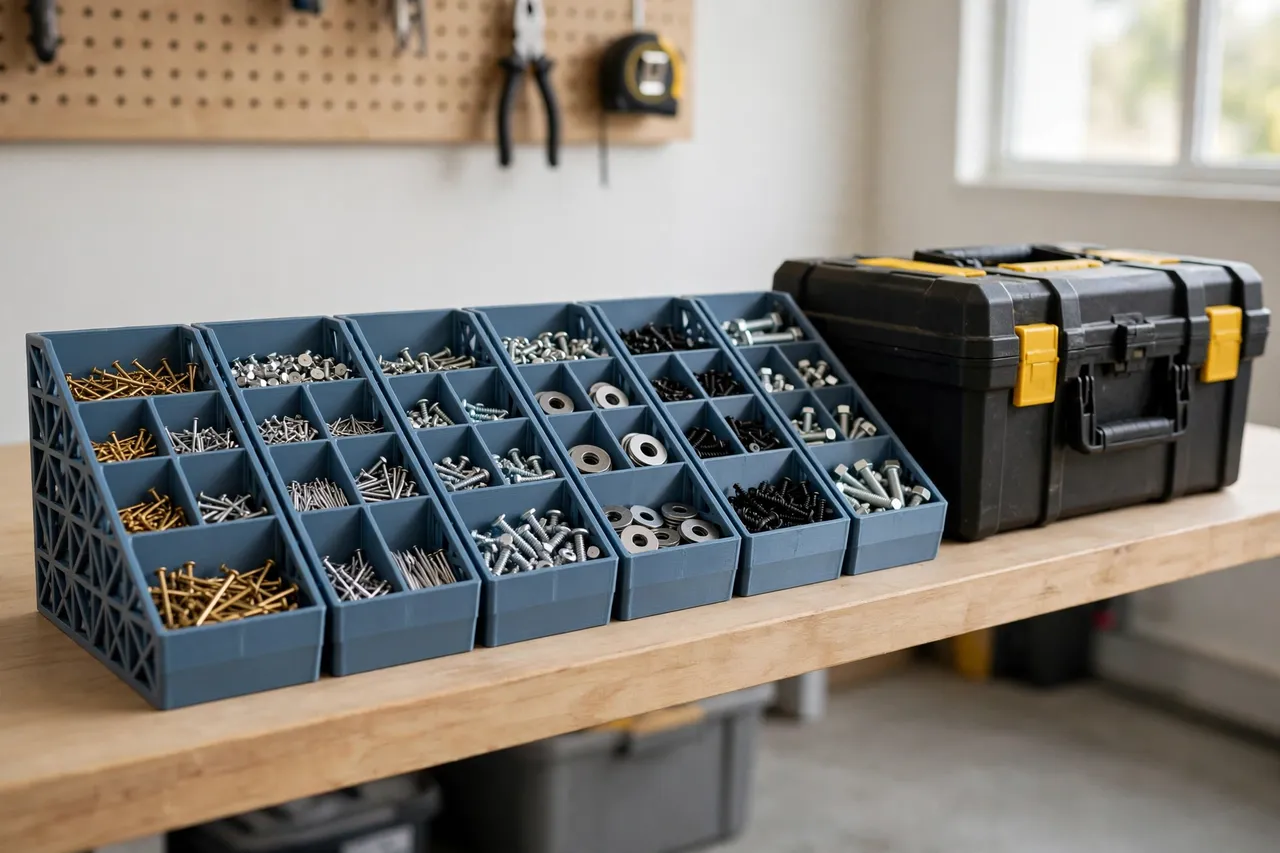
- Pair organizers by family. Once nails are sorted, the same system works for other hardware — our guide “3D Printed Bolt and Nut Sorting Bins: Bins That Sort Hardware” applies the same sort-once logic to bolts and nuts.
Common Mistakes to Avoid
- Designing compartments before auditing. Guessing your sizes means compartments that fit nothing you own.
- Making compartments too deep. Deep trays hide short brads and tempt you to tip the tray out.
- Skipping labels. An unlabeled organizer becomes a mixed jar with walls within a month.
- Mixing types in one compartment. “Nails about this long” is not a size; keep brads and finishing nails separate even when lengths match.
- Overfilling compartments. A heaped compartment spills into its neighbors the first time you move the tray.
- Forgetting the odd compartment. Strays need a home, or they end up in the wrong compartment.
Care, Storage, and When to Choose an Alternative
Brush out dust and metal filings, wipe the tray occasionally, and reprint any tray with cracked dividers or a warped base. PLA trays in a hot garage can warp in summer; switch those to PETG. Store trays stacked or side by side on a shelf, lids on if they travel.
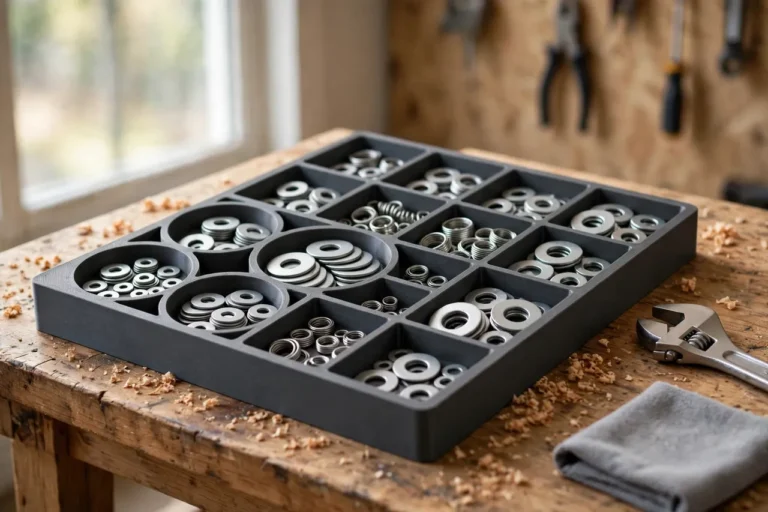
Sometimes a different system fits better. If you carry fasteners to job sites daily, a manufactured compartmented case with latches beats an open tray. If you stock hundreds of each size, small parts cabinets with drawers scale better than trays. For the home workshop — a bench, a shelf, and a collection that fits in a few trays — a printed organizer is cheaper, better fitted, and easier to extend. The same tray logic works for other small hardware too, as in “3D Printed Washer Sorting Trays: Trays for Every Washer Size“, which sorts washers rather than nails by the same compartment principle.
FAQ
How many compartments do I really need?
Most home workshops need six to ten: three or four brad lengths, three or four nail lengths, and one odd compartment. Audit your actual collection first — designing for sizes you do not own wastes tray space.
Is PLA strong enough, or do I need PETG?
For an indoor benchtop tray, PLA is plenty strong with reasonable walls. PETG is the better keeper for garages because it handles heat and humidity better. Divider thickness matters more than the filament brand.
My nails keep ending up in the wrong compartment. What is wrong?
Usually the labels are unclear or two compartments hold very similar lengths. Make labels bigger, add a size gauge to the tray, and consider merging near-identical sizes into one compartment if you genuinely cannot tell them apart in use.
Can I scale the tray for a larger nail collection?
Yes. Design trays in a standard footprint and print more of them rather than one giant tray. A giant tray gets heavy, hard to carry, and awkward on a bench; several standard trays stack and rearrange.
Conclusion
A jar of mixed nails costs you time on every job: time hunting, time sorting, time fixing the wrong nail in the wrong place. A printed organizer costs you one sorting session and a few hours of printing, and then pays you back every time you reach for a nail and get the right one first try.
Audit your collection, print a test tray, and sort once, properly. The next job starts with a hammer in your hand, not a jar tipped out on the bench.