Introduction
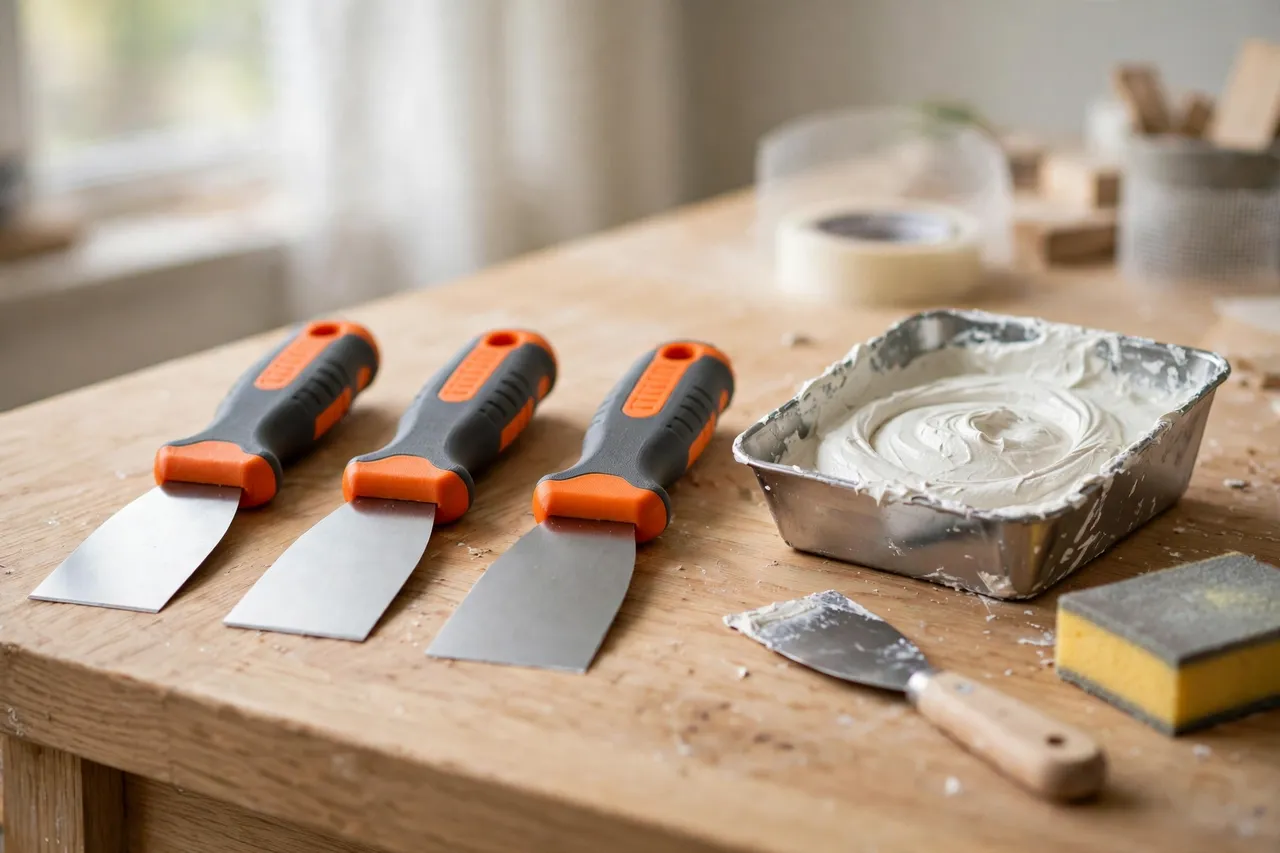
Drywall taping is one of those jobs that looks simple until your hand starts aching halfway through the first wall. A taping knife is not a heavy tool, but you hold it for hours, pressing compound into seams, feathering edges, and wiping the blade clean again and again. A handle that is too thin, too slick, or shaped for someone else’s hand turns a straightforward repair into a tiring one.
That is why a 3D printed handle is such a satisfying small project. You are not reinventing the knife. You are replacing the one part that meets your hand, and shaping it to fit the way you actually grip a taping knife. A slightly fatter grip, a flatter side for control, or a longer handle for a wide blade can all be printed in an evening and tested the next morning.
This guide walks through designing, printing, and fitting replacement handles for common drywall taping knives. These are comfort grips for hand tools, not structural or load-bearing parts, and they are meant to be tested on a practice seam before they go near a finished wall.
What You Need
Most taping knife handles are a simple two-piece or single-piece grip that bolts or rivets through the blade’s tang. Measure the knife you own before you model anything, because tang shapes vary more than blade widths do.
Materials and tools
- A home 3D printer with a build area of roughly 150 mm in at least one direction
- PETG filament for a tougher, slightly flexible grip, or PLA for a first test version
- The taping knife you plan to refit, with its old handle removed if it is damaged
- Calipers or a ruler, plus a pencil for marking
- A drill and small bits, a screwdriver, and stainless screws or bolts to suit your design
- Sandpaper in 120 and 220 grit, plus a small file for cleanup
- Optional: a thin rubber or cork liner for extra grip
PETG is the better keeper here. It resists cracking when a knife is dropped, and it handles the damp environment of a taping job better than PLA. PLA is perfectly fine for checking the shape of your grip before you commit to a final print.
Suggested print settings
- Layer height: 0.20 mm for a good balance of speed and surface quality.
- Walls: 4 to 5 perimeters, since the handle takes repeated squeezing and twisting.
- Infill: 40 to 60 percent, gyroid or grid, for a solid feel without excessive weight.
- Top and bottom layers: 4 or more, so the grip surfaces stay smooth and closed.
- Orientation: Print the handle halves flat on their outer faces, or print a one-piece grip upright with the tang slot vertical, depending on your design.
- Supports: Only if your design includes an overhanging finger groove or end cap.
Print one test handle first. A grip that looks right on screen can feel wrong in the hand, and a test print costs very little.
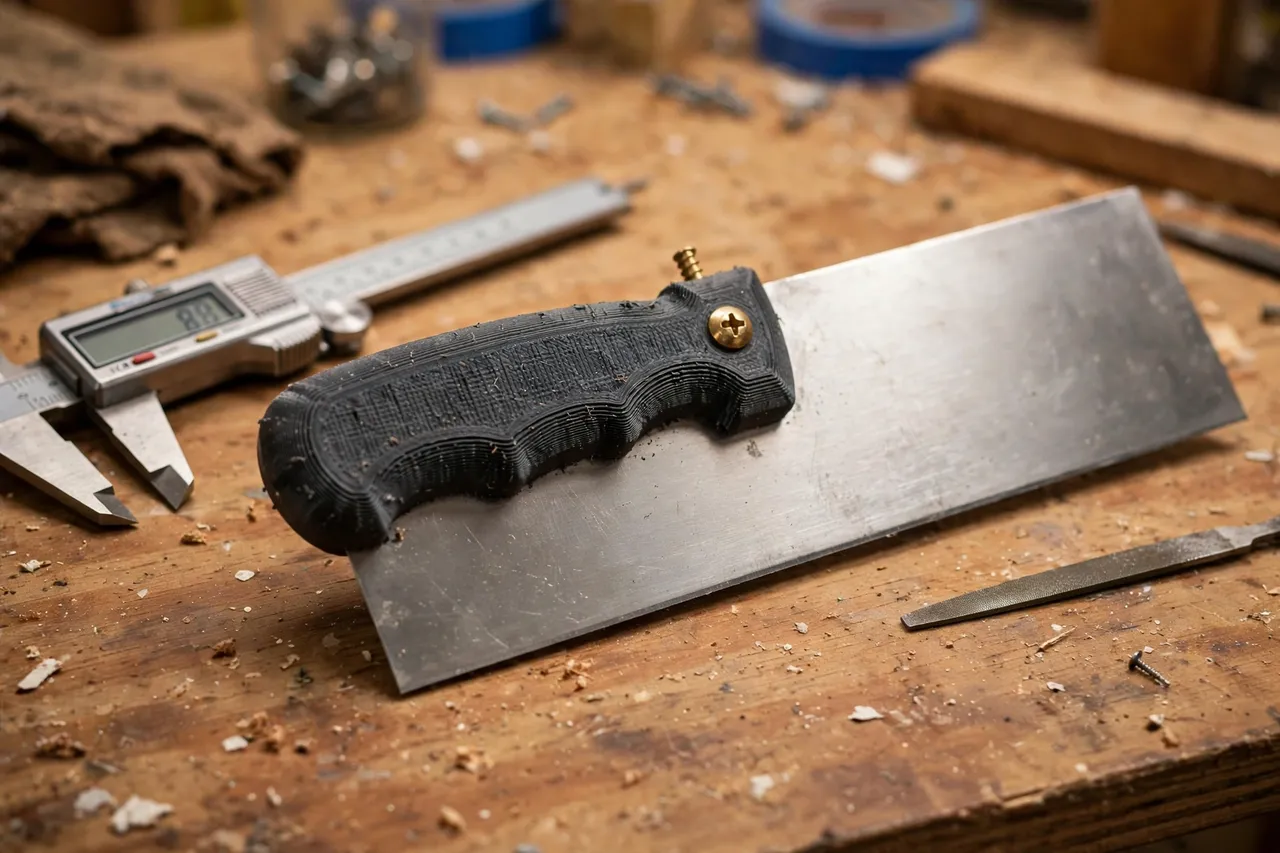
Design Considerations
A good taping knife handle does three things: it stays put on the tang, it gives you control over the blade’s pressure, and it does not tire your hand. Everything else is decoration.
1. Measure the tang, not just the blade
Blade width is the number on the box, but the tang is what your handle must fit. Measure its width, thickness, and the position and diameter of any existing holes. If the old handle was riveted on, note the rivet spacing too. Design the handle’s slot about 0.3 to 0.5 mm wider than the tang so it slides on without forcing, then let screws or bolts take up the rest.
2. Shape the grip for the taping stroke
Taping uses a fairly flat, controlled push rather than a hammering grip. A handle that is slightly oval in cross-section, rather than perfectly round, helps you feel the blade angle without looking. Keep the widest part where your fingers close, and taper gently toward the blade so your thumb can ride close to the work for fine feathering. A flattened top can also stop the knife rolling off a mud pan or a ladder shelf.
3. Add texture, but keep it cleanable
Joint compound gets everywhere, so texture needs to be shallow and easy to wipe. Small ribs, a light knurl pattern, or shallow finger scallops work well. Avoid deep pockets and sharp checker patterns that trap dried compound. If you like a softer feel, design a shallow recess for a glued-on cork or rubber strip rather than printing a deeply textured surface.
4. Size it for the blade
A narrow 100 mm knife wants a shorter, lighter handle. A wide 300 mm finishing knife benefits from a longer handle that gives you leverage across the blade. Do not simply scale one design up and down: a handle scaled for a wide knife can feel clumsy on a small one. Print a version per blade size, and mark the blade width on the end of each handle with a paint pen so you can grab the right one from a bucket of tools.
Step-by-Step: Printing and Fitting the Handle
- Remove the old handle. Drill out rivets carefully, or unscrew the old grip, and keep the fasteners as a size reference.
- Measure the tang. Record width, thickness, hole positions, and overall length.
- Model the handle. Build a two-piece clamshell or a one-piece slip-on grip around those measurements, with screw holes aligned to the tang.
- Print a test version. Check the fit on the tang before you print the keeper.
- Clean up the print. Sand the grip smooth, clear the screw holes, and round any sharp edges.
- Test the grip in your hand. Hold it as if taping, and check that your fingers fall naturally and the blade angle feels controllable.
- Adjust and reprint if needed. A handle 2 mm too thin feels very different from one 2 mm too fat, so small changes are worth making.
- Assemble the keeper. Fit the handle to the tang, add stainless screws or bolts, and tighten snugly without crushing the print.
- Check for movement. The handle should not rock, twist, or slide along the tang. If it does, add a shim or tighten the fit and reprint.
- Do a practice seam. Tape a scrap board or an offcut of drywall before you use the knife on a real wall.
A dab of thread-locking compound on the screws, or a nylon-insert nut where your design allows it, keeps fasteners from loosening during a long day of taping.
Tips for Better Results
- Print a pair of sizes. A slim and a fat version of the same handle lets you choose by the job, and by how tired your hands are.
- Keep the balance in mind. A very heavy handle on a narrow knife makes the blade feel nose-light and harder to control.
- Round the butt end. A sharp back edge digs into your palm during long feathering strokes.
- Label your handles. Blade width and grip size on the end cap saves rummaging later.
- Test with wet hands. Taping hands are often damp from compound and water, so check grip when the handle is slightly wet, not just dry.
Common Mistakes to Avoid
- Designing from the blade width alone. Two knives with the same blade can have very different tangs, and a handle that fits one may not fit the other.
- Printing walls too thin. Two perimeters and low infill make a handle that flexes and eventually cracks at the screw holes.
- Making the grip too fancy. Deep decorative patterns look great in photos and trap compound in real use.
- Over-tightening screws. Crushing the printed walls around a bolt creates a crack that grows with every use.
- Skipping the practice seam. A grip that feels fine in the hand can still change your blade angle enough to leave ridges in compound.
Care, Storage, and Alternatives
Wash compound off the handle before it dries, using a damp cloth and warm water, and let the knife dry before storage. Keep printed handles out of direct heat, and check screws occasionally, since repeated wetting and drying can loosen fasteners over time. If a handle cracks at a screw hole, reprint it with thicker walls around the fasteners rather than gluing a cracked grip back together.
Sometimes a manufactured handle is the better choice. If you tape drywall professionally every day, a factory handle with a metal core will outlast any print, and the cost is easy to justify. For occasional home repairs, a worn grip on a favourite knife, or a hand size that standard handles do not suit, a printed handle is a fast, cheap, and genuinely comfortable fix. It also pairs well with a printed mud pan, which is why many home tapers end up printing a small set of drywall tools together. If you are setting up for a full taping job, you may also enjoy our related guide, “3D Printed Drywall Mud Pan: A Pan That Holds Compound Where You Need It,” which covers a matching pan for the knives in this article. For a knife that needs more than a new grip, “3D Printed Drywall Saw Handle: A New Handle for a Jab Saw” shows the same handle-fitting approach applied to a different drywall tool.
FAQ
Will a printed handle fit any taping knife?
Not automatically. Handles are sized to a specific tang, so you need to measure the knife you own. The good news is that once you have a model for one knife, adapting it to another tang is usually a small edit rather than a fresh design.
Is PLA strong enough for a taping knife handle?
For testing the shape, yes. For a keeper that will see repeated use and damp conditions, PETG is the better choice because it flexes instead of cracking and handles moisture better. Whichever material you use, generous walls and infill matter more than the filament brand.
Can I print a handle for a knife with a broken or bent tang?
A printed handle cannot rescue a damaged tang. If the tang is bent, cracked, or badly corroded, replace the knife. The handle is a comfort grip for a sound blade, not a repair for a failing one.
How do I stop the handle slipping on the tang?
Check the fit first: the slot should be snug, not loose. Then use screws or bolts through the tang holes, and add a thin shim or liner if there is still play. A handle that rocks on the tang will wear quickly and feel unsafe in use.
Conclusion
A taping knife handle is a small part, but it is the part you feel for the entire job. Printing your own lets you match the grip to your hand, your blade, and the way you tape, instead of accepting whatever the factory shipped. Measure the tang, print a test, adjust the shape, and keep the keeper with your taping kit.