Introduction
Every painter knows the moment a job turns messy. You wedge a screwdriver under a paint can lid, it bends, paint splashes onto the rim, and the lid never seats properly again. By the next time you open the can, a skin has formed on the paint and dried drips have glued the lid down even harder.
The trouble is that a screwdriver concentrates all its force on one small point, bending the thin metal, denting the rim, and breaking the seal that keeps paint fresh. Once the rim is damaged, every later opening gets worse.
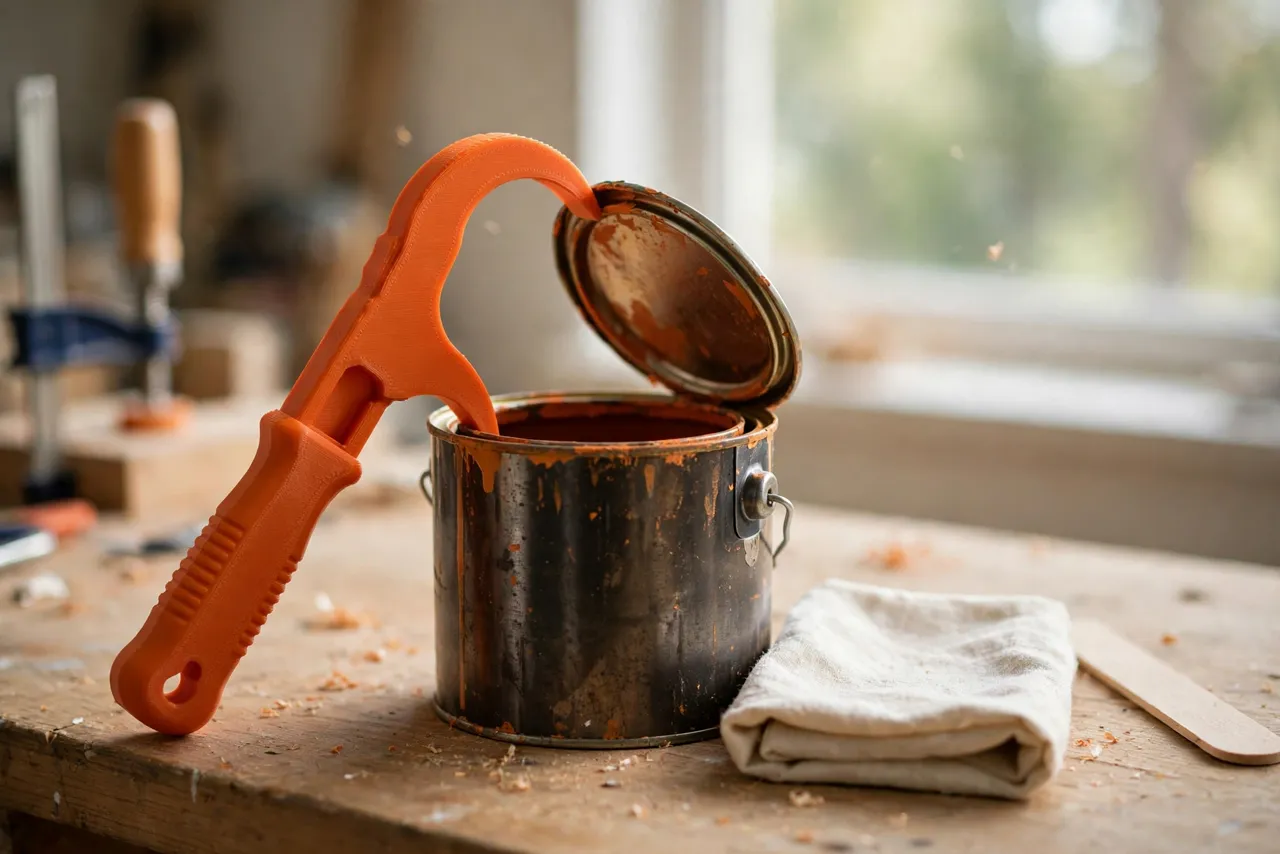
A 3D printed paint can lid tool spreads the work out. One end is a wide, flat prying foot that lifts the lid evenly; the other is a broad pressing pad that pushes it back down evenly all the way around. Think of this tool as a light-duty helper only — it lifts and seats lids, and it should never be forced against a lid that is rusted solid or badly dented.
What You Need
This is a small, flat-ish print that suits almost any home printer, and it uses very little filament. You can print a test version in an afternoon and refine it before printing a keeper.
Materials and tools
- A home 3D printer with a build area of at least 120 mm in one direction
- PETG filament for a tougher tool, or PLA for a first test print
- A standard metal paint can with its lid, for measuring and test fitting
- Calipers or a ruler, a pencil, and fine sandpaper or a small file
- A clean rag, a stir stick, and a small container for wiping the rim
PETG is the better long-term choice because it flexes instead of snapping and handles a warm garage better. PLA is fine for a first test; store it indoors, away from heat.
Suggested print settings
- Layer height: 0.20 mm for a good balance of speed and strength; 0.16 mm if the prying edge looks rough.
- Walls: 4 to 5 perimeters, since the prying foot and handle take the load.
- Infill: 40 to 60 percent, grid or gyroid, so the handle does not flex under leverage.
- Top and bottom layers: 4 or more, for a smooth pressing face.
- Orientation: Print flat, pressing face down, so the face that meets the lid is as flat as possible.
- Supports: A well-designed tool needs none, or only a small support under an overhanging hook.
Print one test version first, try it on an empty can, and only then print the final tool.
Design Considerations
A good lid tool has two working ends and one comfortable handle. Keep the design simple, and let the can itself set the dimensions.
1. The prying foot
The prying end should be wide and thin, roughly 25 to 35 mm wide and 2 to 3 mm thick at the tip, with a gentle taper. A wide foot spreads lifting force across the lid edge instead of denting one spot. Round the tip slightly, and add a small fulcrum bump behind it: when you press the handle down, the bump rests on the rim and the tip lifts the lid.
2. The resealing pad or ring
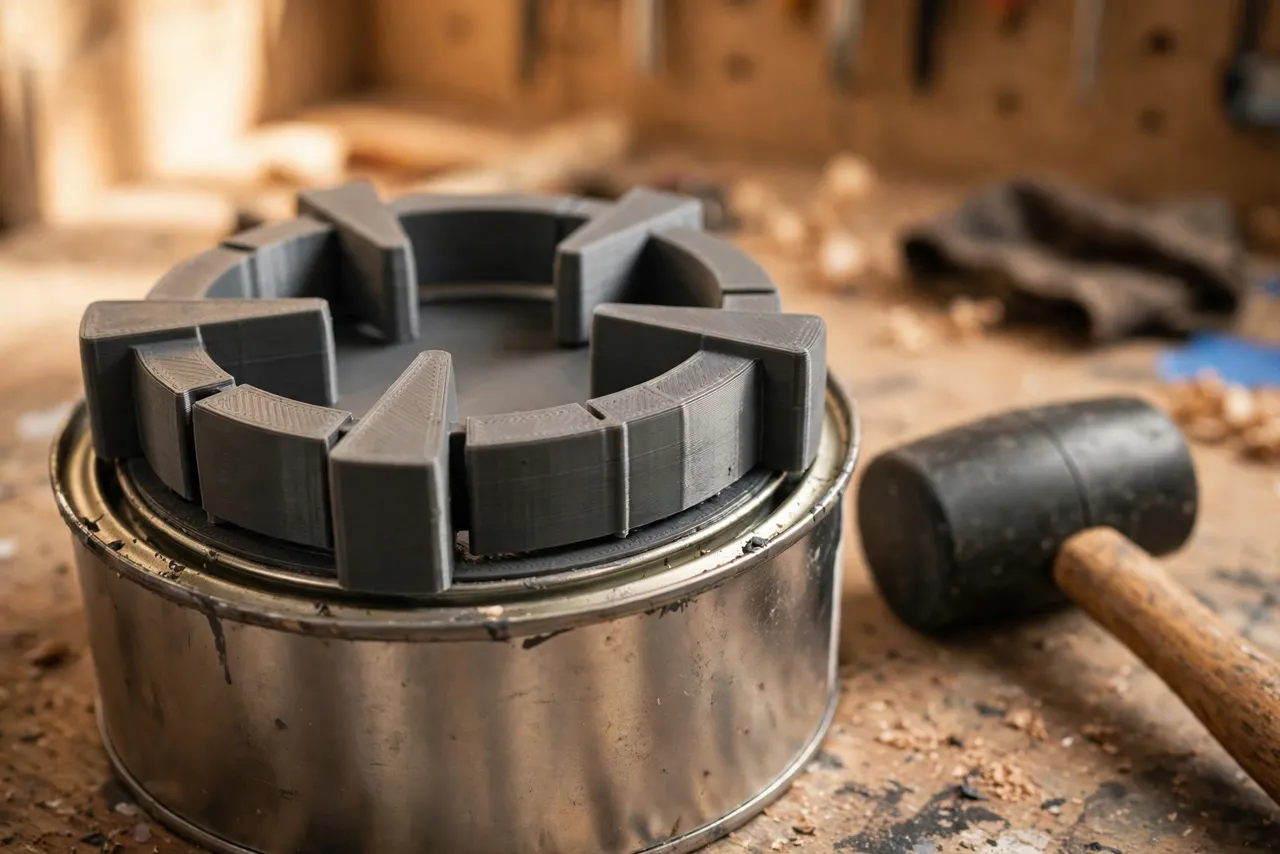
The other end is what makes this tool worth printing. The simplest version is a broad, flat pad about 40 mm across, used to press the lid down in stages around the rim. A better version is a shallow ring or arc matching the lid diameter, so pressure lands on the sealing edge rather than the centre, which would dent inward and pop the edges up. Measure your can, as sizes vary.
3. The handle
The handle should be long enough for leverage but short enough to store in a paint box, about 120 to 150 mm overall. Give it a rounded, slightly flattened cross-section, about 20 mm wide and 12 mm thick, with a gentle grip texture or shallow finger grooves. A hole at the end lets you hang it on a peg or thread it onto a loop with your other painting tools. Avoid sharp edges anywhere, since you will be holding this tool with paint on your hands.
4. Sizing for different cans
If you use both quart and gallon cans, print two tools or design a double-ended handle with a prying foot sized for each. Mark the size on the handle with a paint pen. A tool that fits one can badly is worse than no tool at all, because it encourages forcing. Measure twice, print once, and test on an empty can before trusting it on a full one.
Step-by-Step: Printing and Assembly
- Measure your can. Record the lid diameter, the rim width, and the gap under the lid edge where the prying foot must slide in.
- Model the tool. Start with a flat handle, add the tapered prying foot with its fulcrum bump at one end, and the pressing pad or rim arc at the other.
- Print a test version in PLA at the settings above.
- Clean it up. Remove any stringing, lightly sand the prying tip and the pressing face, and round any sharp corners with a file.
- Test on an empty can. The foot should slide under the lid without forcing, and the pad should press the lid down evenly.
- Adjust if needed. If the foot is too thick, thin the tip by 0.3 mm and reprint. If the pad rocks, flatten its face.
- Print the keeper in PETG, using the proven file, and hang it with your painting supplies.
There is no assembly beyond cleanup.
Step-by-Step: Using the Tool to Open and Reseal a Can
- Wipe the rim. Before opening, wipe dust and dried paint from the rim so nothing falls into the paint.
- Slide the foot under the lid. Work the tapered tip gently under the lid edge at one point on the rim, keeping the fulcrum bump on the rim.
- Lift a little, then move along. Press the handle down slowly to lift the lid a few millimetres, then release and move a quarter of the way around the can.
- Work your way around. Lift in small steps at four or five points rather than yanking one side up. The lid should come free evenly, without bending.
- Pour or stir carefully. Wipe the rim groove clean before resealing, so dried paint does not hold the lid proud.
- Seat the lid by hand first. Place the lid squarely on the can and press it down lightly with your palm until it sits level.
- Press around the rim. Use the resealing pad or arc to press firmly at points all the way around, working in a circle rather than hammering one spot.
- Check the seal. Run a finger lightly around the rim. The lid should sit flush and even, with no raised section. Wipe the outside of the can clean before storing it.
Work patiently on the first can. By the second, the rhythm feels natural, and your lids will stay round and reusable.
Tips for Better Results
- Clean the rim groove before every reseal. A clean groove is what actually keeps paint fresh.
- Lift in small steps. Four gentle lifts beat one hard pry, every time.
- Label the tool for its can size. A gallon tool on a quart can will not seat properly.
- Store the tool with your paint supplies. A tool in another room will not get used, and the screwdriver habit will return.
Common Mistakes to Avoid
- Prying at a single point. That is exactly the screwdriver habit this tool replaces, and it bends lids.
- Pressing the centre of the lid. Press the rim, not the middle, or the lid will dome and leak.
- Forcing a rusted or dented lid. If the lid will not move with gentle pressure, stop. A damaged can needs a different approach, and forcing it can spill paint or cut a hand on a sharp edge.
- Skipping the rim wipe. Dried paint in the groove stops the lid seating, no matter how good the tool is.
- Printing too thin. A flimsy handle flexes and then snaps at the worst moment. Use generous walls and infill.
Care, Storage, and When to Choose an Alternative
Wipe paint off the tool before it dries, and wash it in warm soapy water if needed. Store it flat or hanging, away from heat if it is PLA. If the prying tip chips, sand it smooth or reprint; the print is small and cheap.
Sometimes a manufactured tool is better. If you open cans all day professionally, a steel tool will outlast plastic and handle abused cans a printed tool should never be forced against. For home painting, a printed tool is accurate, cheap, and easy to replace.
FAQ
Will this tool fit every paint can?
No. Cans vary in diameter and rim shape, so measure the cans you actually buy. A tool sized for your usual gallon can may not suit a quart can. Print a second size if you regularly use both, and label each one.
Is PLA strong enough, or do I need PETG?
PLA is strong enough for a test and for gentle use on cans in good condition. PETG is the better keeper because it flexes instead of cracking and tolerates a warm garage. Either way, thick walls and solid infill matter more than the filament brand.
Can I use this tool to hammer a lid down?
Do not hammer the printed tool itself. Press firmly by hand, or tap it very lightly with a soft mallet on the pad only. Heavy hammering can crack the print and dent the lid. Even, hand pressure around the rim seals better than force in one spot.
My lid still will not seal flat. What went wrong?
Usually the rim groove is dirty, the lid was bent in an earlier opening, or the lid is not sitting square. Clean the groove thoroughly, check the lid for bends, reseat it by hand first, then press around the rim again. If the lid itself is bent, it may never seal well, and transferring the paint to a clean, lidded container is the safer choice.
Conclusion
A bent paint can lid is a small problem that causes a big waste: dried-out paint, messy benches, and cans that never close properly again. A simple printed tool, used gently and evenly, keeps lids round, rims clean, and paint usable for the next project.
Print one to match the cans you use most, keep it with your brushes, and opening paint becomes one of the tidy parts of the job.
If you want to cut down on drips at the pouring stage too, you may also enjoy our related guide, “Paint Can Pouring Spout: 3D Print a Snap-On Spout and Lid for Drip-Free Paint Jobs,” and for keeping brushes and rollers organised between coats, see “3D Printed Paint Brush and Roller Holders: Keep Your Painting Tools Ready Between Coats.”