Introduction
A sawn board edge is rarely as square as it looks. Even a careful hand saw leaves a slightly rough, slightly out-of-square edge, and for many repairs that edge is exactly what shows: a drawer front, a shelf end, or a board jointed to its neighbour. A shooting board turns a hand plane into a precision edge-truing tool, guiding the plane along a fixed track so it shaves the board edge square and smooth.
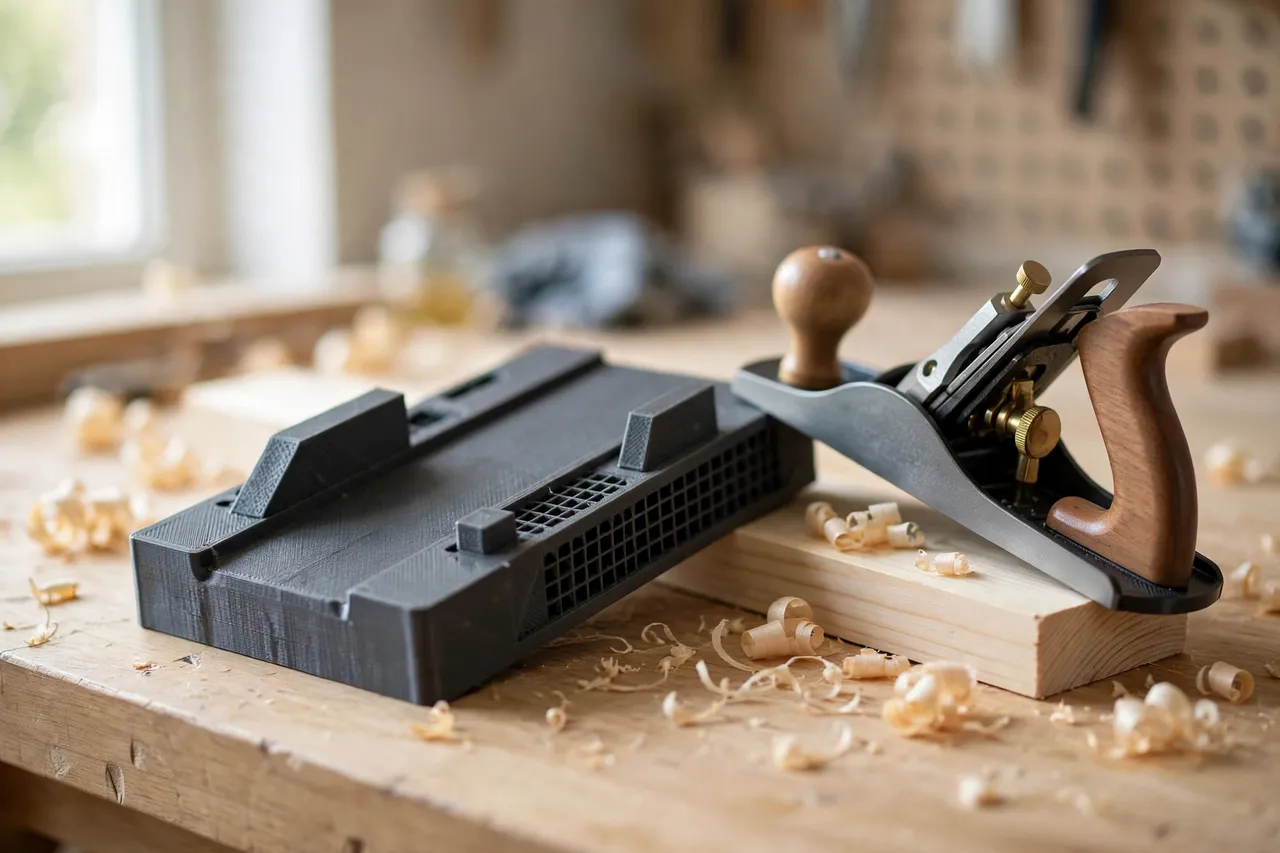
Traditionally, shooting boards are built from plywood and hardwood. A 3D printed version offers the same geometry in a compact, repeatable form: a base, a fence that holds the board, and a track that guides the plane on its side. It is a jig for light truing work, not a substitute for a jointer on long, heavy boards, but for home repair lengths it is remarkably effective.
This guide covers designing, printing, and using a shooting board for squaring board edges with a hand plane. It assumes you have a plane with a reasonably sharp blade — a dull plane will tear rather than shave, no matter how good the jig is.
What You Need
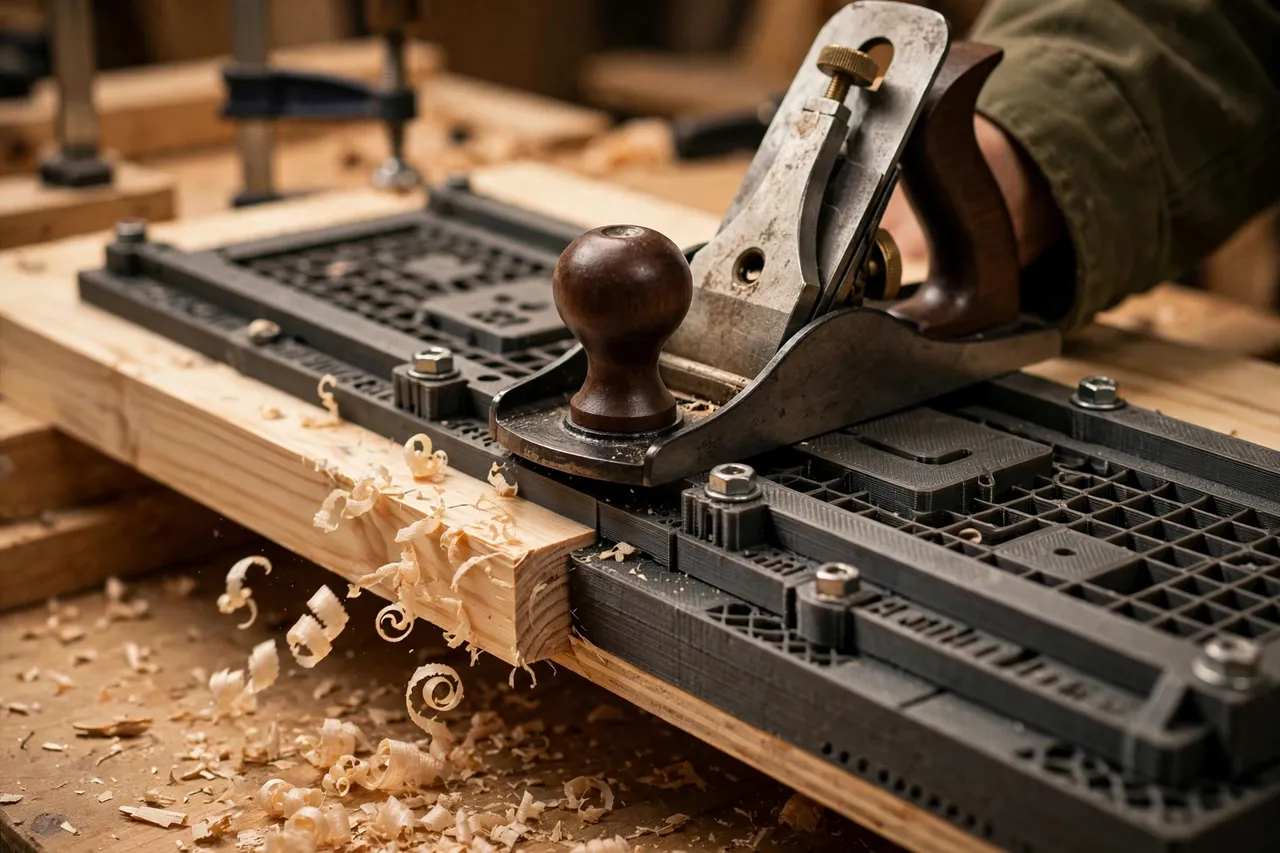
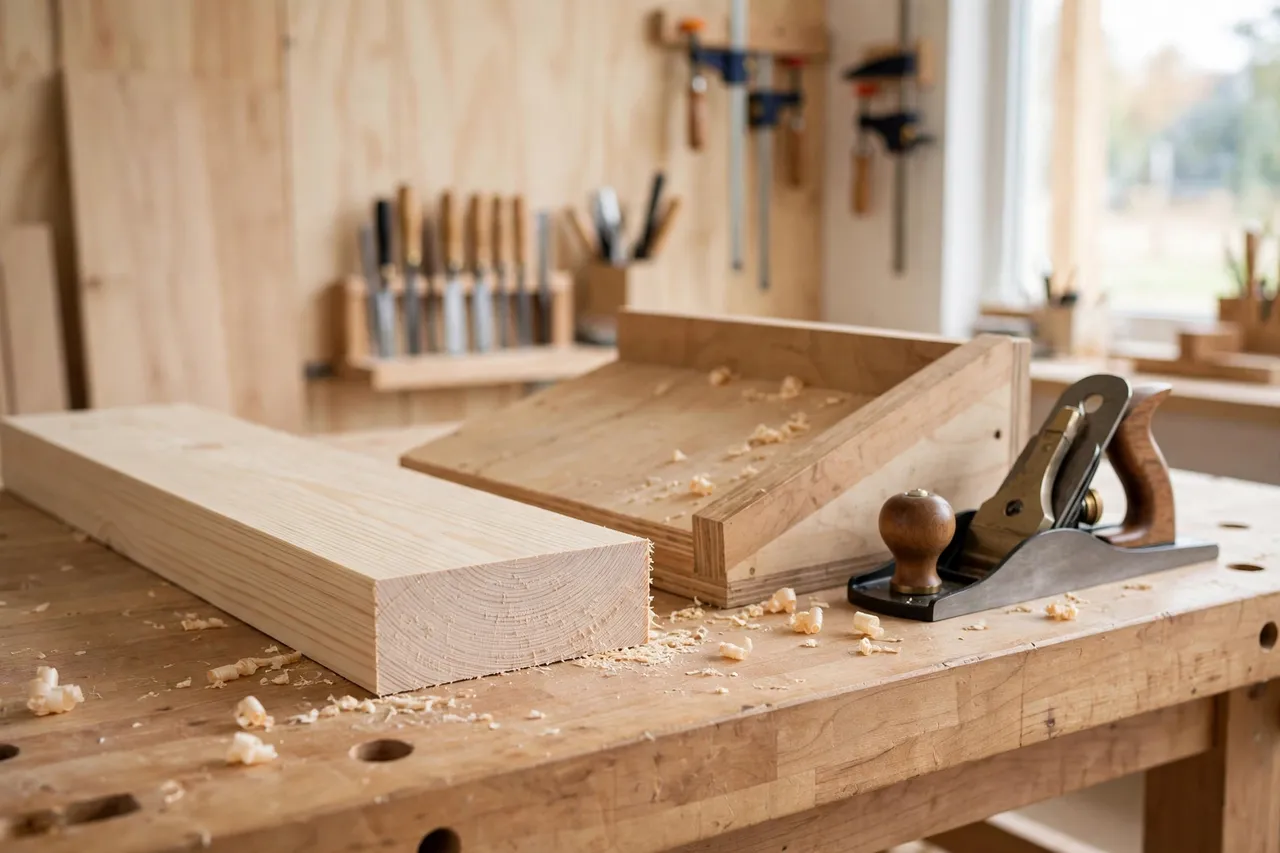
A shooting board has three main parts: a flat base that sits on the bench, a fence that stops the board, and a raised track or ramp that the plane rides on. The plane runs on its side, with its blade facing the board edge.
Materials and tools
- A home 3D printer with a build area of roughly 200 mm, or a design printed in sections that bolt together
- PETG filament for a tougher jig, or PLA for a first version
- A hand plane with a sharp blade, preferably a block plane or a small bench plane
- A square, a pencil, and a tape measure
- Sandpaper, a small file, and optionally a clamp
- Boards to true up, ideally 300 mm or shorter for a printed board
Long boards can be trued in sections, but a printed shooting board is at its best with the shorter lengths common in home repair: drawer parts, shelf ends, small panels, and trim.
Suggested print settings
- Layer height: 0.20 mm for general parts.
- Walls: 4 to 5 perimeters, since the fence and track take sideways pressure from the plane.
- Infill: 40 to 60 percent, grid or gyroid, for a stiff base that does not flex.
- Top and bottom layers: 4 or more, for smooth sliding surfaces.
- Orientation: Print the base flat, and the fence and track as upright walls or as separate flat parts, depending on your design.
- Supports: Only for overhanging track lips, if your design includes them.
Print the base first and check it is flat. A warped base gives you a warped edge, no matter how carefully you plane.
Design Considerations
A shooting board works because it fixes two things: the board’s position and the plane’s path. Get those two right and the edge follows.
1. The fence must be square
The fence holds the board at ninety degrees to the plane’s travel. If the fence is even slightly off square, every pass of the plane copies that error onto the board edge. Design the fence as a thick, straight wall, and check it with a square after printing. If it is off, sand the fence face carefully or reprint it. Some makers design the fence as a separate bolt-on part, so it can be adjusted or replaced without reprinting the whole board.
2. The plane track
The plane rides on its side along a track that is lower than the board surface by exactly the amount you want to shave — or, in most designs, the track is at the same level as the base and the board sits on a raised platform, so the plane blade meets the board edge. Either way, the track must be flat, smooth, and parallel to the fence. A track with bumps or a twist will show up as waves on the board edge. Light sanding and a wipe of paste wax on the track help the plane glide.
3. Board holding
The board needs to stay put while you plane. A simple stop at the end of the fence, plus hand pressure, is enough for short boards. For longer or harder boards, add a clamp slot or a toggle-style printed clamp that presses the board to the fence without getting in the plane’s path. Keep the holding method clear of the plane’s travel: a clamp in the way is worse than no clamp at all.
4. Sizing for your plane
Different planes have different widths and sole lengths. Size the track width to your plane’s body, with a small clearance so the plane slides freely but does not rock sideways. A track that is too wide lets the plane wander; one that is too narrow binds. If you own two planes, size the board for the one you use most for edge work, and note the plane model on the board.
Step-by-Step: Printing and Assembly
- Measure your plane. Record the body width, sole length, and blade position.
- Model the base, fence, and track. Keep the fence square to the track and the track flat.
- Print the base first. Check it for flatness on a known-flat surface.
- Print the fence and track. Clean up the faces with sandpaper.
- Assemble the board. Bolt or glue the parts together, checking fence squareness with a square as you go.
- Wax the track lightly. A thin coat of paste wax helps the plane glide without sticking.
- Test on scrap. Plane a scrap board edge and check it with a square before using the board on a real piece.
If the test edge is not square, adjust the fence before you plane anything important. Small fence errors are easy to fix at this stage and frustrating to fix later.
Step-by-Step: Using the Shooting Board
- Place the board on the bench. It should sit flat and not rock.
- Set the plane blade. Take a very light cut — a shaving you can almost see through. Heavy cuts tear and push the board out of position.
- Position the board edge. Lay the workpiece against the fence, with the edge to be trued facing the plane track and slightly overhanging the track edge.
- Hold the workpiece firmly. Press it to the fence with your free hand, fingers clear of the plane path.
- Run the plane along the track. Push it smoothly from one end to the other, keeping it flat on the track and tight against the fence side.
- Check the edge. Square it and look along it for high spots or waves.
- Repeat with light passes. Take thin shavings until the edge is square and smooth along its full length.
Work from one end to the other in full passes, rather than planing short sections. Short, overlapping passes create dips that are hard to remove.
Tips for Better Results
- Sharpen before you shoot. A sharp blade is the single biggest factor in a clean shooting-board edge.
- Take light cuts. Thin shavings give you control and leave a smoother surface.
- Keep the plane flat on the track. Tilting the plane, even slightly, bevels the edge.
- Check squareness often. Square the edge after every few passes, not just at the end.
- Wax the track and the plane sole. A smooth glide means steadier passes.
- Work with the grain where possible. Planing against the grain on an edge tears fibres; flip the board if the grain runs the wrong way.
Common Mistakes to Avoid
- Using a dull blade. A dull plane crushes and tears instead of cutting, and no jig can fix that.
- Taking too heavy a cut. Deep cuts push the workpiece, chatter, and leave a rough edge.
- Ignoring fence squareness. If the fence is off, every pass copies the error.
- Planing short sections. Spot-planing creates dips; full-length passes keep the edge straight.
- Expecting jointer results on long boards. A printed shooting board is for home repair lengths. Long, heavy boards belong on a proper jointer or a long bench setup.
Care, Storage, and Alternatives
Brush shavings off the track after use, store the board flat or hung on a wall, and keep it out of direct heat. Check fence squareness occasionally, especially after a knock, and reprint or replace the fence if it goes out of square.
A powered jointer or a long hand-plane setup on a bench is better for long boards and for production work. For truing the edges of repair pieces, drawer parts, and shelf ends, a shooting board is faster to set up and easier to store. It also completes a hand-sawing workflow nicely: for holding boards while you cut them, you may also enjoy our related guide, “3D Printed Bench Hook for Sawing: Hold Boards Steady for Hand Sawing,” which covers the cutting side of the same job. And for angled cuts rather than square edges, “3D Printed Miter Box for Hand Saws: Cut Clean Miters Without a Power Saw” is the natural next guide.
FAQ
Will a printed shooting board work with any hand plane?
It works with most block planes and small bench planes, provided the track is sized to the plane body. Measure your plane and size the track to it; a track sized for one plane may not suit a much larger or smaller one.
Is PLA strong enough for a shooting board?
For light truing work, yes. PETG is tougher and better for a keeper that will see regular use. The track and fence take sideways pressure, so generous walls and infill matter more than the filament brand.
Why is my planed edge still not square?
Check the fence squareness first, then whether the plane is staying flat on the track, then blade sharpness. One of those three is almost always the cause.
Can I shoot the end grain of a board?
You can, with a very sharp blade and very light cuts, but end grain is harder and more prone to tear-out. For end grain, a dedicated shooting setup with a low-angle plane works better, and a sacrificial backing piece behind the board helps prevent splintering at the far edge.
Conclusion
A shooting board is one of those jigs that quietly improves every project it touches. It turns a hand plane from a freehand tool into a guided one, and it turns a rough sawn edge into a square, smooth surface you can join with confidence.
Print the base flat, keep the fence square, sharpen the blade, and take light passes. Do that, and this small printed jig will give your repair work a finish that looks like it came from a much larger workshop.