Introduction
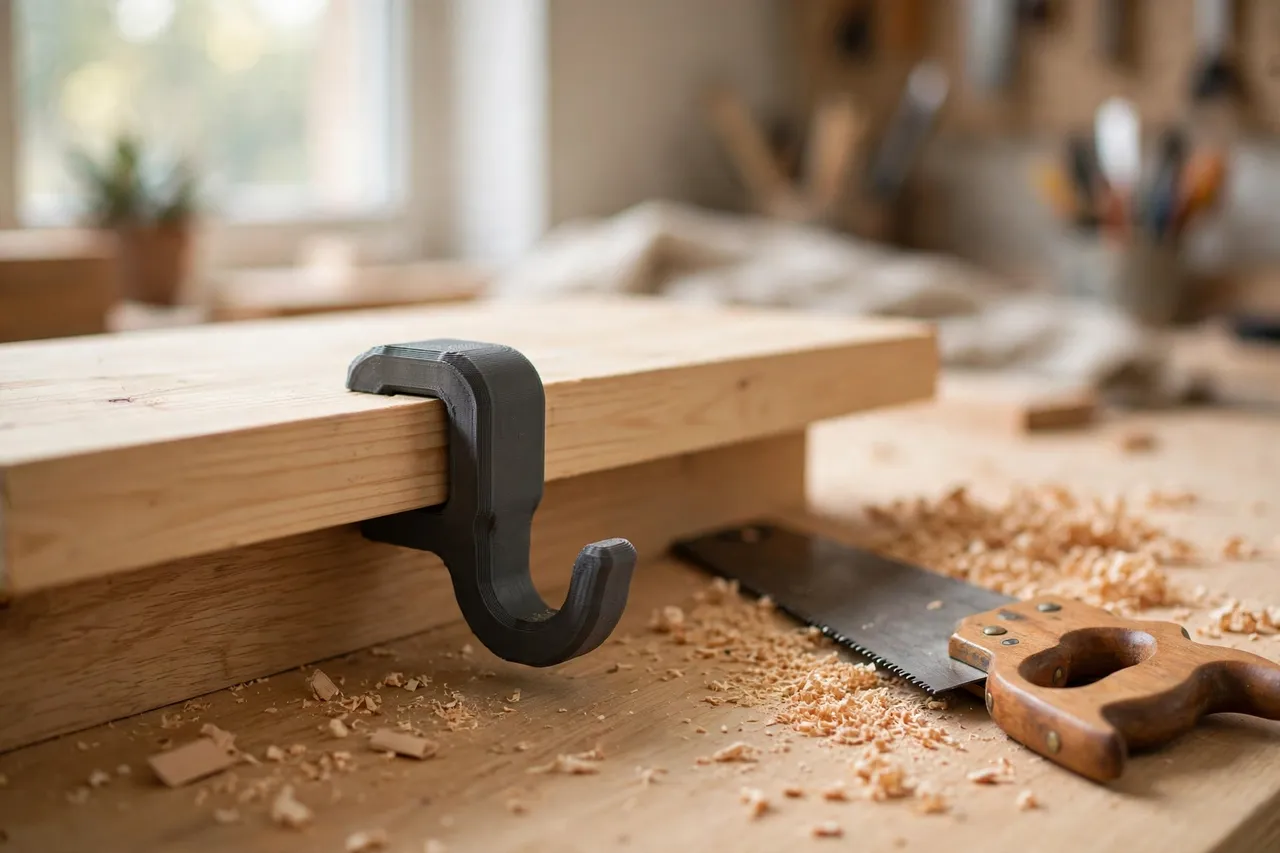
Hand sawing looks easy until the board starts moving. You push the saw forward, the board slides, you chase it with your free hand, and the cut wanders. A bench hook fixes that problem with almost comical simplicity: it hooks over the front edge of your bench, gives the board a fence to push against, and holds everything still while you saw.
Traditionally, bench hooks are made from wood. A 3D printed version brings the same idea into the workshop-made toolkit, with a few advantages: you can print one to fit your bench thickness, add a replaceable sacrificial surface where the saw exits the cut, and make a second one in a different size for narrow boards. It is a light-duty bench accessory, not a clamp or a vice, and it works best when paired with sensible hand-sawing technique.
This guide covers designing, printing, and using a bench hook for everyday home repair sawing — crosscutting boards to length, trimming small pieces, and making repeatable square cuts without a power saw.
What You Need
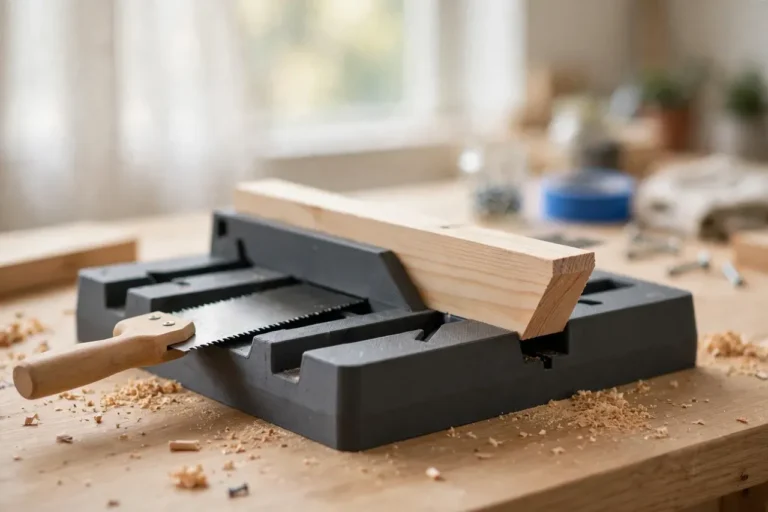
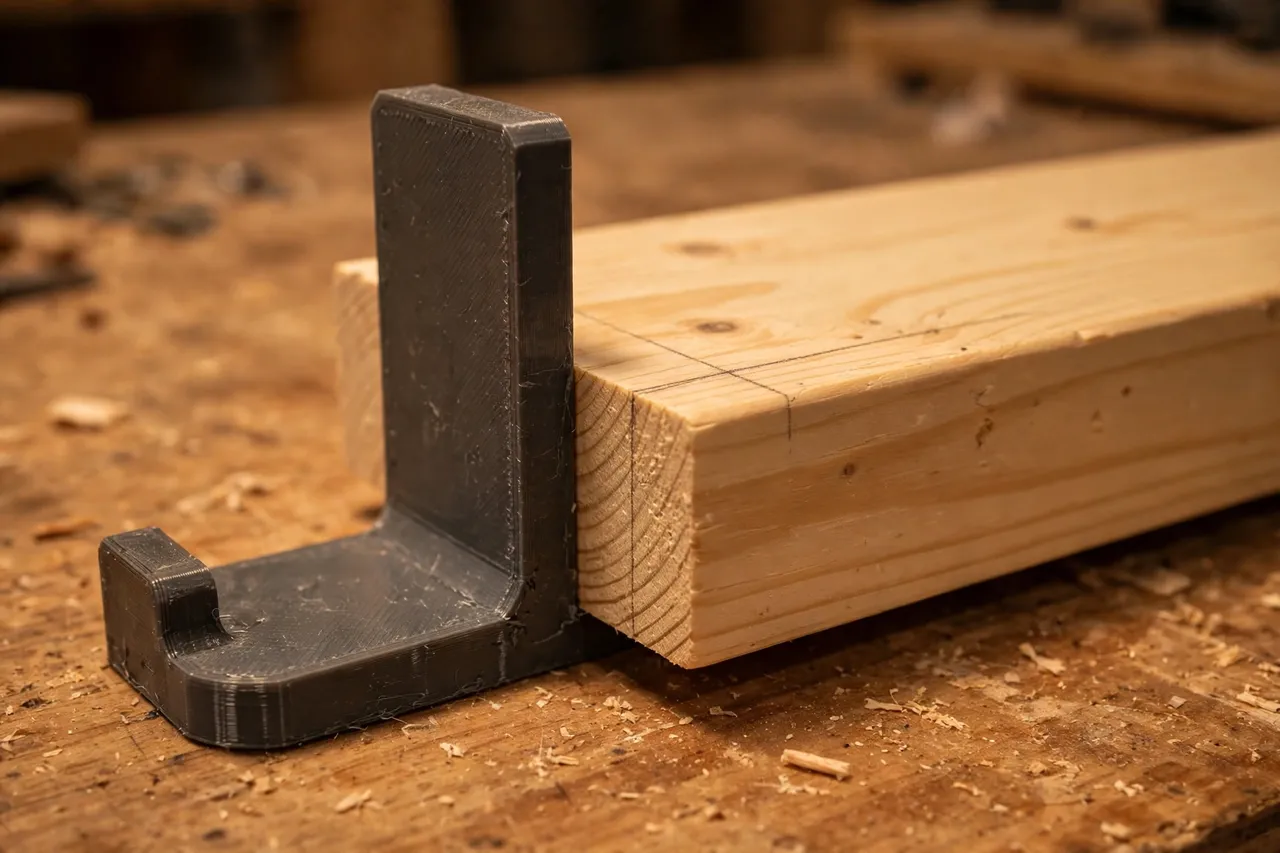
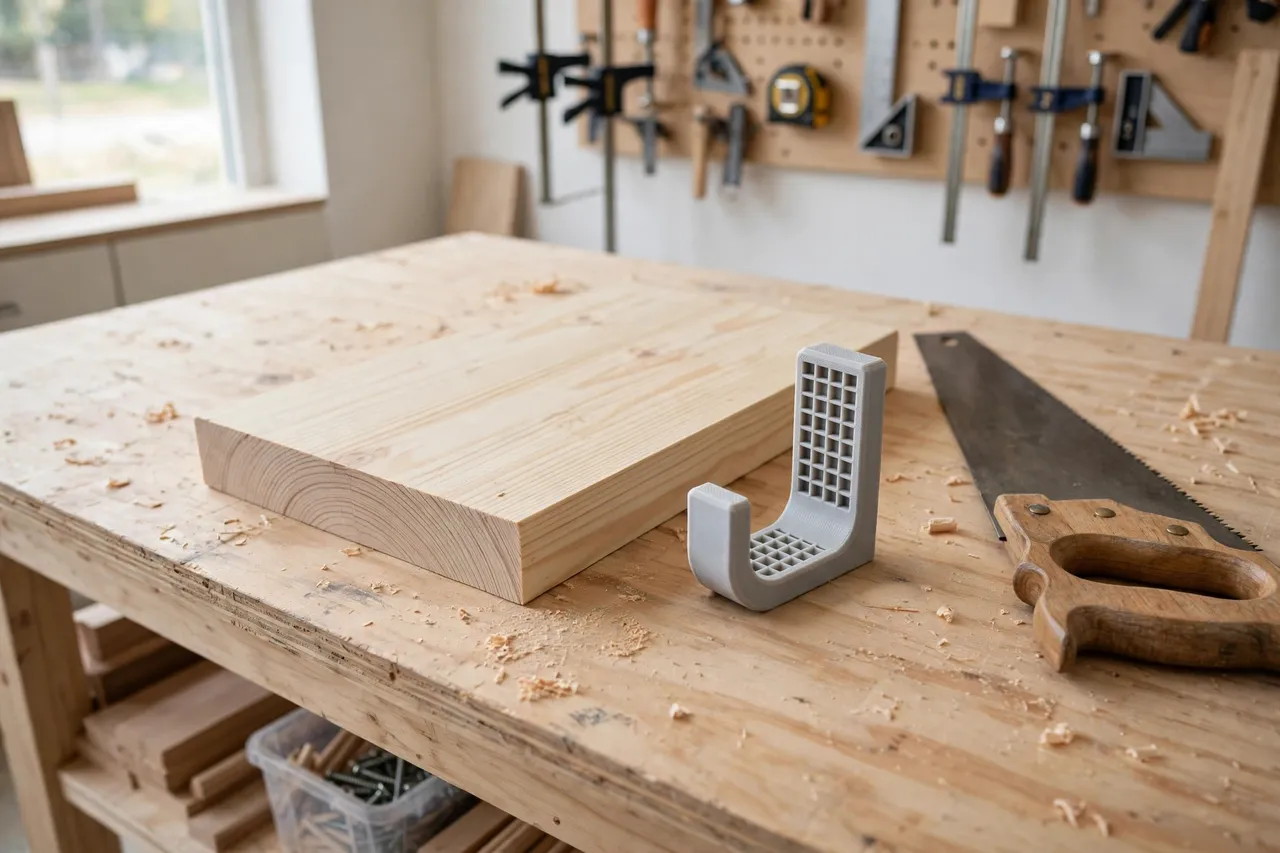
A bench hook is essentially a flat platform with two fences: one underneath that hooks over the bench edge, and one on top that stops the board. The saw cuts across the board just in front of the top fence.
Materials and tools
- A home 3D printer with a build area of roughly 200 mm in at least one direction, or a design printed in two parts
- PETG filament for a tougher hook, or PLA for a first version
- A workbench with a straight front edge at least 20 mm thick
- A hand saw, a pencil, a square, and a tape measure
- Sandpaper, a small file, and optionally a clamp for extra holding power
- A thin sacrificial strip of wood or plastic for the cutting zone, if your design uses one
If your printer bed is small, design the hook in two halves that bolt together, or print a shorter hook for narrow boards. A hook that is 150 mm wide still handles most home repair boards comfortably.
Suggested print settings
- Layer height: 0.20 mm, or 0.24 mm for a faster print on a large flat part.
- Walls: 4 to 5 perimeters, since the fences take repeated pushing force.
- Infill: 40 to 60 percent, grid or gyroid, for a stiff platform that does not flex under the saw.
- Top and bottom layers: 4 or more, for a smooth board surface.
- Orientation: Print flat, platform side down, for the flattest working surface.
- Supports: None, if the fences are designed as simple vertical walls.
Print one test hook and check the fit on your bench before printing a keeper. Bench thickness varies, and a hook that is too loose will rock.
Design Considerations
A bench hook has only a few features, but each one matters for a square, safe cut.
1. Fit the bench edge
Measure your bench thickness and the depth of the front edge. The lower fence should hook over the edge snugly, with about 0.5 mm of clearance so it slides on and off easily but does not wobble. If your bench has a rounded or bevelled edge, shape the hook’s inner corner to match, or add a small shim strip. A hook that rocks on the bench gives you a moving fence, which defeats the whole point.
2. The top stop fence
The top fence is what the board pushes against. It should be tall enough to stop the board firmly — roughly 20 to 30 mm high — and square to the platform. Give it a flat, clean face, and keep it perpendicular to the sawing direction. Some makers add a shallow notch or a replaceable strip at the fence base: the saw will eventually nick the fence as cuts finish, and a replaceable strip keeps the hook useful for years.
3. The cutting zone
The saw should exit the board over a sacrificial area, not over the printed platform itself. Design a gap or a replaceable insert just in front of the top fence, so the saw teeth pass through the board and into something you do not mind cutting. A thin wooden strip, a piece of dense foam, or a second printed insert all work. Without this, you will saw into the hook itself on the first cut.
4. Size and grip
A platform roughly 200 mm wide and 150 mm deep suits most boards. For narrow trim, a smaller hook is easier to position. Add a non-slip base — a thin rubber sheet, cork, or a textured printed surface — to stop the hook sliding on a smooth bench top. Some makers also add a clamp slot, so a small clamp can lock the hook to the bench for heavier cuts.
Step-by-Step: Printing and Assembly
- Measure your bench. Record the thickness and the shape of the front edge.
- Model the hook. Build the platform, the lower bench fence, and the top stop fence, with a sacrificial cutting zone.
- Print a test fit. Slide the hook onto the bench edge and check for rocking or looseness.
- Clean up the print. Sand the platform smooth, square the fence faces, and clear any stringing.
- Fit the sacrificial strip. Glue or screw a replaceable strip into the cutting zone.
- Add a non-slip base if needed. Glue a thin rubber or cork sheet to the underside.
- Test with a scrap board. Push the board against the fence, saw a test cut, and check the end is square.
If the hook rocks, check the bench edge first: a warped bench edge will defeat even a perfect hook. A shim under one side usually fixes it.
Step-by-Step: Using the Bench Hook
- Hook it over the bench edge. Slide the lower fence over the front edge and press the platform flat.
- Clamp it if you like. For heavier boards, add a small clamp through the clamp slot or over the platform.
- Mark your cut. Measure and pencil-mark the board, and square the line across with a square.
- Push the board against the fence. Hold it firmly with your free hand, fingers well clear of the saw line.
- Start the cut gently. Use light, short strokes to establish a kerf on the waste side of the line.
- Saw with steady strokes. Let the saw do the work, keeping the blade vertical and the board pressed to the fence.
- Finish carefully. Slow down as the saw exits the board, so the last fibres do not tear.
- Check the cut. Square the end and check it against your mark before moving on.
Keep your free hand behind the fence line, never in front of the saw. The fence protects the board, not your fingers.
Tips for Better Results
- Cut on the waste side of the line. The saw kerf removes material, so cutting exactly on the line makes the board short.
- Use the fence for repeat cuts. Once the hook is positioned, every board pushed to the same fence gives the same length, if you mark consistently.
- Replace the sacrificial strip often. A chewed strip lets the saw wander at the end of the cut.
- Keep the platform clean. Sawdust under a board lifts it off the platform and tilts the cut.
- Pair with a square. Check the fence squareness occasionally; a knocked hook can go out of square without looking damaged.
- Print a second, smaller hook. A narrow hook for trim and a wide hook for boards covers most home repair sawing.
Common Mistakes to Avoid
- Sawing into the hook itself. Always cut over the sacrificial zone, not over the printed platform.
- Holding the board with your hand in the saw path. Use the fence and keep fingers behind it.
- Printing the bench fence too loose. A rocking hook is worse than no hook, because it looks secure while it moves.
- Forgetting the kerf. Cutting on the line instead of beside it shortens every piece by the saw’s kerf width.
- Using the hook as a vice. It is a light-duty holding aid. For heavy ripping or planing, use a proper vice or clamps.
Care, Storage, and Alternatives
Brush sawdust off the hook after use, store it flat or hung by a hole in the platform, and keep it out of direct heat. Replace the sacrificial strip when it gets chewed, and reprint the hook if a fence cracks or goes out of square.
A proper bench vice or a pair of clamps will hold heavier work more securely, and a mitre box is better for angled cuts. For quick, square crosscuts on boards at the bench, though, a bench hook is hard to beat for speed and simplicity. It also pairs well with other hand-sawing guides: for angled cuts, you may also enjoy our related guide, “3D Printed Miter Box for Hand Saws: Cut Clean Miters Without a Power Saw,” which covers the angled counterpart to the square cuts in this article. And for truing up a sawn edge afterwards, “3D Printed Shooting Board for Hand Planes: Square Edges With a Hand Plane” shows how to finish what the bench hook started.
FAQ
Will a printed bench hook fit any workbench?
It fits any bench whose front edge thickness matches the hook’s lower fence. Measure your bench first and size the hook to it. If you have two benches of different thicknesses, print a hook for each, or add a shim to adapt one hook to both.
Is PLA strong enough for a bench hook?
For light crosscutting, yes. PETG is tougher and better for a keeper that will be knocked around a workshop. Either way, generous walls and infill matter more than the filament name, and the sacrificial strip takes the saw damage, not the hook.
Can I use a bench hook for ripping boards?
Not really. A bench hook is designed for crosscuts, where the board is short and pushed against a fence. Ripping a long board needs a vice, clamps, or a saw horse setup that supports the board along its length.
Why is my cut not square even with the hook?
Check three things: the fence squareness, whether the board is flat on the platform, and whether you are holding the saw vertical. A board that rocks on sawdust, or a saw held at an angle, will give a skewed cut even with a perfect hook.
Conclusion
A bench hook is a small, simple tool that makes hand sawing noticeably easier and safer. It holds the board, squares the cut, and lets you concentrate on the saw instead of chasing a sliding workpiece.
Print one to fit your bench, add a replaceable cutting strip, and keep it hooked on the bench edge where you can reach it. The next time a board needs trimming to length, you will reach for it without thinking — and the cut will show it.