Introduction
A strike plate that sits proud of the jamb looks sloppy and works badly. The latch drags across the raised edge, the door needs a push to close, and over time the plate works loose. A mortise cut too deep is no better: the plate sinks, the latch barely catches, and the door rattles.
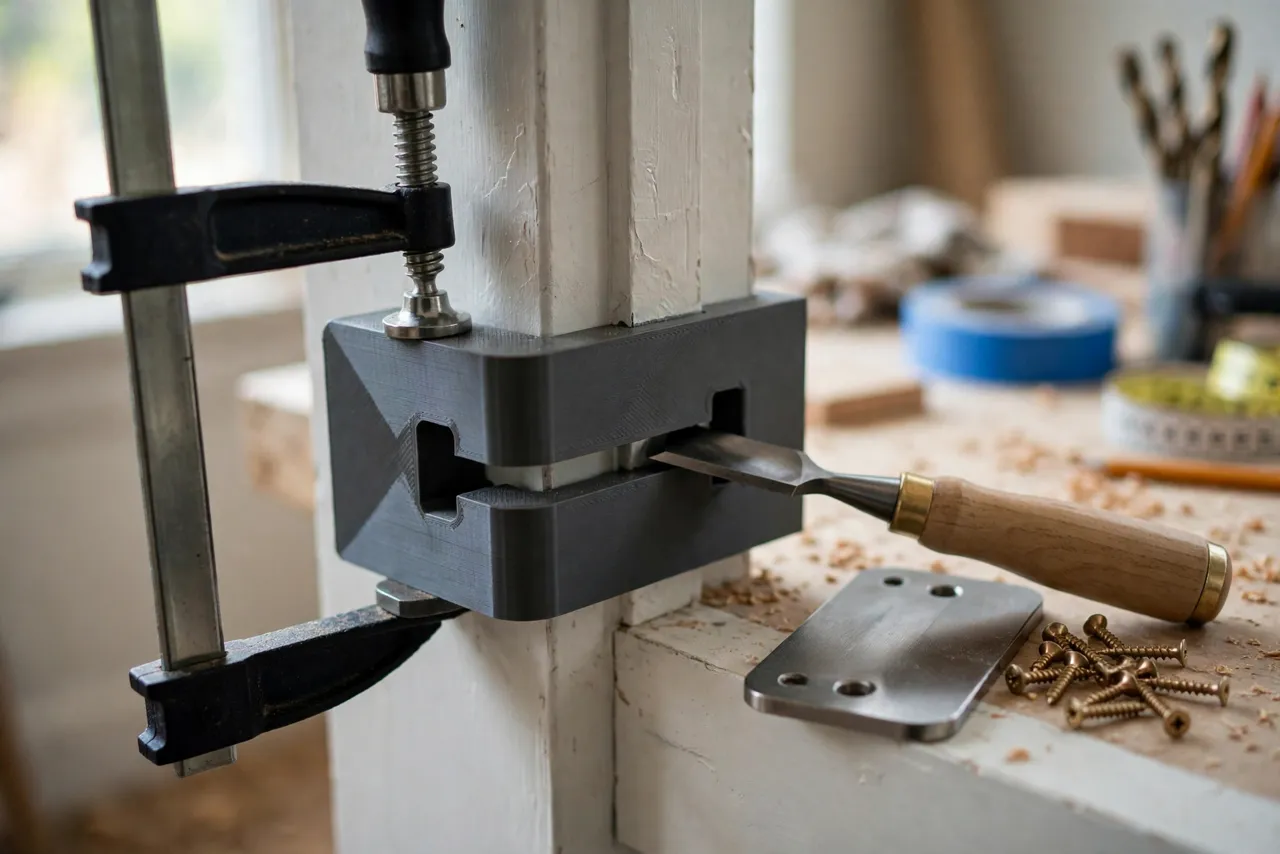
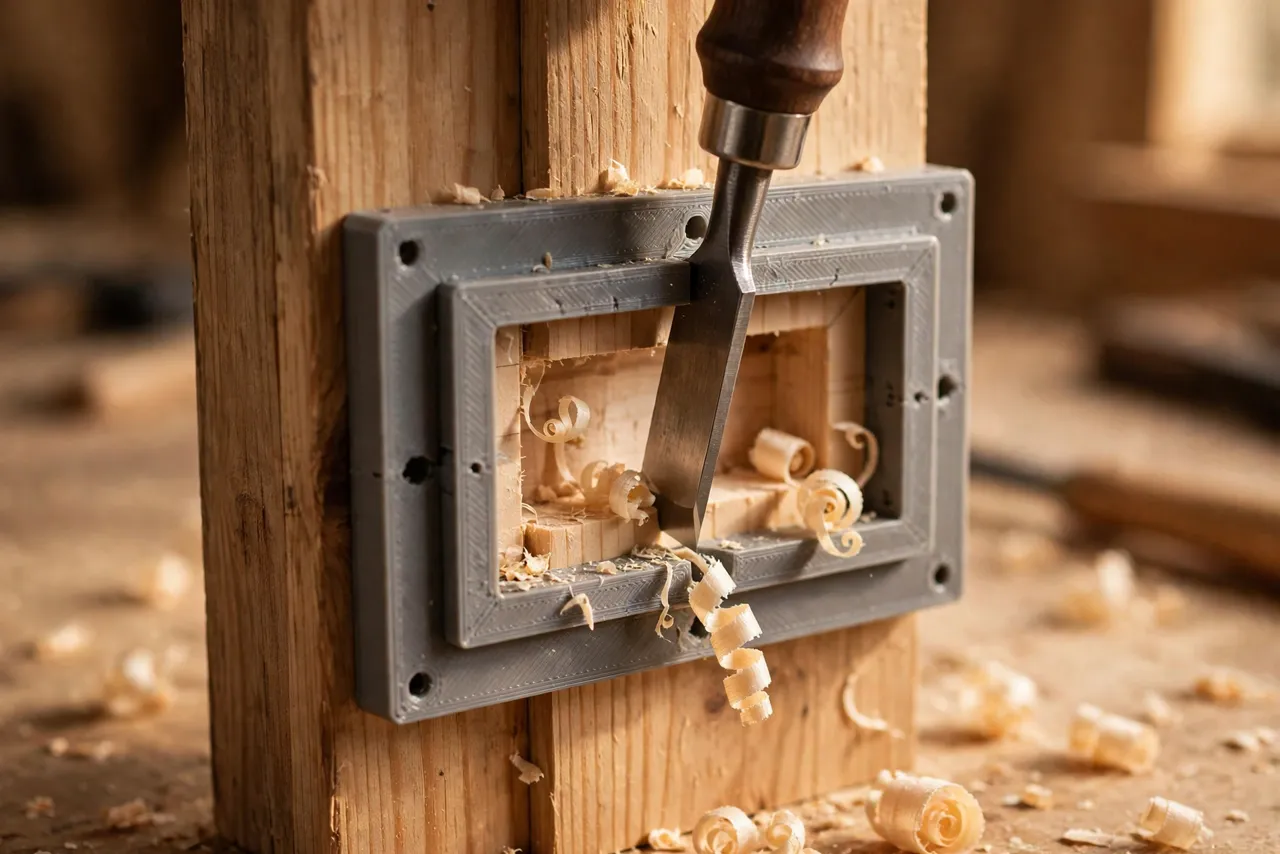
The hard part of a strike mortise is not depth alone. It is the outline. Freehand chiseling wanders — one corner creeps past the line, one edge goes ragged — and a wandering outline cannot be uncut. A 3D printed strike plate mortise template is a flat frame, sized to your plate, that clamps to the jamb and guides the chisel around a crisp rectangle. Mark inside it, cut inside it, and the plate drops in flush.
This guide covers designing, printing, and using your own template. It is a layout and cutting guide only — it does not carry load, and it does not change how the latch itself must align with the door. Always check latch alignment before cutting, because a perfectly cut mortise in the wrong place is still the wrong mortise.
What You Need
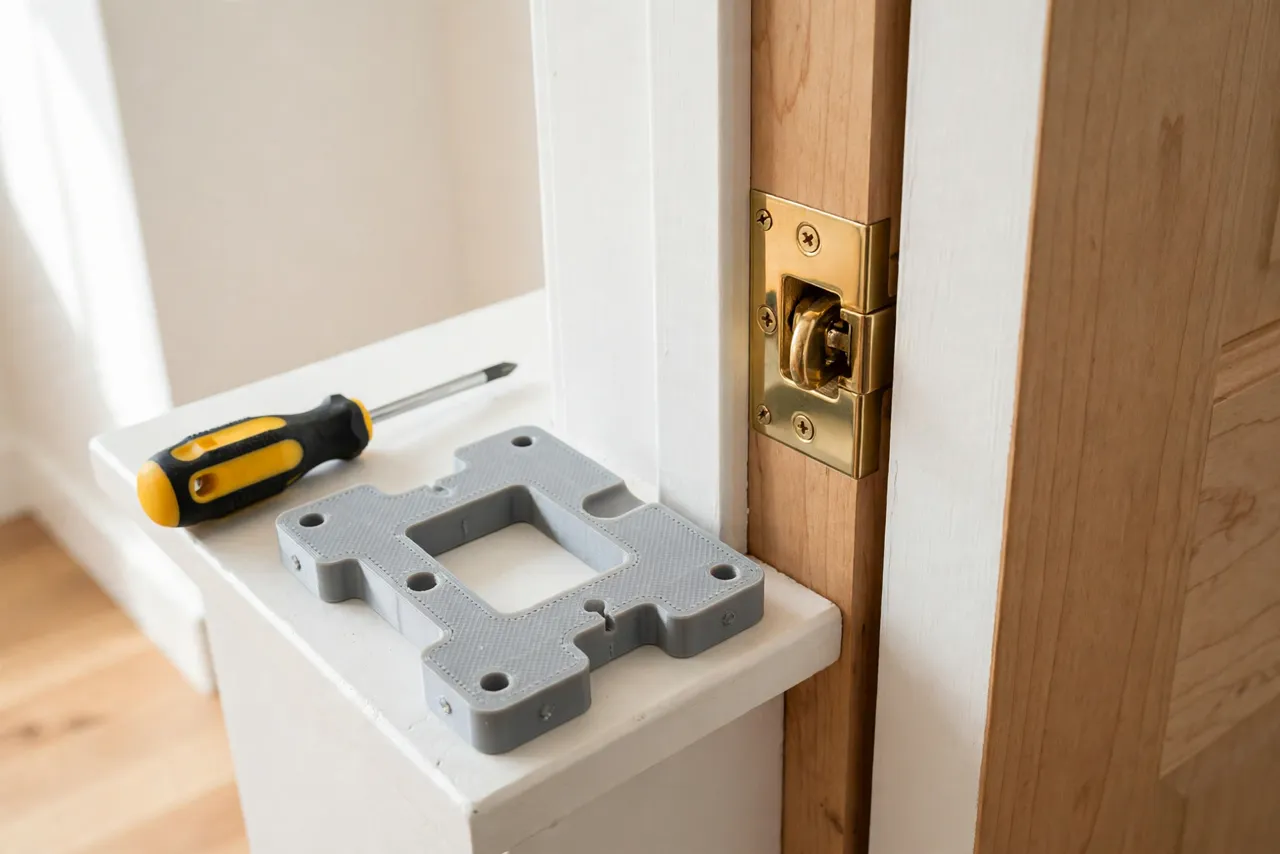
The template is a flat frame, usually 120 to 180 mm long, so any home printer can make it. You need the actual strike plate, because plates vary more than people expect.
Materials and tools
- A home 3D printer and PETG filament for a template that survives clamping and chisel contact
- The strike plate you plan to install, plus its screws
- A sharp chisel (a 12 to 20 mm bevel-edge chisel suits most plates), a mallet, and a marking knife or sharp pencil
- A small clamp or two, a steel ruler, and a combination square
- A drill and small pilot bit for the screw holes
- Sandpaper or a small file for cleanup, plus wood filler for any old mortise you are replacing
A sharp chisel matters more than any other item here. A dull chisel crushes and wanders even inside a template; a sharp one follows the guide edge cleanly.
Suggested print settings
- Layer height: 0.20 mm for clean guide edges.
- Walls: 4 or more perimeters — the guide walls take chisel pressure.
- Infill: 40 to 60 percent, grid or gyroid.
- Top and bottom layers: 4 or more.
- Orientation: Print flat, jamb-facing side down, for the flattest contact face.
- Supports: None for a flat frame design.
Print a test corner first to check that the guide wall prints square and does not flex under light chisel pressure.
Design Considerations
A mortise template is a frame with an opening exactly the size of the plate, plus features that keep it put and keep the chisel honest.
1. The opening
Size the opening to the plate with about 0.3 to 0.5 mm of clearance per side. Too tight and the plate will not drop in without forcing; too loose and the outline grows past the plate, leaving gaps. Measure the plate itself — length, width, and corner radius — not a catalog drawing. Many plates have slightly rounded corners, so include a small radius in the template corners to match.
2. The guide walls
The frame walls should stand about 10 to 15 mm tall, giving the chisel a real edge to register against. Short walls let the chisel ride over the top; very tall walls get in the way of the mallet. A wall thickness of 4 to 5 mm resists flexing without making the template bulky.
Add a slight chamfer on the top outer edge so the template is comfortable to hold and less likely to chip. Keep the inner guide edge square and clean — that edge is the whole tool.
3. Clamping and registration
The template must not move mid-cut. Add clamp ears or flat tabs at both ends, clear of the mortise area, where a small clamp can grip the jamb. Add a centerline mark and a latch-hole mark so you can align the template to the latch position before clamping.
For jambs with a rounded or beveled edge, add a small reference lip that hooks over the jamb edge. Without it, the template can slide sideways under chisel pressure on narrow jambs.
4. Depth control
The template controls outline, not depth. For depth, mark the plate thickness on the chisel blade with tape, or use a separate depth gauge: a small printed step the thickness of the plate that you can hold against the mortise to check progress. Cut shallow and check often — you can always take more wood, but you cannot put it back.
Step-by-Step: Printing and Assembly
- Measure your strike plate — length, width, corner radius, and thickness.
- Check the latch position on the closed door and mark the jamb accordingly.
- Model the frame with the plate opening, guide walls, clamp tabs, and centerline marks.
- Print a test corner and check wall squareness and rigidity.
- Print the full template, clean up the inner guide edges, and test-fit the plate in the opening.
- Add the depth gauge — a small printed step matching the plate thickness.
- Label the template with the plate size so you can reuse it on matching doors.
If the plate fits tightly in the template opening, open the model by 0.2 mm and reprint. A plate that needs forcing into the template will need forcing into the mortise too.
Step-by-Step: Using the Template
- Close the door and check latch alignment. Mark where the latch bolt meets the jamb, and confirm the height and position before cutting anything.
- Position the template on the jamb, centerline on your latch mark, and clamp it firmly at both ends.
- Mark the outline inside the template with a marking knife, scoring lightly around the full rectangle. A scored line severs surface fibers and prevents tear-out beyond the line.
- Cut the perimeter first. Hold the chisel bevel-in against the guide wall and tap lightly around the outline to establish clean walls to the marked depth.
- Waste the middle. Make a series of shallow cross-cuts inside the outline, then pare out the waste with the chisel flat, working from the middle toward the edges.
- Check depth often with the plate itself or the depth gauge. Aim for the plate to sit flush — neither proud nor sunk.
- Test-fit the plate before drilling. It should drop in with light finger pressure and sit flat with no rocking.
- Mark and drill pilot holes, then screw the plate in and test the door. The latch should engage smoothly with no push, drag, or rattle.
Work in shallow passes. Deep, aggressive chisel cuts are what cause wandering, blowout, and oversized mortises.
Tips for Better Results
- Score before you chop. The marking-knife line is the single best defense against ragged edges.
- Keep the chisel sharp throughout. Hone briefly whenever cutting resistance rises — a sharp edge follows the template, a dull one fights it.
- Pare toward the outline, never away from it. Cutting outward from the middle keeps mistakes inside the mortise, where the plate hides them.
- Check the plate in both orientations. Some plates are not symmetric; confirm which way up it sits before you cut.
- Save the template. Doors in one house often share plate sizes, so a labeled template pays for itself on the second door.
Common Mistakes to Avoid
- Cutting before checking latch alignment. A flush plate in the wrong spot still leaves a door that will not latch.
- Making the opening too tight. Forcing the plate in splits jamb edges and crushes the mortise walls.
- Chopping too deep in one pass. Deep cuts wander, split grain, and overshoot depth. Shallow passes win.
- Skipping the clamp. A hand-held template shifts exactly when the mallet lands.
- Forgetting the pilot holes. Screws driven without pilots in a thin jamb edge can split the jamb right beside your perfect mortise.
- Ignoring the old mortise. If you are replacing a plate, fill and level the old mortise first, or the new template will not sit flat.
Care, Storage, and When to Choose an Alternative
Brush out dust, store the template flat or hung on a peg, and keep PLA versions away from heat. If a guide wall gets nicked by the chisel, sand it smooth or reprint — a nicked wall transfers its nick to every future mortise.
Sometimes a commercial mortise jig or a router template is the better choice. If you fit door hardware regularly, work in hardwood jambs all day, or need mortises for many plate sizes, a metal router jig will be faster and more durable. For occasional home strike-plate replacement, a printed template is accurate enough and can be sized to the exact plate in your hand.
FAQ
Will one template fit every strike plate?
No. Plates vary in length, width, and corner radius, so a template is plate-specific. The good news is that houses often repeat one or two plate sizes, so a small set covers most doors.
My mortise is slightly too deep. Can I fix it?
Yes, in most cases. Glue a thin shim or a piece of card into the bottom of the mortise, let it set, and retest the plate fit. For deeper mistakes, fill, level, and recut once cured.
Can I use this template with a router instead of a chisel?
You can, with a small straight bit and a guide bushing, but the template walls must be tall enough and rigid enough for the router base — printed walls can flex under a router. For most home jobs, the chisel method is simpler and safer.
The plate sits flush but the door still will not latch cleanly. What is wrong?
The mortise is fine; the alignment is not. Check that the latch bolt centers on the plate opening and that the door is not sagging on its hinges. Our related guide, “3D Printed Hinge Jig for Cabinet Doors: Get Perfect Alignment on Every Repair,” covers hinge alignment thinking that applies to doors generally, and hinge shims often fix a sagging door faster than recutting a mortise.
Conclusion
A strike plate mortise is a small cut with an outsized effect on how a door feels. A printed template turns the hardest part — a crisp, accurate outline — into a guided operation, and careful shallow paring handles the rest.
Print one for your plate size, score before you chop, and check depth often. If the job also involves hinge-side work, you may also like “3D Printed Hinge Shims for Sagging Doors: A Simple Fix That Actually Works,” which pairs naturally with latch-side repairs for a door that closes like it should.