Introduction
Touch-up paint tubes are small, useful, and almost impossible to find when you need one. They roll to the back of a drawer, hide under larger paint cans, or end up in a bag with a dozen other half-used tubes. When a chair leg gets scratched or a door frame gets scuffed, you know you own the right color — you just cannot prove it without emptying the drawer.
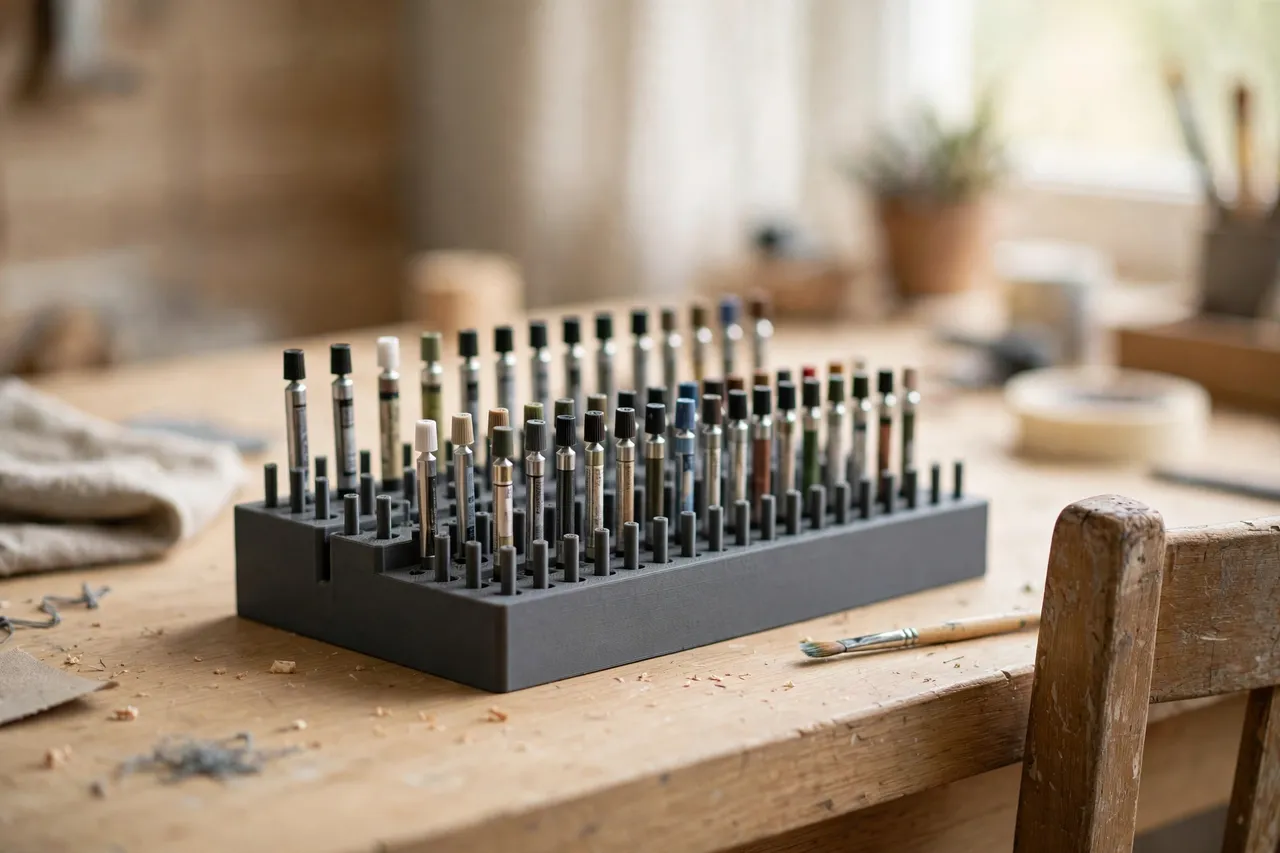
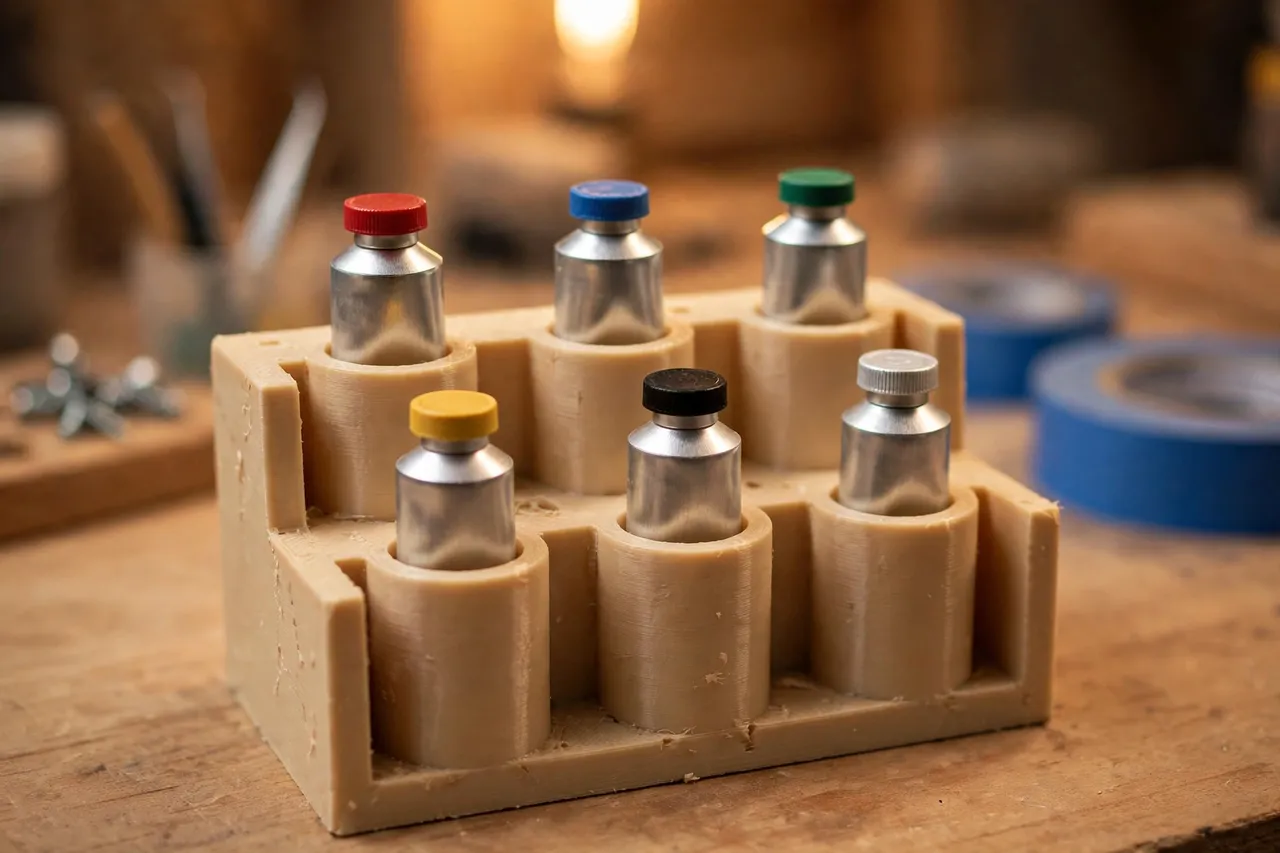
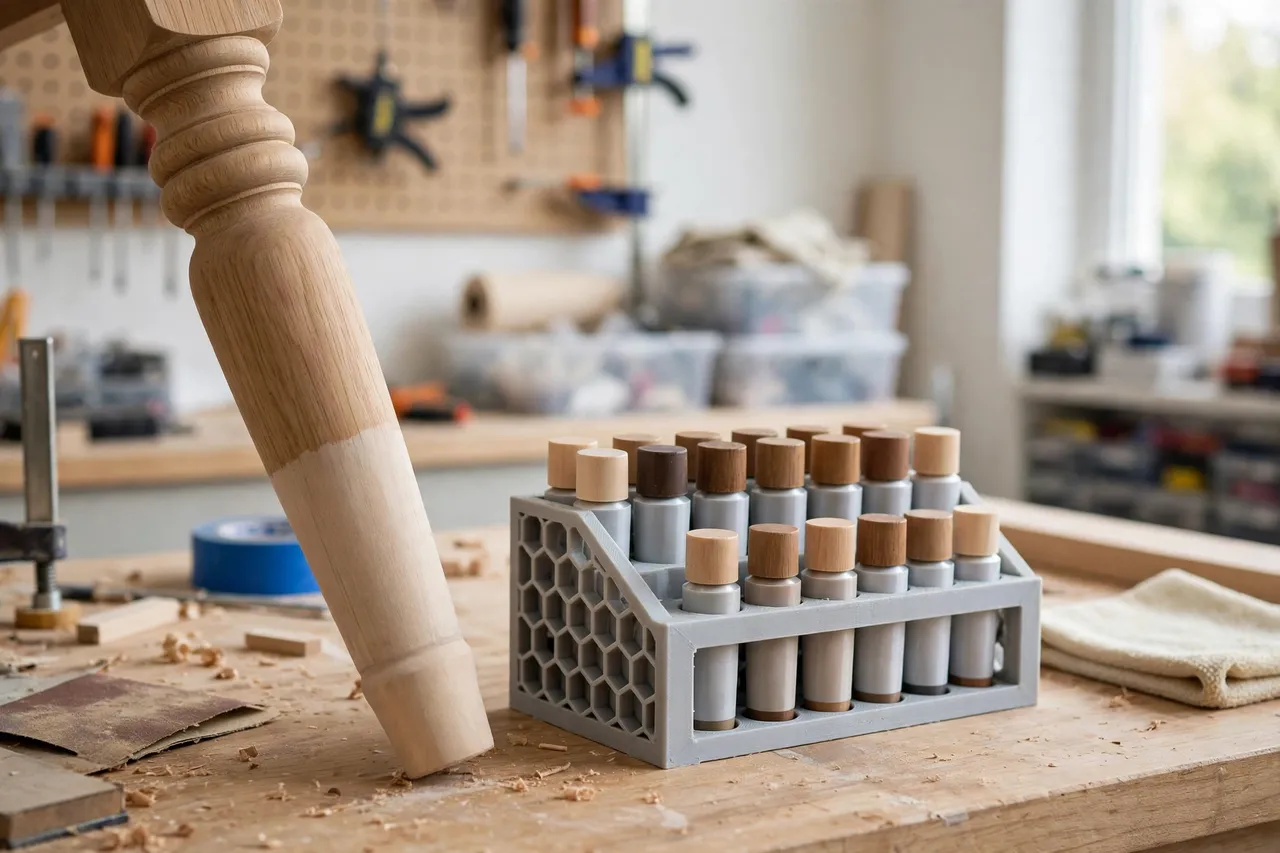
A 3D printed touch-up paint tube rack fixes that with a simple, visible home. It is a small rack with upright holes or slots that hold each tube cap-up, labeled by color or room, so you can scan the rack, spot the match, and pull it out. No rolling, no digging, no buying a duplicate tube because you could not find the one you already own.
This is a light-duty storage rack for sealed, finished touch-up tubes. It holds tubes upright on a shelf or bench. It is not a paint-mixing station, and it does not change how paint itself should be handled: keep tubes capped and sealed when stored, work in a ventilated space when you use them, and follow the paint maker’s own instructions for use and cleanup. The rack’s job is organization. The paint’s job starts when you take a tube out of it.
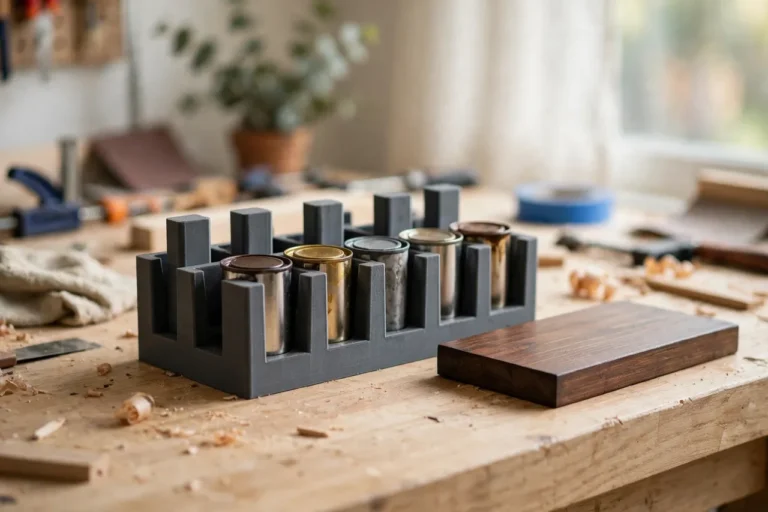
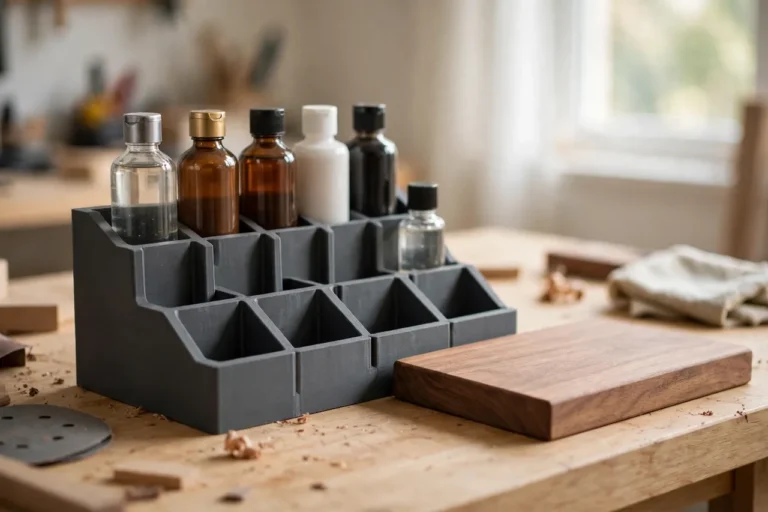
The same upright-and-labeled idea carries through “3D Printed Stain Can Rack: Stain Cans Upright and Labeled” and “3D Printed Finish Bottle Rack: Finish Bottles Sorted by Type” — every finish container visible, upright, and labeled.
What You Need
The rack is a small printed block or rail with holes sized to your tubes, optionally with a base or wall-mounting holes. Most home printers can handle it easily.
Materials and tools
- A home 3D printer with a build area of roughly 150 mm in at least one direction
- PLA filament for an indoor rack, or PETG if it will live in a warm garage
- Your touch-up paint tubes, measured, plus their caps checked for a tight seal
- A tape measure or calipers, a pencil, and sandpaper or a small file
- A label maker or paint pen, and a small brush for touch-up work
PLA is the easy choice for a rack that sits on a shelf indoors. PETG is tougher and resists the odd paint drip better, and it handles garage heat more gracefully. Either way, print the rack with solid walls around the holes: a tube rack gets knocked, and thin hole walls crack first.
Suggested print settings
- Layer height: 0.20 mm for a good balance of speed and finish.
- Walls: 3 to 4 perimeters, so the holes hold their shape.
- Infill: 20 to 30 percent, grid or gyroid. A tube rack carries almost no load.
- Top and bottom layers: 4 or more, for a flat base that sits steadily on a shelf.
- Orientation: Print the rack flat, holes facing up, for the cleanest holes.
- Supports: A good design needs none.
Print a short test strip with two or three holes first and check that your fattest tube fits with a little clearance and your thinnest tube does not fall through. A five-minute test saves a full rack reprint.
Design Considerations
Touch-up tubes vary more than you expect: some are slim pens, some are small squeeze tubes, some are tiny bottles with brush caps. Design for the tubes you actually own, not an idealized tube.
1. Hole sizing
Measure the diameter of your largest tube and your smallest tube. Size holes to the largest, with about 1 to 2 mm of clearance, and add a removable reducer ring — a short printed sleeve — for slimmer tubes that would otherwise wobble. Holes about 25 to 35 mm deep hold a tube upright without swallowing it so far you cannot grip the cap. Cap-up storage keeps the cap accessible and lets you read any color marking on it.
2. Rows and spacing
Space holes about 10 mm wider than your fattest tube apart, so you can grip one tube without disturbing its neighbors. Two or three rows suit most collections; more rows make the rack deep and hard to reach across. If your collection is large, print two smaller racks — one per room or color family — rather than one deep rack where back rows are forgotten.
3. Labels
Label each hole or row with the color, the room, or the piece of furniture it matches: “kitchen cabinets — white,” “hall trim — cream,” and so on. Touch-up colors that look alike in the tube often differ on the wall, so write what the tube is for, not just a color name you will forget. A label on the rack, plus the tube’s own marking, is the pair that prevents mismatches.
4. Drips and cleanup
Paint tubes drip, especially around the cap. Add a shallow drip tray or a removable base plate under the rack, so a drip lands on plastic you can wipe, not on the shelf. A thin printed tray that slides out for cleaning is ideal. If a tube leaks badly, remove it from the rack, clean it up, and replace the cap or the tube — a rack full of leaking tubes helps nobody.
5. Placement
Keep the rack where touch-ups happen: near the workbench, or on a shelf by the paint supplies, upright and out of direct sun. Heat and sun degrade paint and warp PLA, so a cool, shaded shelf is best. Keep the rack away from heaters and windows, and out of reach of small children — paint tubes are not toys, and this rack is not child-proof storage.
Step-by-Step: Printing and Assembly
- Gather your touch-up tubes and check that every cap seals tightly.
- Measure the diameter of your fattest and thinnest tubes.
- Sketch the rack layout: rows, hole spacing, and where labels will go.
- Model the rack with holes sized to your tubes, walls about 3 mm thick, and a base about 3 mm thick.
- Print a test strip with three holes and check tube fit.
- Print the full rack and any reducer rings or drip tray.
- Clean up stringing and sand hole edges smooth so tubes slide in without catching.
- Label each hole or row before loading a single tube.
- Load the tubes cap-up, caps checked, and place the rack on its shelf.
Step-by-Step: Using It
- Find the match on the rack first. Read the label, pull the tube, and compare it against the scratched surface in good light before opening it.
- Test on a hidden spot. Dab a tiny amount somewhere inconspicuous and let it dry before touching up the visible scratch — colors shift as they dry.
- Work in small dabs, following the paint maker’s instructions, and let each dab dry before adding more.
- Cap the tube immediately after use. An open tube dries out, drips, and ruins the rack’s tidiness in one afternoon.
- Return the tube to its labeled hole the same day, so the next touch-up starts at the rack, not at the drawer.
- Check the rack twice a year for dried-out or leaking tubes, and replace them before they stain the rack or the shelf.
Tips for Better Results
- Sort by room, not just by color. A rack organized as “kitchen,” “hall,” “bedroom” matches how you actually think about touch-ups.
- Keep a color card inside the rack’s base: a small card with a dried dab of each tube’s paint, labeled, for matching without opening tubes.
- Print the rack in a light color so dark tubes and their labels stand out.
- Leave one empty row for tubes you buy with the next paint job.
- Store the small touch-up brush with the rack, in its own hole, so brush and paint are never separated.
Common Mistakes to Avoid
- Sizing holes from one tube. Tubes vary by brand, and a rack sized to one tube will grip some and drop others. Measure the range.
- Storing tubes cap-down. Cap-down storage hides the cap, makes tubes hard to pull, and invites leaks onto the rack.
- Skipping labels. Unlabeled tubes all look alike, and you will open three wrong tubes before finding the right one.
- Ignoring a leaking tube. One leaking tube stains the rack, glues neighboring tubes in place, and ruins the whole system.
- Storing the rack in sun or heat. Sunlight and heat degrade paint and warp PLA. A cool, shaded shelf protects both.
Care, Storage, and When to Choose an Alternative
Wipe the rack and drip tray occasionally, and clean any drip before it dries. If a hole cracks, reprint that section or the whole small rack — tube racks are cheap prints. Keep PLA racks out of sustained heat; PETG suits a garage better. Replace tubes that have dried out rather than keeping them “just in case”; a dead tube in a labeled hole blocks the space a live one needs.
A manufactured paint organizer or small-parts cabinet is the better buy if you stock dozens of tubes for a trade, need a lidded and latched box for transport, or need child-resistant storage. Commercial organizers offer lids and portability a printed rack usually lacks. For a home collection of a dozen or so touch-up tubes, a printed rack is cheaper, sized to your exact tubes, and easy to reprint when the collection changes.
FAQ
How many tubes will one rack hold?
A rack roughly 200 mm by 120 mm with two rows holds twelve to twenty typical touch-up tubes. Larger collections deserve two racks sorted by room rather than one crowded rack.
Should tubes be stored cap-up or cap-down?
Cap-up, for this rack: the cap stays accessible, the color marking stays visible, and leaks — if they happen — stay in the tube rather than pooling in the hole. Cap-down storage belongs to a different kind of dispenser, not a labeled rack.
Will paint damage the printed rack?
A sealed tube will not. A leaking tube can stain PLA and PETG, which is why the drip tray matters and why leaking tubes should be removed promptly. Wipe drips before they dry.
Can I use the rack for other small paint containers?
Yes, if they fit the holes. Small sample pots and tiny stain bottles work well with reducer rings. Keep different product types in separate rows and label them clearly, so a touch-up tube never gets confused with a stain or a finish.
Conclusion
Touch-up paint only helps if you can find it. A printed rack — holes sized to your tubes, labels by room and color, caps up, drips caught — turns a drawer of rolling tubes into a visible, grab-and-go collection.
Print one to fit your shelf, sort your tubes into it, and the next scratched chair leg becomes a five-minute dab instead of a twenty-minute hunt.